While all three card structures of the Mumbai Card Kit offer dimensional functionality, we'll ensure your assembly success with helpful tutorials!

Start the new year by learning several new ways to creatively fold greeting cards. Once mastered, you can repeat the structures with papers and stamps from your own stash.
Mumbai Card Kit
SET A - Gate Fold Shutter Cards

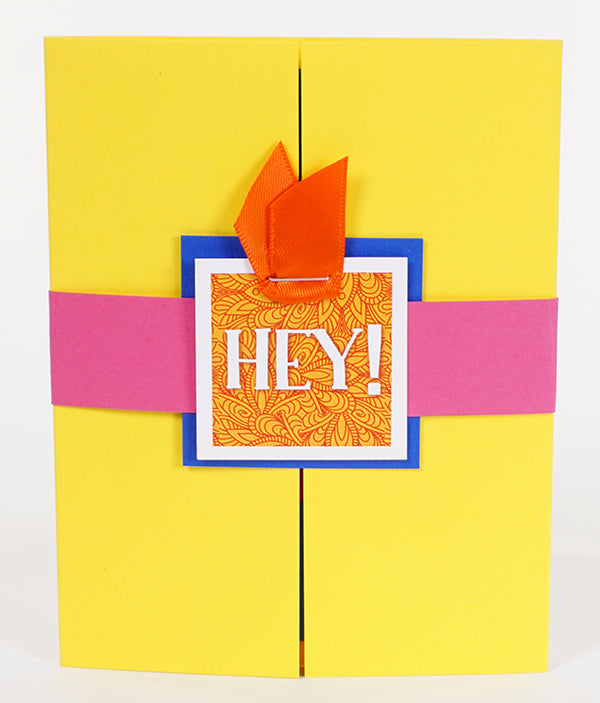
Begin creating the cards for Set A by making a standard gate fold with a Pink belly band. The Dk. Blue square and "hey" sentiment cleverly hide the seam of the band.

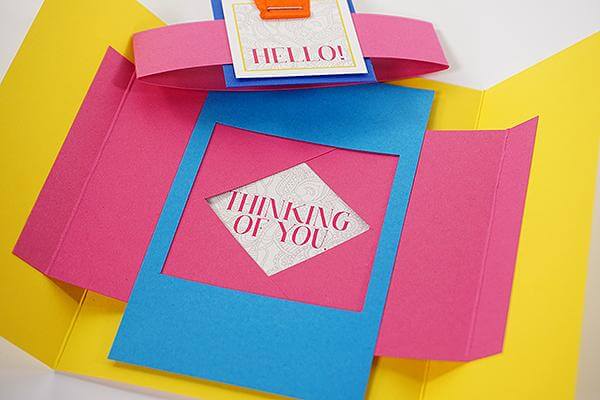
The real surprise comes when you open the card. Watch the video tutorial to learn how to create the Pink shutters and Dk. Blue frame. The shutters are glued to the left and right flaps of the Yellow gate fold card, causing them to open and reveal the sentiment beneath.

SET B - Stand-up Cards

This A7 card folds perfectly flat for mailing, but has two valley folds and two mountain folds to create a pop-up in the center. The card stands up easily for display. Prepare and insert a fun tag behind the sentiment nested on the Lt. Blue panel.

Add the adorable bronze elephant charm to the bottom of the card with CS® Bookbinding Glue.

SET C - Step-up Cards

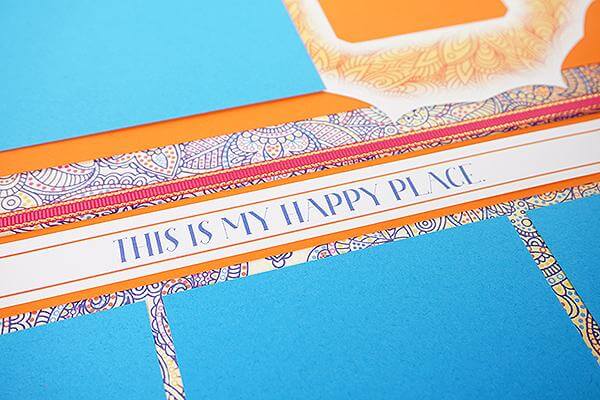
The step-up card always seemed overly-complicated or required an expensive cutting die. I've tried to simplify the structure to only require a craft knife, ruler and ScorPal. Again, the video tutorial will offer heaps of help!
Staple the velvet ribbon to the top of the tag and insert the sentiment into a pocket created behind the front art panel.

The step-up card looks great as a vertical greeting, as well. You'll make two of each.

You'll love this bright, interactive, versatile card kit. If you don't have one on its way, order yours today!
I'm looking forward to spending more time discovering possibilities with the Mumbai collection. I hope to see your work posted to the Facebook chat group!
Tricia


