Some dear friends of mine just returned from a trip to Norway and Denmark. I have a huge stack of prints I plan to add to these pages as soon as I can spare a moment or two. This kit is going to be just perfect to highlight their travels!
MOROCCAN SPICE DELUXE KIT
LAYOUTS 1 & 2
The Filigree Masking Stencil is delicate and beautiful. Apply the new CS Metallic Gold ink to the right edge of the 12x12 Red plain with an Ink Applicator. The pigment ink will require some extra drying time or a blast with your heat tool to prevent smearing.
LAYOUTS 3 & 4
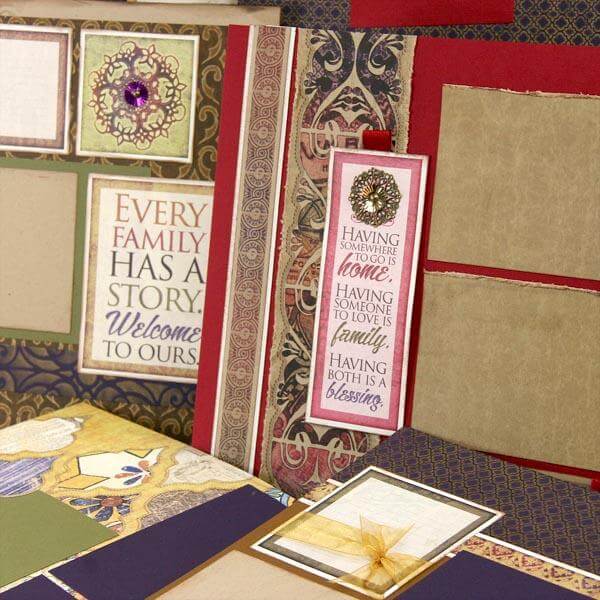
The Colored Sequins added elegant detail to every page. (It was a labor of love by lots of CS staffers to get them sorted and packaged!) Here, just slide them behind the left and right edges of a cutapart. They look like decorative photo turns.
LAYOUTS 5 & 6
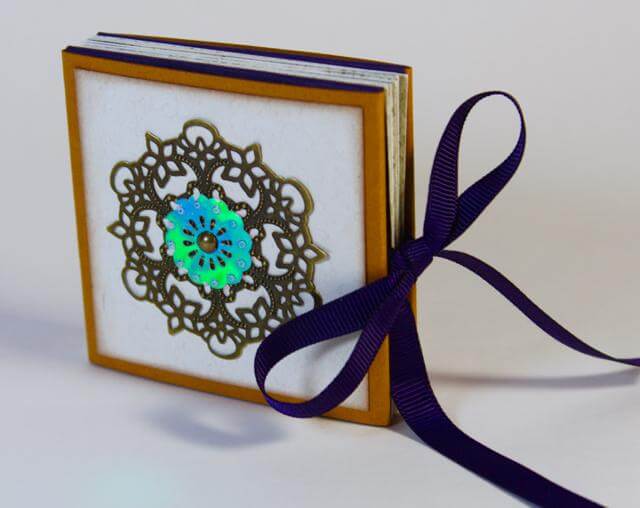
We couldn't believe our luck when we found this gorgeous Bronze Medallion as a goodie for the collection. You'll receive a six-pack with three each of two different sizes and mini brads for attaching.
LAYOUTS 7 & 8
Here, the masking stencil was used with Earth ink to add an accent to the top and bottom edges of the 12x12 Kraft Plain.
LAYOUTS 9 & 10
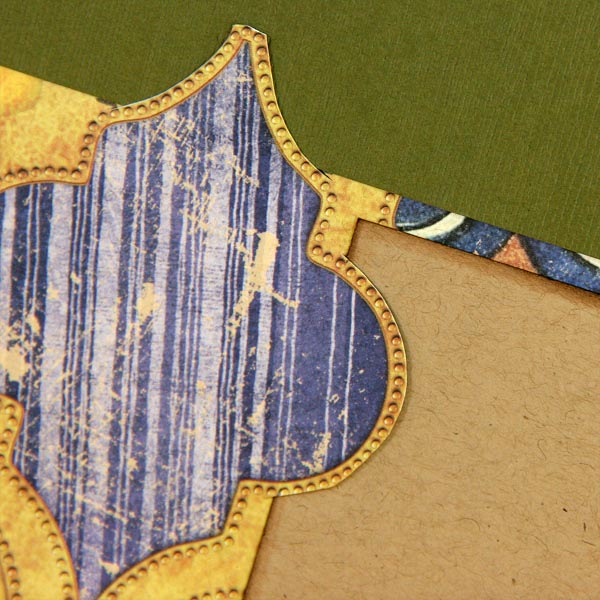
I nested a 1x12" strip of the Purple print onto red ribbon and slid it behind the tile on the 12x12 Gold Print. I hope you're getting the hang of using your craft knife for these layering techniques.
LAYOUTS 11 & 12
I did the same craft knife trick to allow the photo mattes to slide beneath the blue tile on the print in two spots.
LAYOUTS 13 & 14
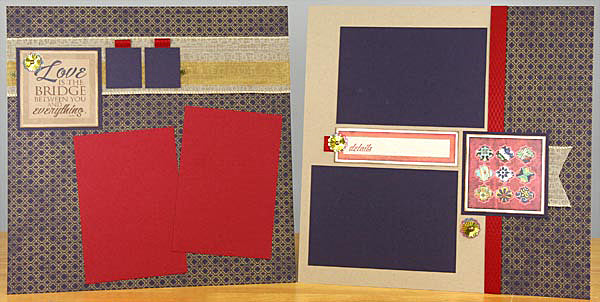
Tape a loop of red ribbon behind the "details" cutapart and attach two nested sequins with a mini brad. Instant embellishment!
MOROCCAN SPICE GREETINGS TO GO
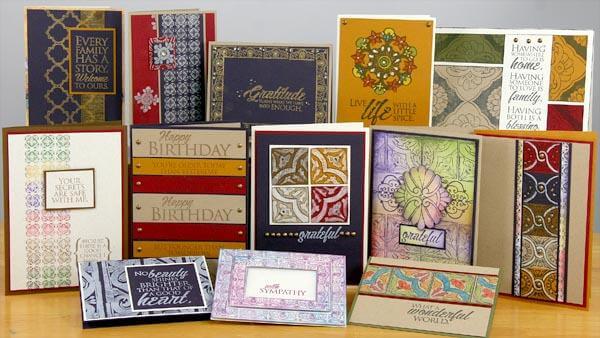
The Greetings to Go cards are deceptively simple to assemble. I try to add a few crafty details while keeping supply usage to a minimum. I like how you can do as little or as much as you want, and have fabulous results either way!
SET A
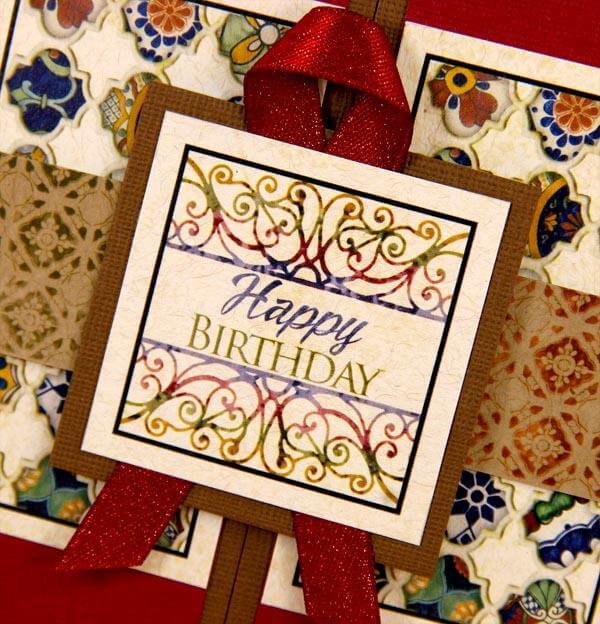
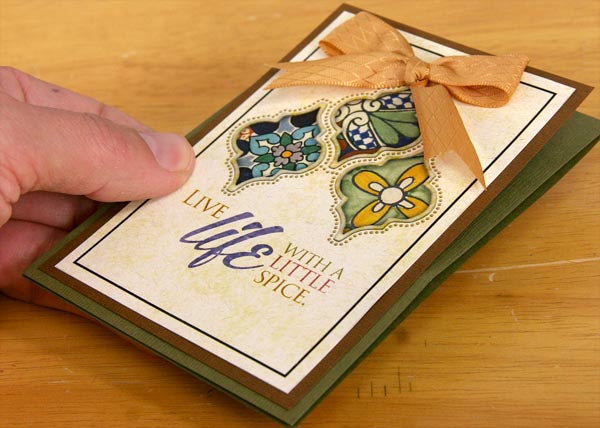
Here we go again with the "craft knife ribbon slider trick." Note to self . . . erase the pencil lines. The bronze brads make an elegant addition to this group of cards.
SET B
I asked Jacqueline to design a printed band closure for these nifty gate fold cards. They turned out better than I'd even imagined!
SET C
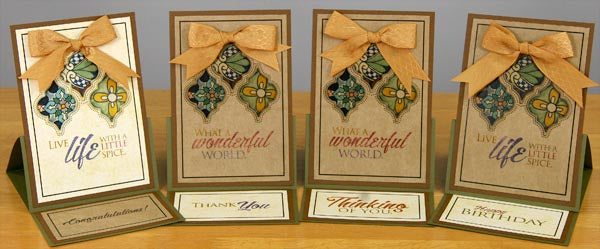
I adore the clever functionality of these easel cards. Remember to apply adhesive to the bottom 3" of the front of the card flap, or the easel won't work. I usually don't remember this until the third or fourth card.
It's not too late to pick up the Deluxe Moroccan Spice kit or the Greetings to Go. Join us and save!
Have a spicy day . . .
Tricia
