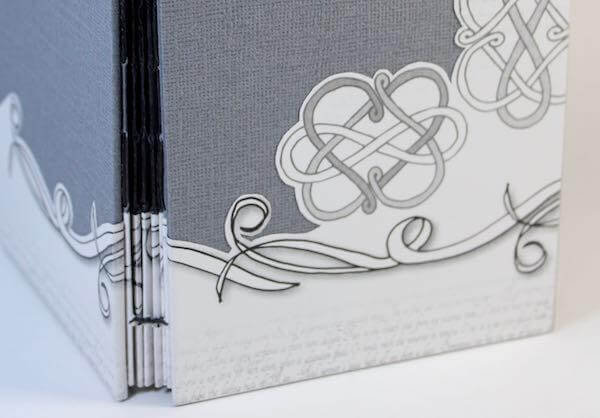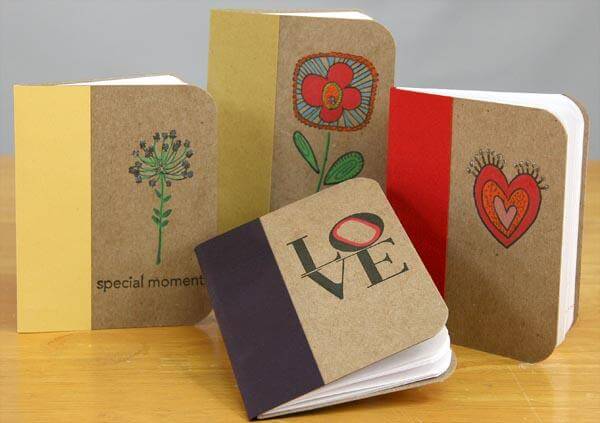

I stumbled across an adorable little handmade book idea and thought it would pair well with our Crewel & Unusual collection!

You can make this book in any size using almost any materials. A thin chipboard works well for the outside cover when scored and folded with the grain.
TIP: Beth frequently packs a sheet of chipboard as a stabilizer to protect paper during shipment. That's what I used for the book covers. Lined notebook paper or recycled text weight paper is just right for the inside pages.

Mini Jot Journal Tutorial
1. Check the grain direction of the chipboard and trim to 4.25x6.5" with the grain short. (Or, so the chipboard bends easily from left to right when positioned horizontally.) Score and fold horizontally at 3.25".

2. Lightly mark a guideline 1.25" from the folded edge of the chipboard with a Grid Ruler and pencil. (NEWS: Our 2x8" Acrylic Grid Ruler is back in stock!)

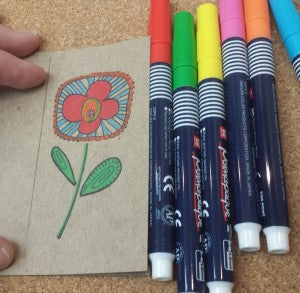
3. Decorate the outside cover with Crewel & Unusual images stamped in India Black ink. Do not stamp within the 1.25" marked area.

4. Color the stamped images with your favorite art medium. Sakura's Permapaque Paint Markers looked terrific on the chipboard. Erase the pencil guideline.

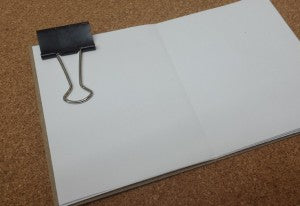
5. Trim five text weight papers to 4.25x6.25" and fold in half to make inside pages.

6. Nest the pages to make one signature.

7. Center the fold of the signature with the fold of the outside cover and secure the pages and cover with a binder clip.
8. Identify the center of the cover with the grid ruler. Pierce stitching holes into the crease .25, .75, 1.25 and 1.75" left and right from center.

9. Thread a needle with waxed linen and tie a knot at the end of the thread. (The length of the thread should be at least twice the height of the book.) Enter the first stitching hole at the bottom of the book from the outside to the inside.

10. Stitch in and out of the pre-pierced holes until reaching the top.
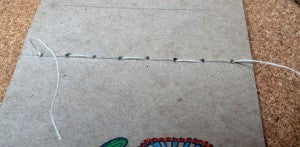
11. Stitch back down to the bottom of the book. After exiting the second to last hole on the outside of the book, tie the thread tails together.

12. Cut a piece of 2.5x4.25" Green Plain (grain long) and score at 1.25". Wrap the paper around the outside spine of the cover and adhere with strong adhesive or CS Bookbinding Glue.

13. Round the outside corners of the cover and pages with the 1/2" setting on a Corner Chomper.

14. Make another one (or two, or three) for a friend. Pop this one in your purse for quick notes and list-making.


Happy jotting!
Tricia