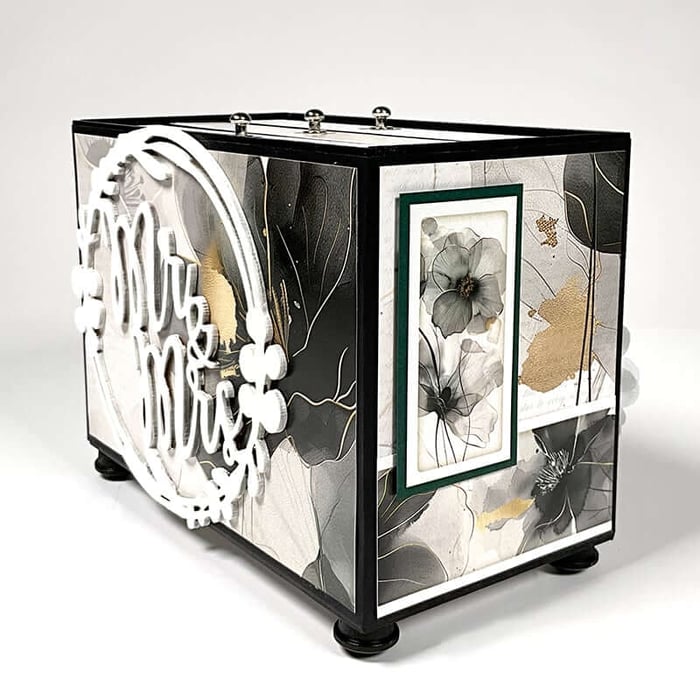
"First comes love, then comes marriage, then comes the baby in the baby carriage!" Earlier this week I shared the Tie the Knot Photo Drop Box I created for my youngest son's wedding photos. I still needed to create something to store and display photos of my newest grandson, Daniel. (He belongs to my oldest.) While I was on a roll, I decided to make another box, this time featuring the Little One page kit.
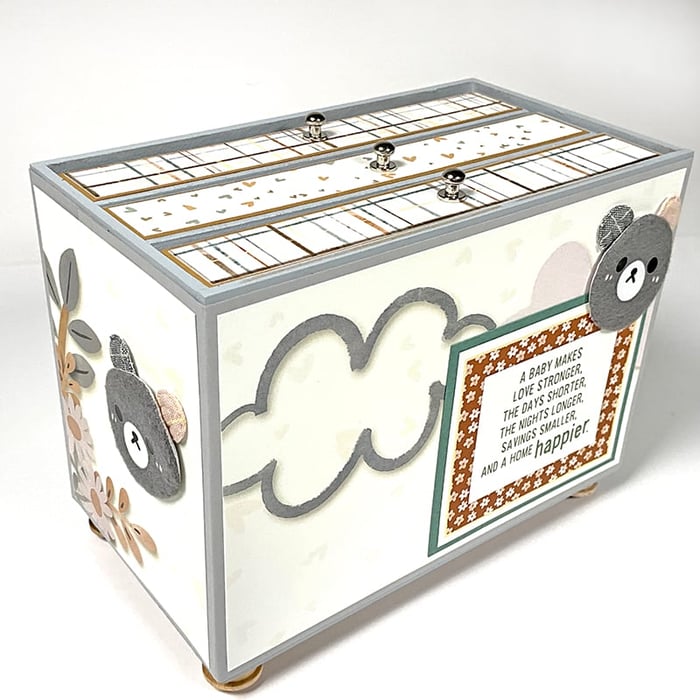
Little One Photo Drop Box
To get started, gather the supplies listed below. (You can always substitute the Little One Page Kit for another collection to accommodate photos from your special event or occasion.)
Supplies List
To recreate this project, gather the following supplies and tools:
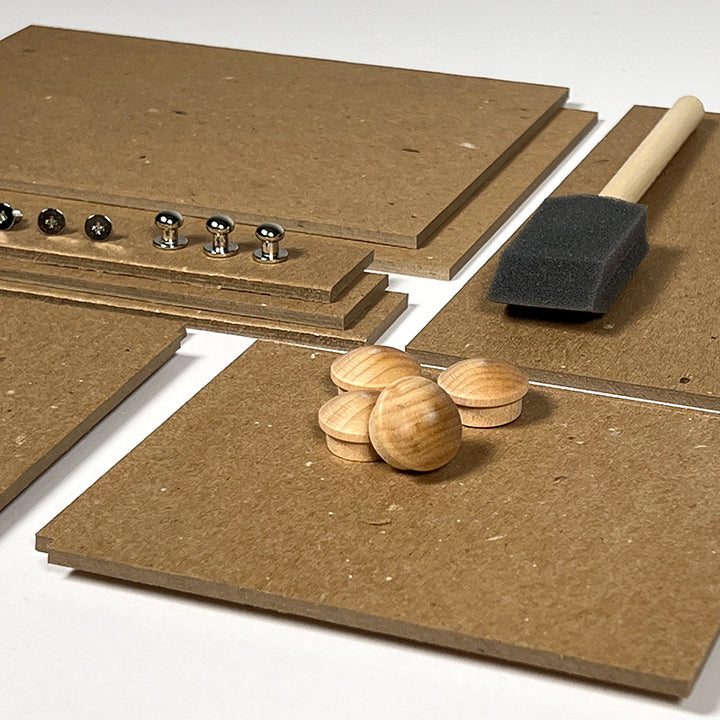
Photo Drop Box Components
Little One Page Kit (or Page Kit of your choice)
CS® Bookbinding Glue
Needle-tipped Applicator
12” Paper Trimmer
3x14" Grid Ruler
Scor Pal 1/8s
Accordion Pocket File
Bone Folder
Crop-a-Dile* (or other 1/8" Hole Punch)
Acrylic Paint*
Foam Brush(es)
Phillips Head Screwdriver
Pencil
Scissors
Paper Assignments
Once you've downloaded the document, utilize the paper substitutions below for each step of the instructions. (Or you can always do your own thing!)
- Gray
- Lt. Brown
- (2) Manila
- (2) Ivory, (2) Lt. Brown
- Elephant Print
Trim the remaining papers into mats following Step 6 of the instructions.
Embellish
Once you've completed assembly of the box and inserts, it's time for the fun part—decorating! Trim cutaparts as needed to decorate the outside of the box and the inner pages of each insert.
Box Decor
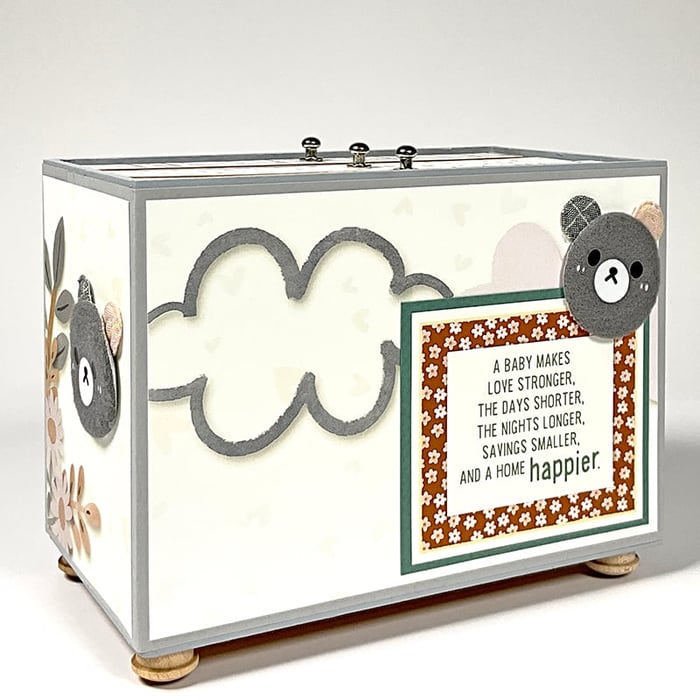
After constructing the box, camouflage the edges of the book board with coordinating acrylic paint. Once dry, wrap the perimeter of the box with Paper A for a seamless look. I chose the super-adorable Elephant Print for the four outside panels of the box.
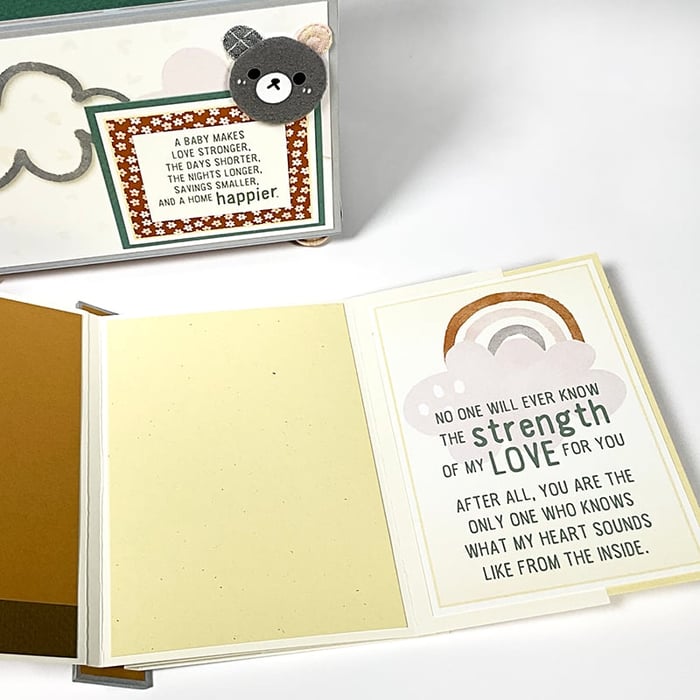
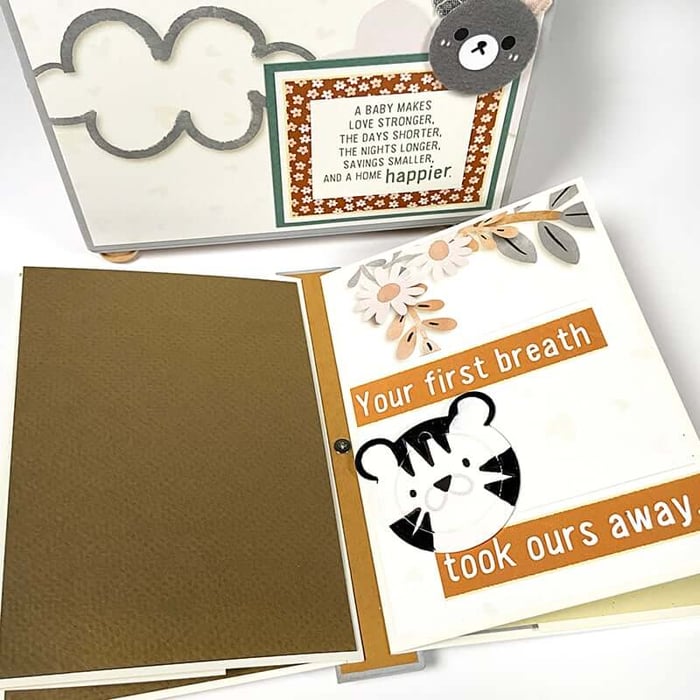
Add a mat to a cutapart sentiment and adhere to the "cloud" long wall panel; accent with one of the cute and fuzzy Bear Patches. (A second Bear Patch decorates one of the short walls.)
I couldn't resist adding a little "sumthin'-sumthin'" to the opposite long wall. A "hello" woodcut (Bright Blooms 05.24) fills the open space to the left of the elephant. Adhere the word "baby" below (created from a Lt. Brown scrap and alphabet dies).

Inside Pages
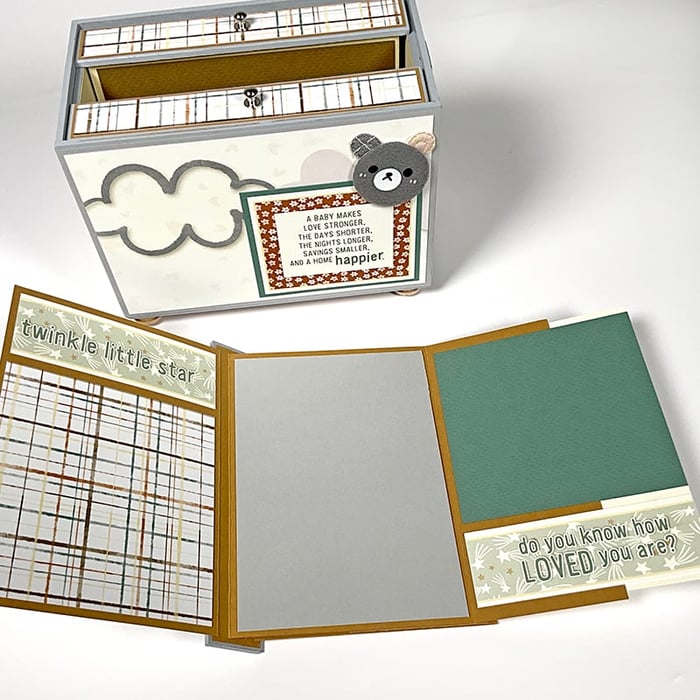
The inside pages are attached to a spine piece that can be removed by lifting the small silver knob. There are three spines; each spine holds a pair of trifold pages with space for up to a dozen 4x6s—for a grand total of 36 photos. To really maximize the number of photos, simply add mats to each page and keep embellishments to a minimum. I tried to achieve a nice balance of photo mats to embellishments.
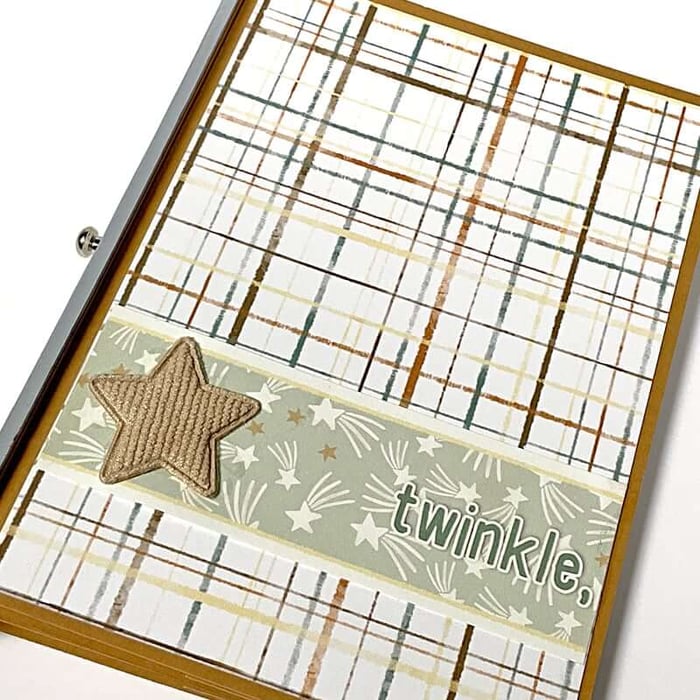
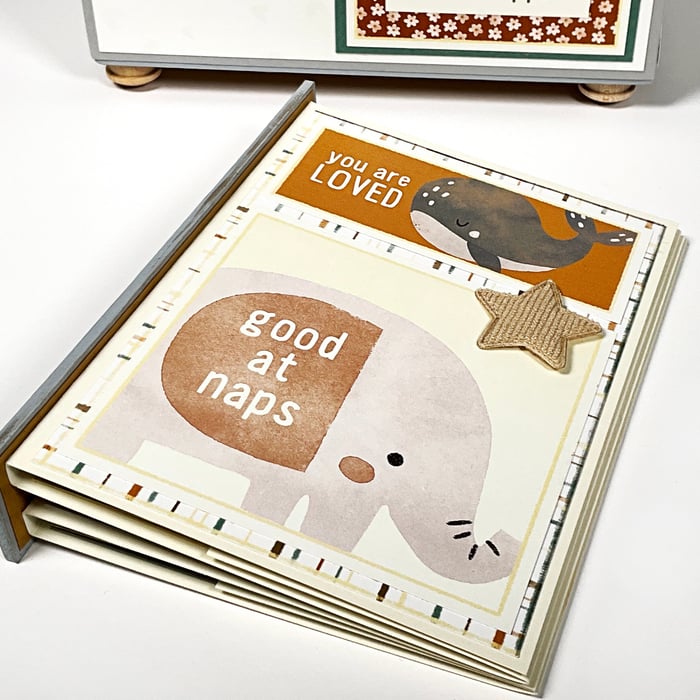
I treated the first panel of each insert as a book "cover"—decorating each with modified cutaparts and embellies, like the Corduroy Star below.
The rest of the "twinkle" sentiment is divided and added to the inside pages. Tip: If/when you run out of 4.25x6.25 mats, utilize the 4.25x5.75" scraps left over from the trimming process.
I love this adorable critter cutapart! I fussy-cut around the koala bear portion of the image...
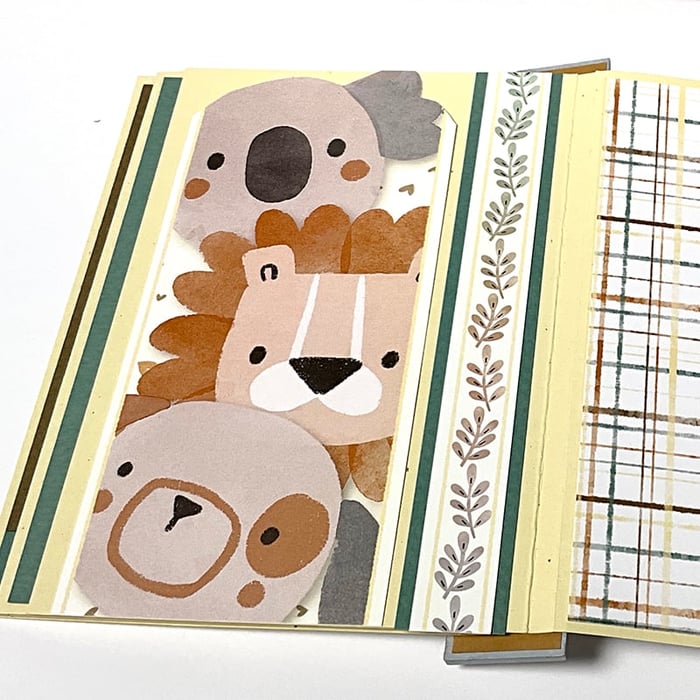
...so I could preserve the bunny for use on a different page.

Here's a peek at additional insert covers and inside pages:
Add a 4.25x6.25 mat to each of the short flaps to maximize space for photos. Decorate the reverse side with border strips, sentiments and cutapart artwork.
This collection is simply adorable! The soft color palette and cuddly critters are as gender neutral as it gets. I can't wait to add photos of Daniel to this project.
*As an Amazon Associate, Club Scrap earns from qualifying purchases. This means we may earn a commission if you make a purchase through links on our site. Thank you for supporting us!

While constructing this type of project can be a bit challenging for some, Tricia's expert guidance makes it easier than ever to transform your favorite CS® Page Kit into a really impressive keepsake.
Have you made a Photo Drop Box yet?
We invite you to share your finished artwork on our Facebook Chat Group. Not a member of the group yet? Simply answer a few questions and we'll get your request processed in no time!

Click the links below to purchase the supplies needed to create your own Interactive Album.
Photo Drop Box Components
$22.17
Learn how to make a clever and interactive photo storage solution when you pair the components with any CS page kit. The box measures approximately 7.25x5.25x4" and is home to three removable inserts for photos. (A few additional materials and… Read More