Let's take a relaxing stroll through the beautiful Sea Breeze pages!

Don't forget to take advantage of the helpful video tutorial included with the purchase of the Sea Breeze Page Kit for even more tips and techniques.
Sea Breeze Pages
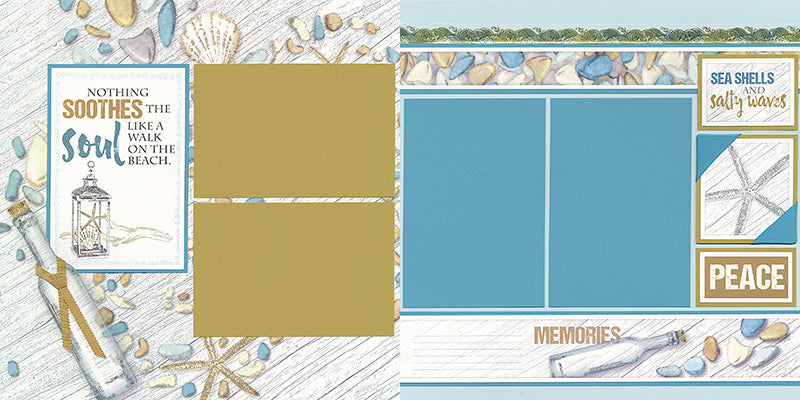
LAYOUTS 1 & 2
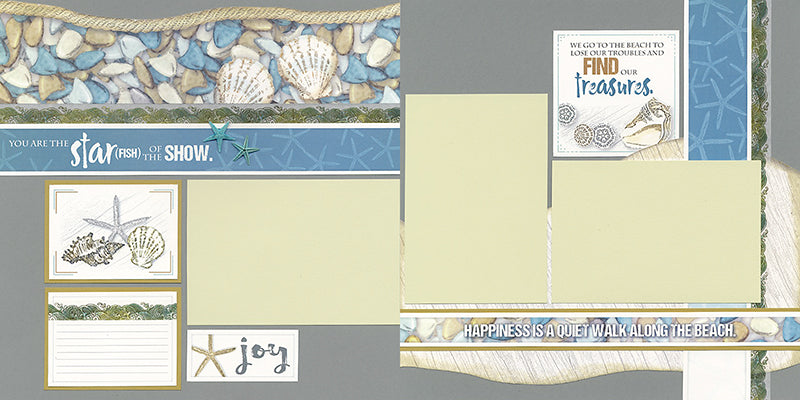
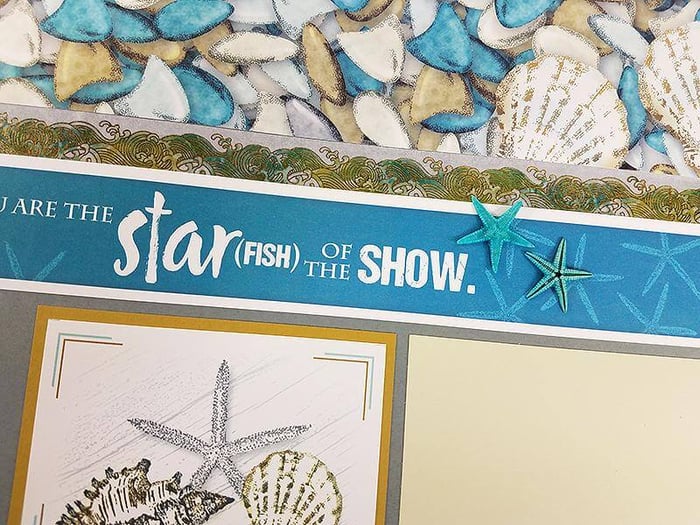
Add a 12" piece of the Wave washi tape between the edges of the print and the title strip on the left side of the layout, and the right edge of the border on the other page.
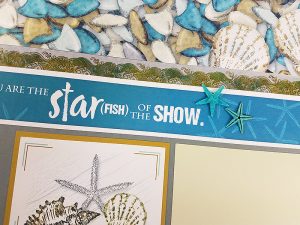
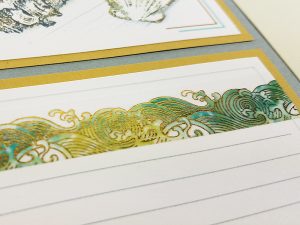
Wrap the washi tape around the journaling prompt, as well.
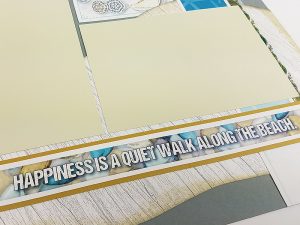
Rub the curved edges of the sea glass print with CS® Sandstone ink after cutting with a craft knife.
LAYOUTS 3 & 4
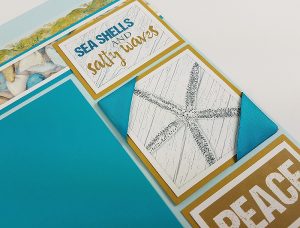
Cut a small piece of the wide satin ribbon included in your kit, and wrap around the upper left and lower right corners of the starfish cutapart. Tape the ends to the back.
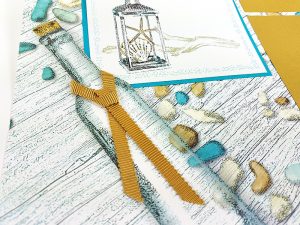
Cut a slot on each side of the glass bottle on the swirl print to accommodate the width of the unique grosgrain ribbon. Slide the ribbon through the slots and tie in a four-in-hand knot. (Search this knot on Google for helpful image tutorials, or just wing it.)
LAYOUTS 5 & 6
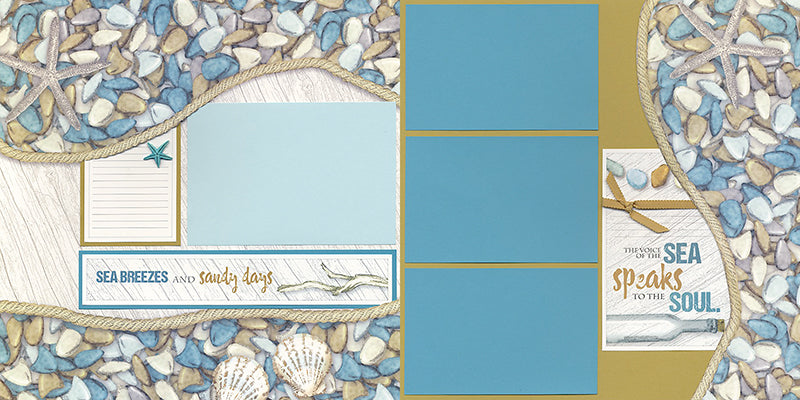
Add ribbon to the top of the cutapart, keeping the knot on the left side. Tuck the cutapart beneath the curved edge of the print.
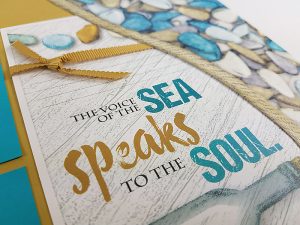
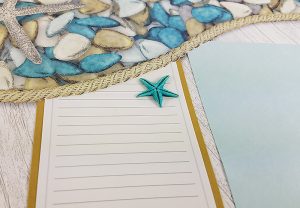
Slide the nested journaling prompt beneath the curved edge of the print on top of the left page and finish with a sweet starfish embellishment adhered with bookbinding glue.
LAYOUTS 7 & 8

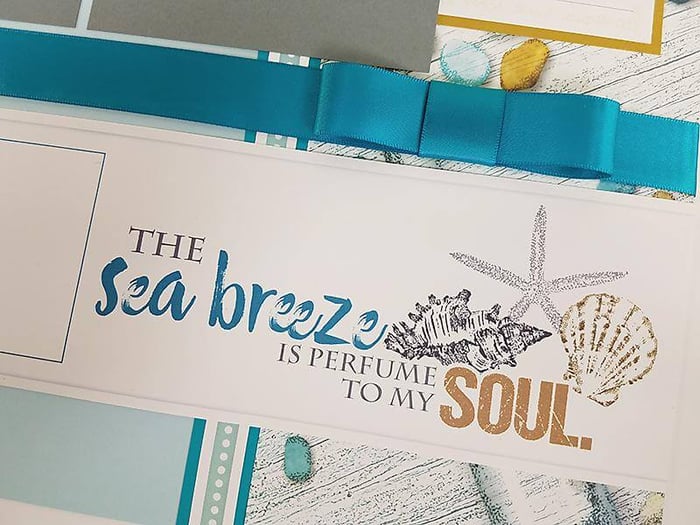
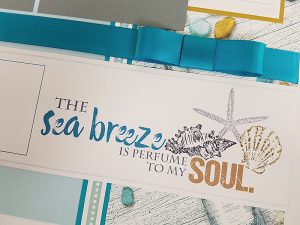
The satin ribbon makes a beautiful three-part bow above the title strip on the right side of the layout.
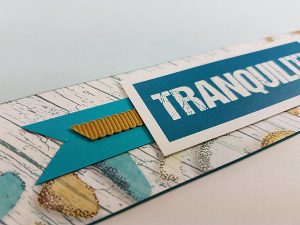
Trim a "v" into each end of the small Turquoise strip, tape ribbon onto the piece, and center a cutapart with foam adhesive.
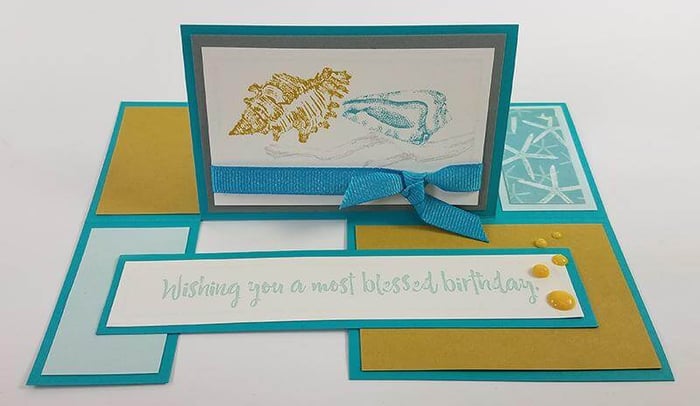
Stop by on Thursday to learn more details about the Sea Breeze Card Kit. You're going to love it!
Have a safe and fun-filled 4th of July!
Tricia

