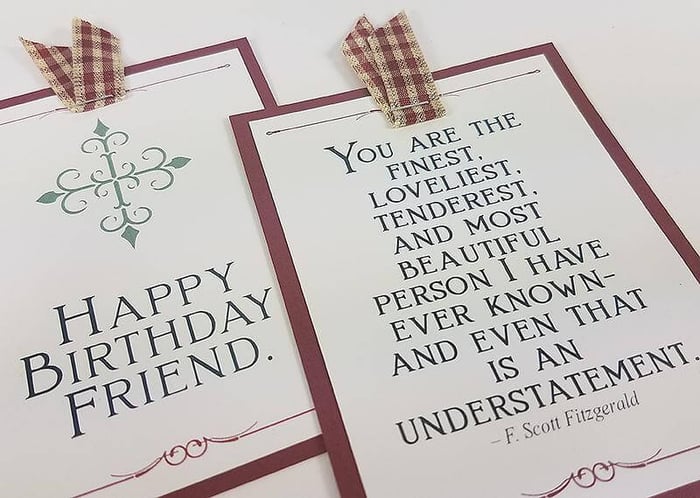
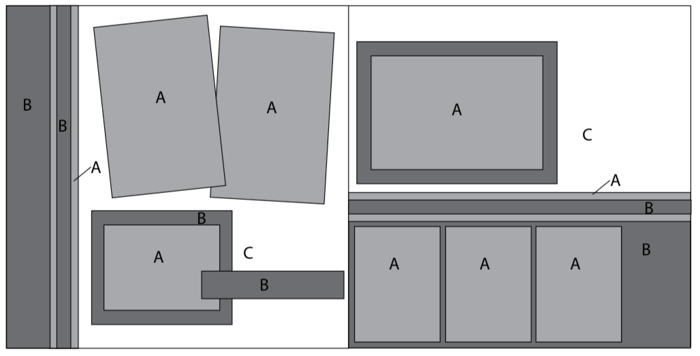
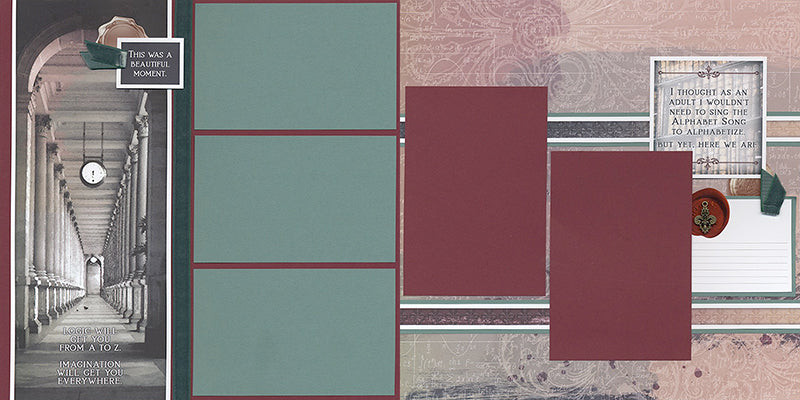
Creating the Ivy League pages was a fun process this month. It was such a pleasant surprise to have everything fall into place with such ease. You'll experience this firsthand when you join me for the video tutorial! (Look for the link to the video in your email arriving at the beginning of the month.)
Ivy League Pages
LAYOUTS 1 & 2
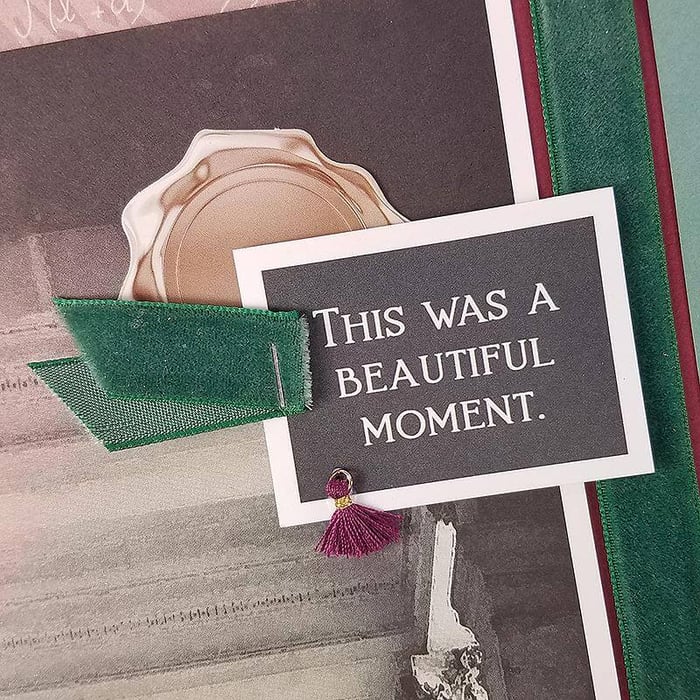
So, funny story. I completed, scanned, stitched, and inserted the layout images into the instruction document before realizing I'd forgotten to add the mini tassels to the layouts. (Gasp!) Behold, the mini tassels. Quarter added for size comprehension.
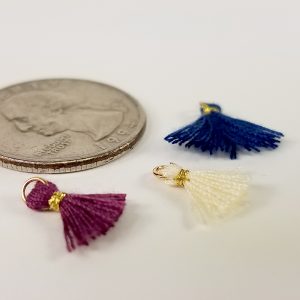
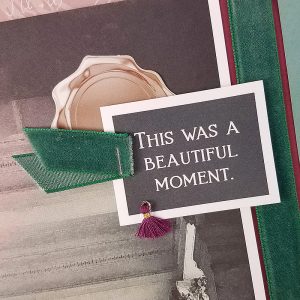
I'm sure you can find many fun locations for this trio of teeny-tiny fun. Like here, for example.
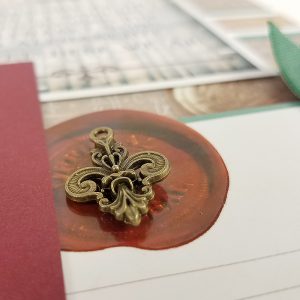
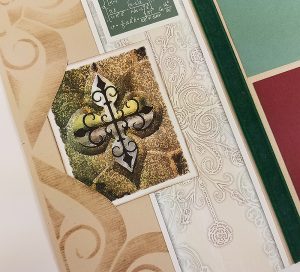
The gorgeous fleur-de-lis charms have quite a bit of dimension on both sides. Apply a generous amount of bookbinding glue to the charm and set it aside to dry completely. A mini brad or thread can also be used to secure the charm.
LAYOUTS 3 & 4
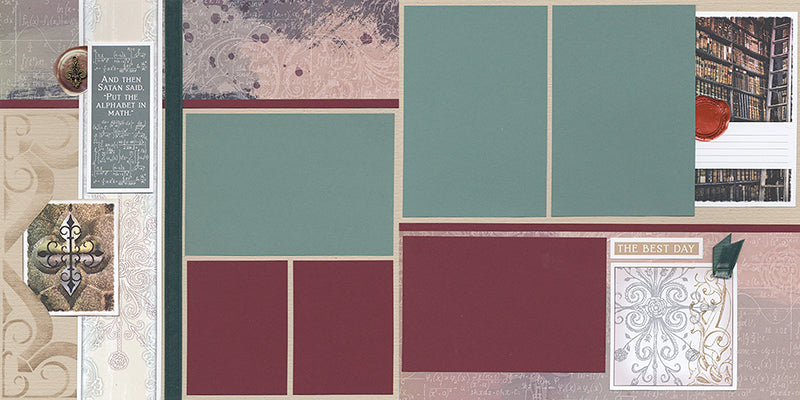
Create a decorative element on the left side of layout three with the stencil and Earth or Ash ink. (I was using an Ash inkpad with an applicator previously used for Earth ink.) Cut slots with a craft knife and slide the cutapart behind the stenciled images.
LAYOUTS 5 & 6
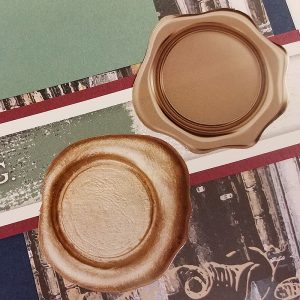
Oh, my goodness. Those wax seal stickers! They're so sweet, and you get a ton of them in the little box.
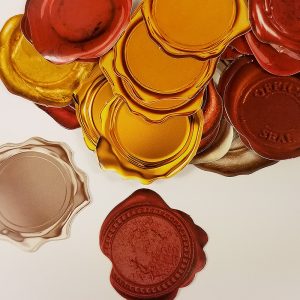
Add them to your layouts, cards, and envelope flaps with absolutely no candles, matches or messes involved.
LAYOUTS 7 & 8
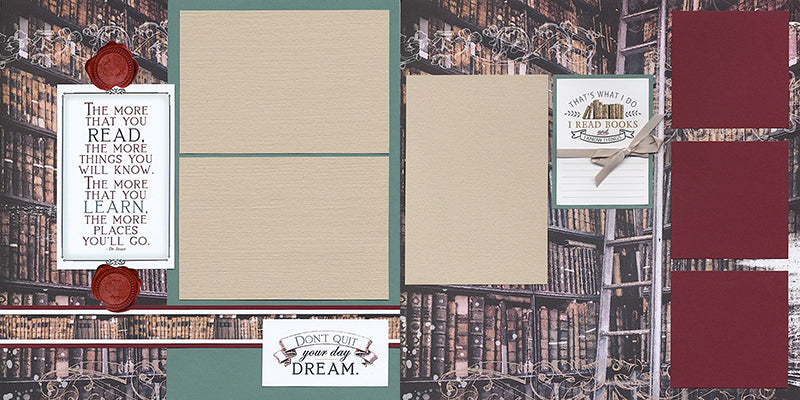
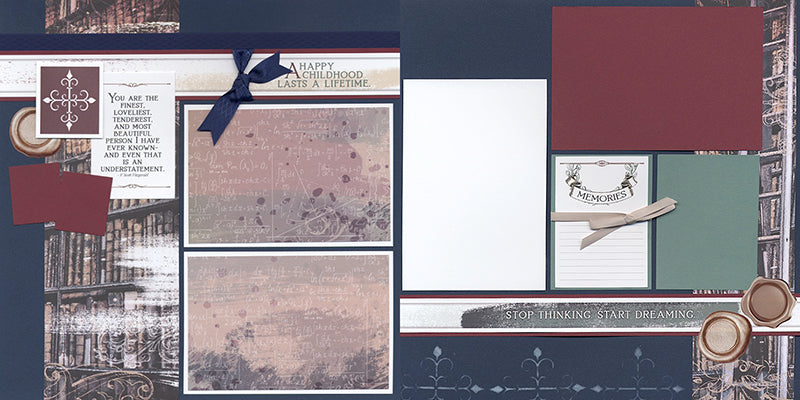
Tie a sweet bow with the taupe satin ribbon and cut the ends at an angle.

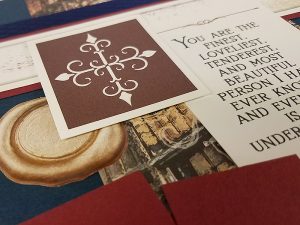
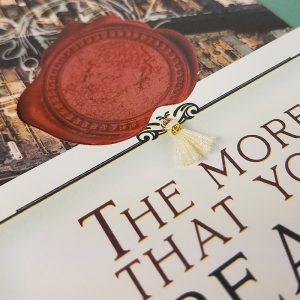
Add a wax seal sticker above and below the sentiment, and glue a tiny tassel beneath the seal.
I hope you're feeling smarter already. Stay tuned for details on the double angle pocket card and the box card in tomorrow's post.
Tricia


