I was so excited when Karen asked me to be the In Bloom guest artist. I adore springtime flowers! Each month we invite a guest artist to take the monthly card kit and create cards that are a little more “involved” than those made using Tricia’s instructions.

I was able to make twelve cards and a lovely stitched album with the Card kit, Stamps, and a few items from my stash.
In Bloom Guest Artist Cards

Set A: Pink Pop-Up Cards

Add interest to the yellow panels with a trio of floral images stamped in Neon Yellow and Peridot Inks.

Create coordinating envelopes with the same stamped images.


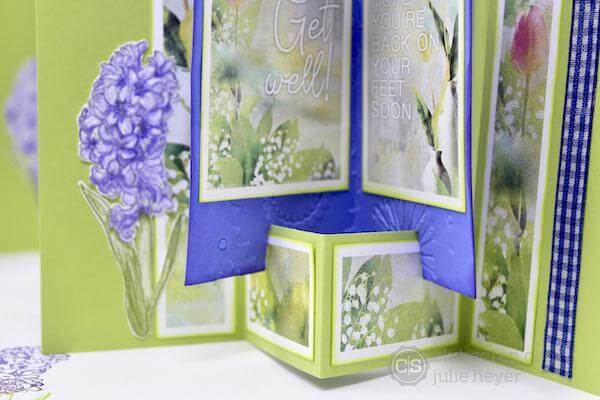
Set B: Green Concertina Cards

Emboss the intersecting Purple panels with a floral folder.

Distress the edges with Amethyst Ink.

Trim two leaves from the Leaf ribbon with scissors.

Adhere the leaves to the back of the cutaparts and then layer onto the embossed Purple panels. Note: Substitute the longer length of Leaf ribbon with the Purple Checked ribbon on all four cards.

Stamp four Hyacinth images onto a white scrap paper panel with Ash Ink.

Add color with purple and green pencils.

Fussy cut the flowers and adhere to the Green card bases with Bookbinding Glue dispensed from a Needle-tipped Applicator.

Create coordinating envelopes with the Hyacinth stamp. Ink the stem with Peridot and the blooms with Amethyst ink. Add to the corner of each envelope.


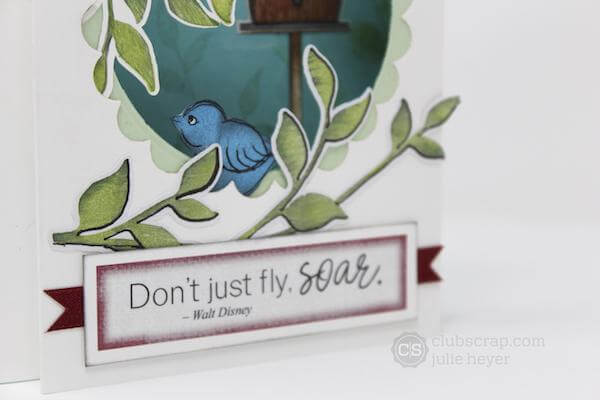
Set C: White Gate Fold Cards

Turn the cards and envelopes from this set into a lovely stitched bound album.


Be sure to join me later in the week for a complete bookmaking tutorial.
Bonus Set B: Green Gift Cards

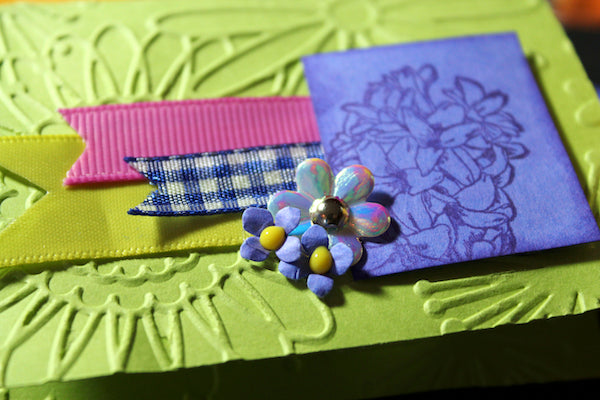
Emboss the Green panels removed from the card bases in Set B. Note: The bonus cutaparts fit perfectly inside these tiny gift cards.

Trim one of the unused Purple belly bands from Set C into four 1.25x1.5" panels. Stamp each with the Hyacinth image with Amethyst ink.

Trim ribbons into banners with scissors. Attach them together with tiny staples. Glue the ribbons to the Green card bases with double-sided adhesive.

Adhere the panel over the ribbons with Foam Circles cut in half and applied to only one side of the panel.

Embellish sequins, brads, and punched flowers. Add a dot of yellow Nuvo Drops to the centers of the flowers.
Don't forget to come back later in the week for the Gate Fold Card album tutorial. May your creativity continue to bloom!
Julie
