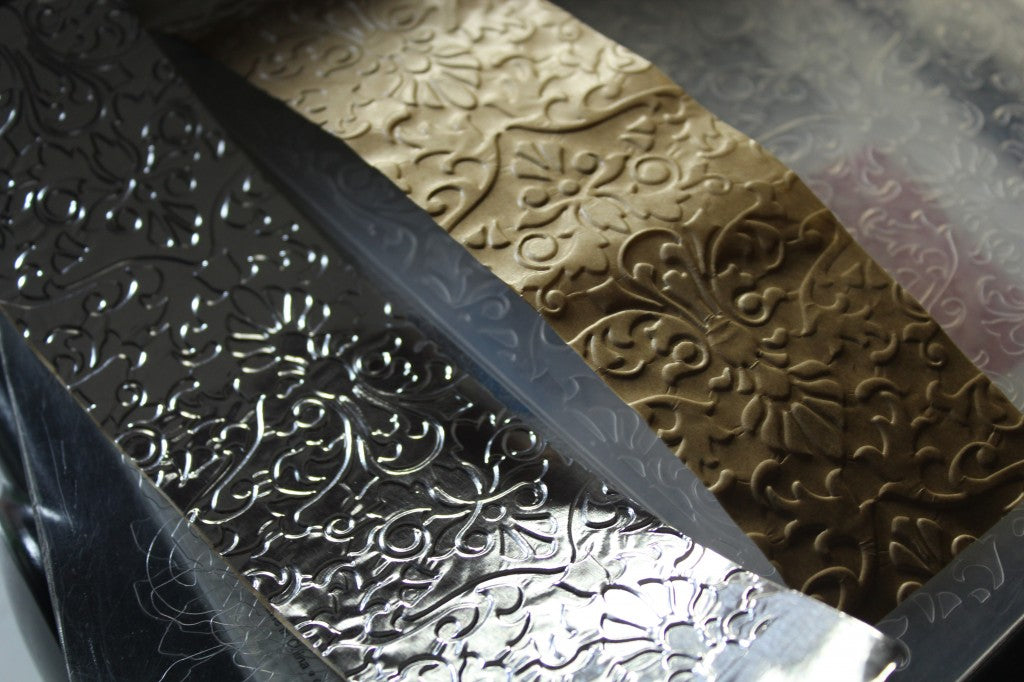
I have always admired tin tiles, whether they are a ceiling in someone's kitchen, or a Club Scrap® Anniversary paper collection.

After taking Karen's Retreat Workshop in August, I was further inspired to work with flashing tape from the hardware store to create my own faux tin tiles. If you have never played with this tape, you are in for a treat. Let's take a look at how this card came together.
1. Begin with a 4x12" piece of red Homestead paper. Score horizontally at six inches. Fold to create a 4x6" card base.

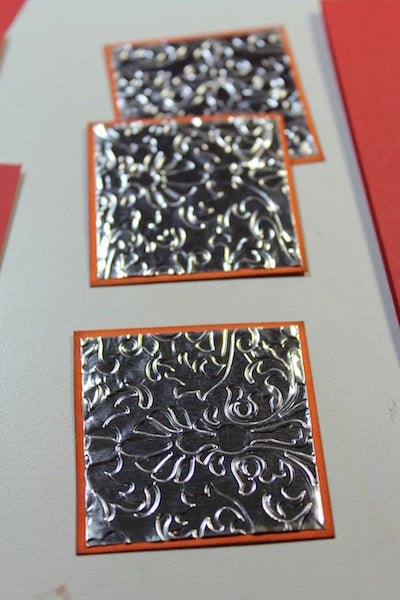
2. Emboss a six inch strip of flashing tape using the damask folder included with the Tin Tiles collection.
3. Cut the strip into three squares and nest onto Homestead Pumpkin panels.
4. Make a hybrid paper using the Homestead digital collection. Create the paper in a scrapbooking application like Photoshop or iScrapbook. Print on 8.5x11" matte photo paper.
5. Cut a 3.75x5.75" panel from the hybrid paper. Color edges with Earth ink.
6. Stamp the tiny wheat (Homestead Borders & Backgrounds) and sentiment (Hydrangeas Borders & Backgrounds) onto the hybrid panel.
7. Attach two matted tiles along the left top and bottom corners of the wheat panel and add the twill fiber for embellishment. Add black foam squares to the back of the final center tile for dimension.

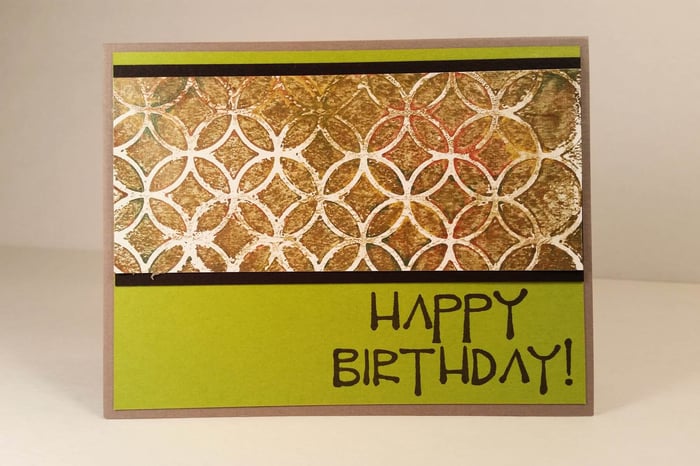
Let's take another look at the completed card.
What other ways can you use this metal flashing tape in your artwork? Share your ideas in the comments section below!


