
Create a gorgeous hexagon prints background inspired by this sketch and made with the Let It Bee collection. I have always been one to follow the instructions for every page and card kit, but there was something about this sketch that spoke to me. I just had to recreate it with the Let It Bee Page and Card kit prints.
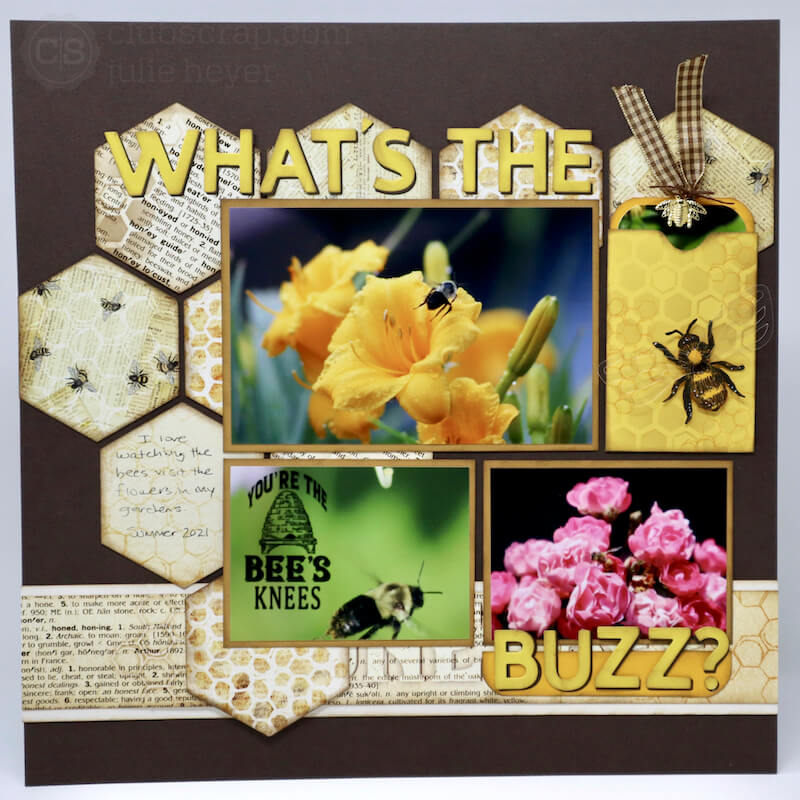
Hexagon Prints Background
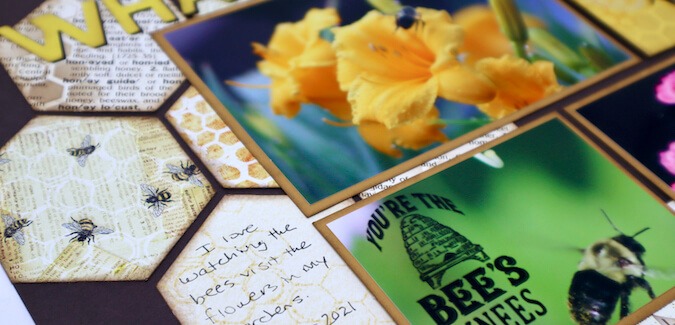
Gather one each of the Let It Bee 12x12 prints. Cut three hexagons from each of the three prints with an electronic cutting system. Remove the hexagons and set these papers aside for use in future scrapbook pages.
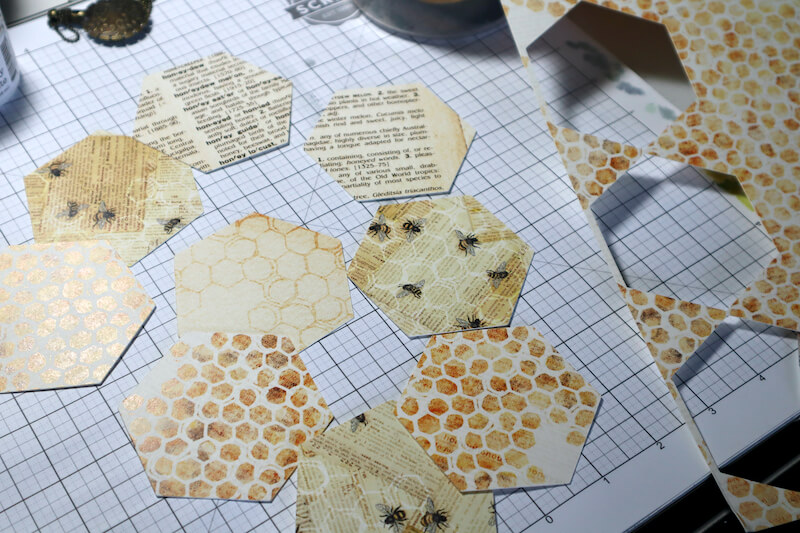
Distress the edges of each hexagon shape with Earth Ink.
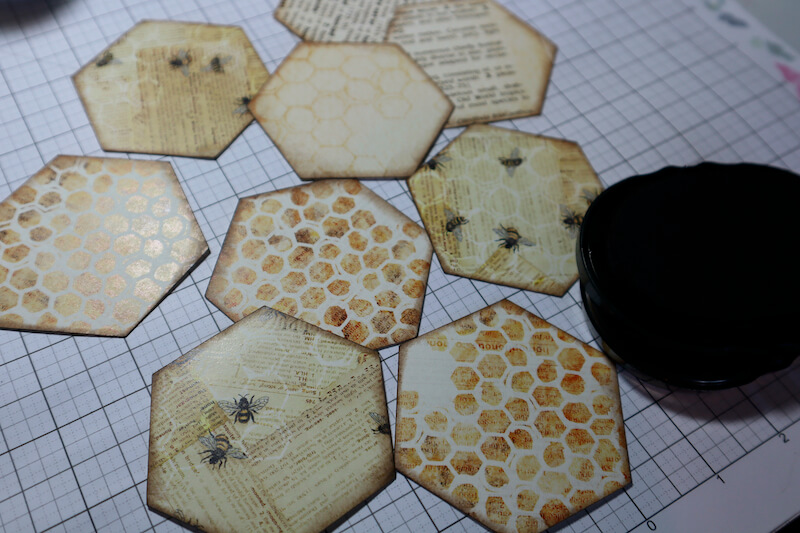
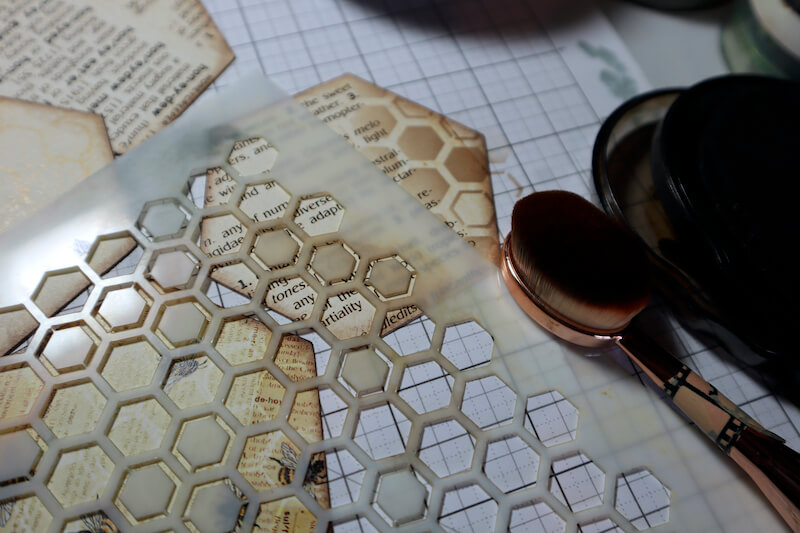
A few of the hexagon prints were begging for a bit more detail. The Honeycomb Stencil and a bit of Earth Ink took these shapes up a notch.
Adhere the hexagons to a 12x12 Let It Bee Brown Plain following the sketch design. Gather two 4x6" Gold photo mats from the Let It Bee Pack of Panels. Trim one in half horizontally to create two 3x4" mats.

Page Embellishments
I had so much fun coming up with some unique ways to embellish my finished page.
Die Cut Title
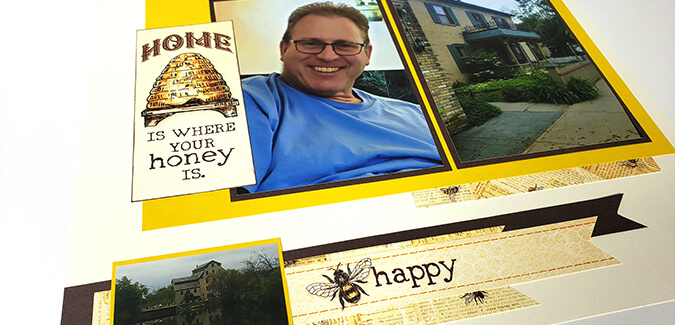
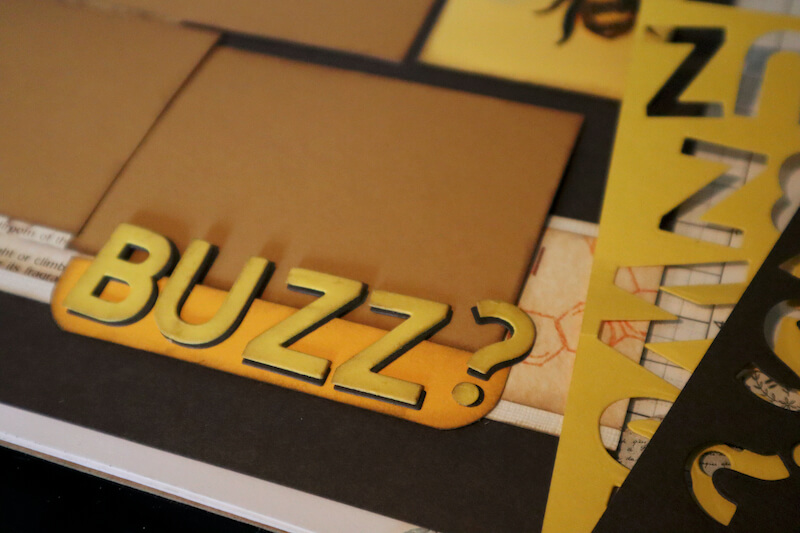
The Pack of Panels come in so handy when it comes time to further embellish a scrapbook page or card. Die cut Yellow letters to create a title. Glue a second set of Brown letters under the first and offset slightly to make a dramatic shadow effect. This really makes the title pop off the page.
Bumble Bee and Photo Tag Pocket
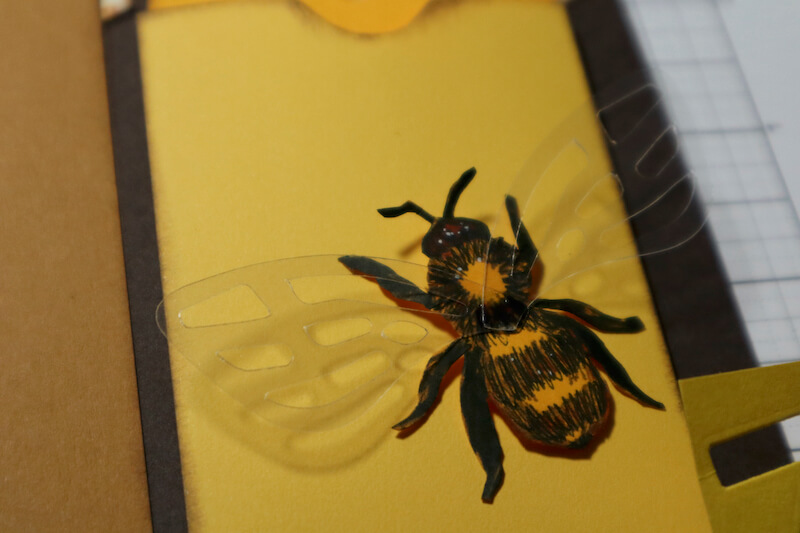
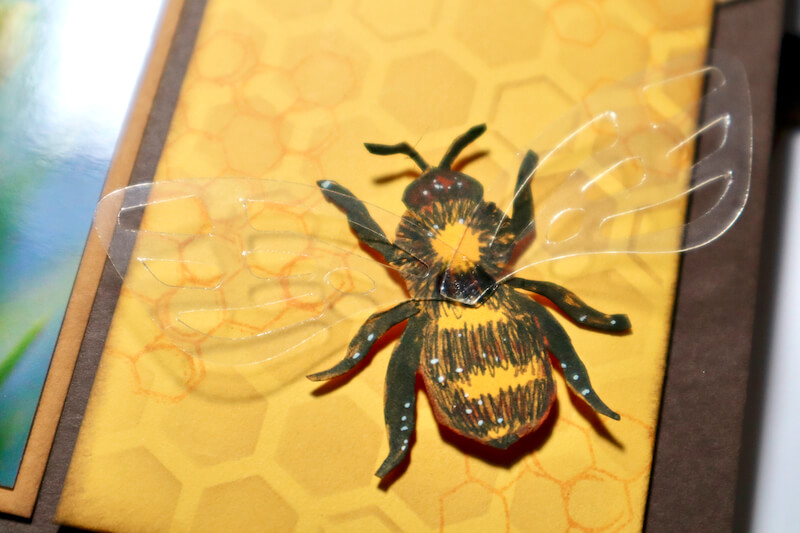
Stamp the large bee image in Earth Ink several times with a stamp positioning tool.
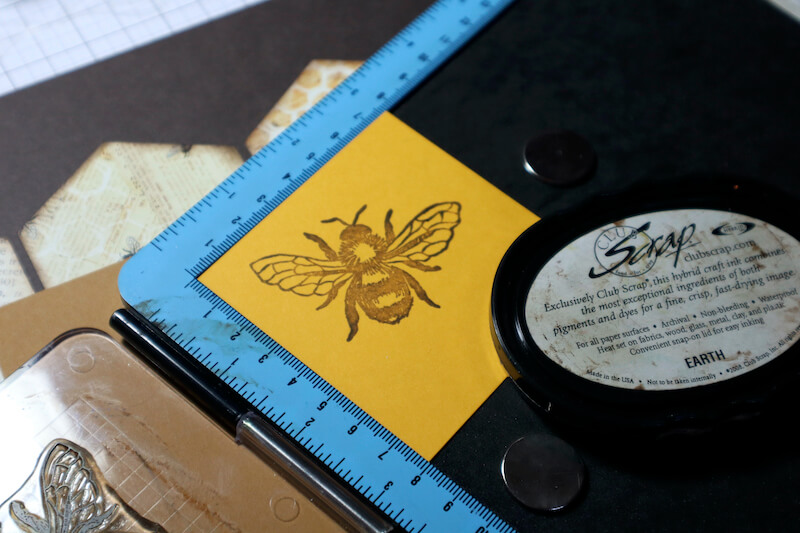
Fussy cut the bee's body from the stamped image.
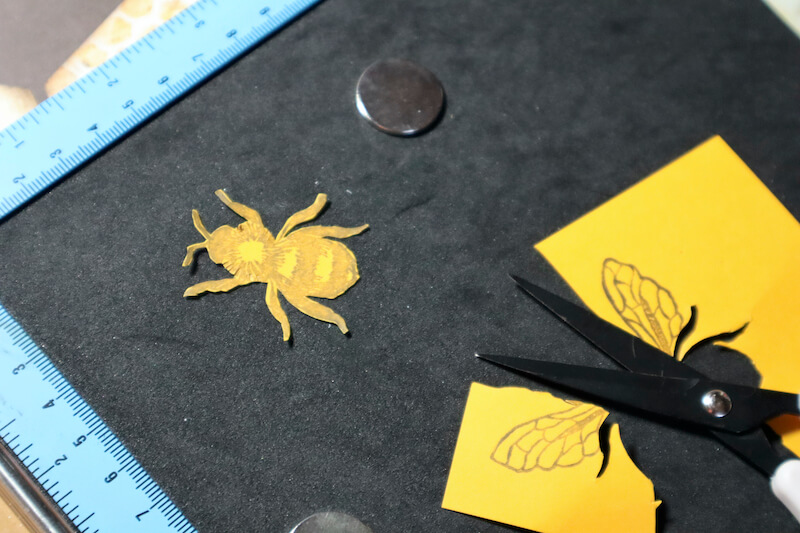
Cut wings from an acetate sheet with a Sizzix Fanciful Flight steel rule die. I only used the two smaller sets of wings from the butterfly. Overlap the wings slightly in the center and adhere together with hot glue. Adhere to the back of the bee with Bookbinding Glue dispensed from a Needle-tipped Applicator. Add details with black journalling and white gel pens.
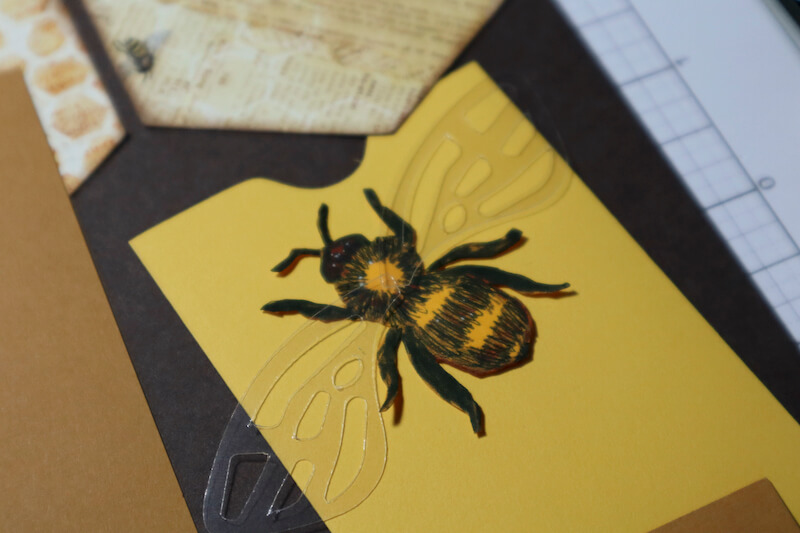
Trim a Dk. Yellow panel to fit inside the pocket. Crop a photo and layer it on the Dk. Yellow panel. I rounded the top corners of the photo and tag. I also featured the rounded corners on a small Dk. Yellow scrap placed under the word BUZZ in the title.
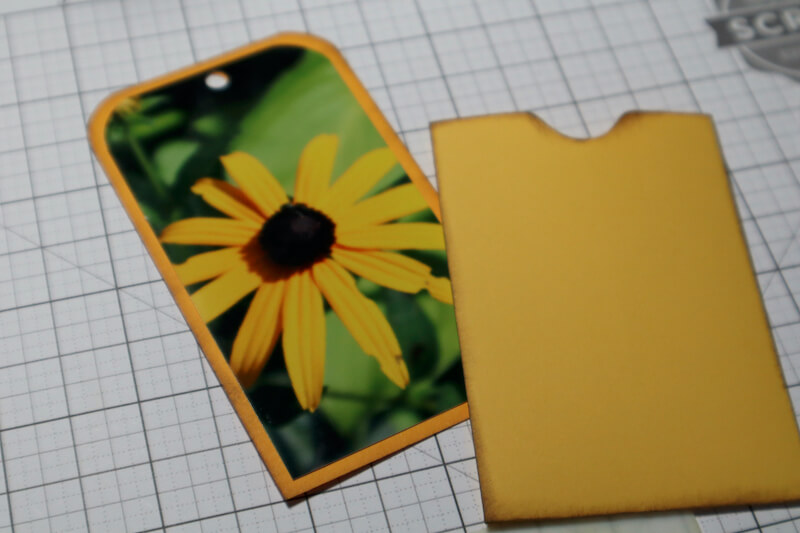
Distress the edges of the a mini card sleeve. Decorate with stamped and stenciled images.

Add a bit of ribbon and bee charm tied on with brown twine secured with a bow to the top of the photo mat tag.
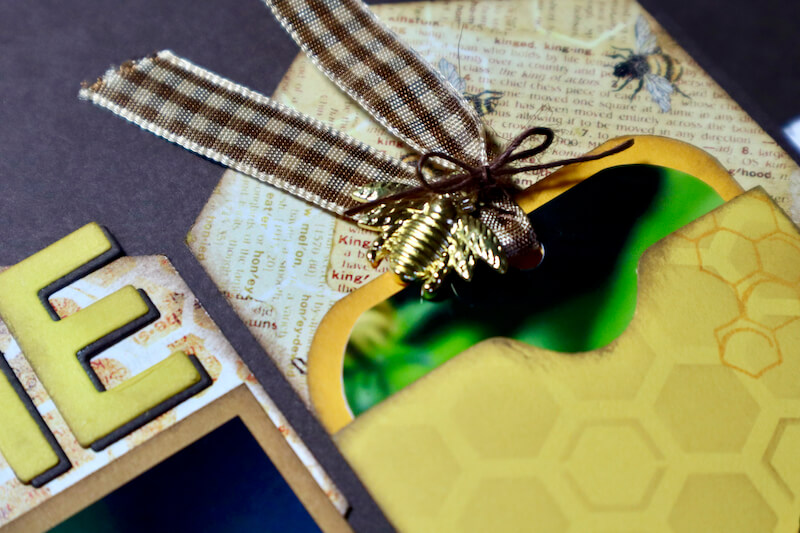
Adhere the large bee to the front of the sleeve popped up with a Foam Adhesive Circle.
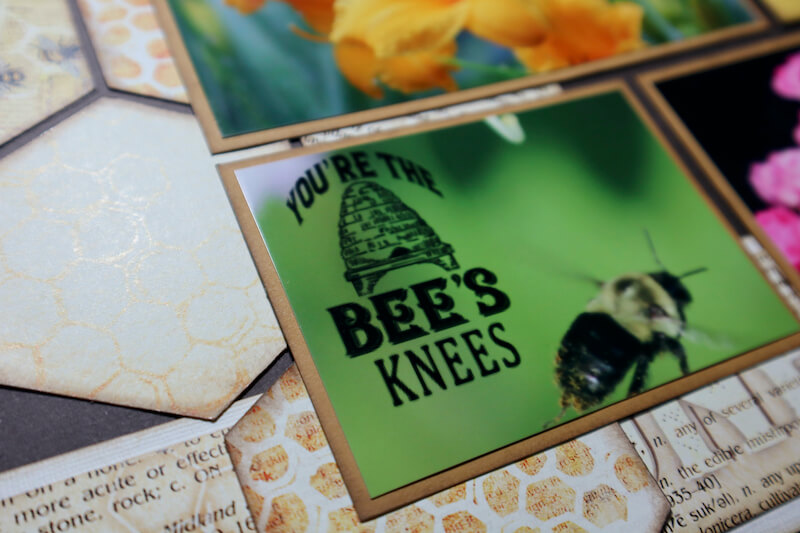
Add the Let It Bee Hybrid Kit sentiment to the photo prior to printing. This technique allowed me to use some of the open space on the photo. Visit this post for details.
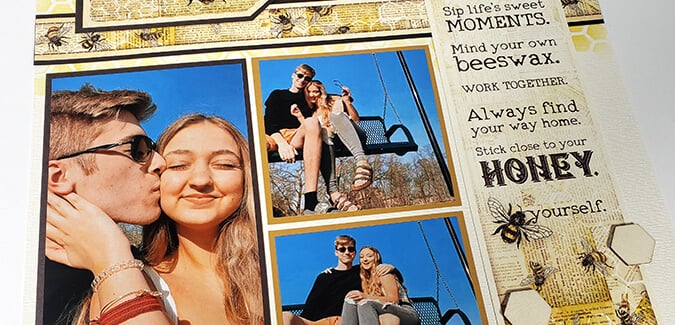
Let's take another look at the finished page.
Well, now you know what all the buzz is about. Hap-Bee Crafting!!
 Julie
Julie
CS Hybrid Ink Pads

$6.35
Exclusively Club Scrap®, this hybrid craft ink combines the most exceptional ingredients of both pigments and dyes for a fine, crisp, fast-drying image! Don't forget to stock up on the coordinating re-inkers. Each ink pad sold separately. Please select the… Read More