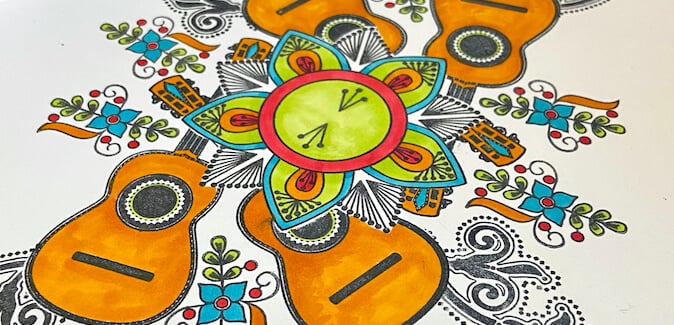

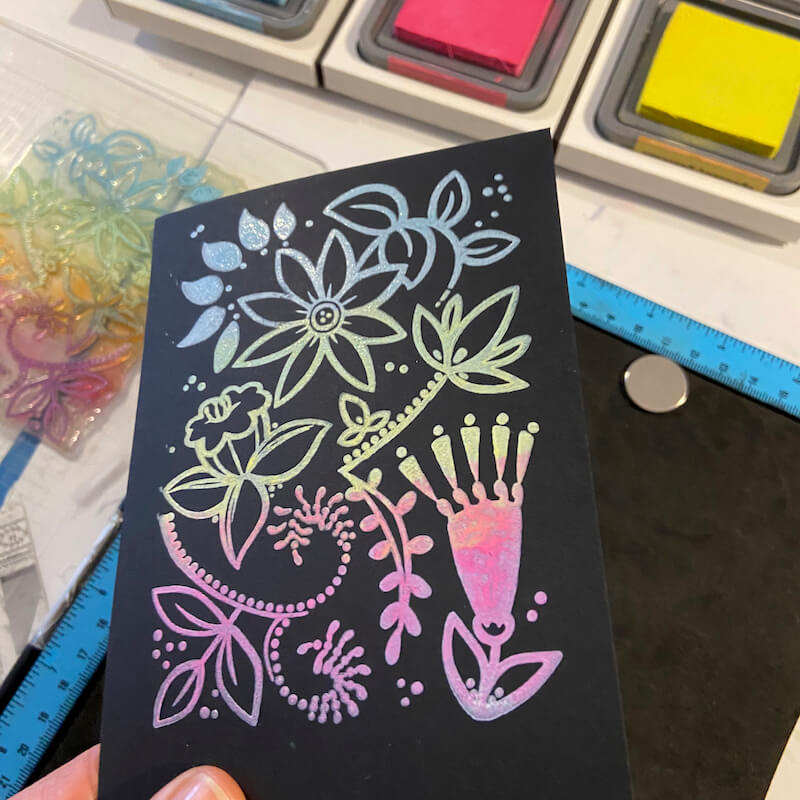
Create uniquely vibrant artwork with the Glow Stamping technique and images from the November Whimsy collection. Experiment with different types of ink and a variety of stamps. I also tried the Distress Oxide version - it really pops on a black panel! Come to think of it, I am sure you could achieve this look with stencils, too.
Glow Stamping Technique
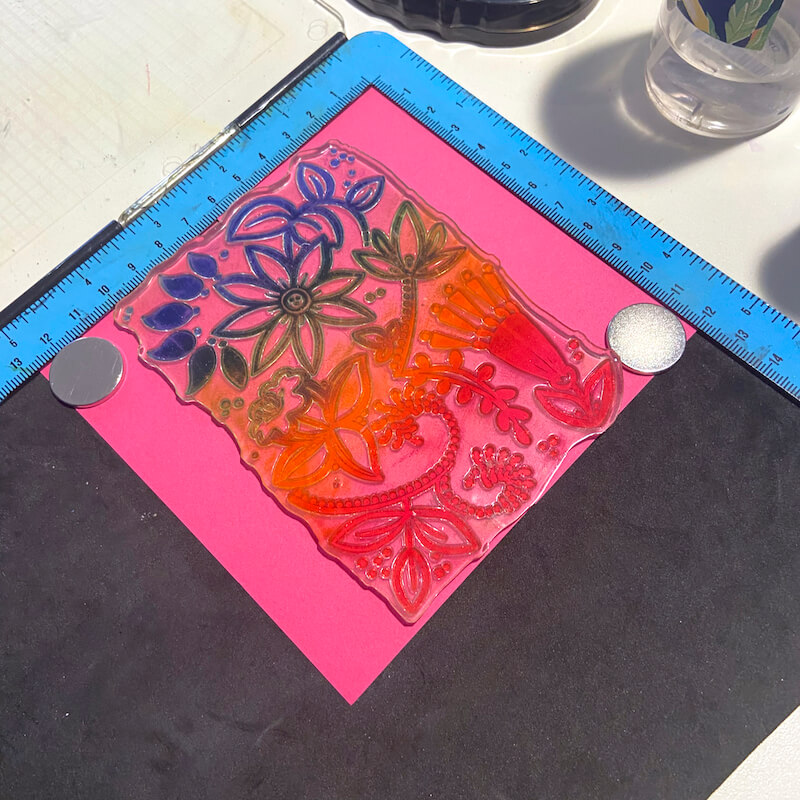
Divide a Pink/Orange Duplex paper in half and place in a stamping platform.

Position the Whimsy collage stamp face down and centered on the two pink panels. (Pay no attention to my ink-stained stamp - it's well-loved!)
Close the cover on the stamp and pick it up with the cover of the stamping platform.
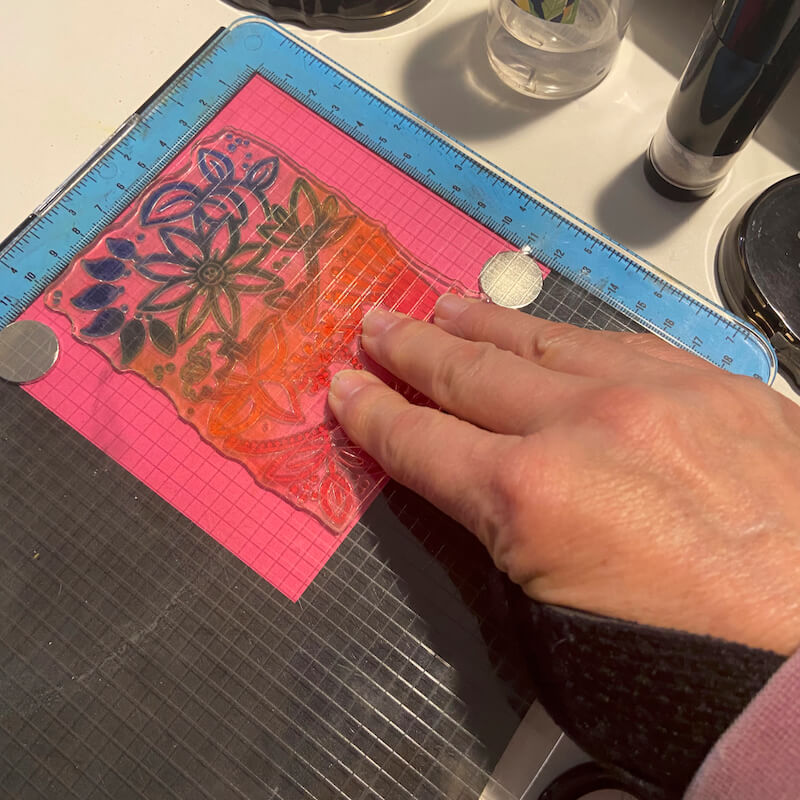
Add White Pigment Ink to the stamp.
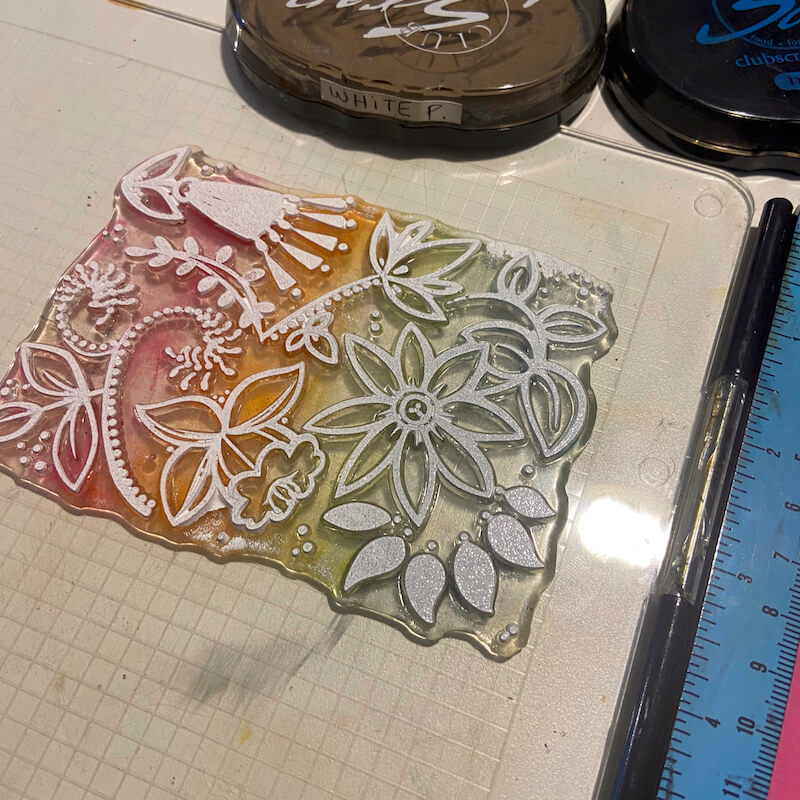
Close the stamping platform lid to transfer the first image onto the pink panels.
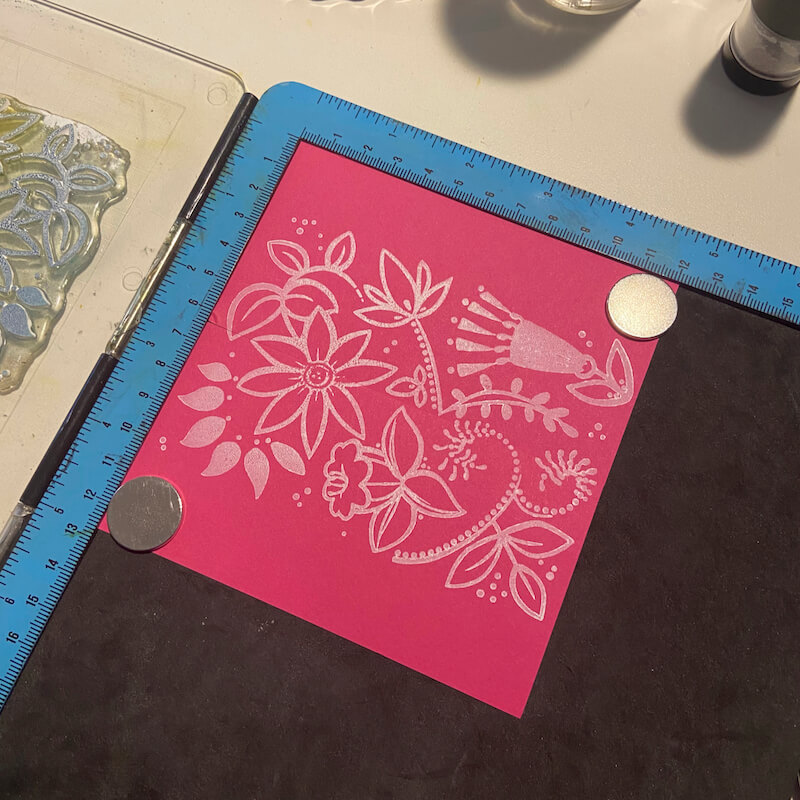
Open the lid and wipe away any remaining White Pigment Ink from the stamp.

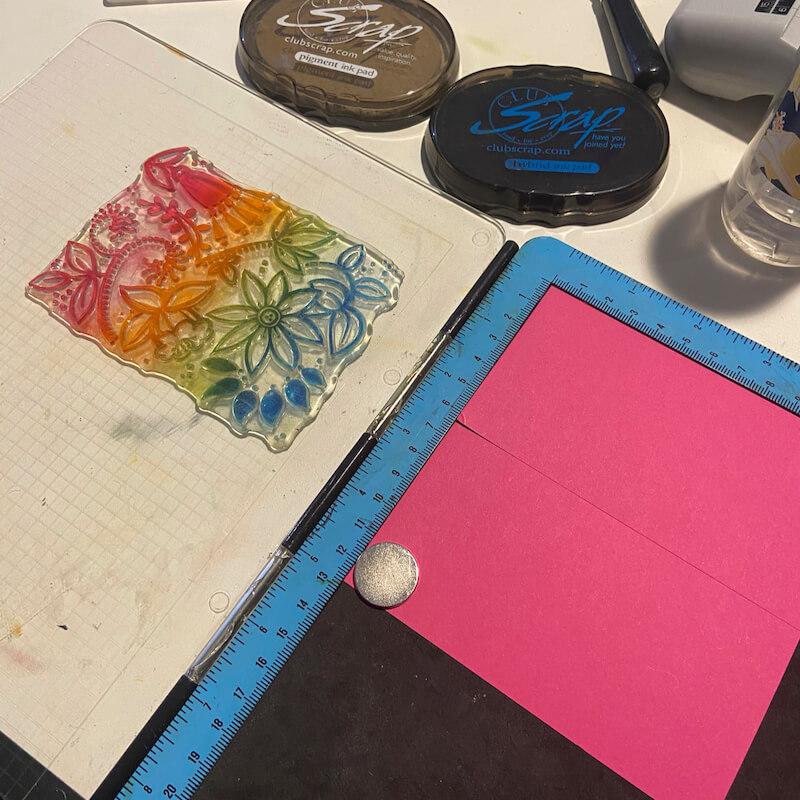
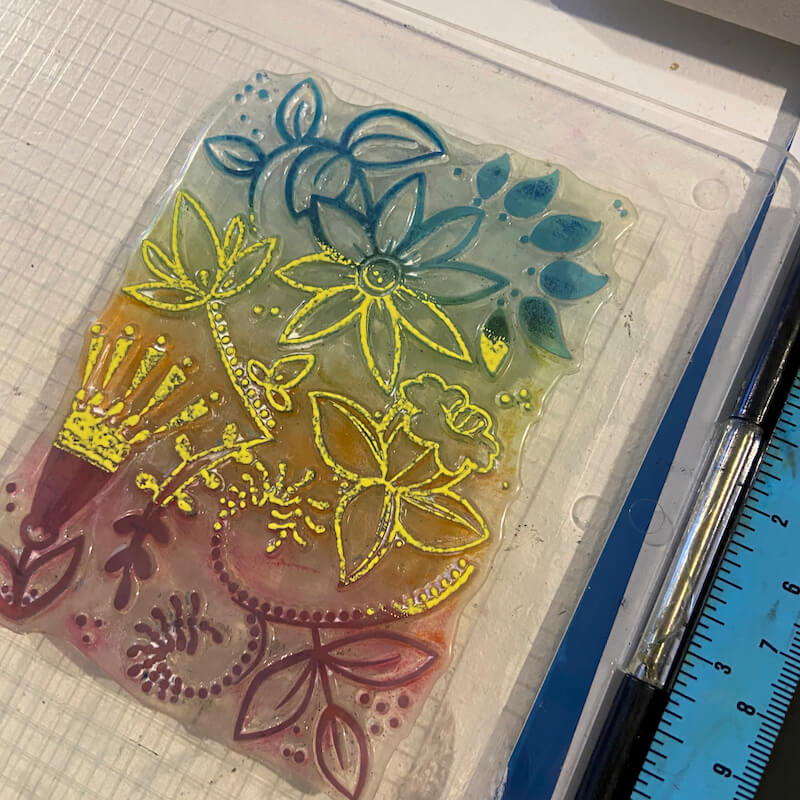
Apply Lagoon Ink liberally to the image.
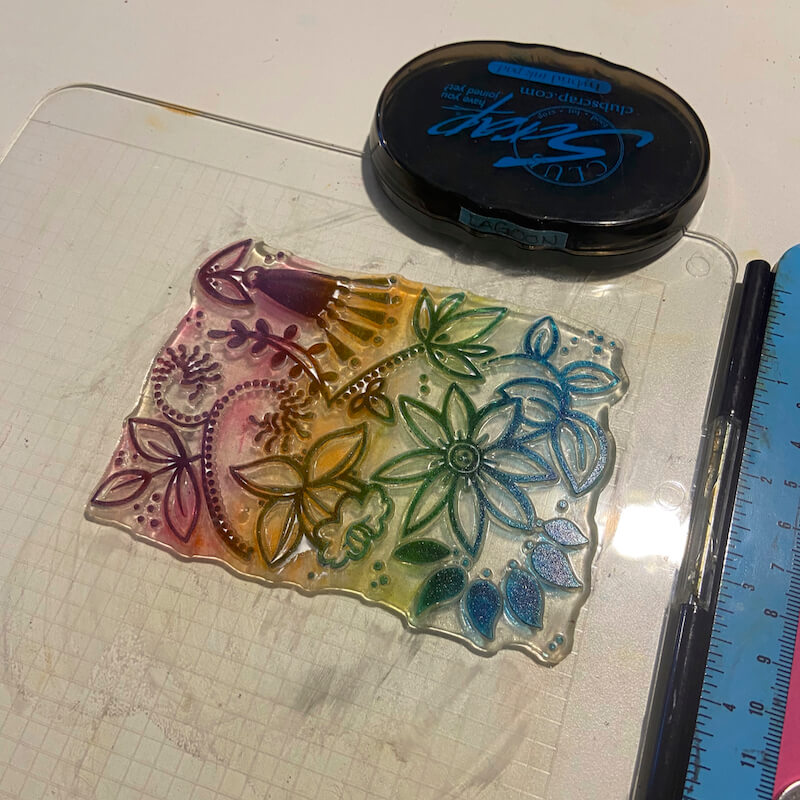
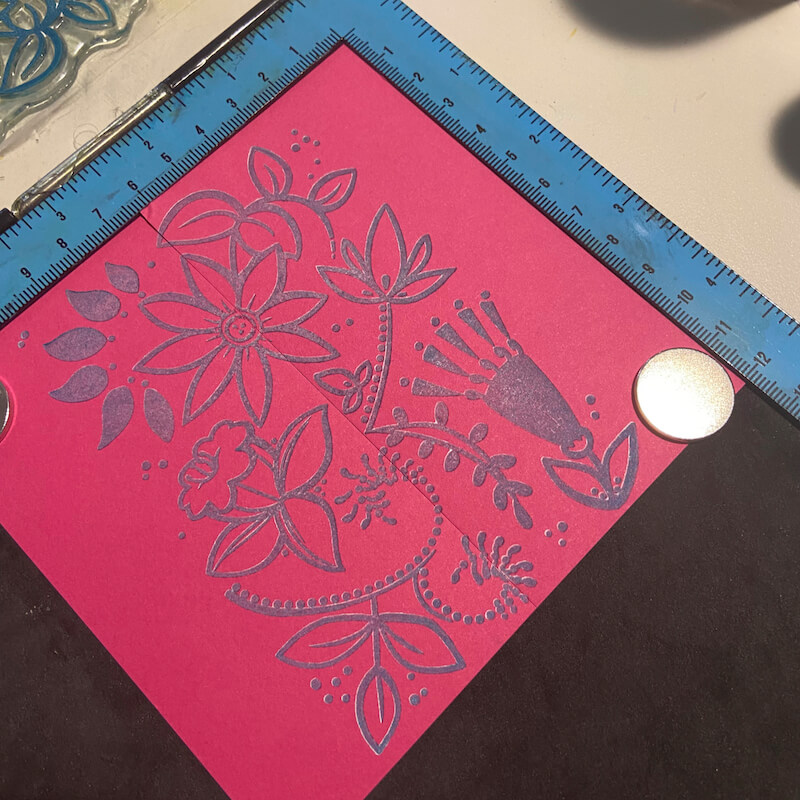
Close the lid and stamp over the white ink. This technique works best if you allow the White Pigment ink to dry completely before adding the second color.
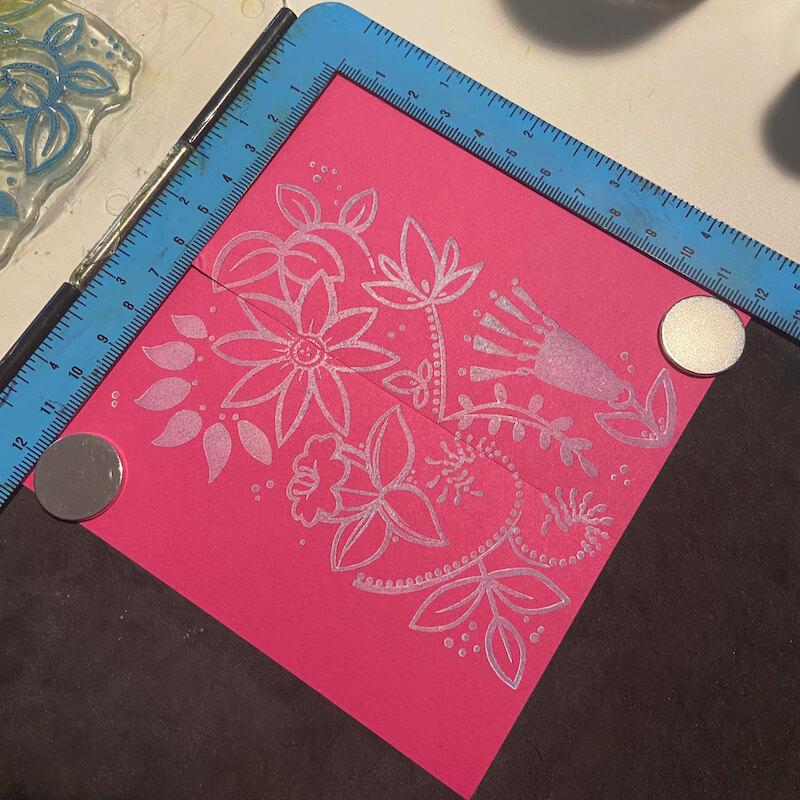
Note: I had to re-ink and stamp several times to achieve deeper color saturation because I did not dry the ink first.
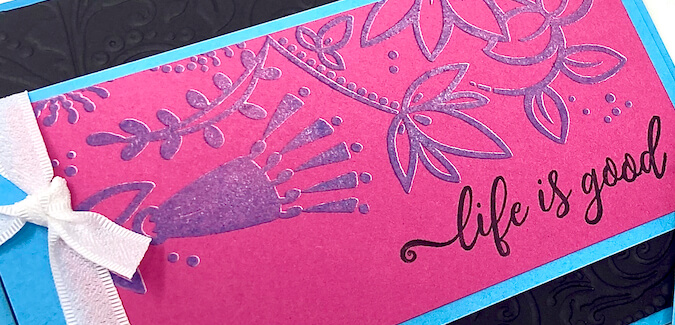
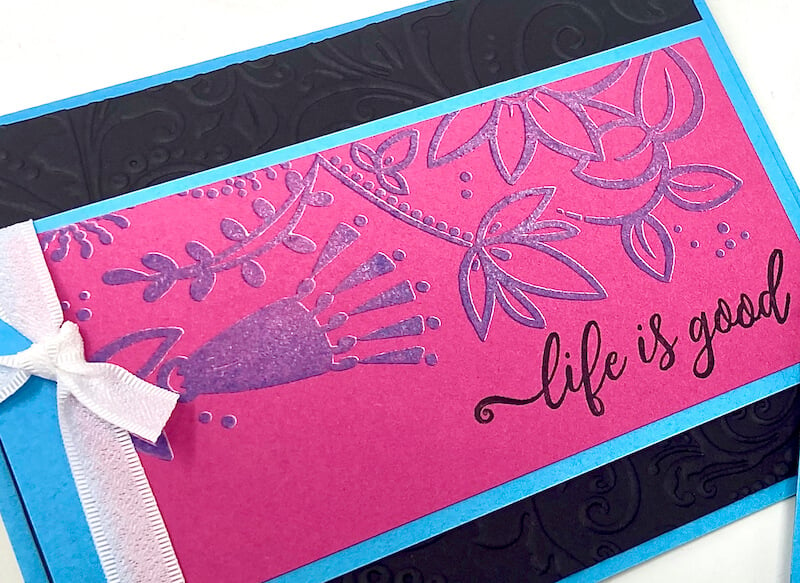
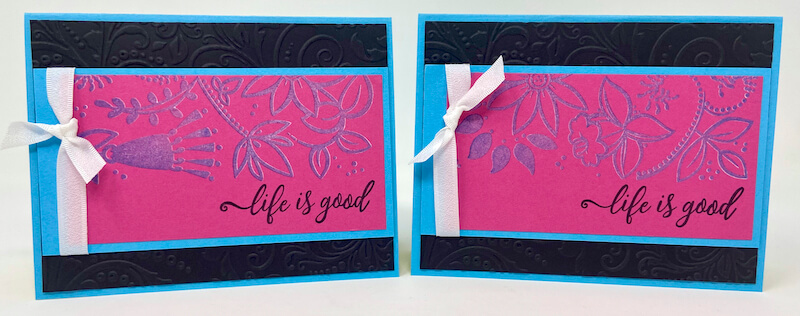
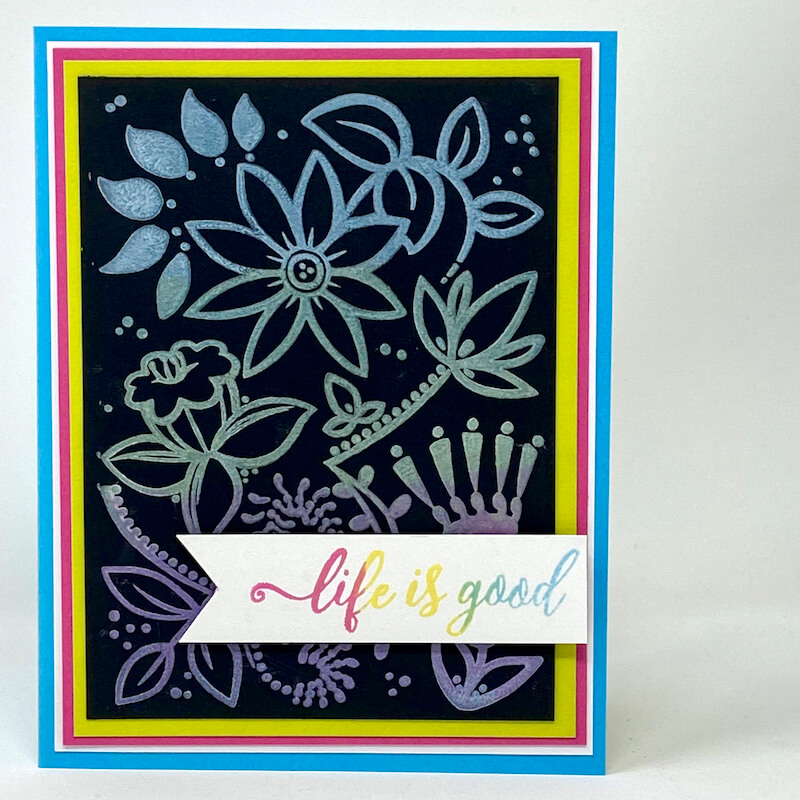
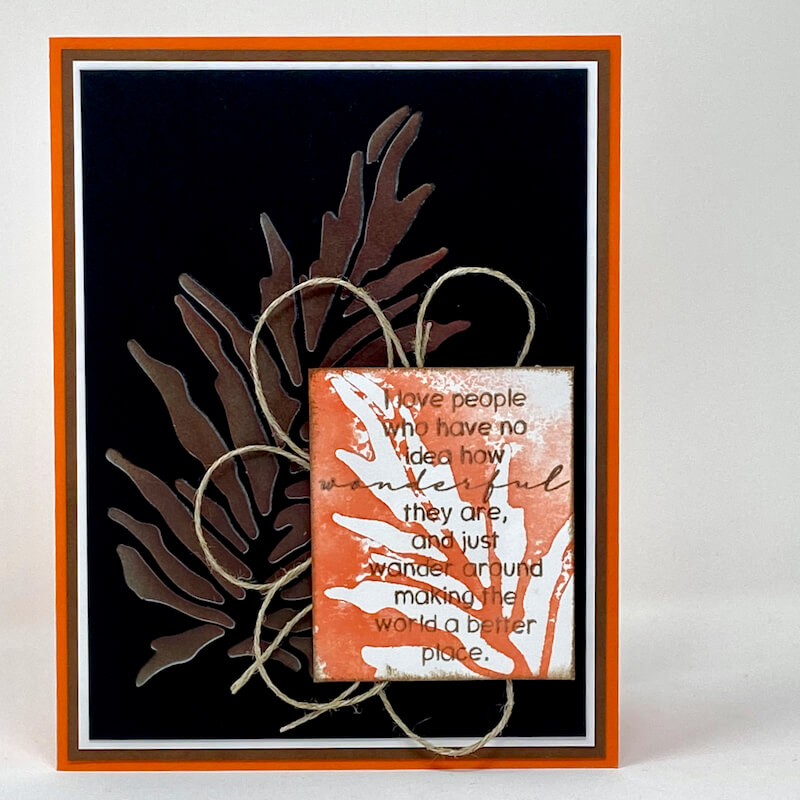
Mat the artwork with blue. Adhere onto a blue card base topped with a black texture-embossed panel. Complete each card with white ribbon and a stamped sentiment.
Whimsy Cards
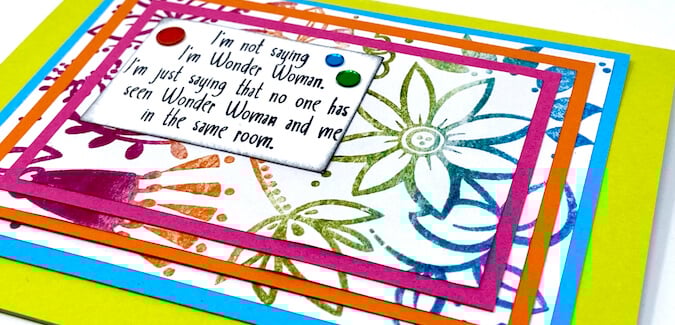
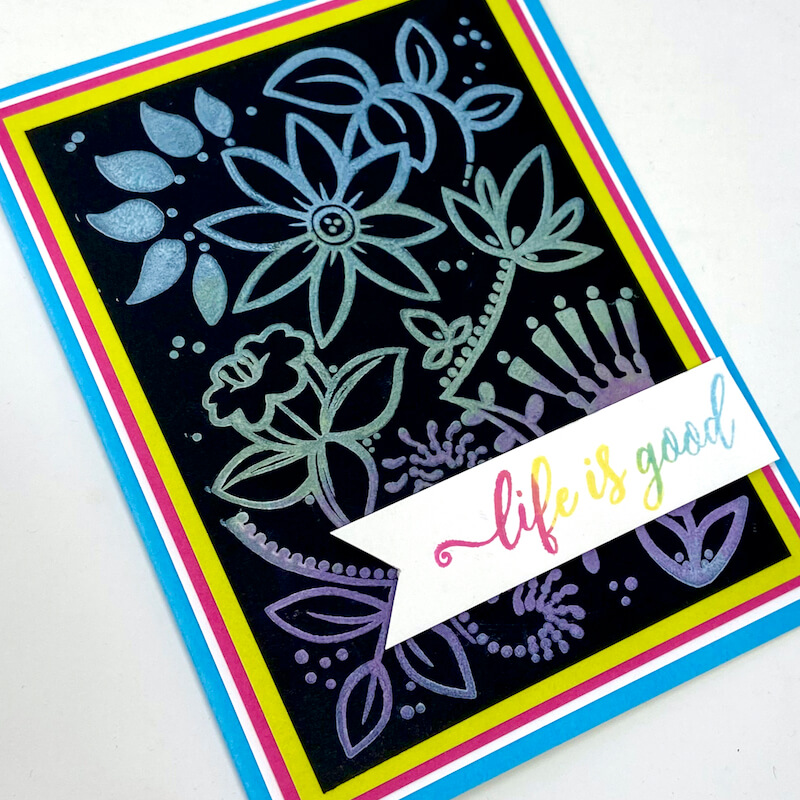
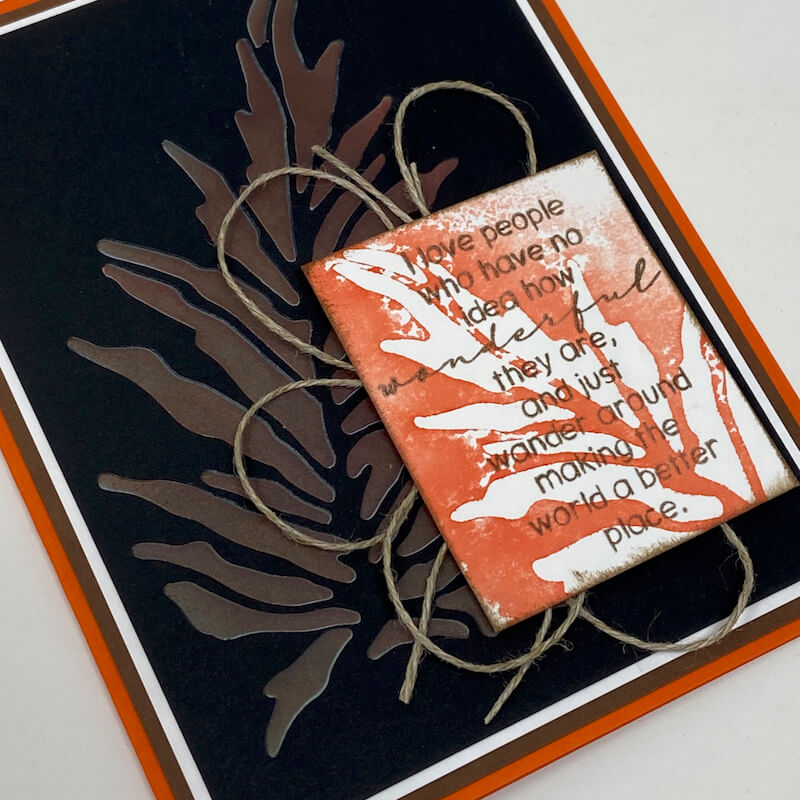
Distress Oxide Variation
Stamp the collage image with White Pigment Ink.

Begin with the lightest color of Distress Oxide and ink the image.
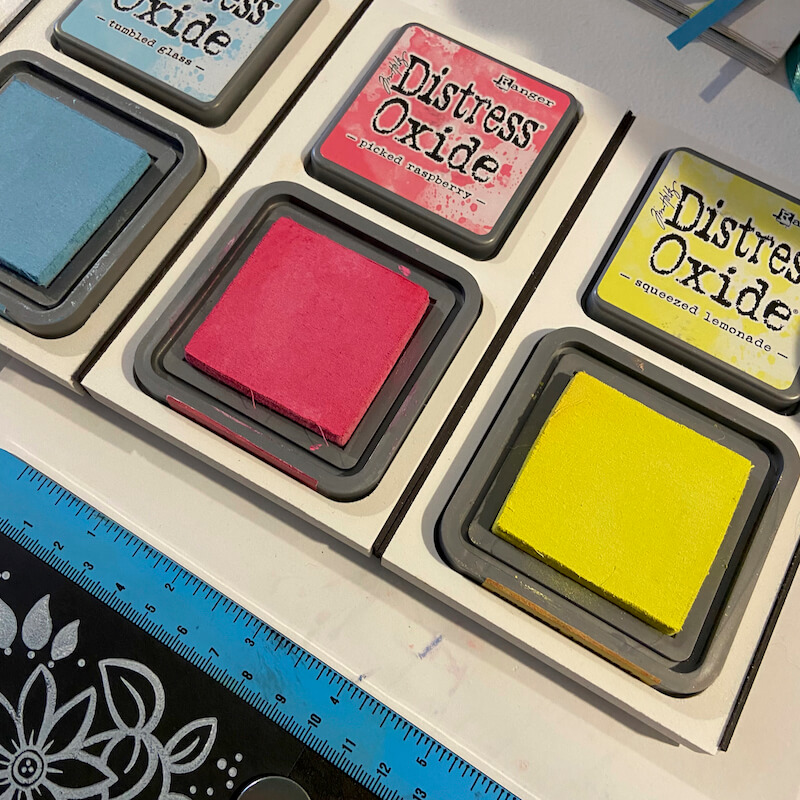
Stamp directly over the dried White Pigment Ink.
Continue adding color to the image until the desired saturation has been reached.
Complete the card with a stamped sentiment.
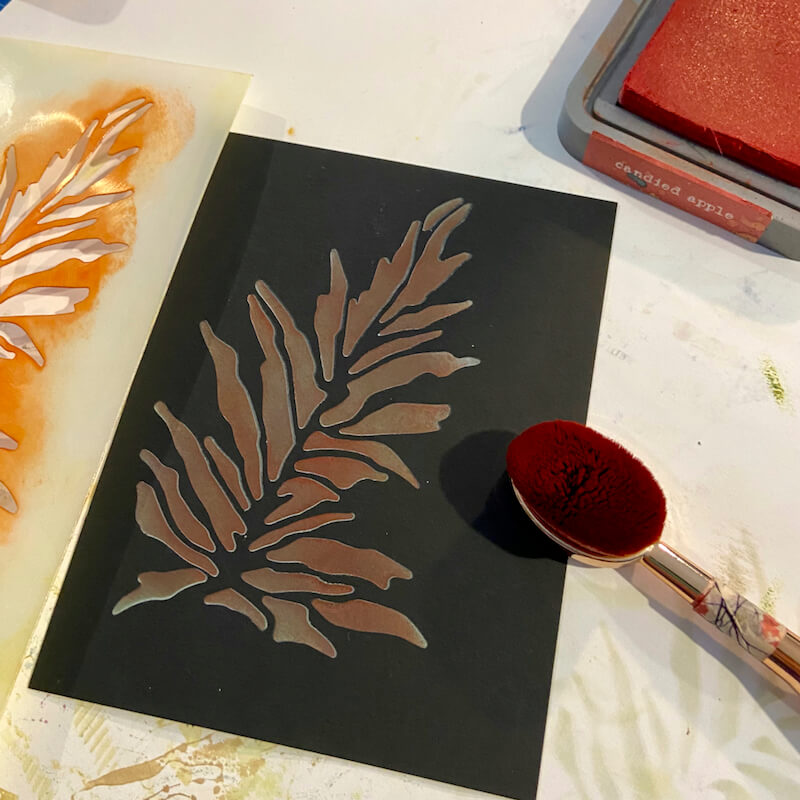
Meadow Stencil Variation
Apply White Pigment Ink through the Meadow Rushes Stencil with an Ink Applicator Brush. Dry the ink with a heat tool.
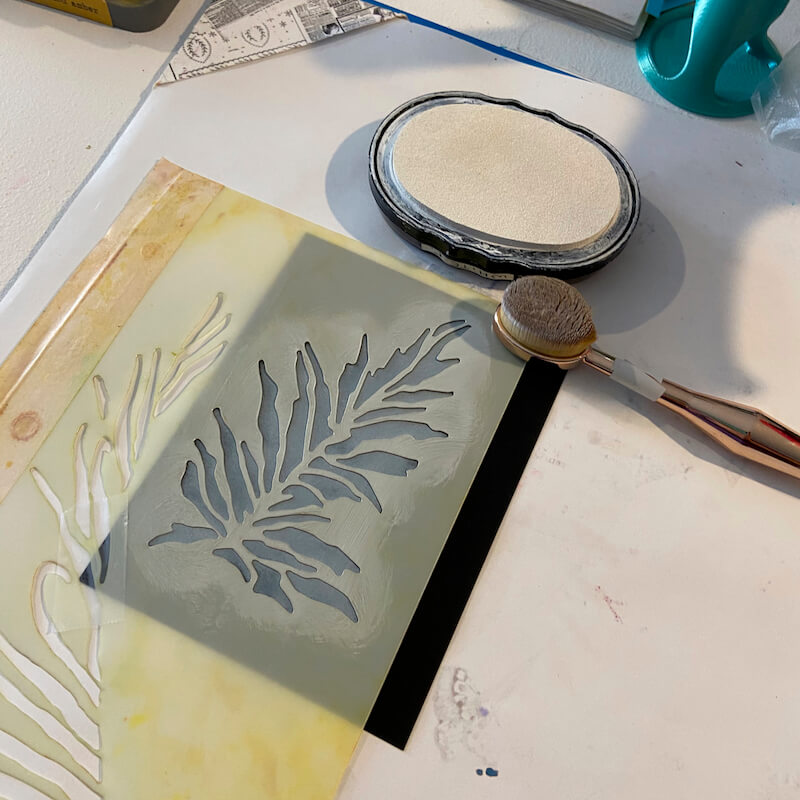
Wipe away any White Pigment Ink from both the front and back of the stencil.
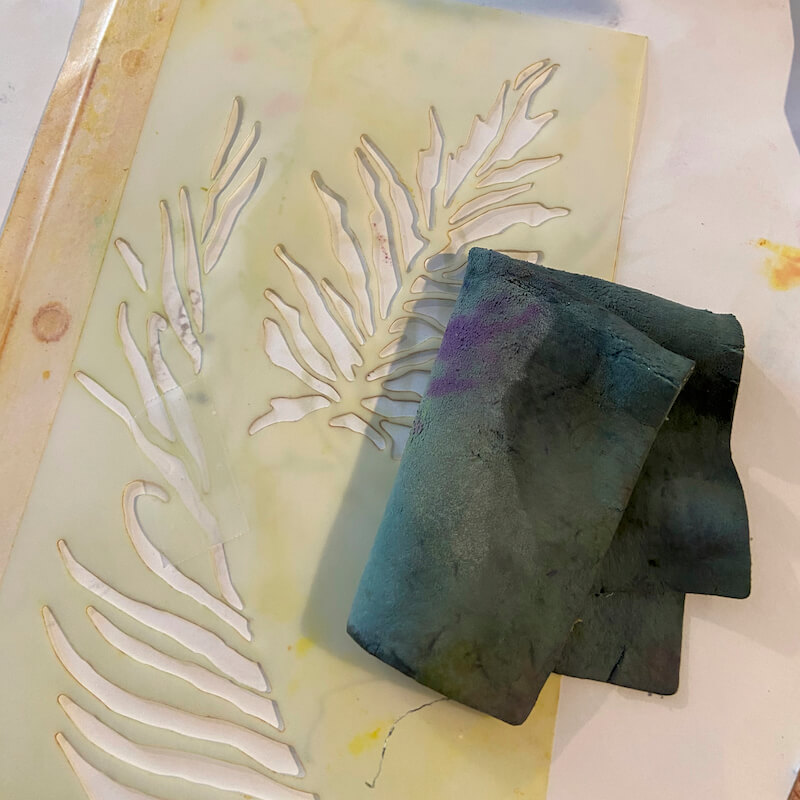
Apply Distress Oxide Ink (Candied Apple) through the stencil directly over the White Pigment Ink.
Let's take another look at the completed card.
I hope you love this technique as much as I did! If you did, be sure to share your artwork with us on the Club Scrap Chat Group on Facebook. Not a member of the group? Simply answer a few questions and we will get your request processed in no time!
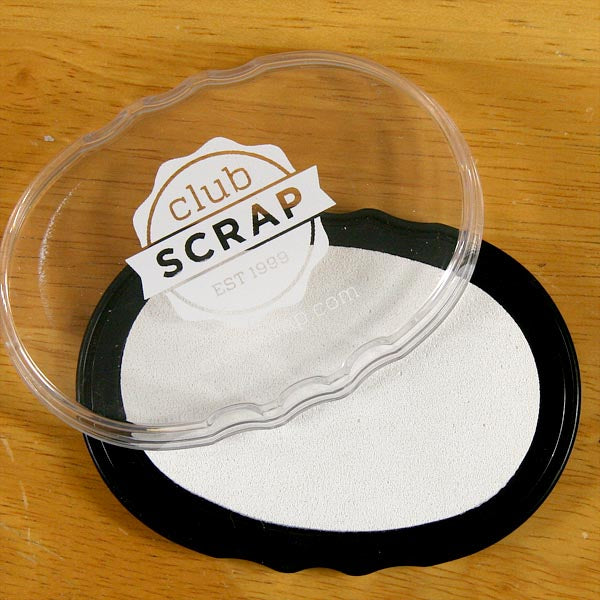
White Pigment Ink Pad
$7.20
Club Scrap's pigment craft ink offers an exceptional formula, providing for multi-surface versatility as well as remarkable detail when embossing. The bright white ink loaded into this nice 'n juicy pad will last a long time. Re-inkers also sold separately.… Read More
CS Hybrid Ink Pads

$6.35
Exclusively Club Scrap®, this hybrid craft ink combines the most exceptional ingredients of both pigments and dyes for a fine, crisp, fast-drying image! Don't forget to stock up on the coordinating re-inkers. Each ink pad sold separately. Please select the… Read More