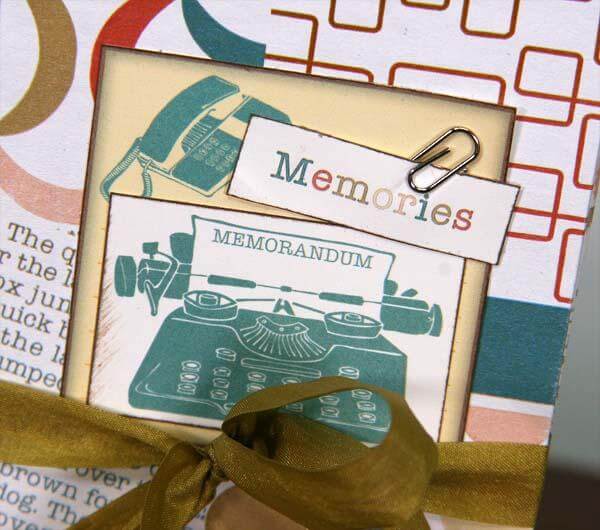
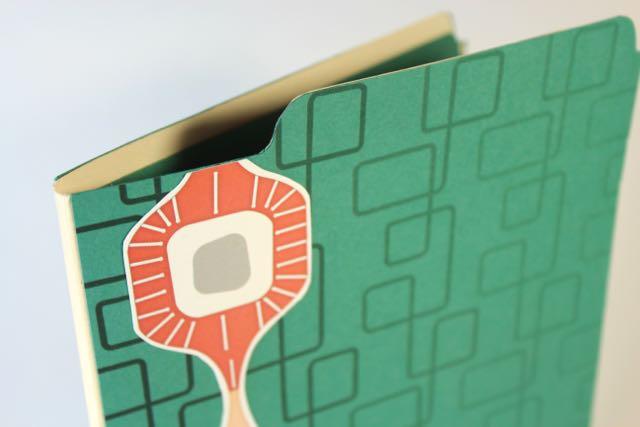
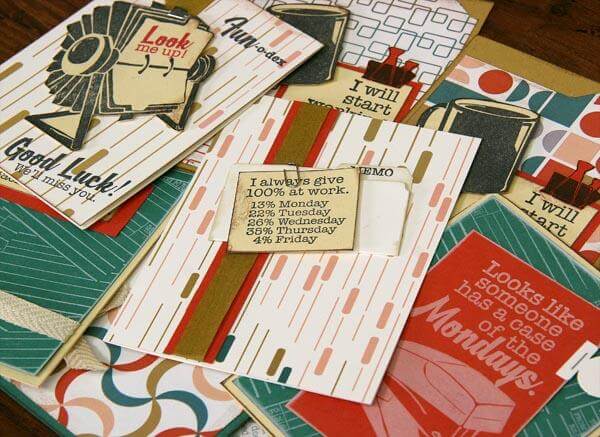
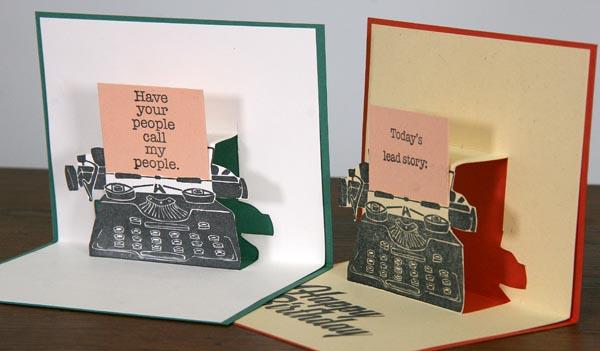
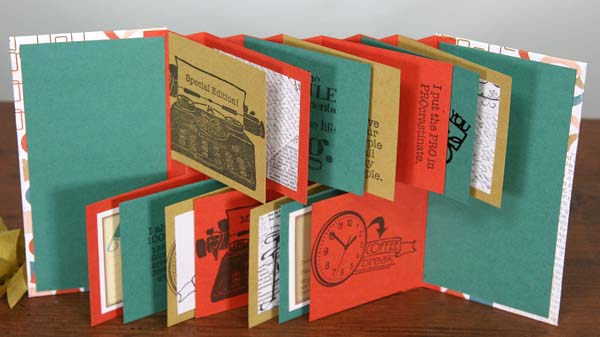
Gather the Office Space Club Stamp collection and read on to learn how to make a fun and interactive mini album. This Flag Book Tutorial will show you how, step by step.

Flag Book Tutorial
To get started, gather the following supplies:
(2) 3.25x6.25" Mat Board Covers
(2) 5.25x8.25" Outside Cover Wrap
(2) 3x6" Inside Cover Wrap
(14) 3x3" Inside Pages
(1) 6.25 x 8" Accordion Spine (Grain Short)
Scor-Pal
Ribbon Closure
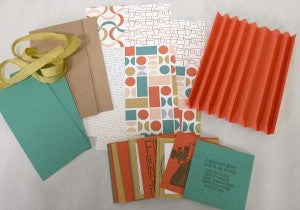
1. Wrap the mat board covers with trimmed portions of the 8.5x11 Text Weight Quad Print.
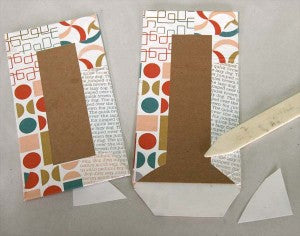
2. Score the 6.25x8" accordion spine horizontally every 1/2". Adhere the first and last flap of the accordion to the edge of the front and back covers. The first fold at each end of the accordion should be flush with the edge of the cover.
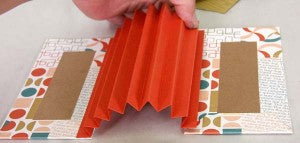
3. Adhere the 3x6" papers to the inside covers of the book.
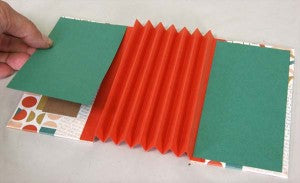
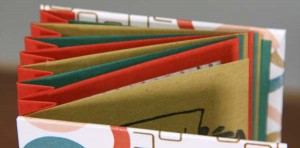
4. Adhere the first flag page to the last valley fold of the spine, flush with the top edge of the accordion.
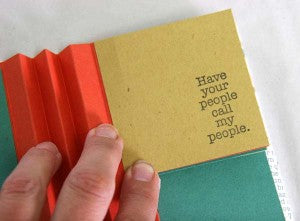
5. Adhere an additional 3x3" page to each valley fold until you reach the front of the book.
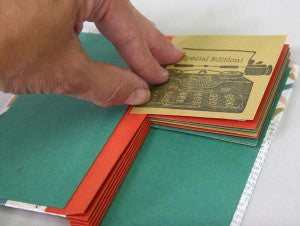
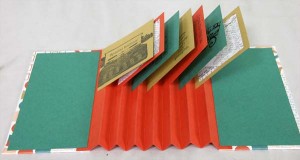
6. Adhere a 3x3" page onto the left side of the first valley fold, flush with the bottom edge of the accordion spine.
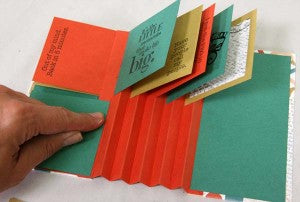
7. Adhere the remaining inside pages in the same manner until reaching the back of the book.
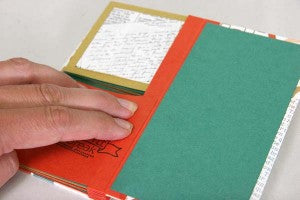
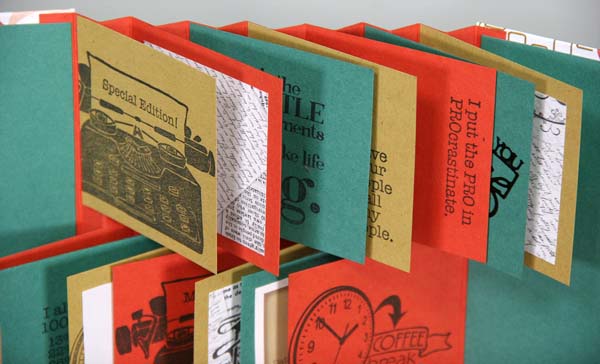
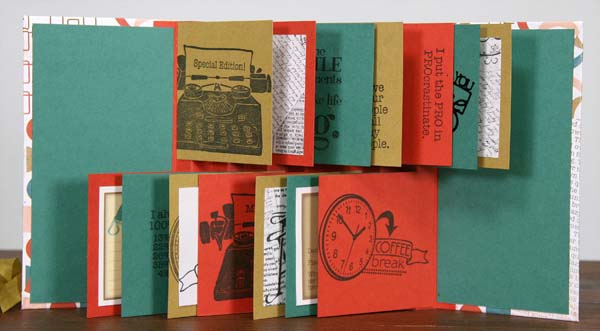
8. The pages fly up like flags when the book is opened.
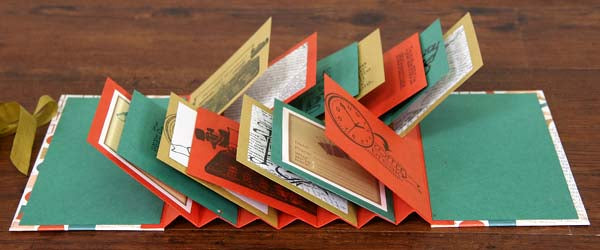
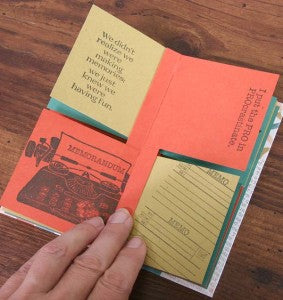
9. Decorate the pages with stamped images, photos and memories. NOTE: For best results, stamp the pages prior to inserting them into the book.

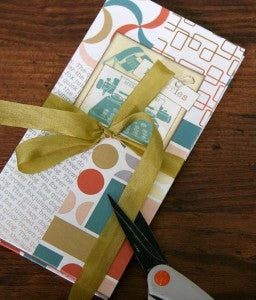
10. Embellish the outside front cover and tie the book closed with ribbon included in the Club Stamp kit.
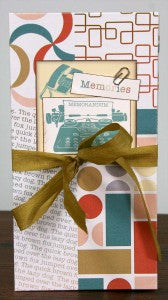
Flag me down if you've got questions on this adorable project, and don't forget to pick up your Office Space Club Stamp kit!
Editor's Note: Looking for more inspiration? Check out Deluxe Card Making Formula 12. Take this online class at your leisure to learn how to make two slimline flag cards with just five sheets of paper. There's even a video tutorial included!

