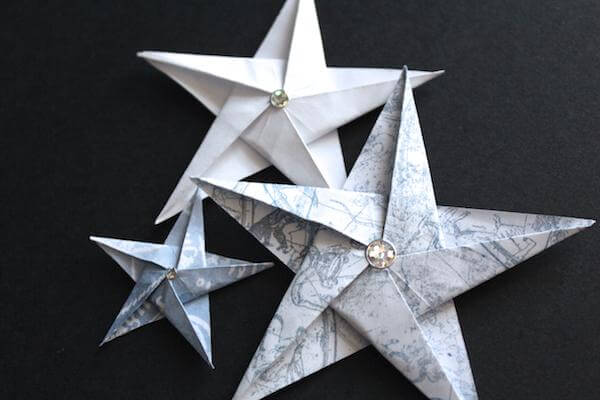
I have always been fascinated with origami, and when I found this technique on Pinterest I couldn't wait to share it! Check out this blogger's POST. His video made it so simple to recreate the stars I used as 3D embellishments on my card.
Here are the steps to create this card.
1. Trim text weight paper into three squares measuring 5.75, 5.25 and 2". The final star size will be about 60% of the original paper size. (Ex.: A 5" square will yield a 3" star.)
2. Decorate one of the squares using the large circular image from the Constellations UM Borders and Backgrounds with Sapphire and Ash inks.
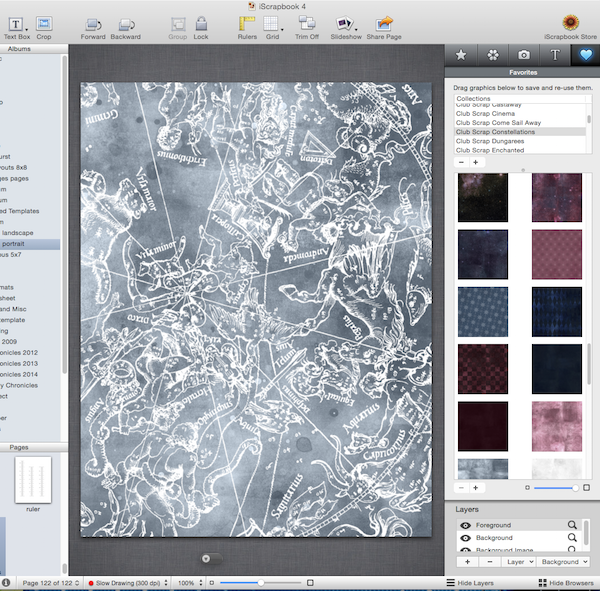
3. Create a custom print using a digital scrapbooking application (I use iScrapbook for MACs), and print on text weight paper. Trim into a square. (NOTE: The Club Stamp Quad Print will make four 2.5" stars!)
4. Follow the instructions found HERE to create the origami stars. Add a Dazzles Silver Sticker to the center of each star, if desired.
5. Create a 4.25x5.5" card base with Constellations Navy paper. Run the front of the card through a Dotted Swiss Cuttlebug Embossing folder.
6. Rub White Pigment ink onto the front of the card to enhance the raised texture.
7. Adhere 5.5" lengths of coordinating Constellations papers of varying widths to the card base to create an anchoring element for the stars.
8. Stamp the sentiment from the UM Art Nouveau onto Burgundy paper with white pigment ink. Sprinkle with silver embossing powder and heat set.
9. Assemble the card. Add silver glitter glue to some of the raised dots for added sparkle.
I hope you will exercise your paper folding muscles with this fun technique!
