Knowing your Cherry Blossoms Lite kit is on its way makes this particular Monday a little more beautiful!

Here are a few layout details you might miss in the printed assembly instructions:
LAYOUTS 1 & 2
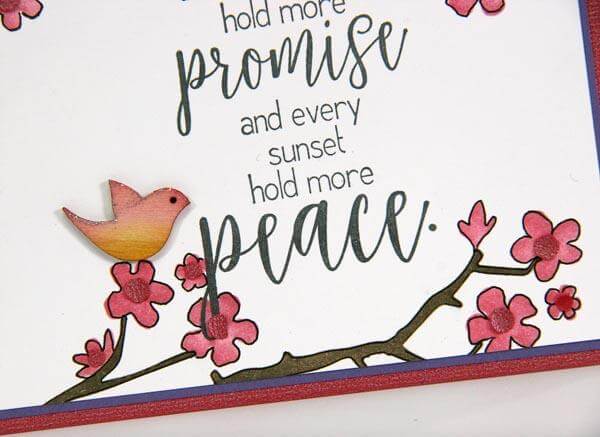
The overlay stencil we've included in this kit helps to create a customized background on the Purple base of layout one. Simply sponge the branch with Earth ink, and layer the blossoms onto the branch with White Pigment ink.

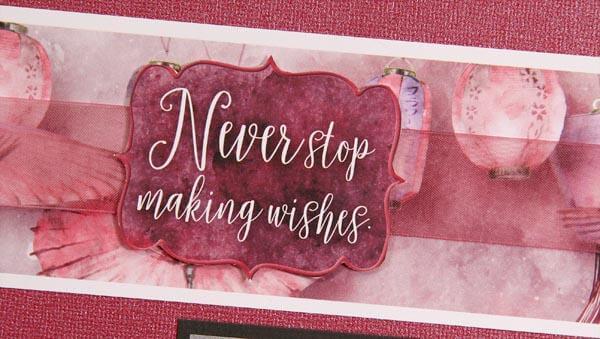
The Art Envelopes make a gorgeous addition to the pages. The cutaparts include a narrow strip of paper that can be used as a decorative band in combination with a cutapart frame layered with foam adhesive. If you're in the mood, fussy-cut the frames, or simply leave them on the rectangular base.

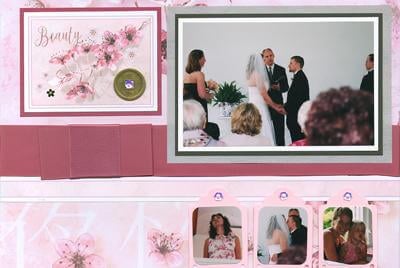
You'll find three rectangles on the cutaparts designed to frame the silver cherry blossoms charms. Our CS® Bookbinding Glue is perfect for adhering the charms.

LAYOUTS 3 & 4
Mat vertical border strip on the left side of the layout with Silver paper and wrap with ribbon.

Layer the shaped cutapart onto the strip with foam adhesive.

Combine the art envelope, cutapart strip, and mat/charm combination to create an eye-catching accent for the right page.

LAYOUTS 5 & 6
Nest the "has a story to tell" sentiment onto the corresponding border strip with foam adhesive and top with a woodcut bird.

LAYOUTS 7 & 8
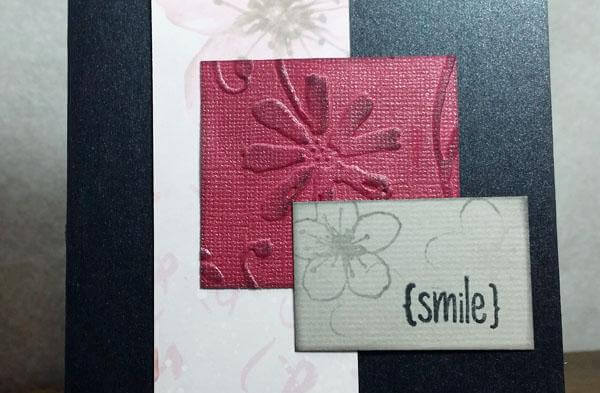
This time, wrap the band around the envelope, adorn with ribbon, and slide a 4x6 Gray mat beneath the band.

I hope you adore all of the little details in the Cherry Blossoms Lite kit. There's no doubt each one is designed, printed, packed and shipped with love and care from our team!
Tricia


