Take this month's cards, layouts and projects over the top with this fun theme!
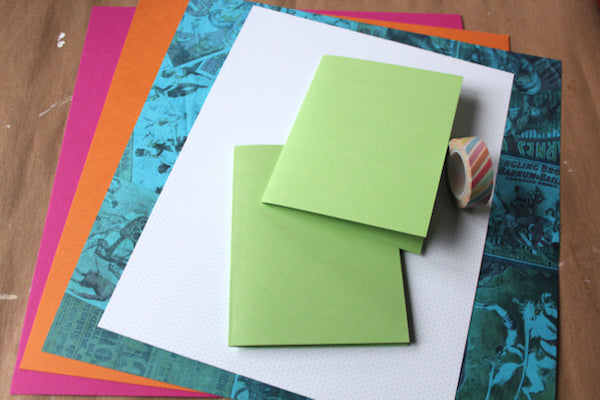
Gather some of your favorite dies, the Big Top Deluxe kit, and let's make a card!
1. Select printed and plain papers from the Big Top Deluxe kit. Trim 8.5x11 Lt. Green plain horizontally at 5.5". Score and fold horizontally at 4.25" to form an A2 card. Score the front cover vertically at 2.125" to create the easel mechanism.
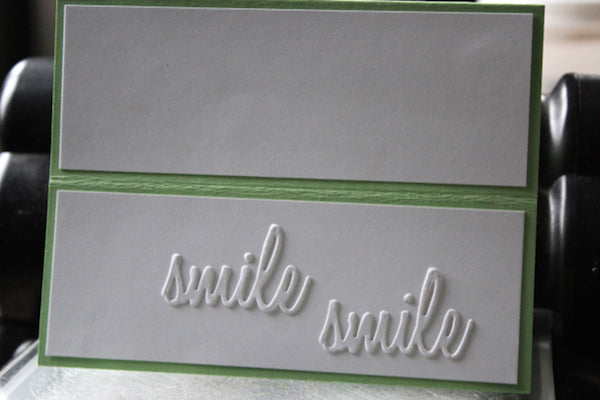
2. Cut two White outside panels to 1-7/8x5-14" and one inside Blue Pattern panel to 4x5-1/4".
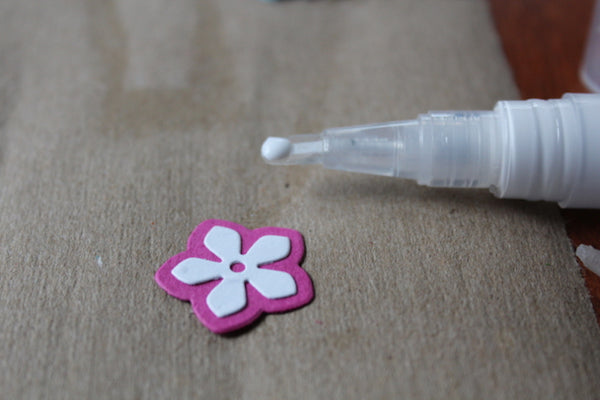
3. Die cut flowers from the Big Top Blue Print, Pink, Orange, and White.
4. Layer the flowers and adhere with the Glue Pen.
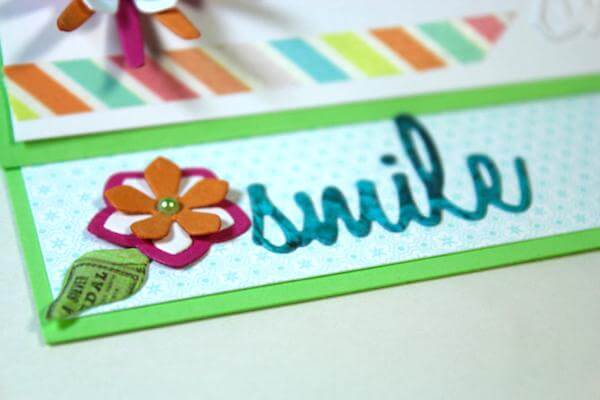
5. Make two White and one Blue Print "smile" sentiments from die cuts. Adhere the White die cuts to the bottom outside panel and attach the Blue Print to the bottom of the inside panel.
6. Die cut leaves from the 8.5x11 Lt. Green Print.
Sizzix Tim Holtz Bigz Alterations Die Garden Greens
7. Add Adhesive Pearl Stickers to the center of each flower cluster and Striped Washi Tape strips to the card panels.
8. Adhere the flowers and leaves to the front of the card along the score line. Attach one flower to the inside panel next to the Blue 'smile' die cut. The inner flower provides a "stopper" to hold the folded front panel.
This card design is "tops" in my book!
How will you use your Big Top kit? Add your ideas to the comment section below.
