
One of my many monthly tasks includes creating a fresh layout formula. Using the "recipe" approach to creating a layout is like having a recipe to follow for dinner. You might veer from the original suggested ingredients, but the recipe sure helps get things started!
This is the image for the Big Top layout. (Members, don't forget to download the file each month! A link will be emailed to you.)

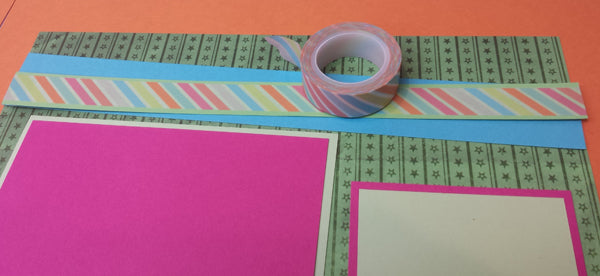
After selecting Big Top papers and following the trimming instructions, this is where I landed:

It was a great start, but I really wanted to "go big or go home" on this one. I went to work on incorporating goodies from the collection and some photos from a cruise, and I ended up here:

Let's take a closer look at the details.
1. Distress all paper edges with CS Earth ink. For larger sheets, place the edge of the paper just beyond the edge of your work surface to support the paper. Tilt the inkpad at a slight angle and rub across the edge.

2. Add Striped Washi Tape to the .75x10" anchoring border strips and fray edges with a Tonic Studios paper distressing tool.

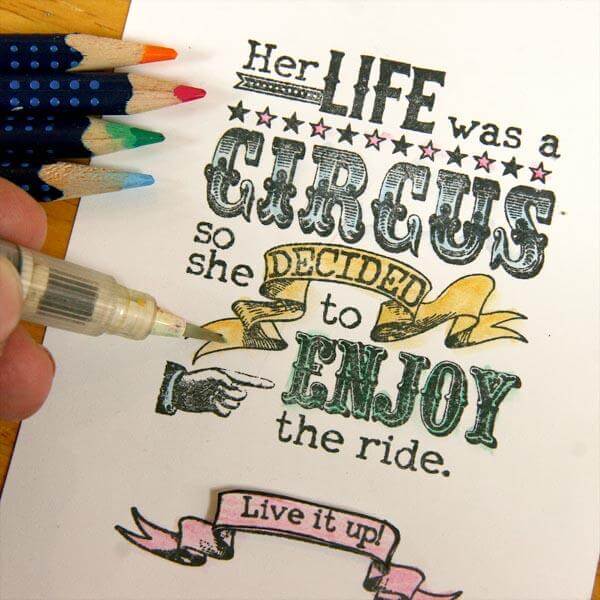
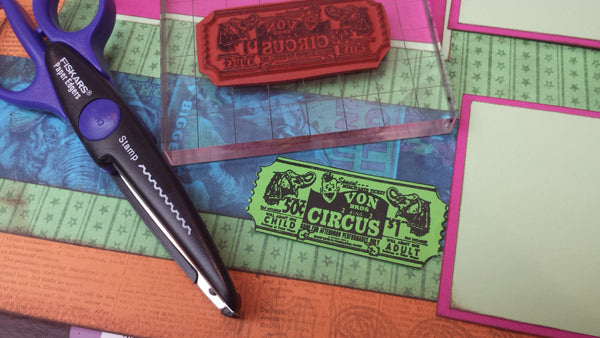
3. Stamp the 12x12 Orange base papers with an image from the Up, Up & Away (02/13) collection. The 8x8 Grid Ruler works well as a mounting tool for oversized images.


4. Center the 10x10 paper onto the 12x12 base with a 3x14" CS Acrylic Grid Ruler.

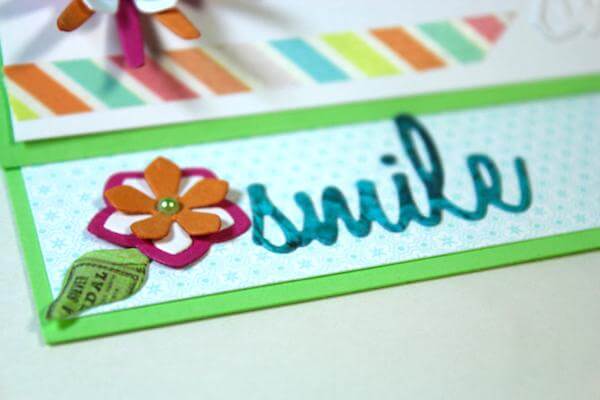
5. Stamp a sentiment (Up, Up & Away) onto the 2x3" Lt. Green rectangle and add washi tape to the right edge. Loop washi tape around a decorative paper clip and trim a "v" into the end of the tape; clip to the panel.

6. Add star-shaped silver Dazzles (Bright Lights, Big City, 12/12) to the washi tape.

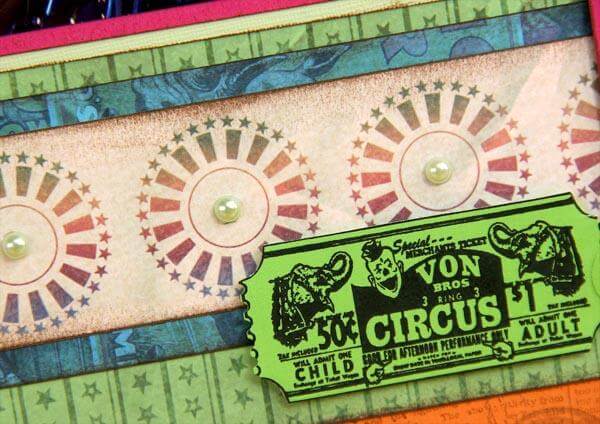
7. Stamp the circle image (Art Nouveau UM) three times onto a Dk. Green strip with Fuchsia ink. Die cut the images with a scallop-edged circle and ink edges. Make a small loop with silver-edged pink ribbon and attach the loop and die cut to the right edge of each 3.25" matte.


8. Stamp the ticket image (Collection UM) onto a green tag and trim with a postage-edged scissors. Layer onto a printed cutapart strip with foam adhesive. Finish with Adhesive Pearl Stickers.
9. Embellish the vertical border on the left page with a trio of ribbon.

Click on the layout image to see a larger pictures of the finished pages.
Have fun taking your layouts over the (big) top!
Tricia