
The other day we showed up at the warehouse to discover a huge, red and white striped tent in our parking lot. "The guys" next door were having a big event and kindly invited us to enjoy lunch under the big top. Did I get a photo? No. But I won't lack for material for these cheerful pages! Let's take a closer look at Big Top Deluxe!
LAYOUTS 1 & 2

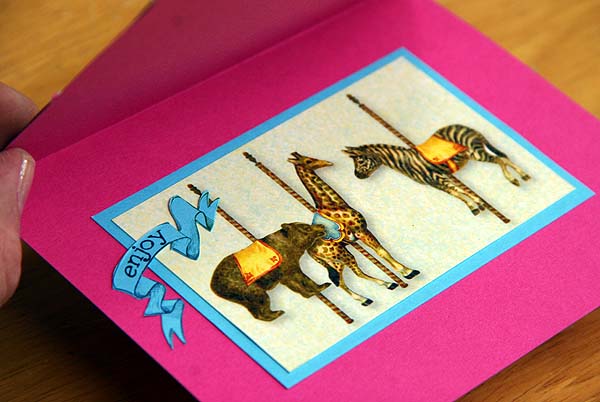
The kit comes with a sheet of Adhesive Pearl Stickers. They're so cute on the top of these carousel rods!

The cutaparts feature several "file folder tabs" and other tab-shaped images. To save time, cut along the top and bottom edges of the tabs, fold in half along the perforated line, and then cut the detail of the tab shape. Fun times.

A little tag doctoring includes inked edges, a stapled ribbon, and a pearl. Do you see that gorgeous Blue Pattern paper on the right? It's so sweetly perfect!

LAYOUTS 3 & 4
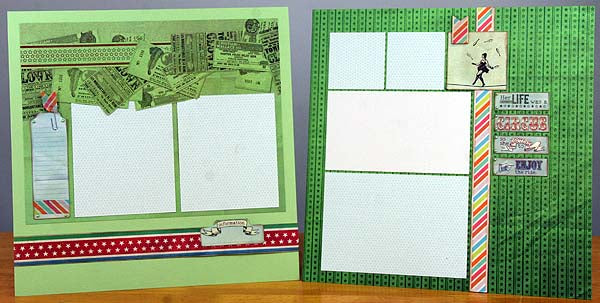
The kit includes four Wood Veneer Shapes and a roll of Striped Washi Tape. Simply apply the tape to the shape and cut around the edges with a craft knife. Add two small pearls to the left edge of each cutapart for a nifty look.

Fold a piece of washi tape around the top loop of a paper clip and cut a "v" into the top edge for an economical, eye-catching embellishment.

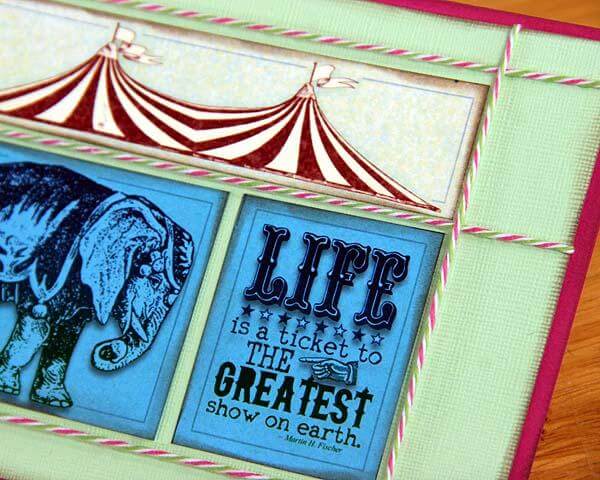
Tuck the photo mattes beneath the tickets printed on the 8.5x11 Lt. Green Print. Simply mark where the edge of the matte meets the printed image and cut along the artwork with a craft knife.
LAYOUTS 5 & 6

The anchoring element on the left page is created with a .75x12" White strip topped with washi tape. I had a .25x11" scrap of Dk. Green and trimmed it into two pieces, covering the 1" gap with the folder-shaped journaling box. So sneaky!

LAYOUTS 7 & 8
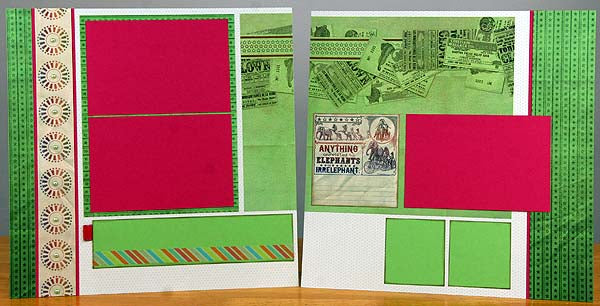
There are small and large pearls on the sheet. I like how the large pearls complemented the 12" cutapart strip on the left side of the layout.

LAYOUTS 9 & 10

Prior to attaching two banner-shaped Wood Veneer Shapes, draw a slightly curved line ending in a bow with a black fine tip marker.

LAYOUTS 11 & 12

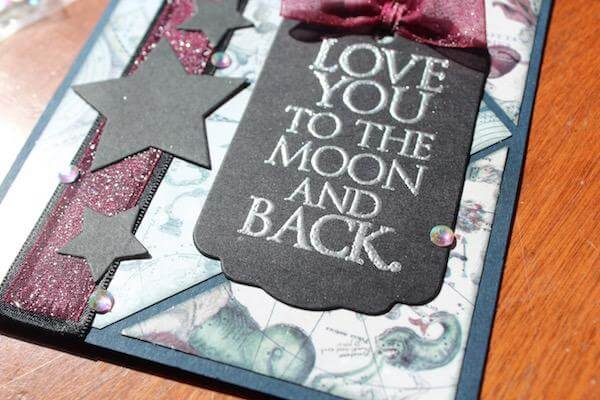
Ever since figuring out how to make a three-part bow, I've been adding them regularly to my layouts. The irony is having to watch my own video to remember how it's done. I love how it looks with this gorgeous metallic-edged ribbon.

LAYOUTS 13 & 14

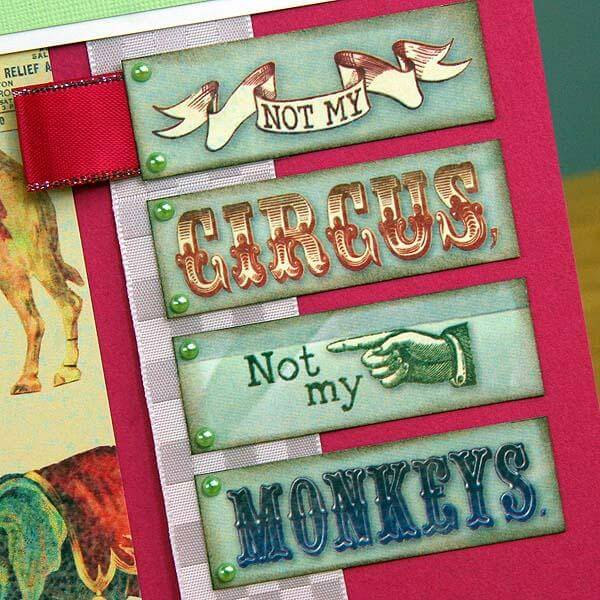
Note how the four cutaparts are anchored with the white satin checked ribbon, a loop of ribbon, and pairs of pearls.

I had fun creating this unique collage with a combination of cutaparts, ribbons, and the wood veneer shape.

Wow, this post is getting lengthy, but I hope you enjoy a closer look at some of the details.
Next up, the fabulous Greetings to Go.
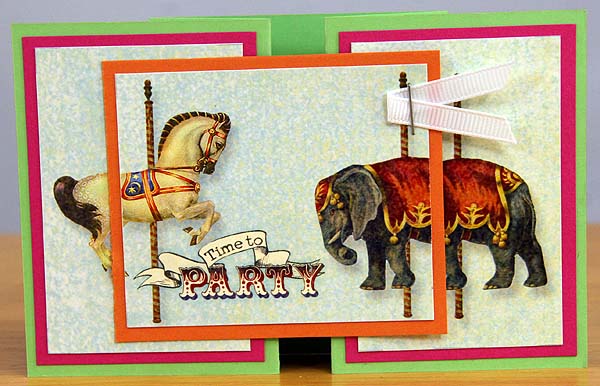
SET A

The Dark Green card base is scored four times. Make mountain folds with the outer score lines, and valley folds with the inner score lines to create this unique double gate card. Jacqueline very cleverly designed cutaparts for the card panels to align perfectly with the center image. (Be sure to attach the center image to the left panel only, or the card will not open.)

SET B
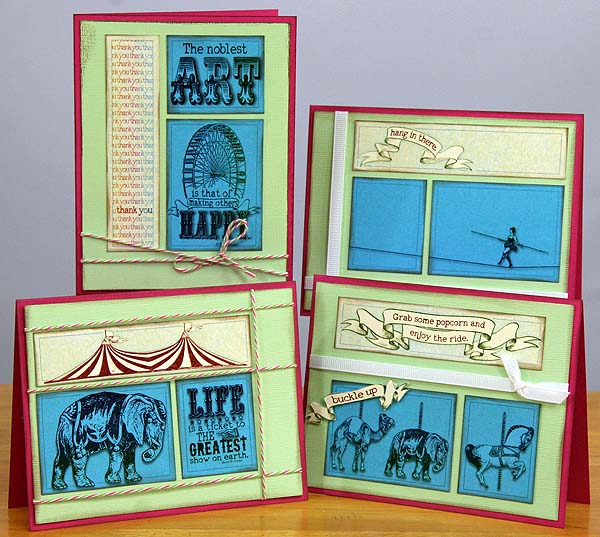
The art elements do not completely fill the Lt. Green panel, leaving room for ribbons, fibers, and other embellishments.

Each card has artwork and a greeting banner to decorate the inside.
SET C

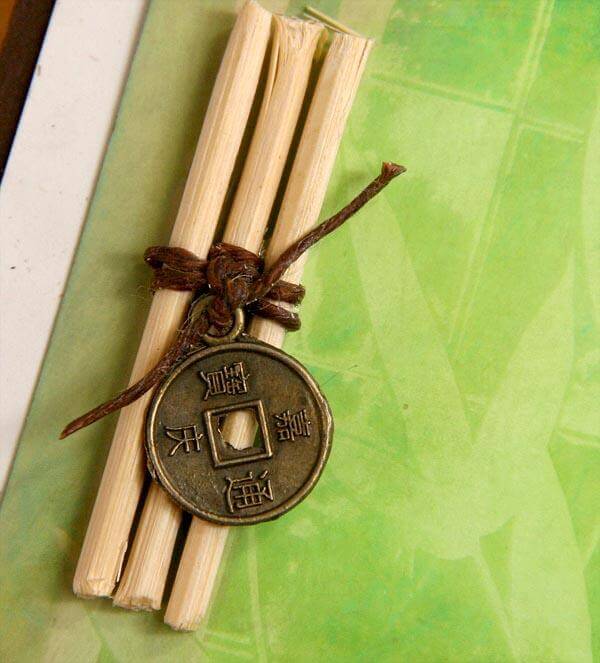
We were thrilled to find these Twist Ties and Colored Tags to embellish our final set of cards. Jacqueline designed cutaparts to nest perfectly onto the tags.

Enjoy the moments you realize this is your circus, and these are your monkeys . . .
Tricia