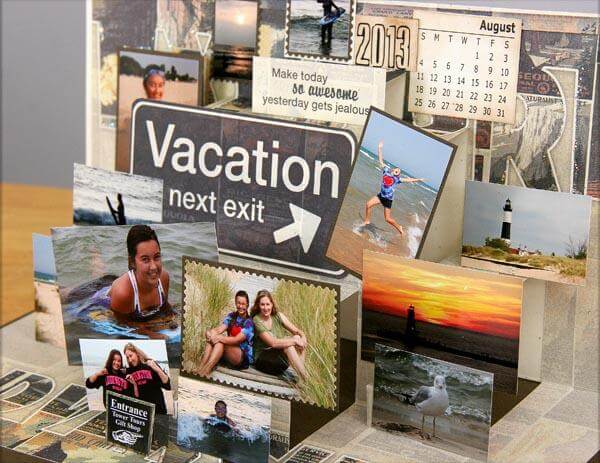
Add a little action to your next scrapbook page with this fun pop-up technique!


This pop-up page idea came from a workshop Tricia taught years ago which is still one of my favorites. What a fun way to display all of the snapshots and memorabilia I collect on vacation. At first the page seems a little complicated, but the process is easy if you take it one fold and cut at a time.
Pop Up Page Assembly
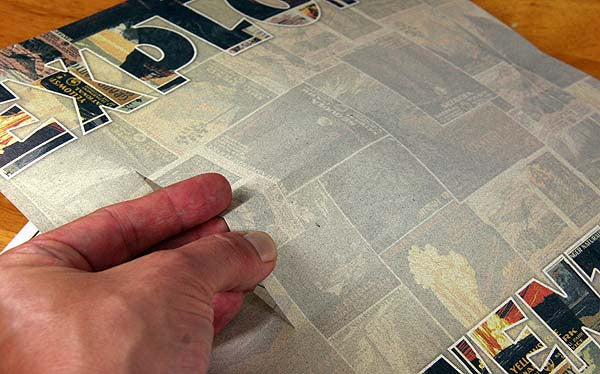
1. Score and fold a 12x12 White Print from the National Parks Lite kit at 6".

2. Measure and mark 1.75" from each outside edge and 2" from the folded edge with a CS Grid Ruler and pencil. Starting at the fold, cut along the 2" mark on each side. Score between the cuts, starting and ending at the stopping point of each cut.


3. Invert the fold, press together and burnish the crease with a bone folder.


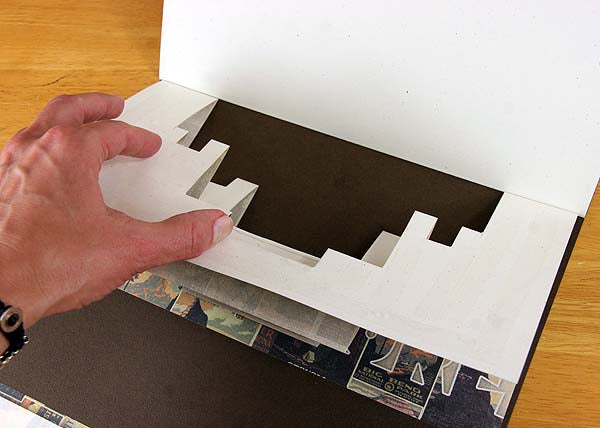
4. Close the folded page. Measure and mark a 2" guideline on the folded edge of the top layer only, 3.25" from each outside edge of the paper. Starting at the fold, cut each guideline with a scissors.


5. Score between cuts and invert folds again.


6. Mark two evenly-spaced guidelines on the fold of the next pop-up. The marks should be about 1" in length 4.5" from each edge. Score, cut, and invert fold.


7. Flip the paper and add another pop-up to the remaining large fold.


8. Cut smaller openings in areas with less space. There's no science to this, simply make additional pop-ups wherever you desire.


9. Make a few more tiny pop-ups.


9. You know me . . . still at it.


10. Add two strips from the Lite cutaparts to the top and bottom edge of a 12x12 Brown Plain. Trim a sheet of the 12x12 White Print to 6.75x12 and score .75" from the top edge to create a hinge. Adhere the hinge portion of the White Print to the top of the Brown, just beneath the border strip.

11. Place adhesive on the outside edges of the prepared pop-up page.

12. Adhere the pop-up page to the White hinge and Brown base paper. Align the center score of the pop-up with the score of the hinge page. The top edge of the pop-up will also line up with the free edge of the hinge.

12. Add photos, journaling and memorabilia to the front of the hinge area and each pop-up.

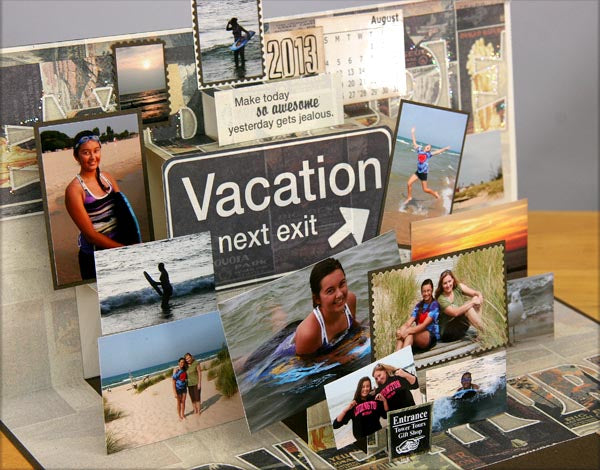
Now it's your turn to pop into your craft room and give this a go!
Kay