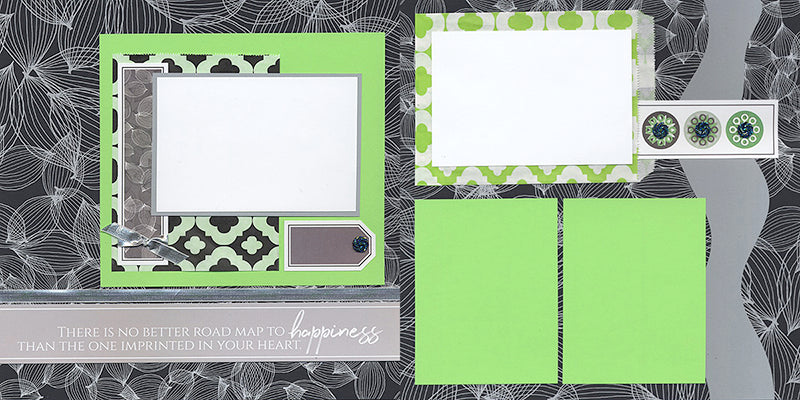
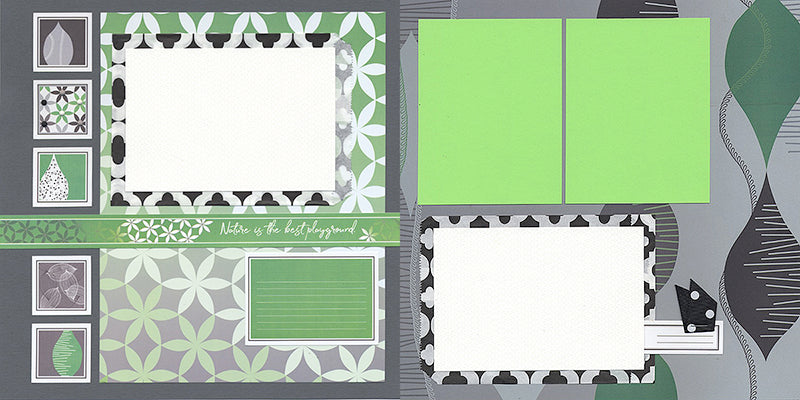
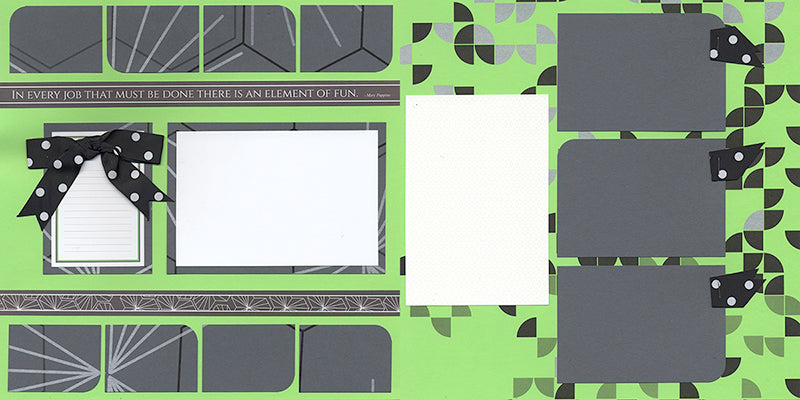
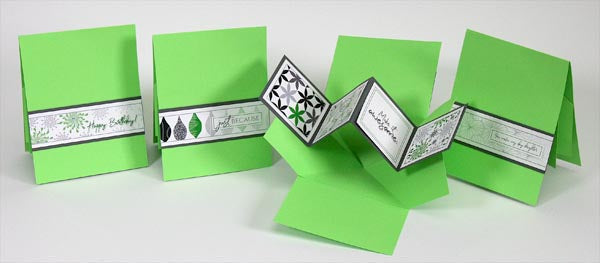
Learn more details about the layouts and cards you can assemble with June's Pattern Play Deluxe and Greetings to Go kit!
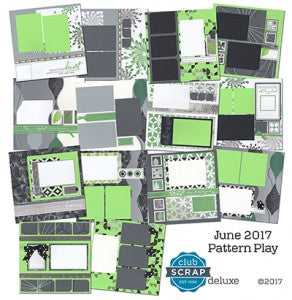
DELUXE LAYOUT DETAILS
LAYOUTS 1 & 2
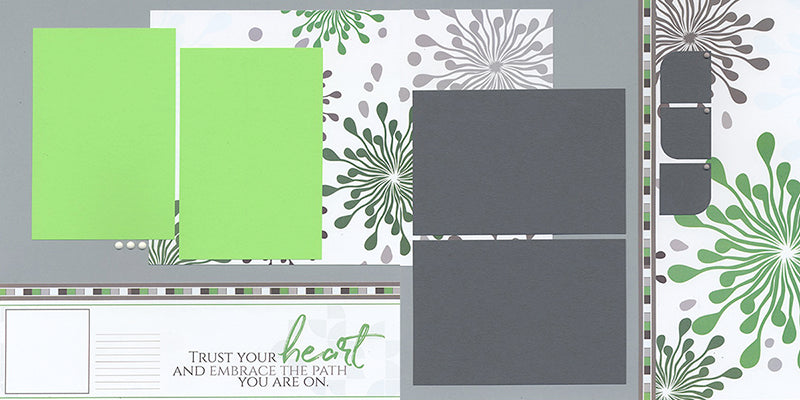
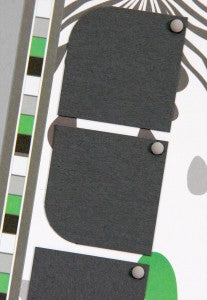
Punch only one corner of each square with a Corner Chomper on the 1/2" setting. Adhere the squares as shown and finish with a small gray enamel dot in each upper right corner.
LAYOUTS 3 & 4
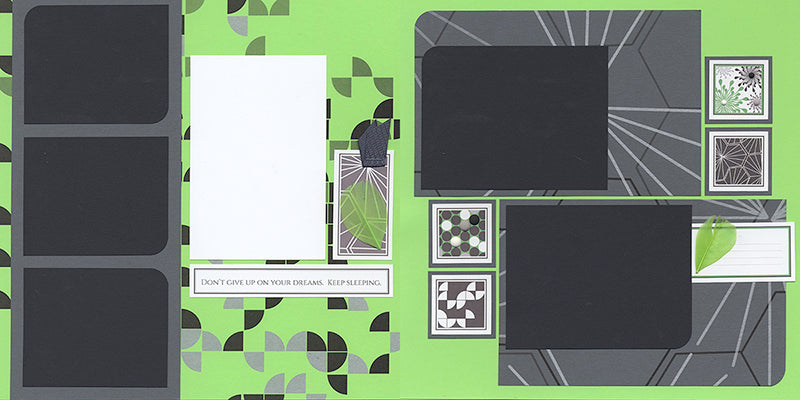
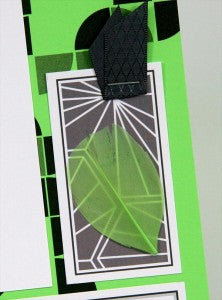
Add a small line of CS® Bookbinding Glue to the center vein of the green feather to adhere to the printed cutapart. Fold a 2" piece of gray ribbon in half and staple to the upper right corner.
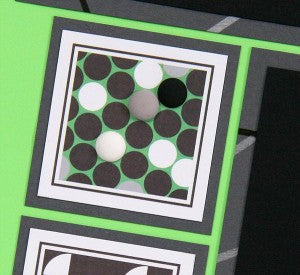
Fill in one white, gray and black dot with an enamel dot. They fit perfectly!
LAYOUTS 5 & 6
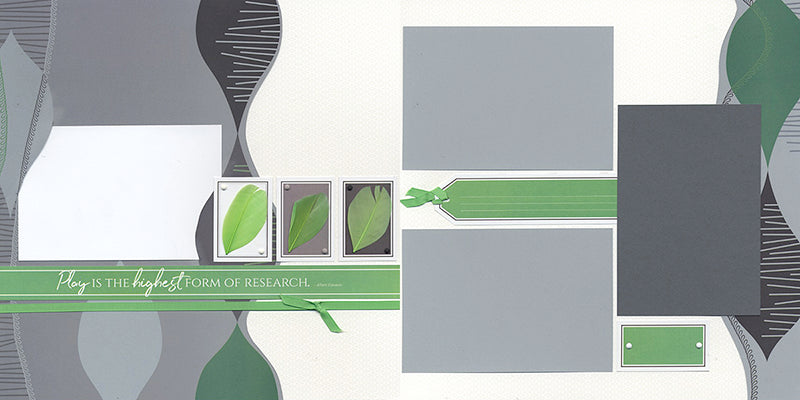
Adhere a green feather to the set of three cutaparts, and finish with an enamel dot in the upper left and lower right corners.

LAYOUTS 7 & 8
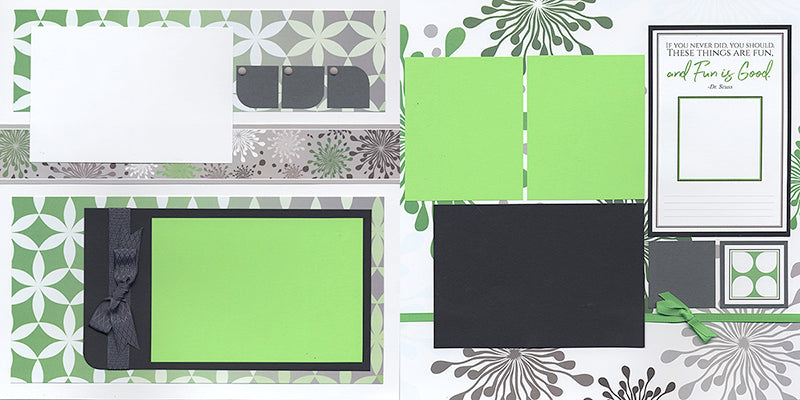
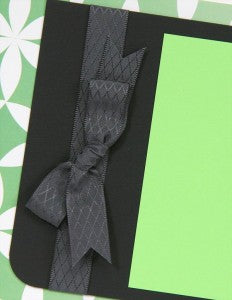
Wrap ribbon around the left edge of the Black panel, and tape end onto the back. Tie a bow from the same ribbon and adhere to the center.
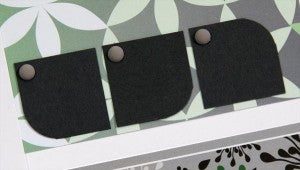
Round one corner of each black square, arrange as shown, and add a gray enamel dot to the upper left corners.
LAYOUTS 9 & 10
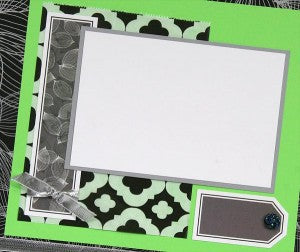
Trim one black patterned bag along the left, right and bottom seam to separate into two panels. Use one piece to help create the collage on the left page.
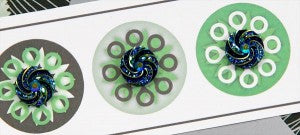
Keep the three circular pieces of artwork in one piece, or punch with a 1" circle punch. Adhere a resin swirl to each circle with bookbinding glue.
LAYOUTS 11 & 12
Layer the full black patterned bag on the left side of the layout, and one panel of the second bag on the right. Slide additional photos into the bag if desired.
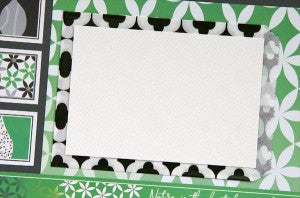
Place gray, black and white enamel dots into the center of each flower on the cutapart.
LAYOUTS 13 & 14
Create a sweet bow from the black polka dot ribbon using an easy-to-follow folding technique.

GREETINGS TO GO DETAILS
SET A
We've developed a fun way to easily create a pop-up card. Follow the scoring, folding and assembly instructions included with the Greetings to Go kit. Each accordion-folded strip on the inside of the cards is filled with art panels and a unique greeting.
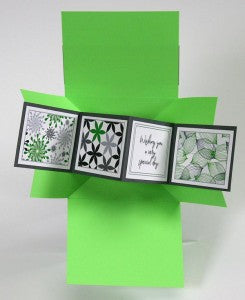
What better way to help guide the assembly process than with a new video tutorial!
SET B
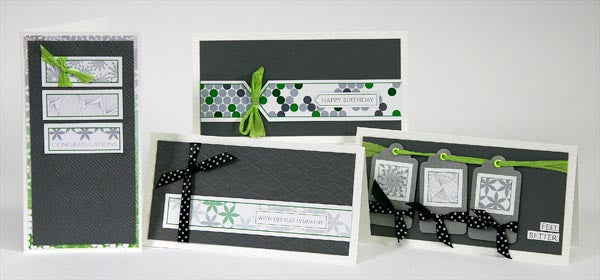
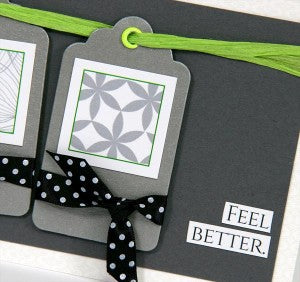
Add a square cutapart to three metallic silver tags and tie a bow along the bottom edge. Set a green eyelet into the top of each tag and string onto raffia.
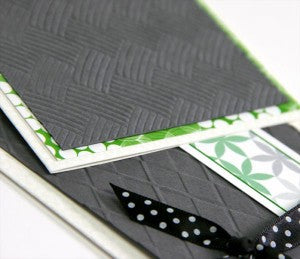
Run Gray card panels through jumbo embossing folders to create additional patterns for the cards.
SET C
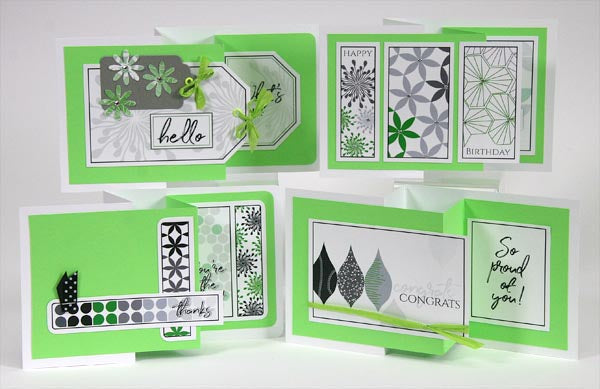
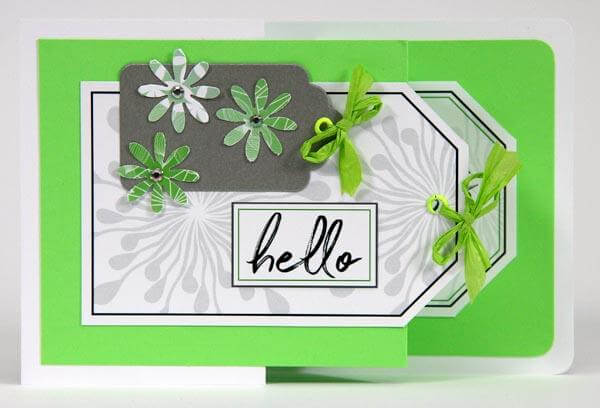
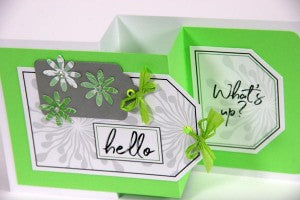
Score the White and Green card panels and adhere them in a unique way to create a fun Z-fold card. The cutaparts extend beyond the front green panel to disguise the inner greeting.
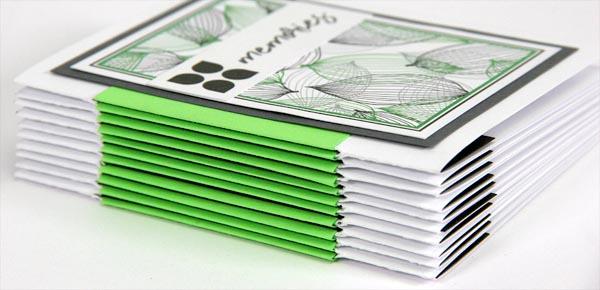
We've already had lots of fun with Pattern Play, and there's more to come! Tune in all month for inspiring ideas. Monday's blog will include instructions for our fun mini accordion hinge book.

Tricia

