
Mask off areas of a white panel with the Underground Washi Tape, add coordinating ink colors and you have yourself a perfectly color blocked card. Marya's February Card Sketch provided the inspiration and you can check out her challenge in the forum HERE!

Here are the steps for creating this card.
1. Attach washi tape to white panel. Swipe ink directly from the pad onto the paper by sliding the ink pad from the taped area to the white paper.

2. Continue to mask the panel and add blocks of color, being careful not to mix the colors.


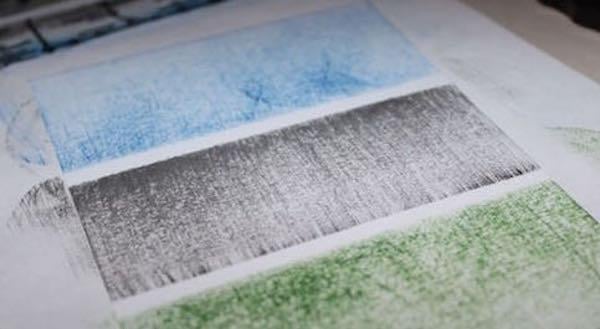
3. Stamp the images from the London Calling UM Borders and Backgrounds set over the color blocked areas to create interest. Use a sheet of copy paper to mask the color blocks while stamping.

Sapphire blue London Eye script: top block, Ash gray postage: center block, and Moss green stacked teacups: bottom block
4. Attach the washi tape masks to white paper.

5. Punch circle embellishments from inked tape on the panel.

6. Stamp sentiment in Ash ink onto Ivory paper and attach to the color blocked panel.
7. To complete the card, layer the artwork onto Light Green and Blue panels and attach to a 4.25x5.5" Ivory card base.
We have lots of fun sharing our challenge creations on the Forum. Won't you join us?
 Julie
Julie