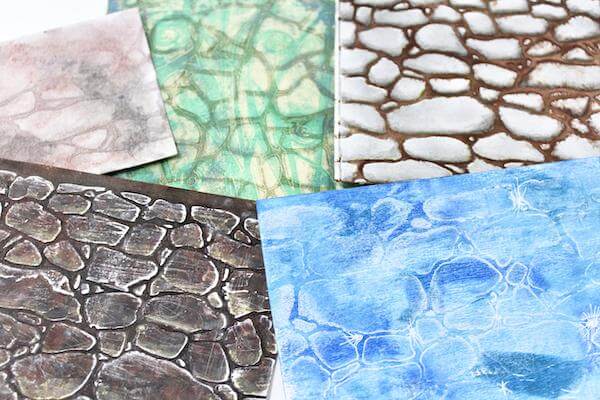
Create five amazing backgrounds with the Cobblestone Paver Stencil! I had a lot of fun experimenting with this versatile goodie!
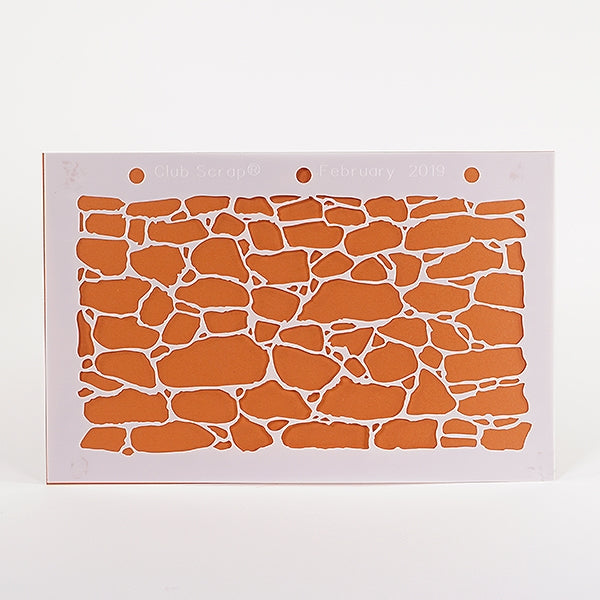
Cobblestone Stencil Backgrounds
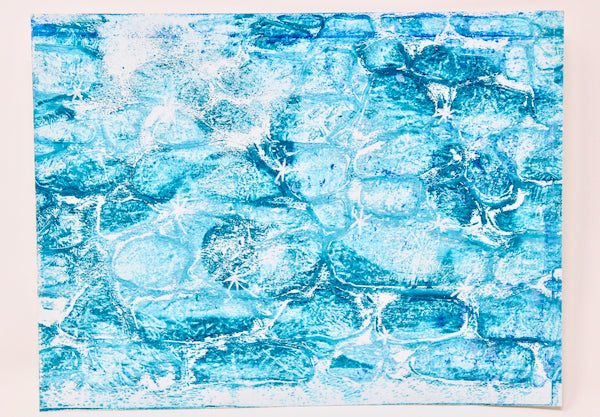
Gelli Print Underwater Effect
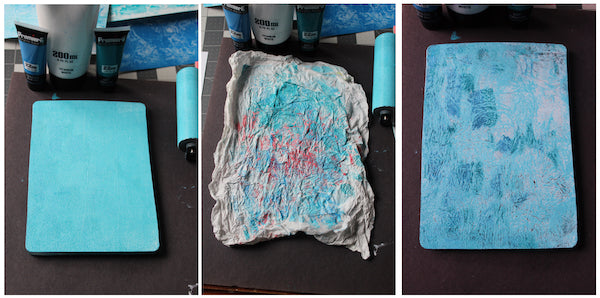
Roll shades of blue acrylic paints onto a Gelli Plate with a rubber brayer. Remove some of the paint from the plate with a crumpled paper towel to add additional texture.
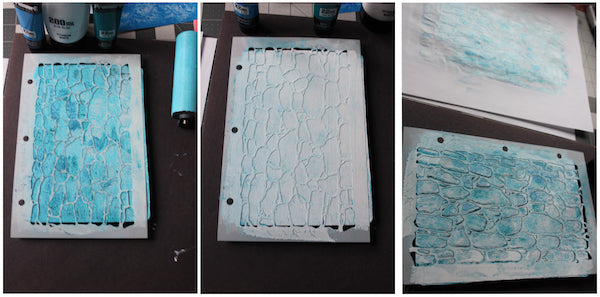
Lay the stencil onto the plate. Add a thin layer of white paint over the stencil. Cover with printer paper and rub a hand over the plate to remove some of the white paint from the open areas of the stencil. Remove the scrap paper and stencil. Clean stencil of excess paint immediately.
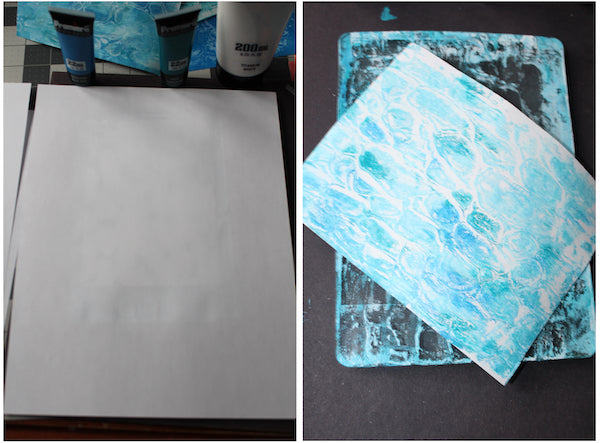
Lay a clean mixed media panel onto the plate. Lay a larger scrap paper over the panel, rub firmly, and remove the panel to reveal the print.
Once the panel is dry, add sparkle effect details with a white gel pen.
Texture Paste + Stipple Mists
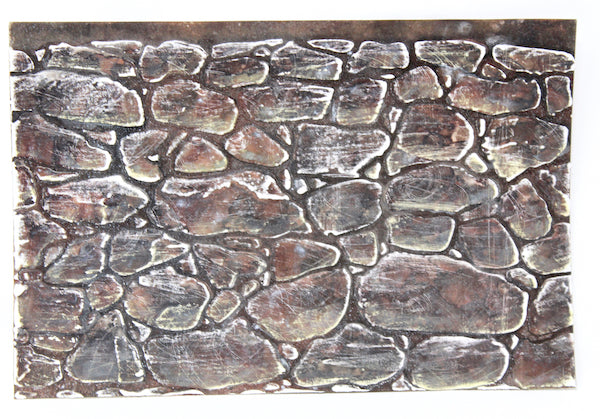
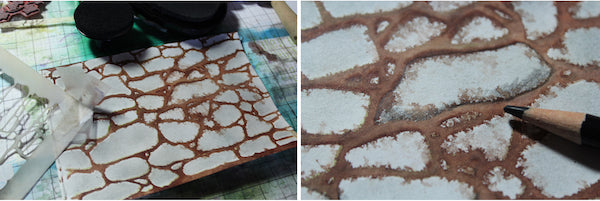
Spread a generous layer of homemade texture paste (recipe here) over the stencil onto mixed media paper with a palette knife. Carefully remove the stencil and clean immediately with warm, soapy water.

Once the paste has dried, lay the panel in a spray tray (aka Club Scrap Pizza Box) and spritz with water. Mist with Burnt Umber, Slate and White Stipple Mists. Mist with water, as needed.
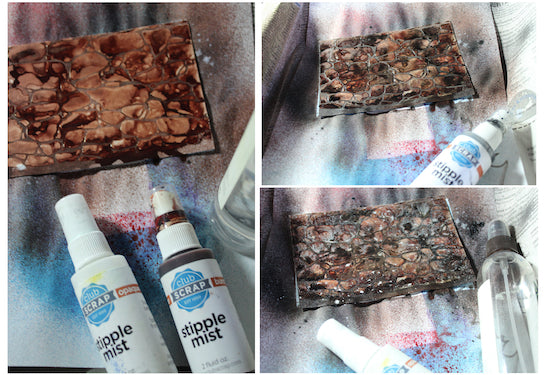
Once the mists are dry, sand off the top layer of color to reveal the white texture paste beneath.

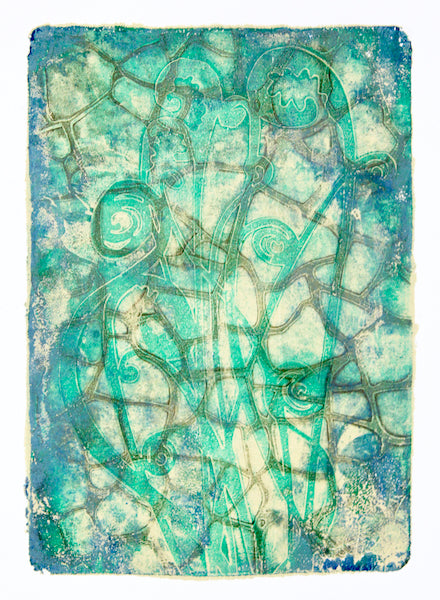
Gelli Print Layered Acrylics
Pair the Cobblestone Paver Stencil with the Enchanted Forest fiddlehead fern mask for a gorgeous background. Follow Barbara's video tutorial for amazing Gelli printing results!
Watercolor Imprint + Gelatos
Visit Split Coast Stampers tutorial for more details on this unique watercolor technique.
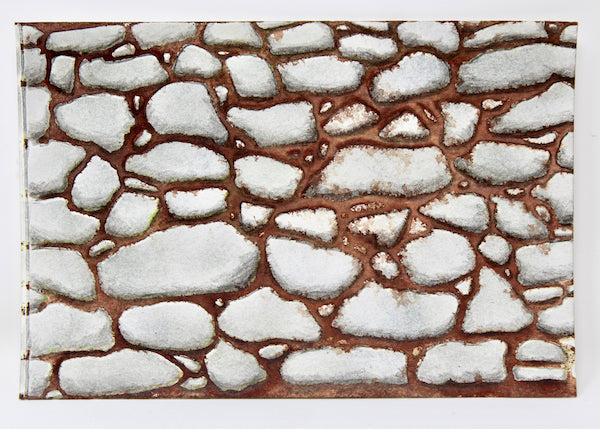
Scribble Rust, Black, and Silver Gelatos onto a mixed media panel. Spritz with water and rub colors together to mix.
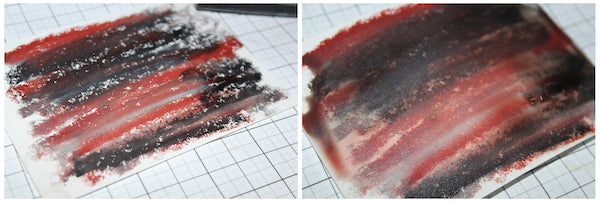
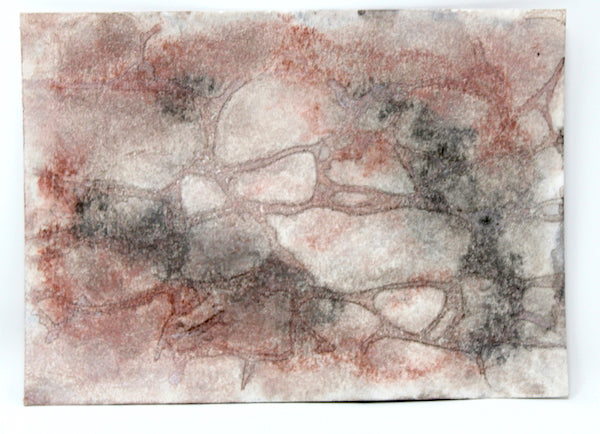
Lay the stencil over the wet panel. Hold down the stencil to prevent the panel from curling.

Allow to dry completely and then remove the stencil to reveal the
Stencil Stamping + Stipple Mists
Lay the stencil in a spray tray and mist generously with Burnt Umber Stipple Mist. Carefully remove the wet stencil from the tray. Mist a mixed media panel with water. Place the stencil wet side down onto the panel. Absorb excess mists with a paper towel. Press the stencil into the panel to transfer the Stipple Mist color.
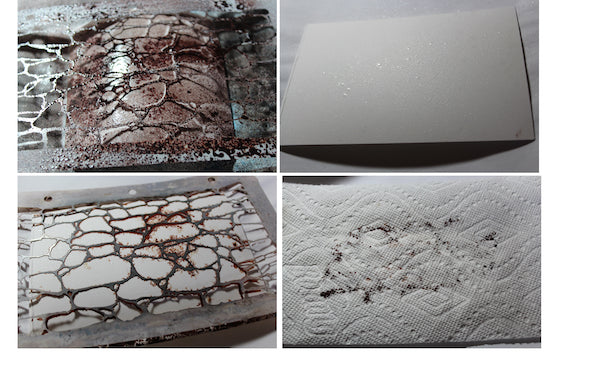
Remove the stencil and set the panel aside. Lay the stencil into a spray tray. Spray the stencil, leaving the residual Burnt Umber mists, with Leaf Stipple Mists. With the Burnt Umber panel on the work surface, carefully align the wet stencil over the image. Cover the stencil with a towel and press firmly to transfer the color. Remove the stencil and set aside to dry.
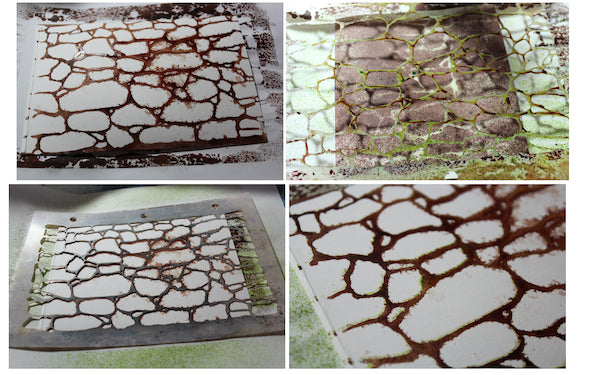
Apply Weathered Wood Distress and Ash Ink over the stencil on to the panel with an Ink Applicator Tool. Add shading detail to each of the stones with a colored pencil.
I hope you have as much fun with this cool stencil as I did. Time to get inky!
Happy Crafting!
Julie
