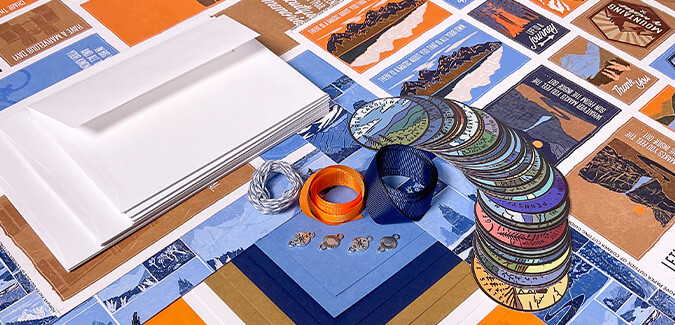

Take your card making to new heights! Create a fun set of cards featuring super-simple techniques paired with August's Wanderer stamps.

Wanderer Stamps

Wanderer Stamped Cards
Card 1

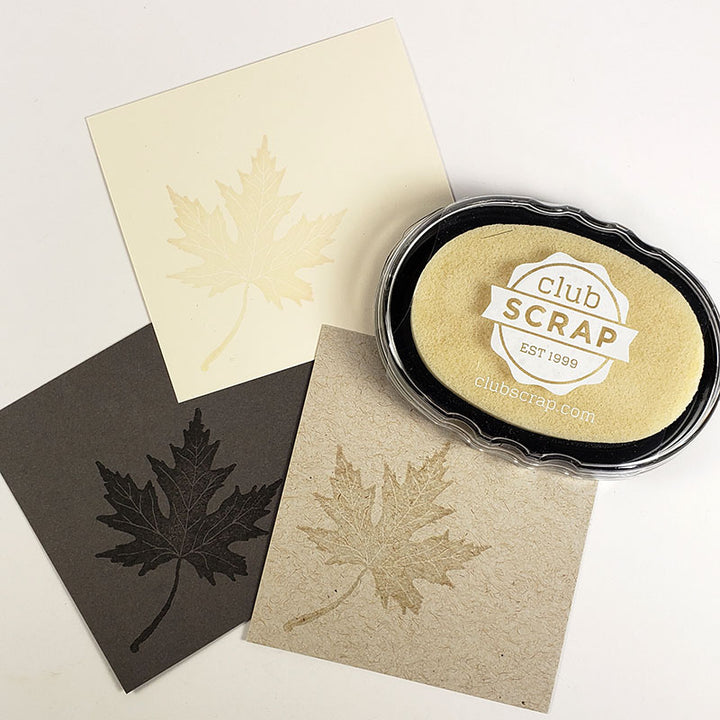
Stamp the images in Tangerine, Sapphire, and Earth Inks and fussy cut with scissors.

Add foam adhesive circles to the back of each shape, slightly overlap and adhere to the front of the panel to complete the card.

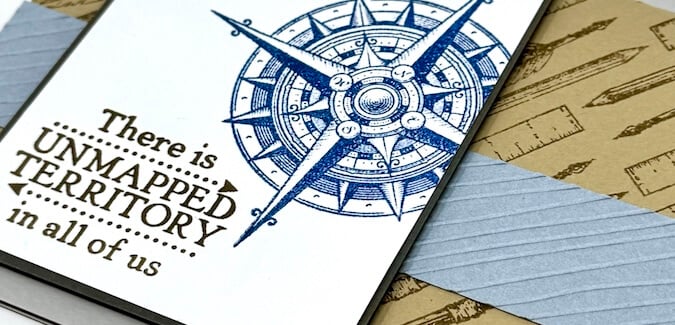
Card 2

Stamp the compass image onto a white panel in Sapphire Ink.

Add texture to the Kraft panel with a clock embossing folder.

Position the paper in the folder so that only the top portion of the panel is embossed, leaving room at the bottom for the stamped sentiment.

Fussy cut the compass and embellish with a piece of navy blue cord tied into a simple bow.

Add foam adhesive circles to the back of the compass.

Adhere to the embossed panel to complete the card.

Card 3

Stamp the binoculars and sentiment onto a white panel. Trim five 6" lengths of navy blue cord.

Make 1/2" slots with a craft knife and grid ruler on either side of the sentiment.

Wrap one end of the cords with clear tape. Thread the taped end through the slot on the right side of the stamped sentiment, front to back.

Pull the taped end through the second slot (on the left) and bring the cords through to the front of the panel.

Secure both ends of the cord to the back of the Orange mat with clear tape.

Add foam adhesive circles to the back of the Orange mat.

Adhere the panel to the front of a card.

Card 4

Repeatedly stamp the compass image onto a Kraft panel with Watermark Ink.

Stamp the badge onto a white panel with Tangerine Ink. Trim around the perimeter of the image with a craft knife and grid ruler (or fussy cut with scissors).

Attach the badge to a Navy panel. Trim along the perimeter of the stamped image with a craft knife and grid ruler, leaving an 1/8" reveal on all sides.

Adhere the badge to a Lt. Blue anchor strip to complete the card.

Card 5

Stamp the images on a white panel with a positioning platform tool.

A stamping platform provides proper stamp alignment and ensures crisp clear images.

I love how the sentiments pair perfectly with the imagery in this set!

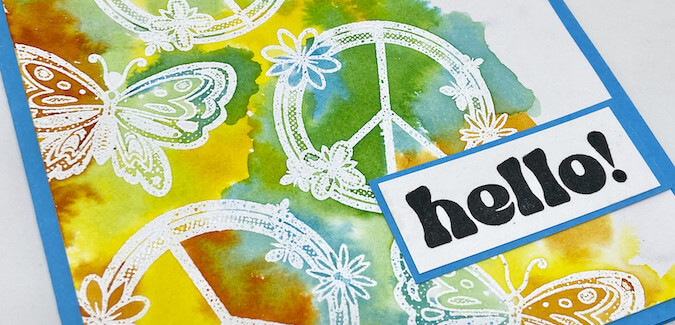
Card 6

Create a "mask" from a torn piece of post note paper. Apply Earth Ink in a circular motion along the edge of the torn paper with an Ink Applicator Brush.

Cover the inked portion with the other half of the torn paper. Apply Tangerine Ink along the edge in the same circular fashion.

Blend Sapphire Ink onto the remaining exposed area of the panel.

Remove the masks and place the panel into a stamping platform. Position the Jeep onto the panel.

Pick up the stamp with the platform lid and apply India Ink. Close the lid onto the panel to stamp the image. Repeat as needed to create a crisp, dark image.

Add a stamped sentiment to complete the card.

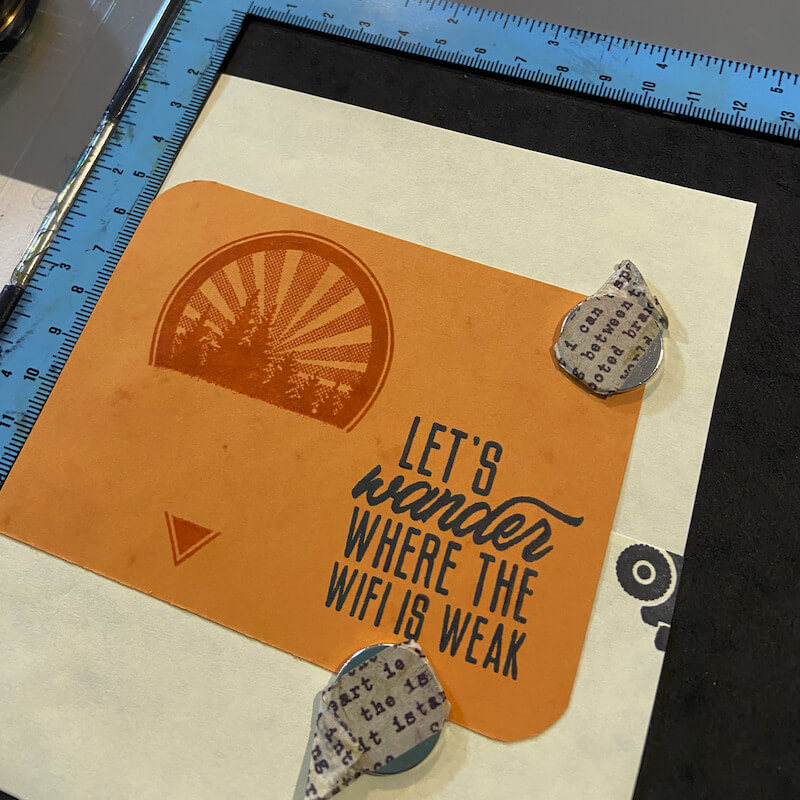
Card 7

Create a 1" masking strip with sticky note paper.

Place an Orange panel into a stamping platform. Add the sentiment to the lower right corner with Sapphire Ink. Remove the sentiment stamp. Place the masking strip across the Orange Panel, partially covering the sentiment as shown below.

Position the image stamp so the text portion lands over the masking strip.

Pick up the stamp with the lid of the platform, add Tangerine Ink and stamp onto the panel, over the masked area. Repeat as needed to create a crisp, bold image.

Remove the mask.
Postition the Jeep image into the open space.

Stamp the image with Sapphire Ink.

Layer Orange and Lt. Blue panels onto an embossed Navy panel to complete the card.

Card 8

Stamp the sentiment with Tangerine ink onto a square white panel.

Mask the sentiment with sticky note paper. Stamp the compass in Earth Ink.

Stamp a second compass onto sticky note paper. Fussy cut with scissors to create a mask.

Cover the stamped compass with the mask. Stamp the binoculars in Sapphire Ink, making sure a portion of the image overlaps the masked area(s).

Repeat the masking process with the binoculars. Add the Jeep image with India Ink.

Fill in any remaining areas with the arrow image (Tangerine Ink). Remove all masks from the panel. Outline the sentiment with a journalling pen using the grid ruler as a guide.

Wrap the panel with navy cord tied with a bow for the perfect finishing touch!

I hope you'll enjoy making artwork with the Wanderer Stamps as much as I did! Did you know that Club Scrap has an online chat group on Facebook where you can share your artwork with fellow CS® fans? Joining us is easy; simply answer a few simple questions and we will get your request accepted in no time.
CS Hybrid Ink Pads

$6.35
Exclusively Club Scrap®, this hybrid craft ink combines the most exceptional ingredients of both pigments and dyes for a fine, crisp, fast-drying image! Don't forget to stock up on the coordinating re-inkers. Each ink pad sold separately. Please select the… Read More
CS Watermark Ink Pad
$6.40
This clear ink creates a "watermark" effect on all kinds of papers. Ideal for use with embossing powders and for resist techniques. Create watermark or light shadow images on uncoated card stock Use for Batik-like dye ink resist effects on… Read More
India Ink Pad
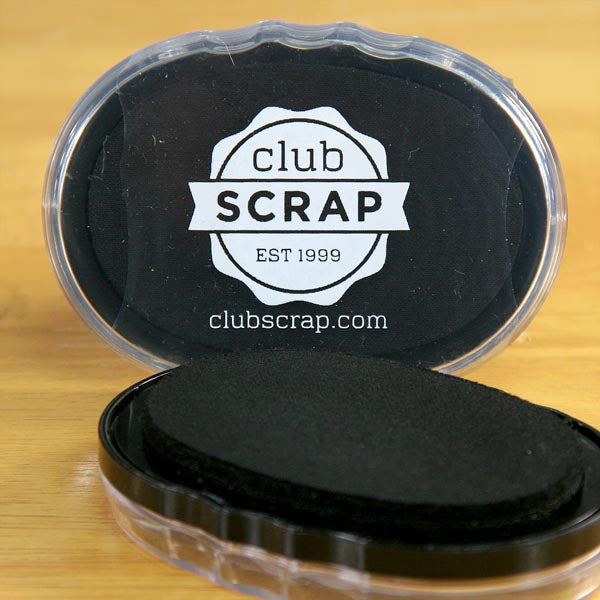
$7.50
Club Scrap's India Ink is a deep black, super-quick drying dye ink formula for use with watercolors, markers, stamping, scrapbooking and much more. We love how fast it dries so that you can get to work without a smudge!… Read More