
Create cards that feature simple techniques with the Cartography stamps. I love the cool geographical art style and clever sentiments of the November collection.
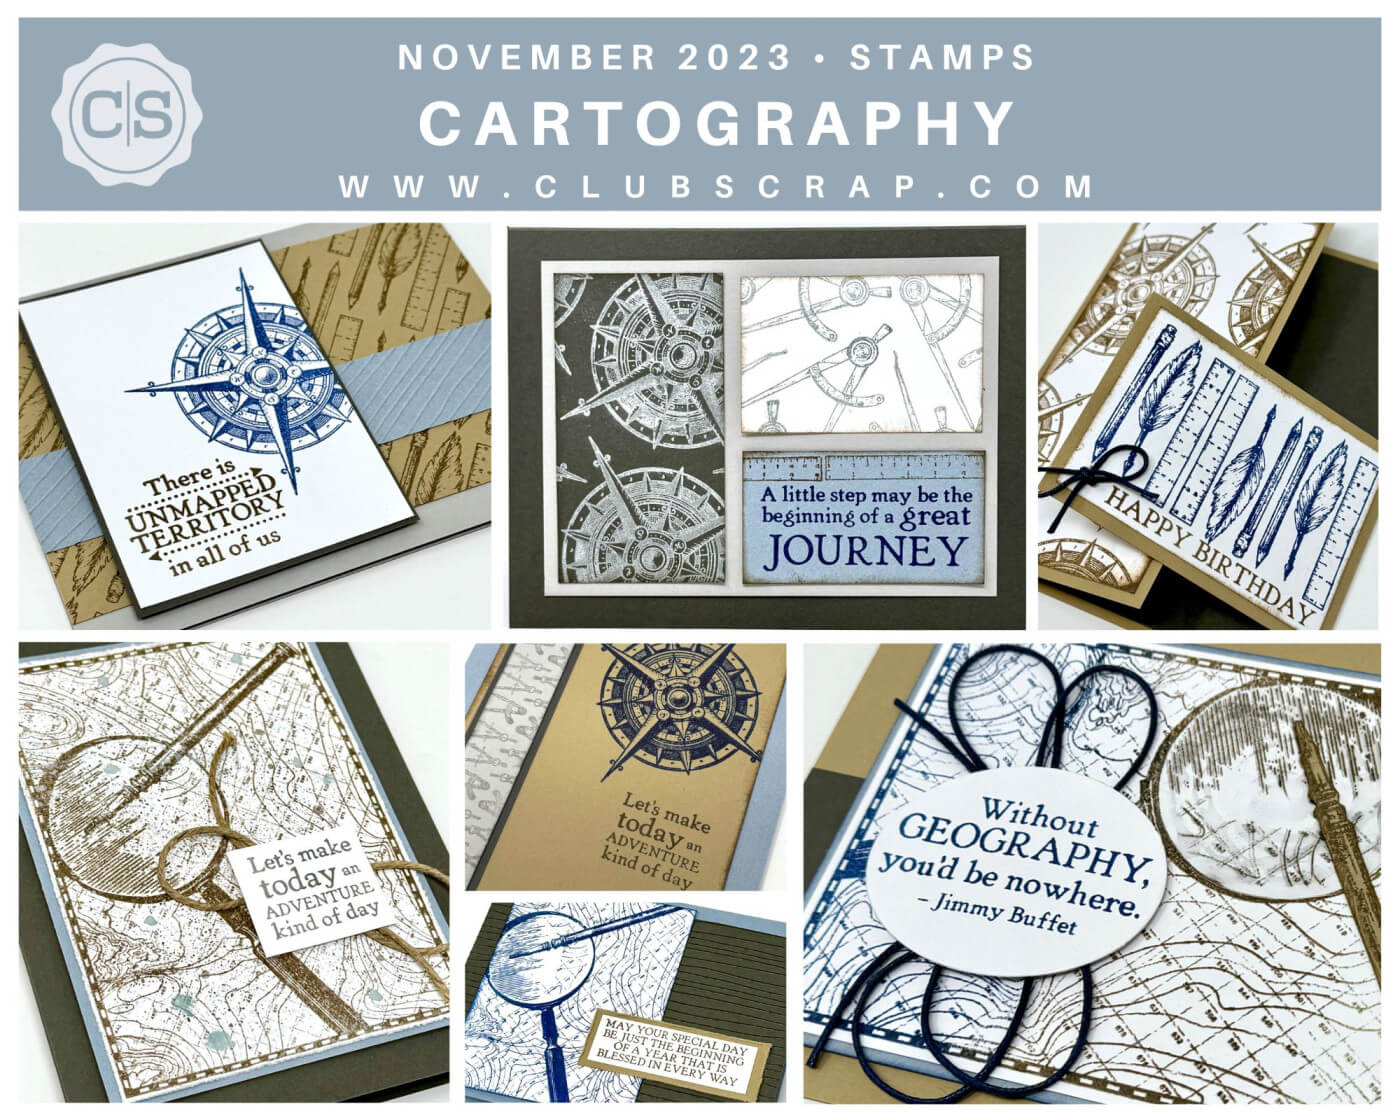
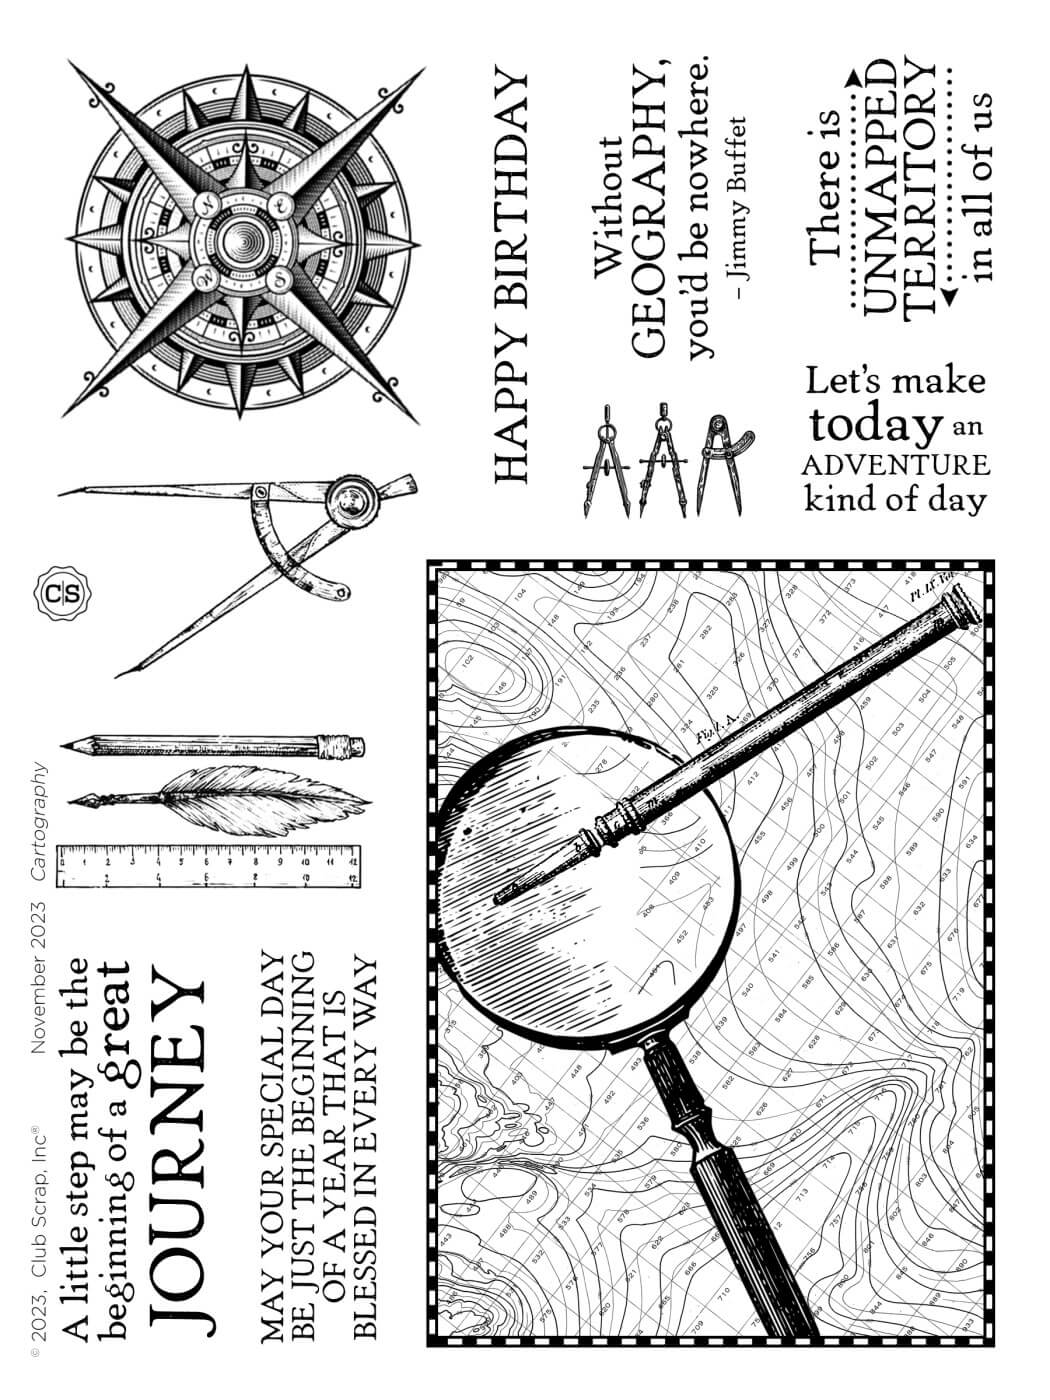
Cartography Stamps
*The finished size of each card below is 4.25x5.5", unless otherwise noted.
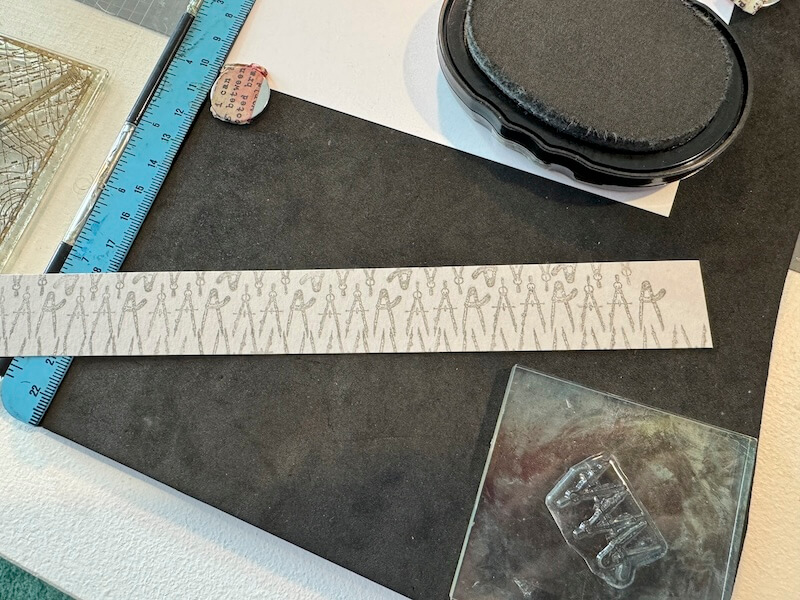
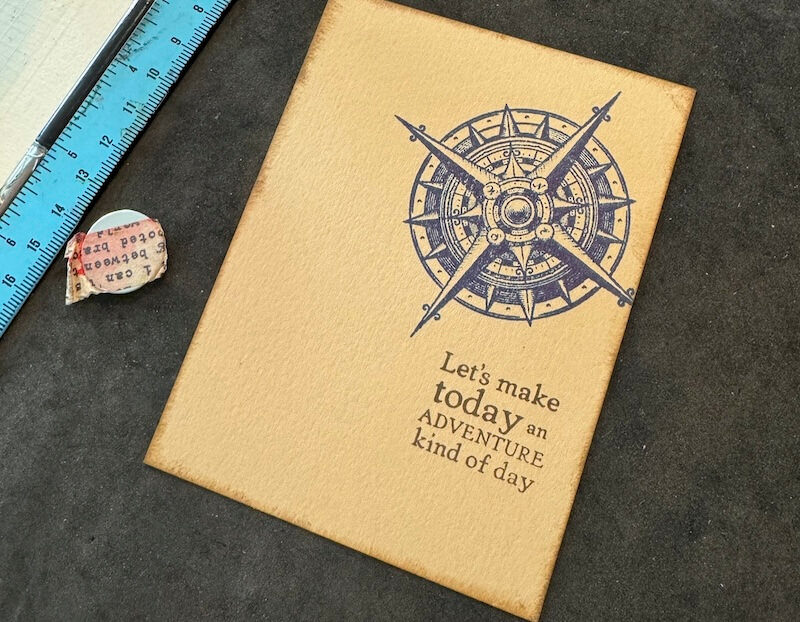
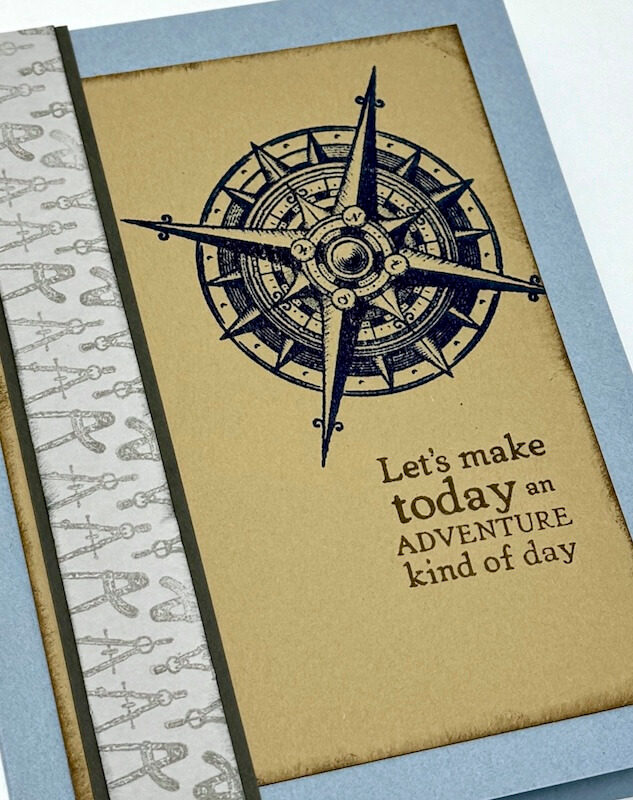
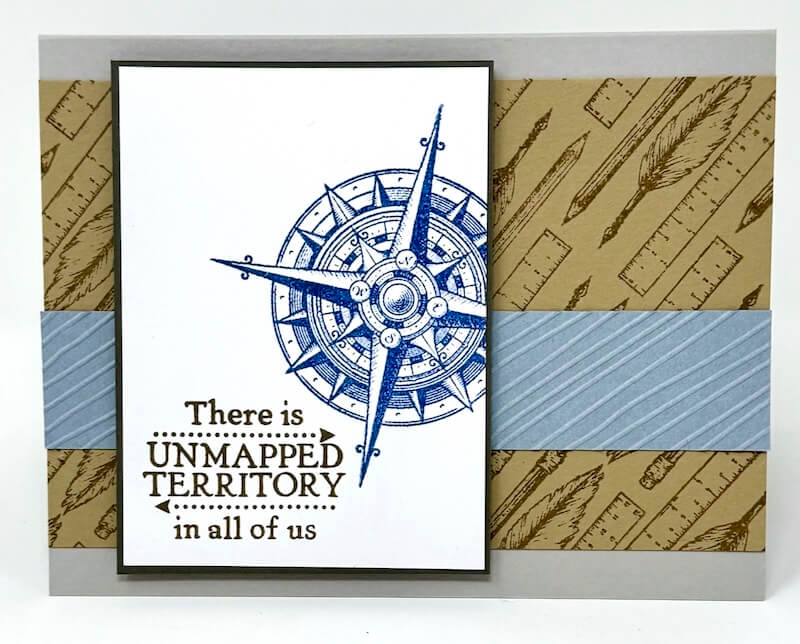
Card 1
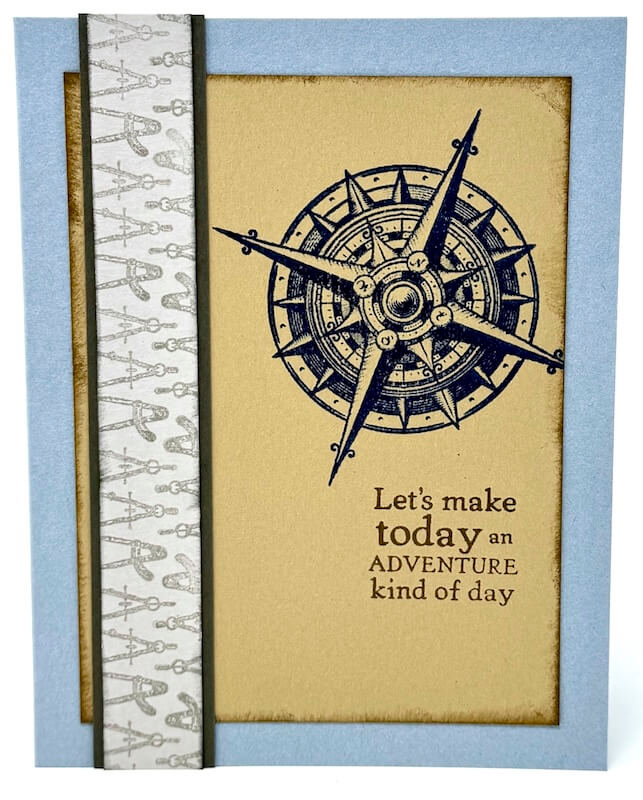
Make a repeat pattern with the small tool image in Ash Ink on a 1" Lt. Gray strip.
Add the compass in Sapphire and the sentiment in Earth Ink to a Khaki panel.
Adhere the panel and border strip to complete the card.
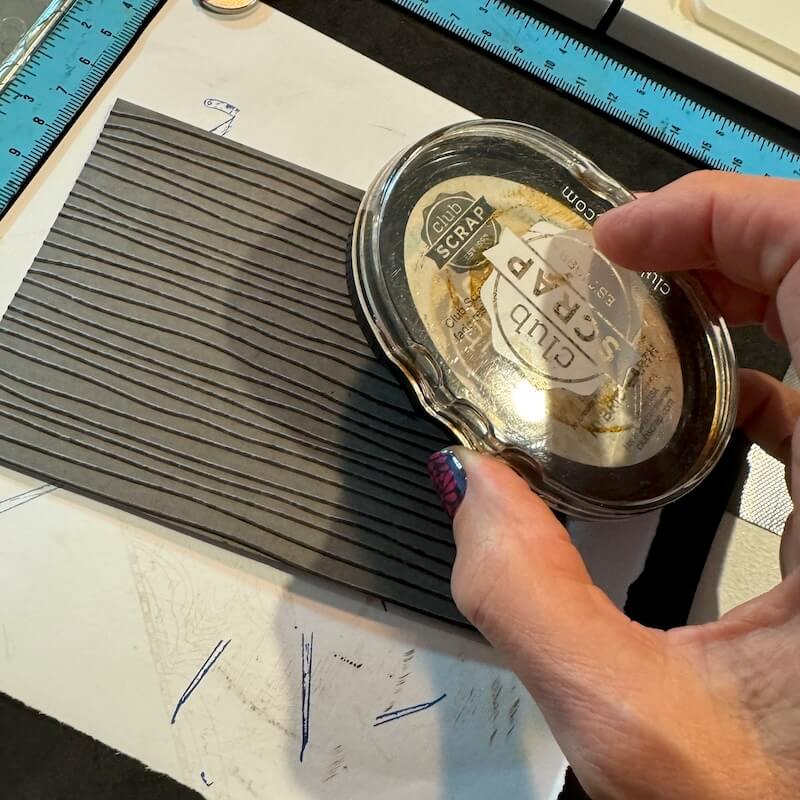
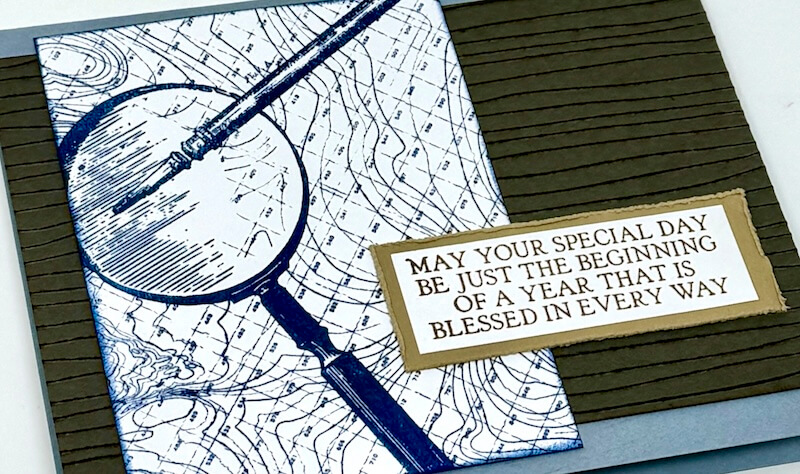
Card 2
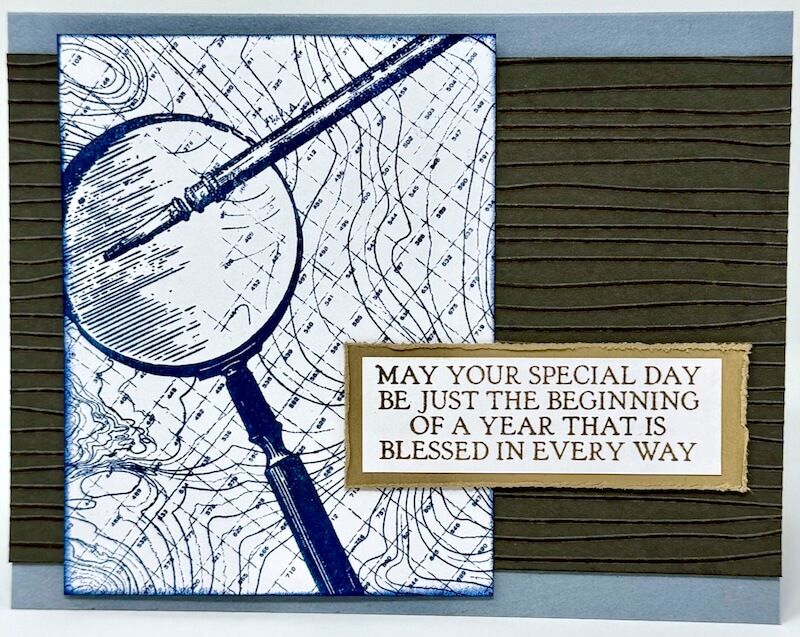
Emboss a Dk. Gray panel with a wavy line folder. Run an Earth Ink pad over the raised lines on the panel. Adhere the panel to the folded card base, centered from top to bottom.
Stamp the map image onto a white panel with Sapphire Ink. Add the sentiment to a white strip in Earth Ink. Distress the edges of the Khaki sentiment mat and adhere, overlapping the map panel.
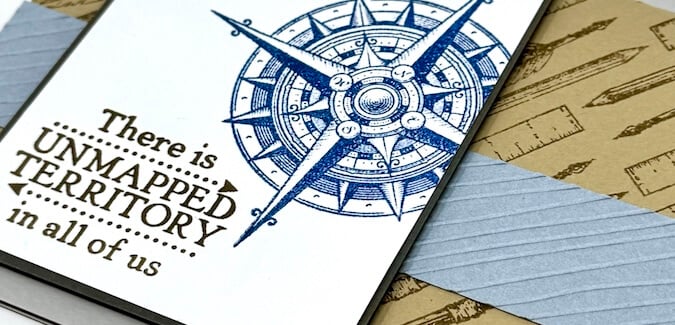
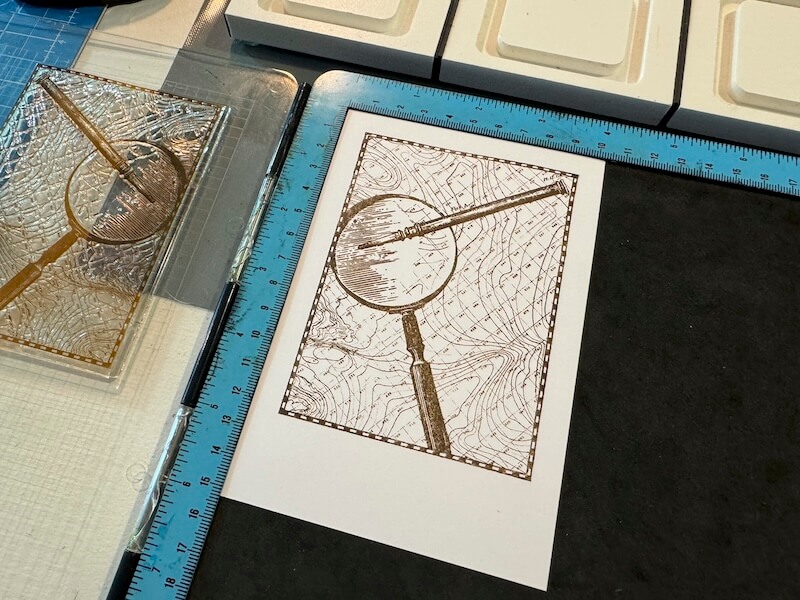
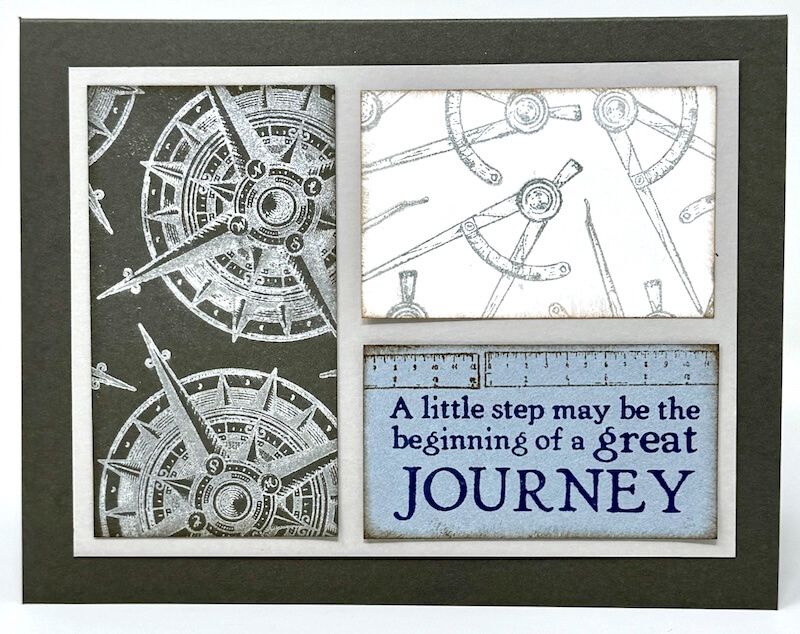
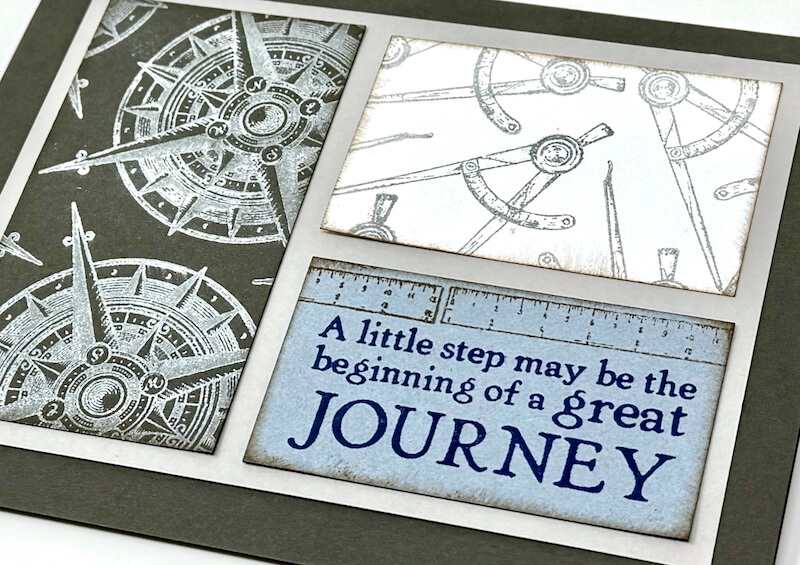
Card 3
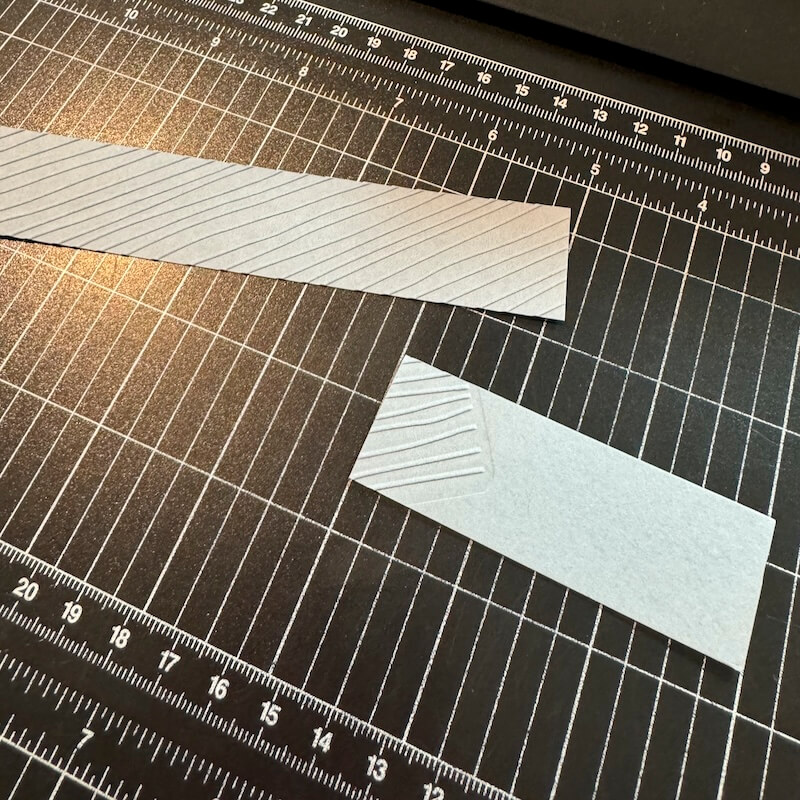
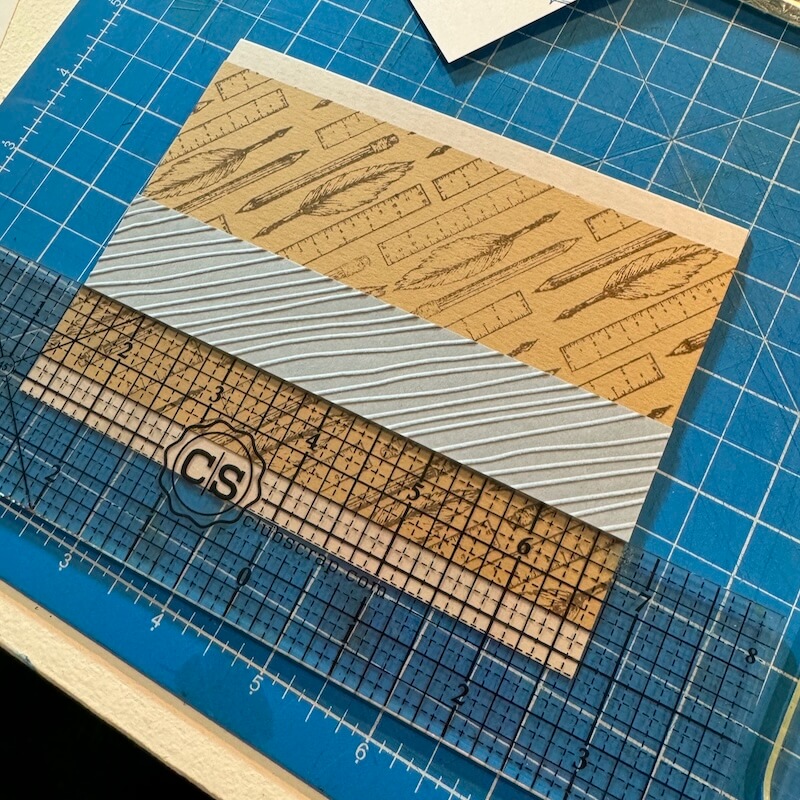
Add texture to a 1" wide Blue strip with a wavy lines embossing folder.
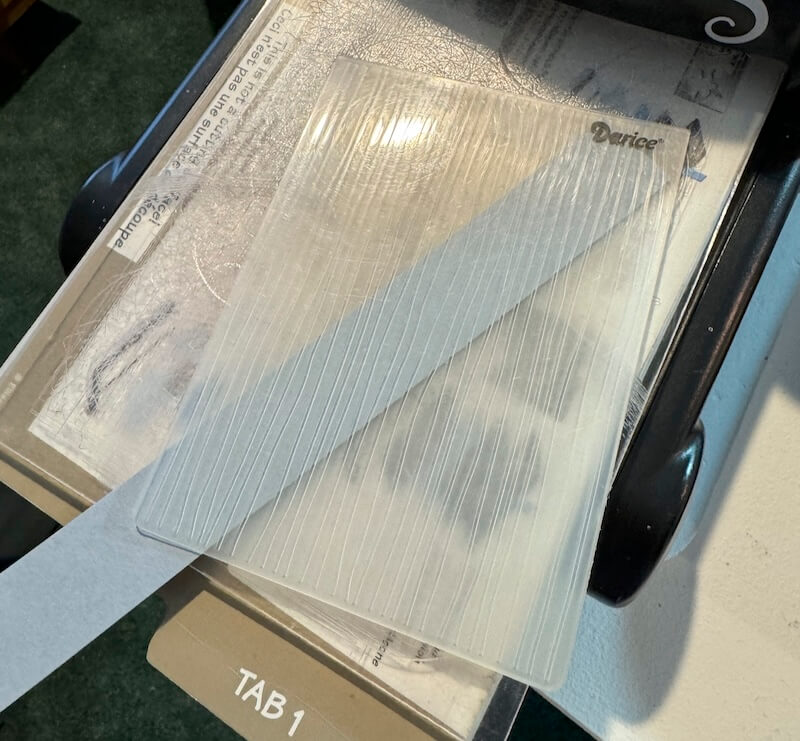
Trim the strip to 5.5".
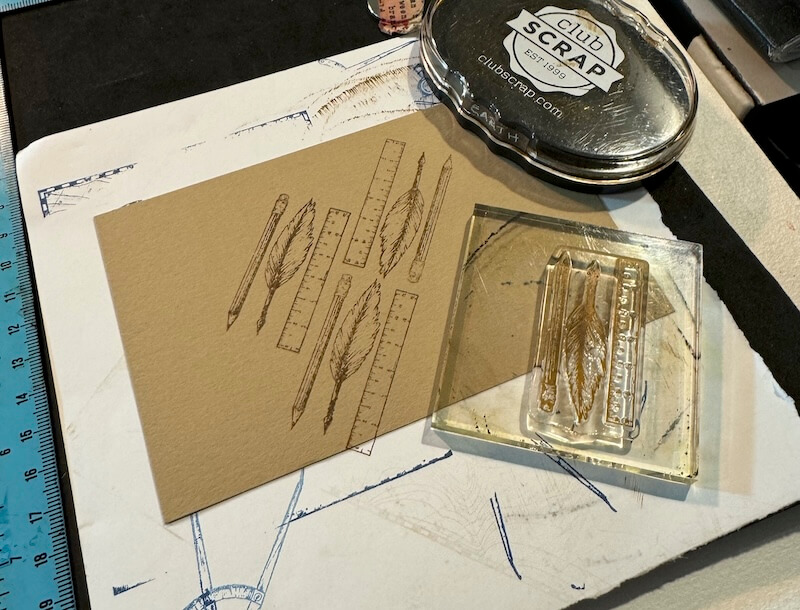
Add the pen and ruler images at an angle on a Khaki panel in Earth Ink.
Adhere the embossed strip on the stamped panel using a grid ruler to ensure proper alignment.
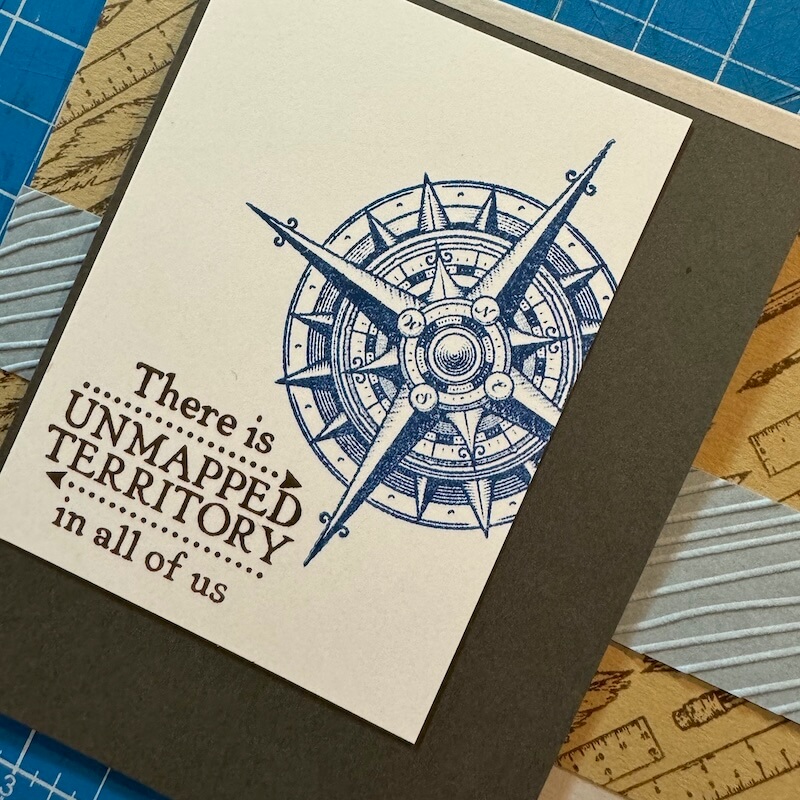
Stamp the compass onto a white panel (Sapphire) and add the sentiment (Earth). Mat with Dk. Gray.
Add foam adhesive circles to the back of the Dk. Gray mat.
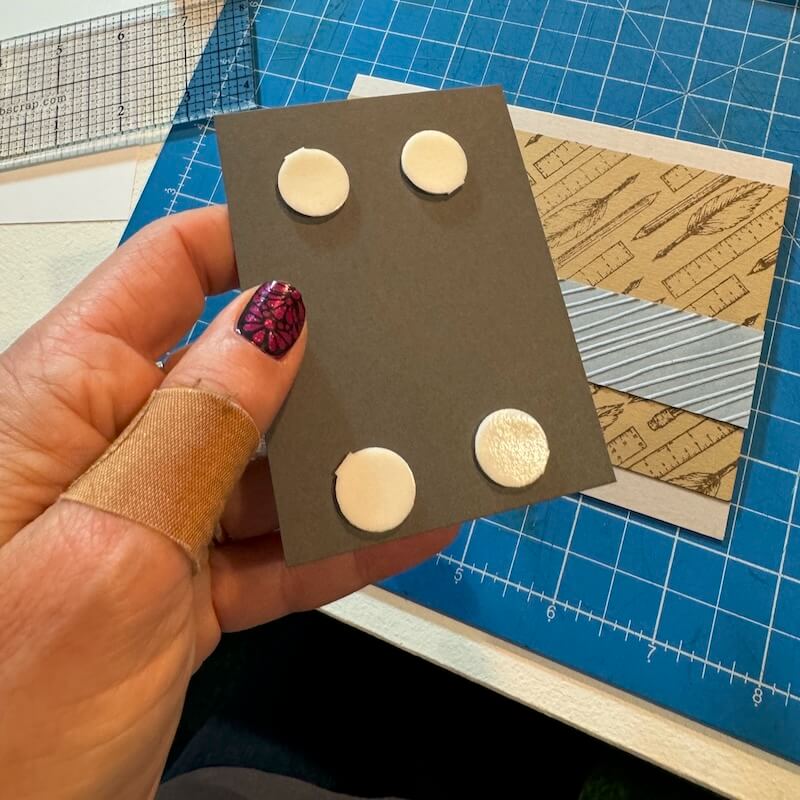
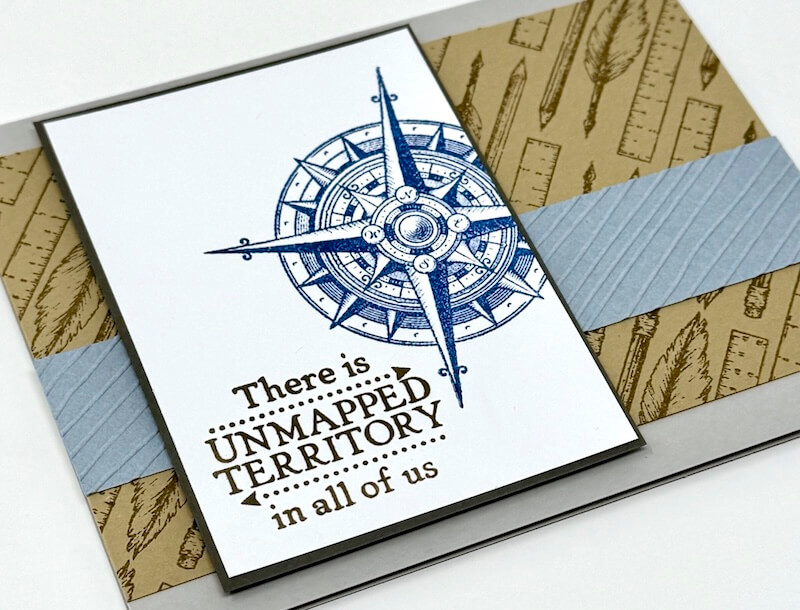
Adhere over the embossed strip to complete the card.
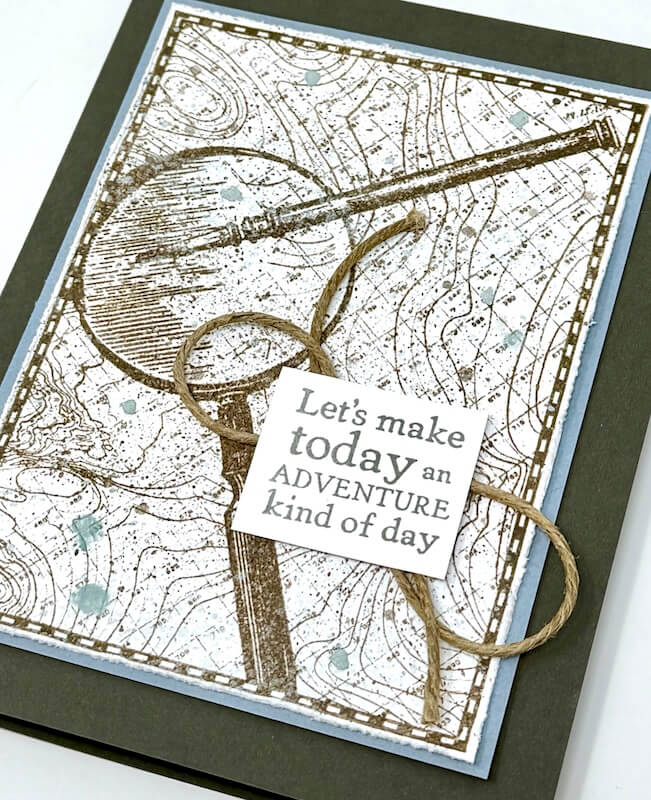
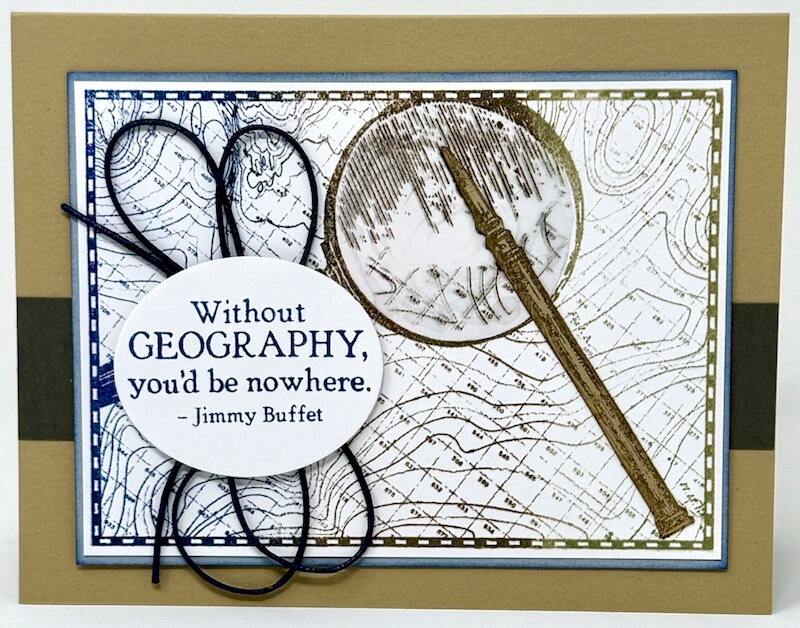
Card 4
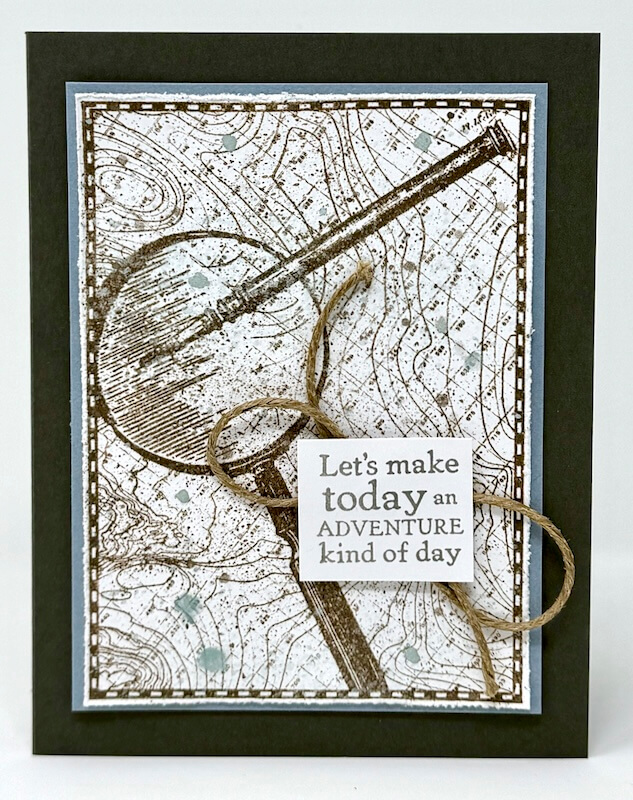
Stamp the map image onto a white panel with Earth Ink.
Crop the image and rough up the edges with a paper distressing tool.
Place the panel into a spray tray. Add color with Distress Crayons (Speckled Egg and Walnut Stain) applied with a water brush.

Stamp a sentiment onto a small white panel with Ash Ink.
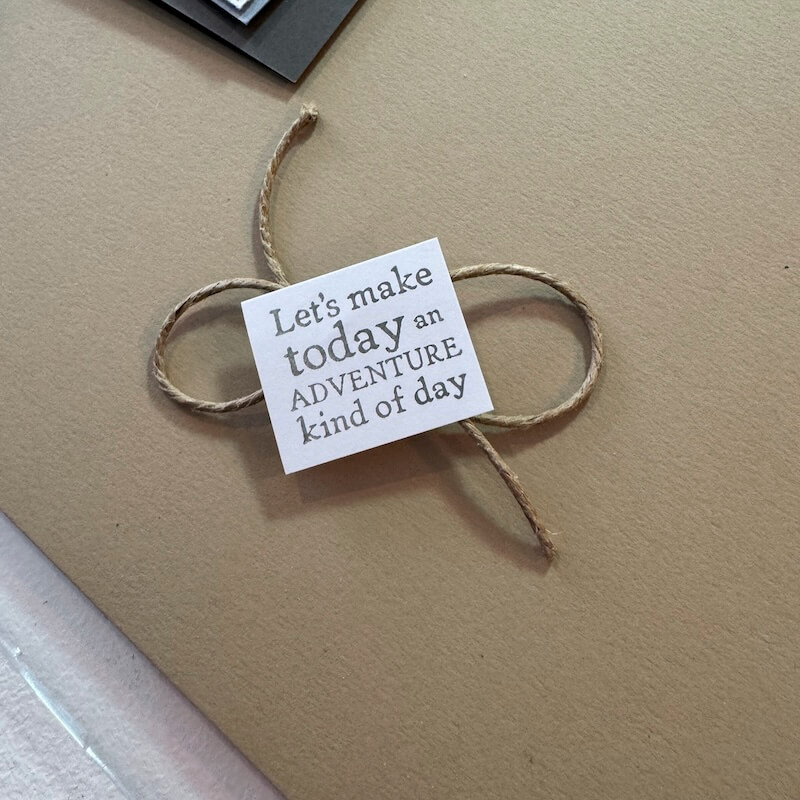
Add loops of tan cord to the back of the sentiment, holding it in place with a bit of adhesive.
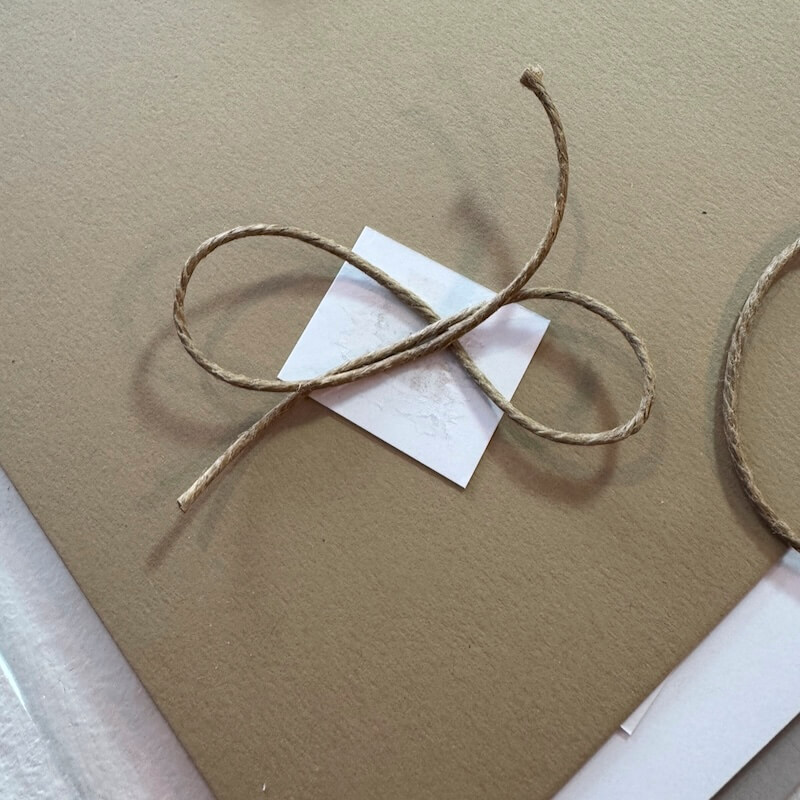
Cut foam adhesive circles in half; add to the back of the panel on either side of the twine.
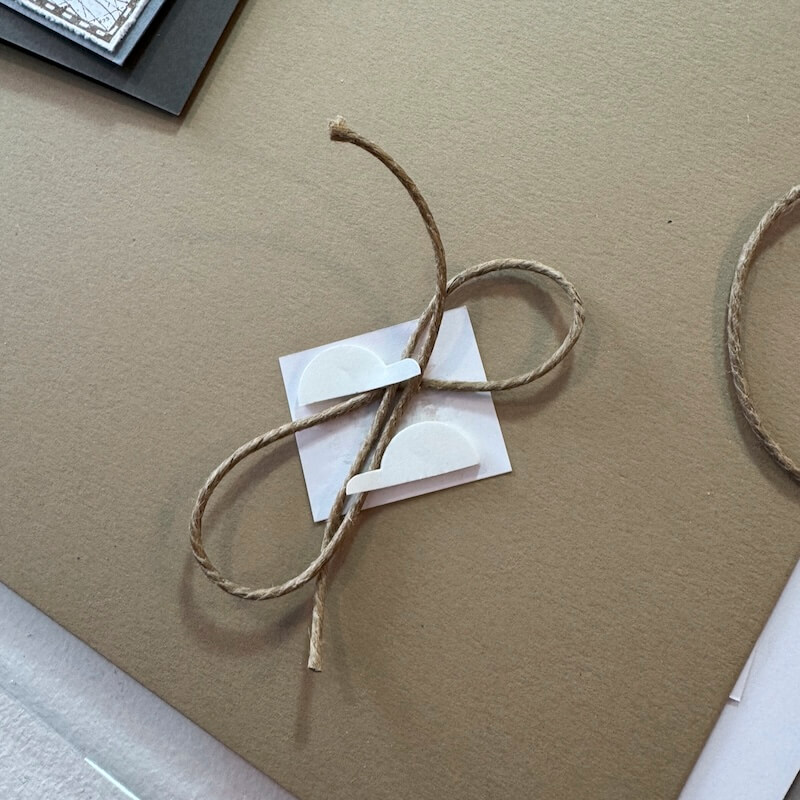
Remove the backing and add to the front of the completed card.
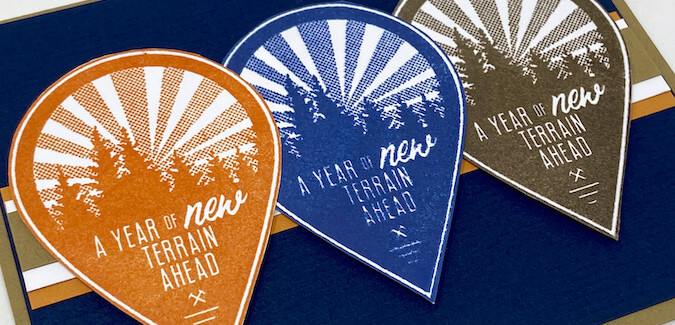
Card 5
Add stamped images to White, Blue and Dk. Gray panels.

Center a 3.5x4.75" Lt. Gray panel onto a folded card base. Nest the remaining stamped panels to complete the card.
Card 6
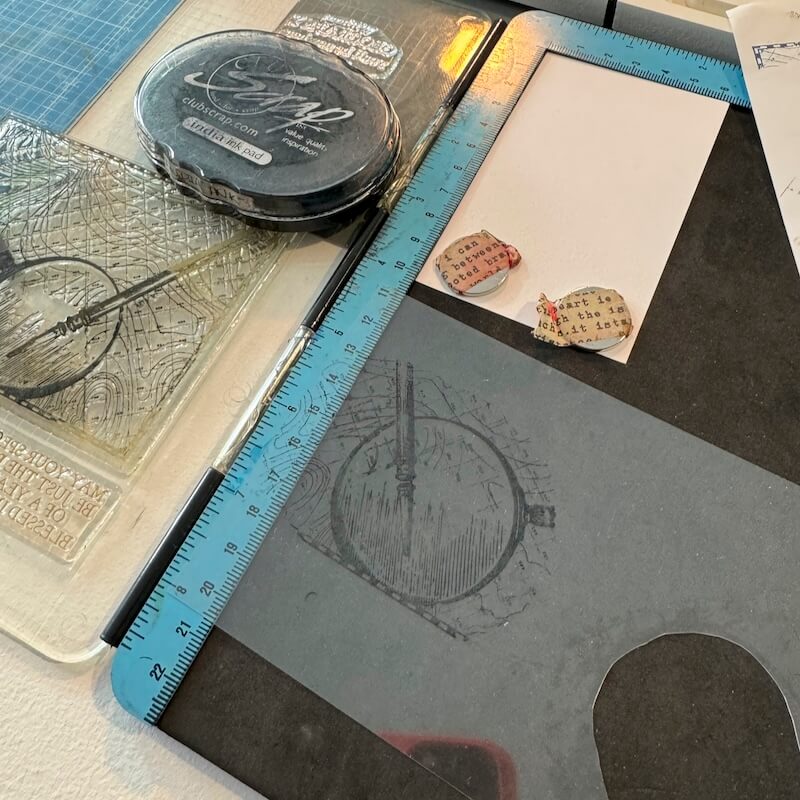
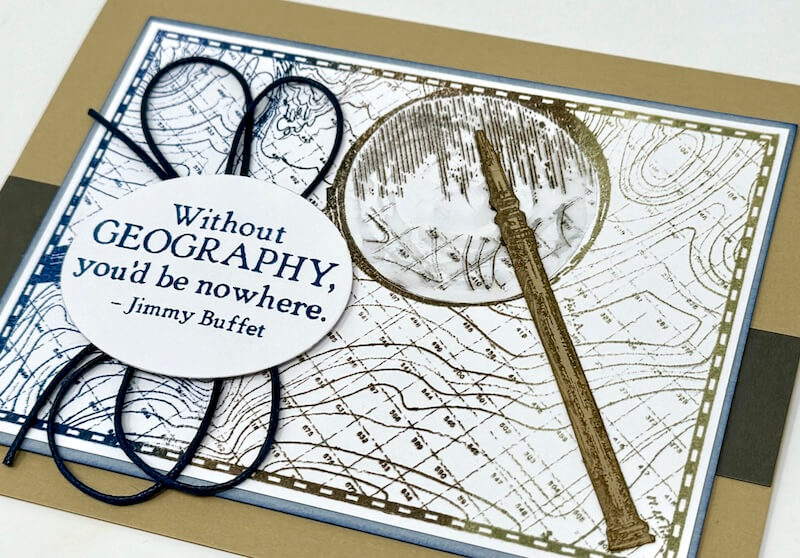
Place the map image into a stamp positioning tool. Add Sandstone to the top, Earth in the middle and Sapphire Inks at the bottom of the image.
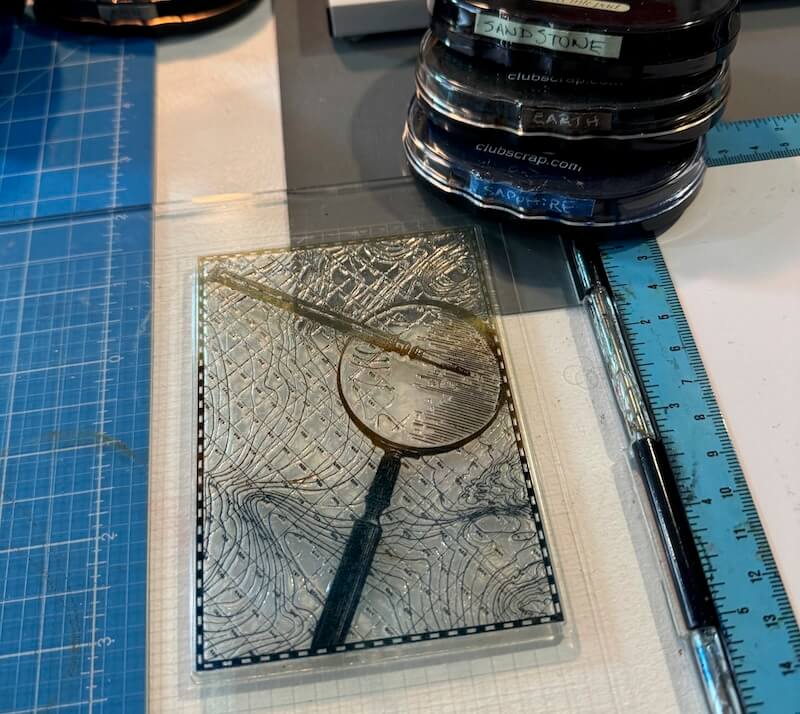
Stamp the image onto a White panel. Repeat inking and stamping as needed until the desired saturation of color is achieved.
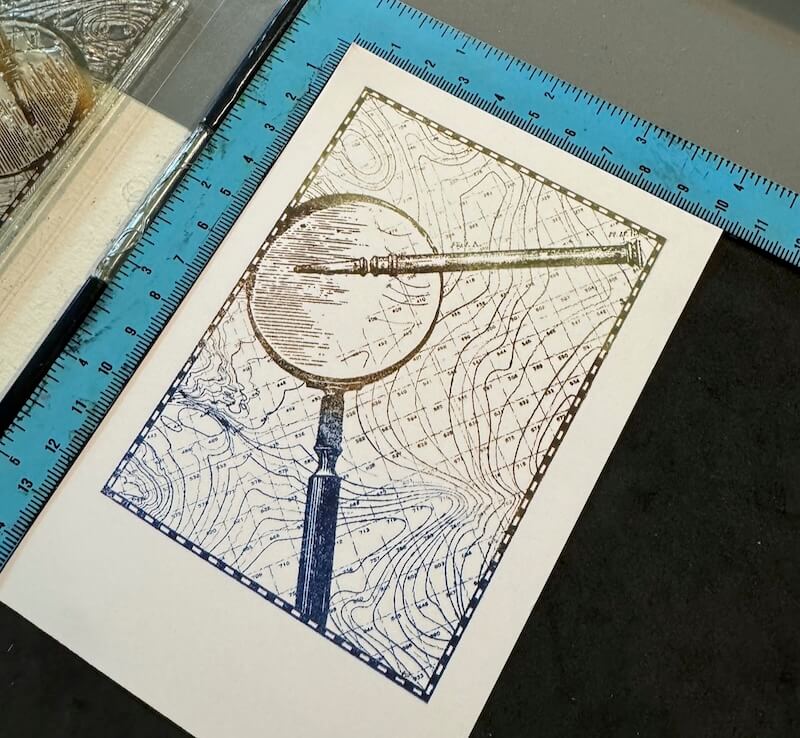
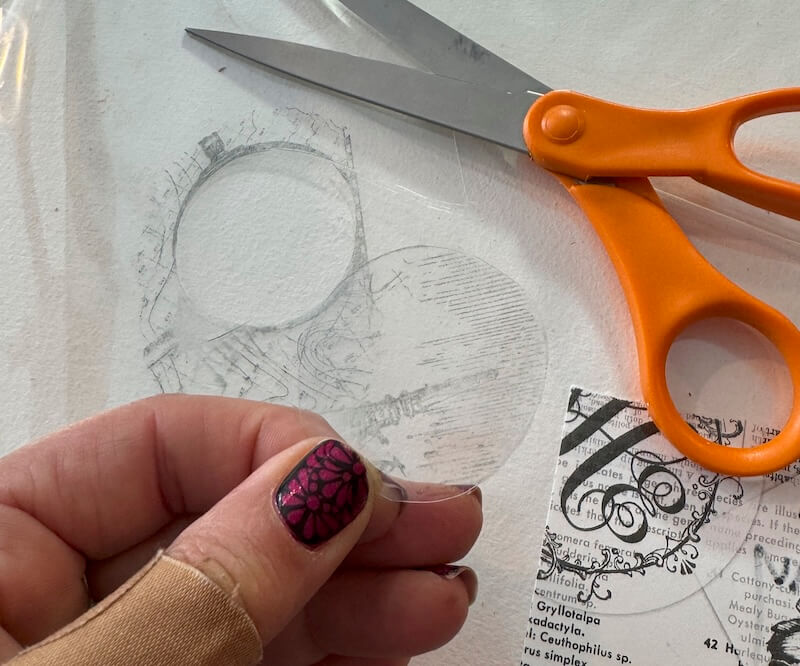
Add India Ink to the same stamp but only to the area with the magnifying glass image. Stamp onto a piece of clear acetate.
Fussy cut the "glass" portion of the magnifying glass with scissors.
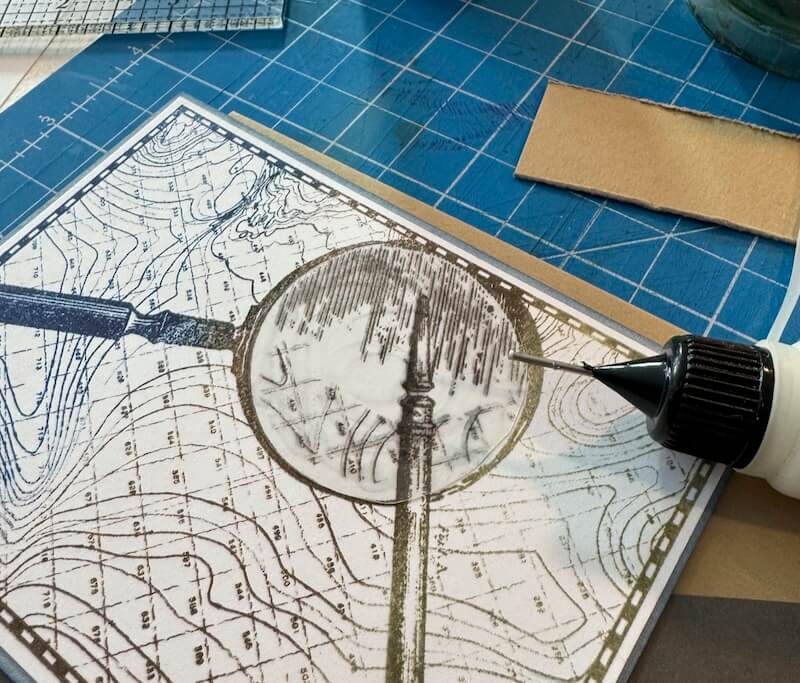
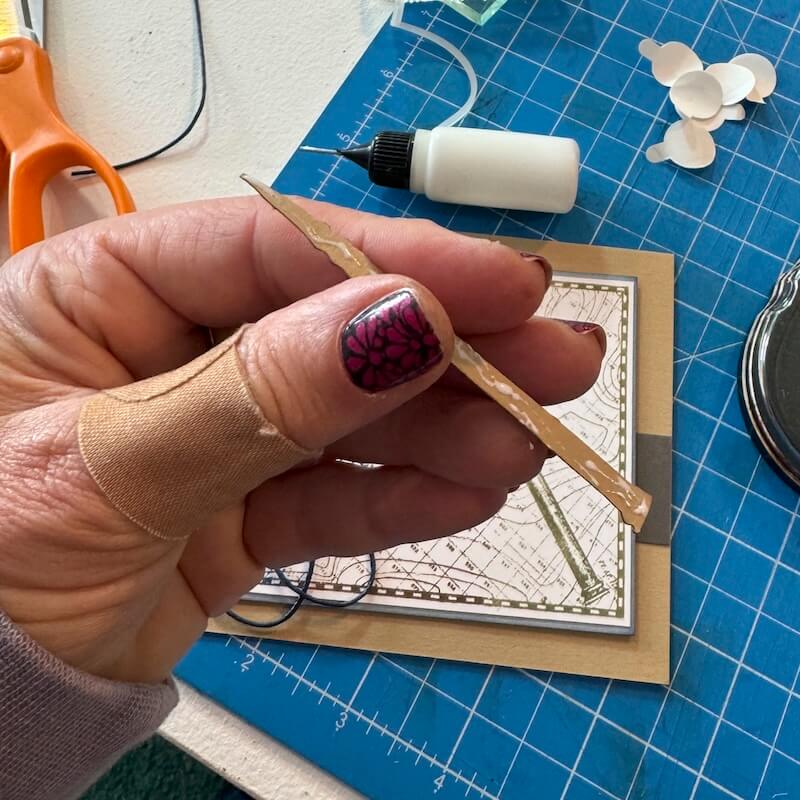
Adhere over the large stamped image with Bookbinding Glue dispensed from a Needle-tipped Applicator. Smooth out any glue lines, as they will be visible even after the glue dries clear.
Add Earth Ink to the area including the "pen" on the map image. Stamp onto a piece of Khaki paper. Fussy cut the image with scissors.
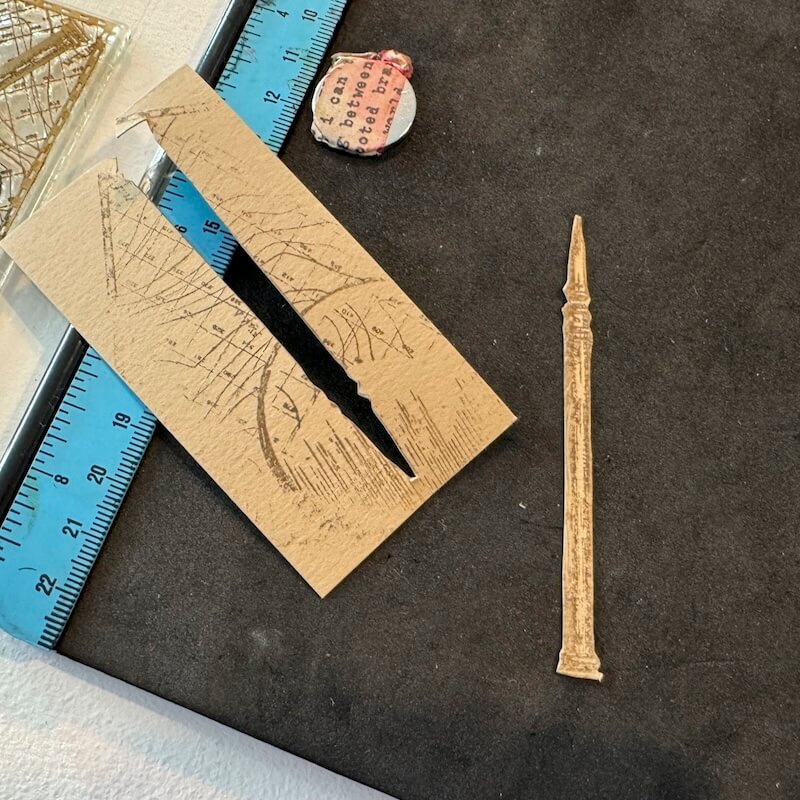
Adhere over the large map and magnifying glass with Bookbinding Glue dispensed from a Needle-tipped Applicator.
Cut a stamped sentiment with an oval die. Secure loops of navy blue twine to the back with a bit of adhesive. Place two foam adhesive circles on either side of the loops.
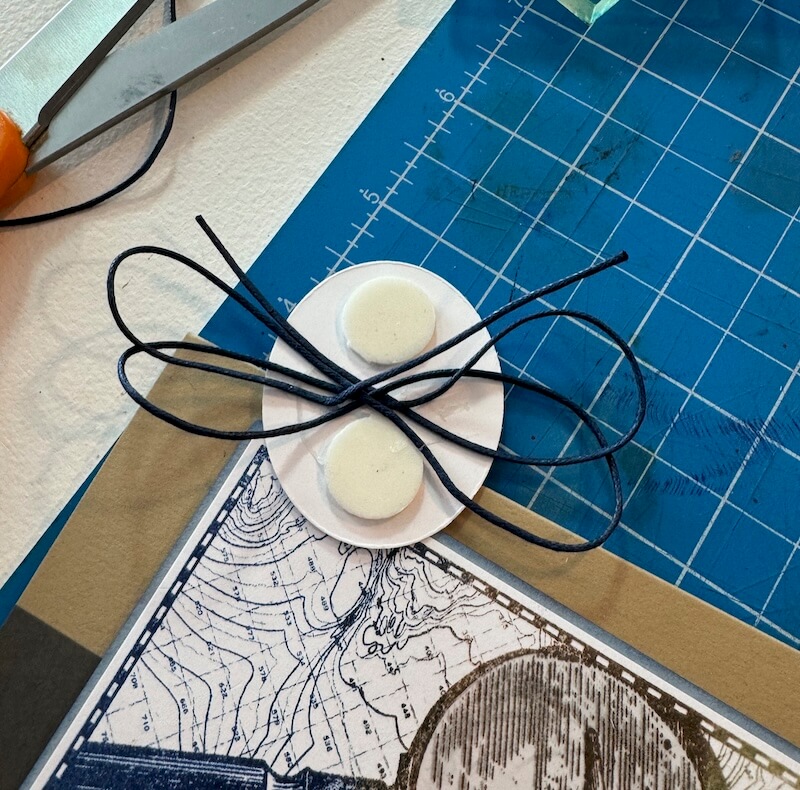
Remove the backing from the circles and add to the finished card.
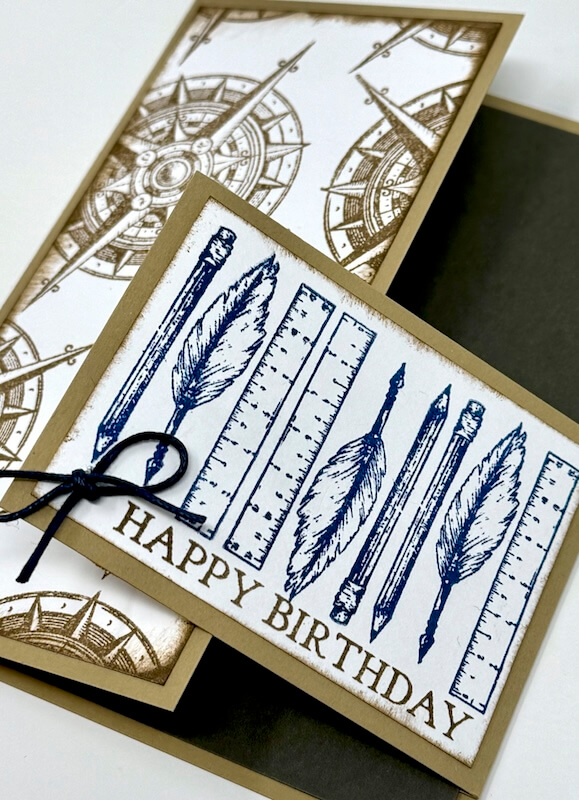
Card 7
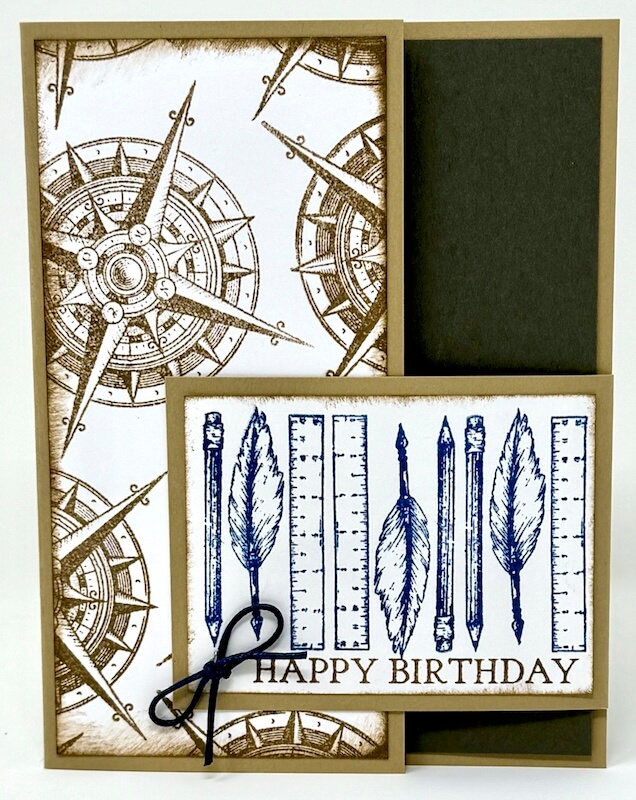
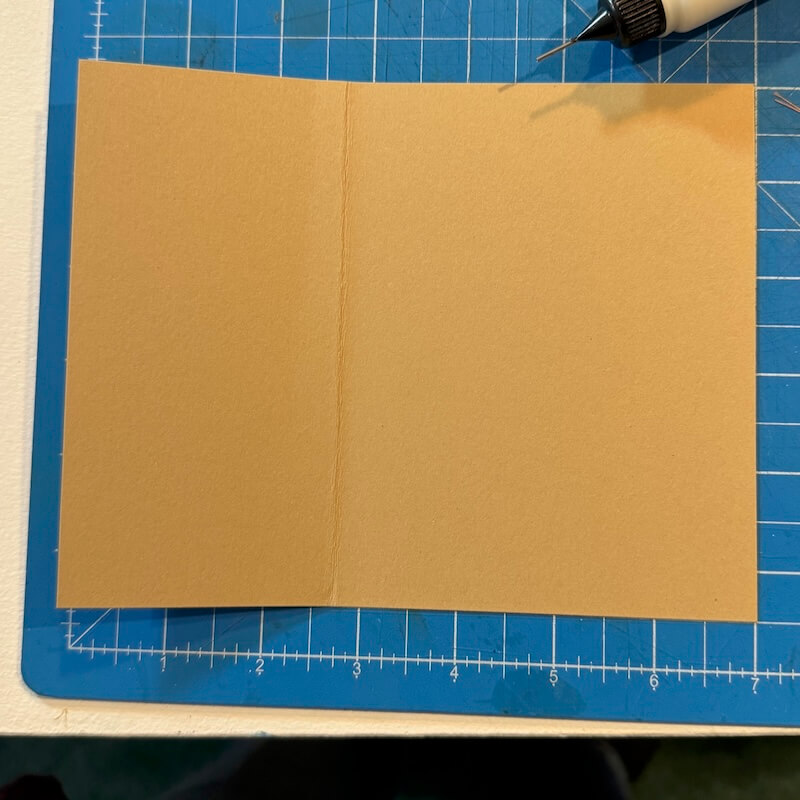
Score a 5.5x7 Khaki panel at 2.75" to form the card base.
Score a 2.5x4 Khaki panel at .75" and add glue to the front of the .75 scored section.
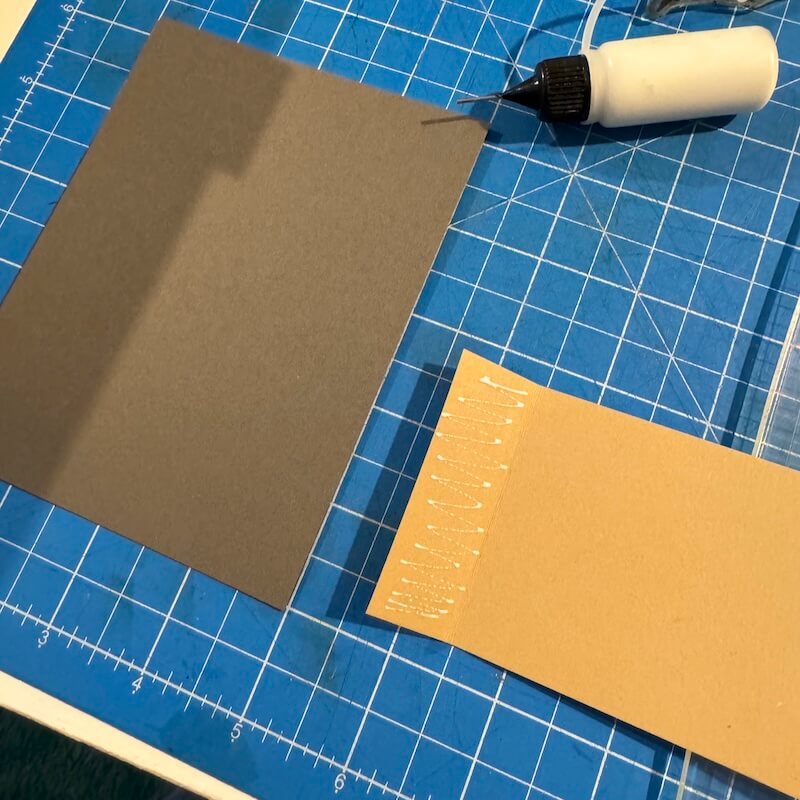
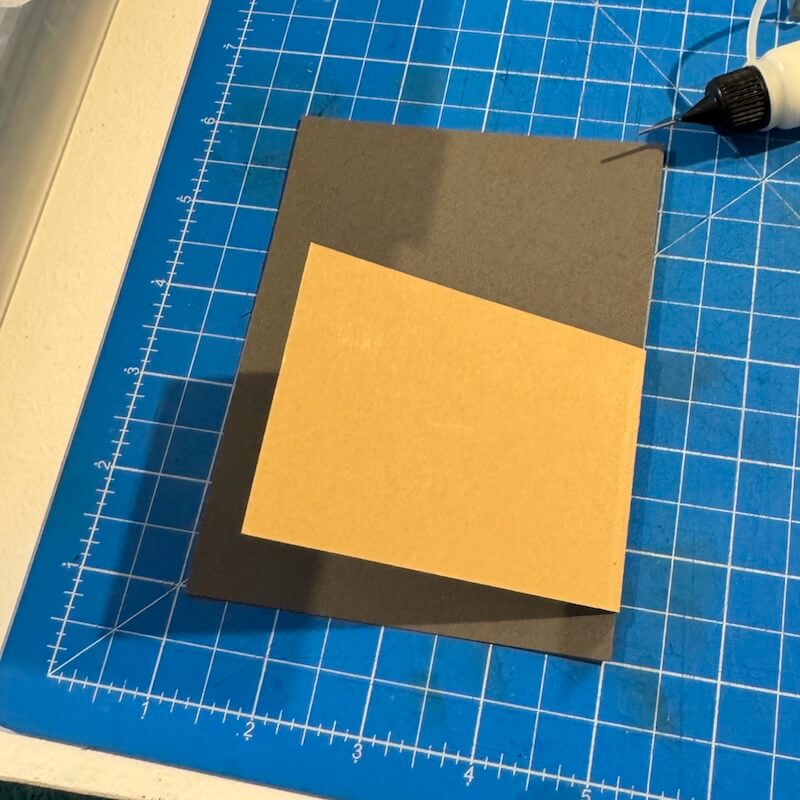
Adhere the .75 flap to the back of a 4x5.25 Dk. Gray panel as shown.
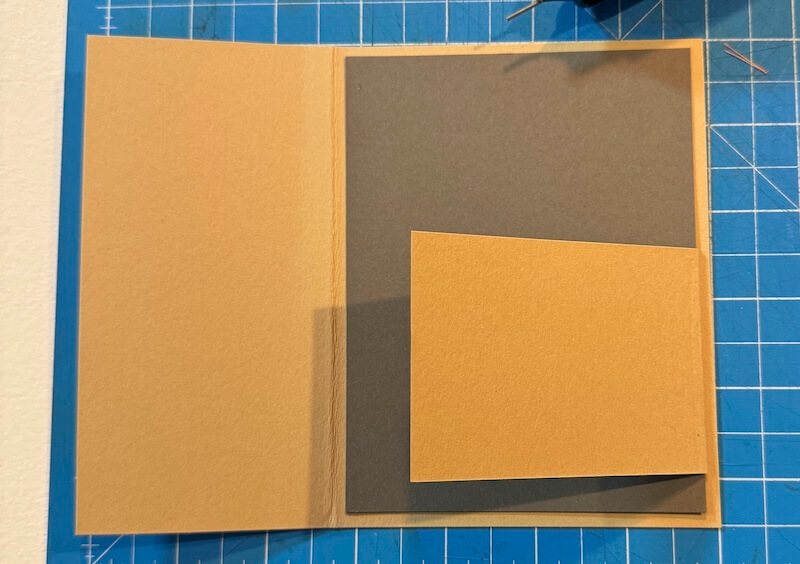
Adhere the Dk. Gray panel to the inside of the card base.
Add the compass images to a 2.5x5.25" White panel in Earth Ink. Adhere to the the largest outside flap.
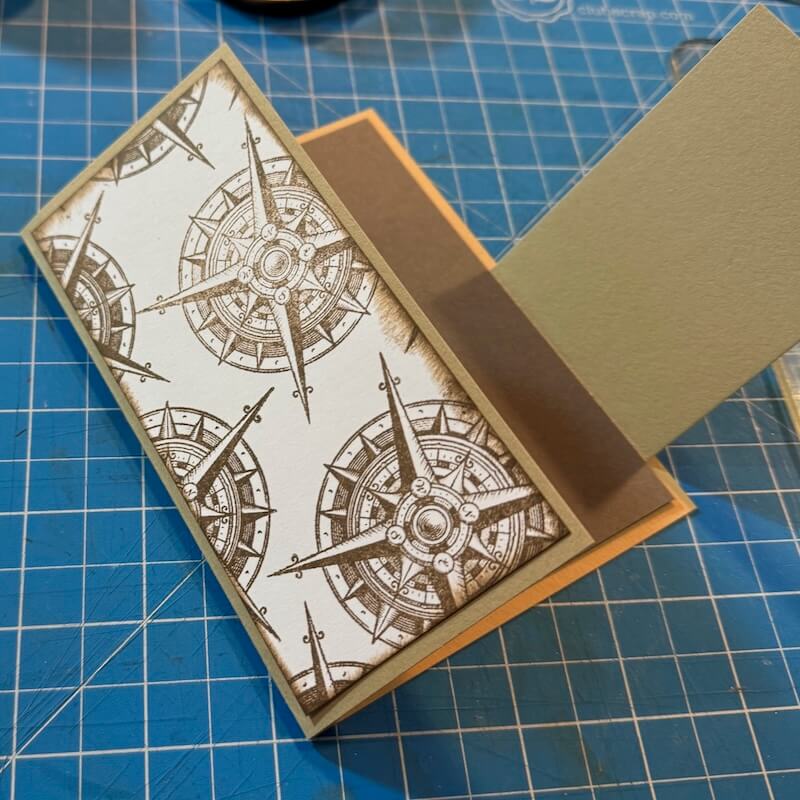
Stamp the ruler and pen images in Sapphire Ink onto a 2.25x3.125" White panel. Flip the tool images 180 degrees between each stamping. Add the sentiment below in Earth Ink. Adhere the panel to the small flap.
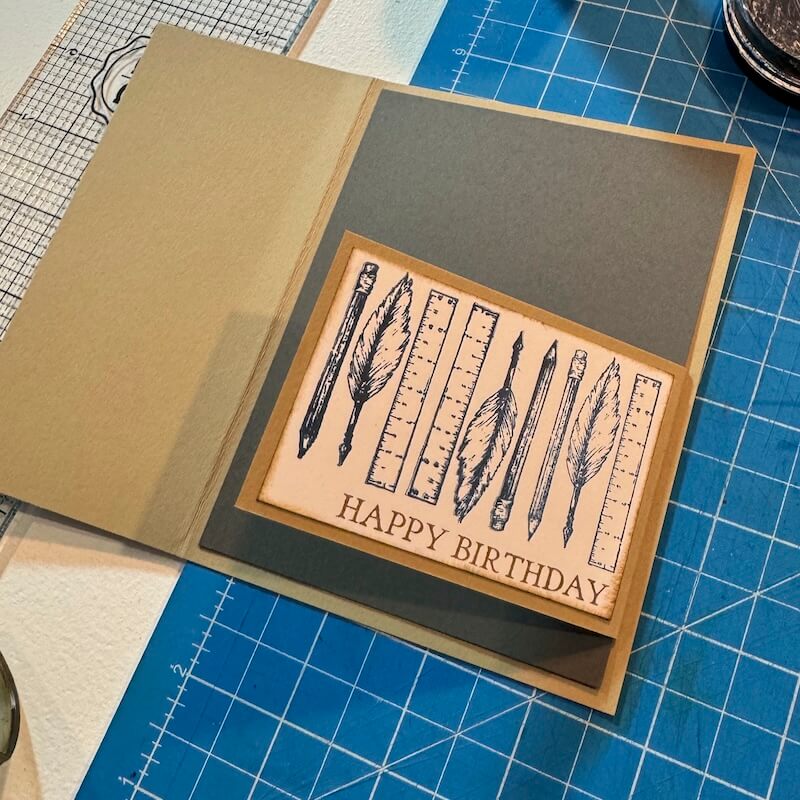
Complete the card with a small piece of blue cord tied in a bow.
I hope you enjoyed this tour of my creative journey with the Cartography stamps. For even more inspiration, please join us on Facebook in our Club Scrap Chat Group. Not a member of the group? Simply answer a couple of questions and we will get your request accepted in no time.
Happy stamping!
CS Hybrid Ink Pads

$6.35
Exclusively Club Scrap®, this hybrid craft ink combines the most exceptional ingredients of both pigments and dyes for a fine, crisp, fast-drying image! Don't forget to stock up on the coordinating re-inkers. Each ink pad sold separately. Please select the… Read More