Create cards with a masculine vibe with Club Scrap's Typeset stamps.
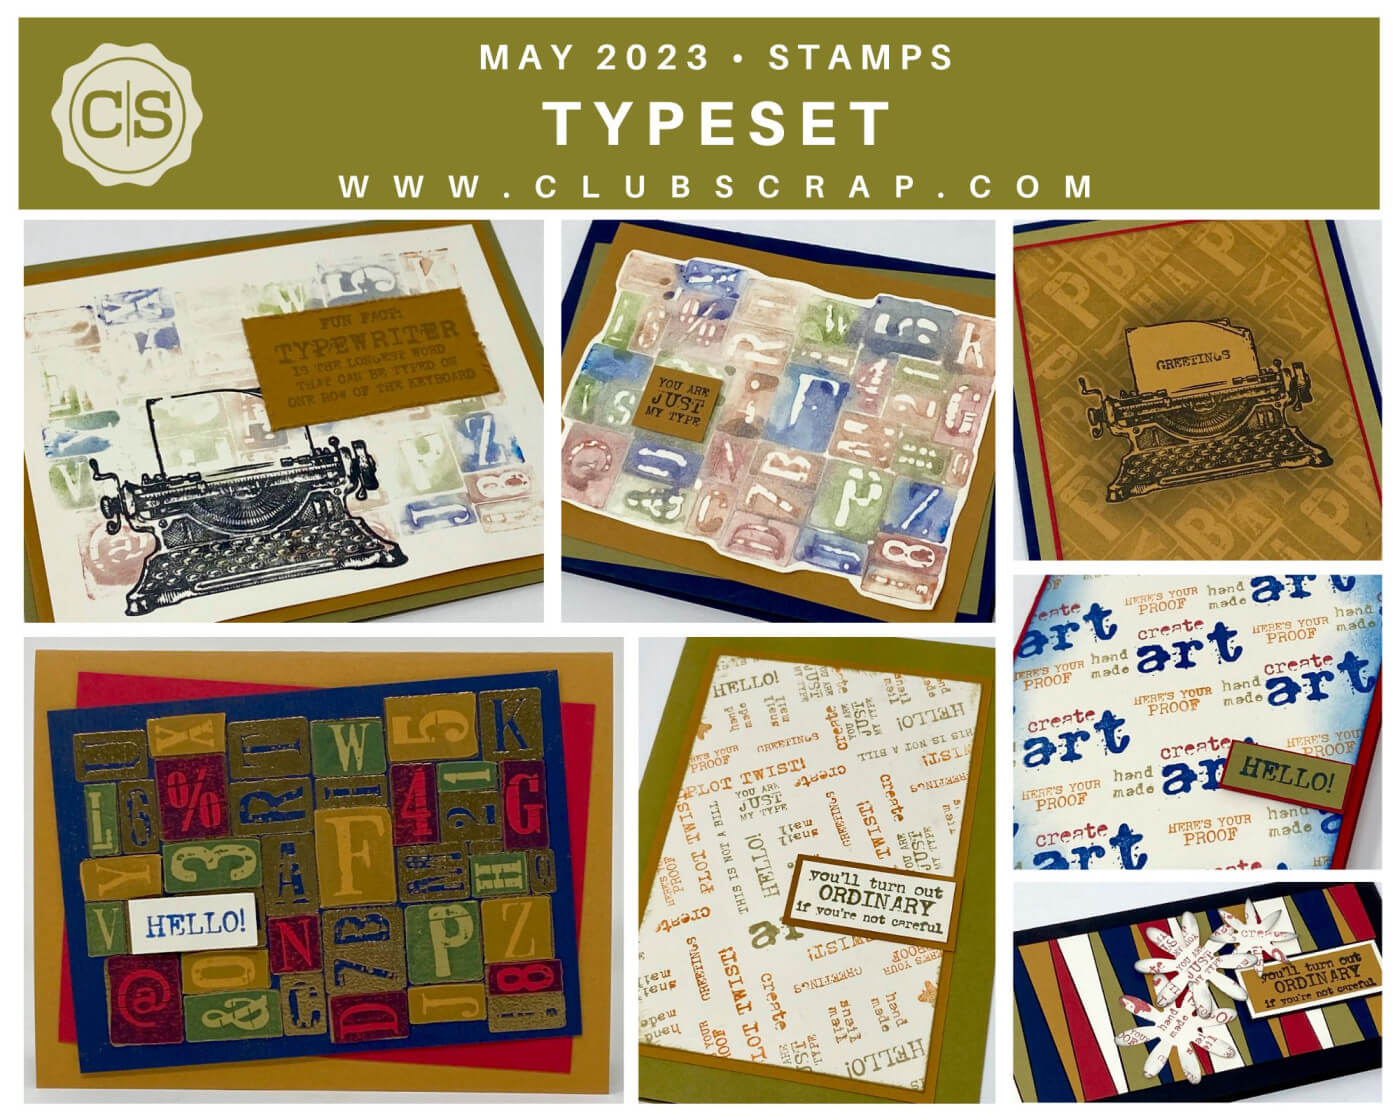
I enjoy experimenting with different stamping techniques and mediums, so many of my cards feature ideas appropriate for more experienced stampers. This month, I'll demonstrate how to create a simple, quick and easy card vs. a similar card involving more complex techniques featuring the Typeset stamp set. Enjoy!
Typeset Stamps
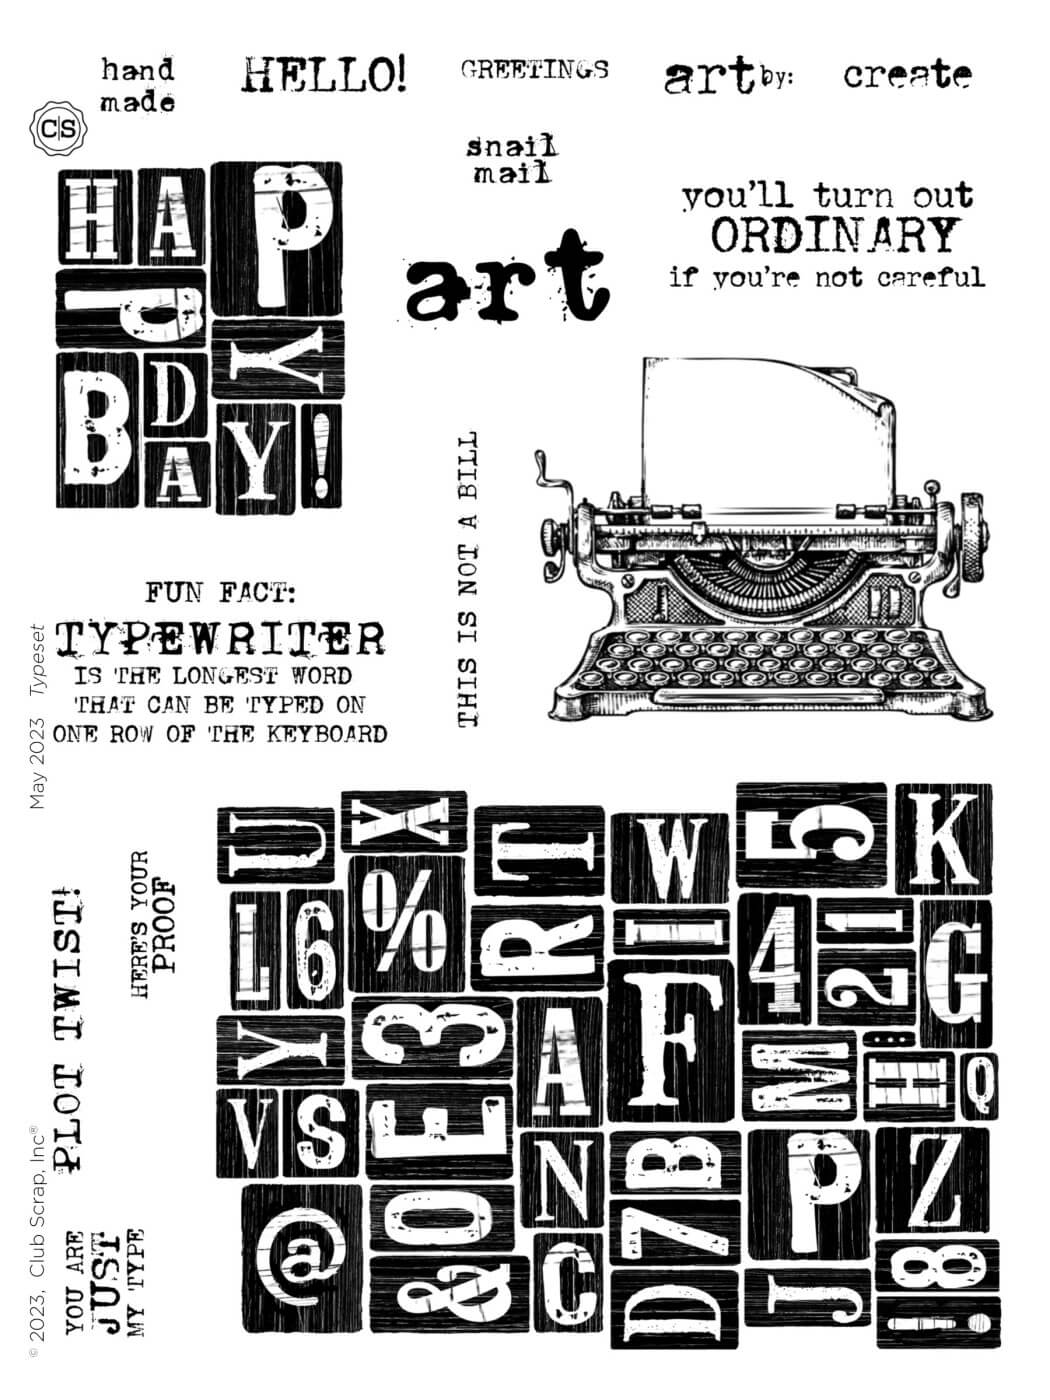
Letterpress Collage Card
10 Minute Version
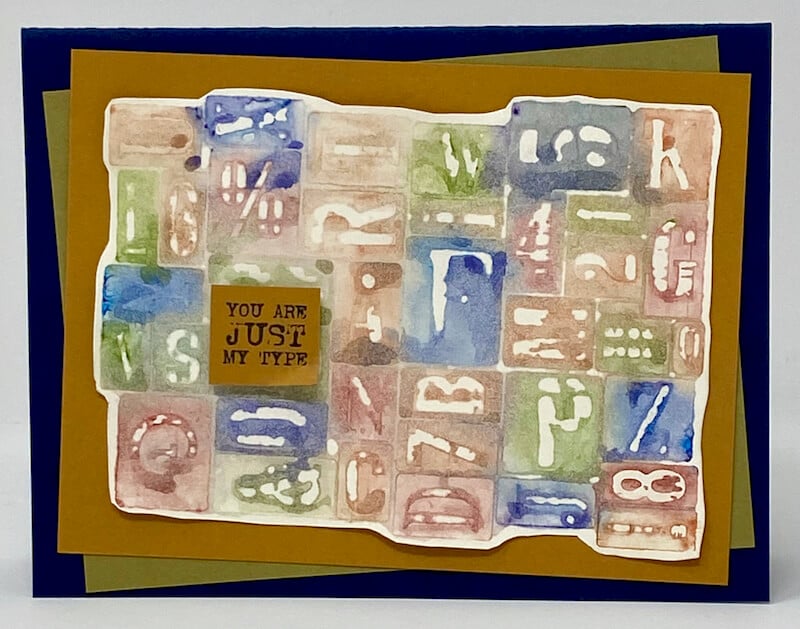
Adhere the letterpress image to the lid of a stamping platform. Spritz the stamp surface lightly with water.
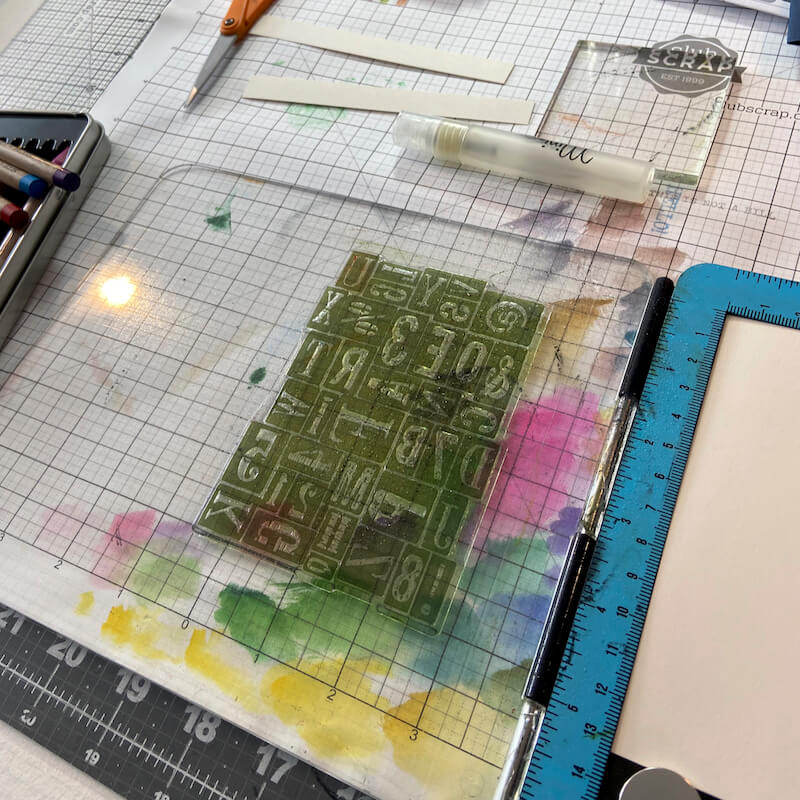
Scribble colors from watercolor pencils directly onto the stamp.
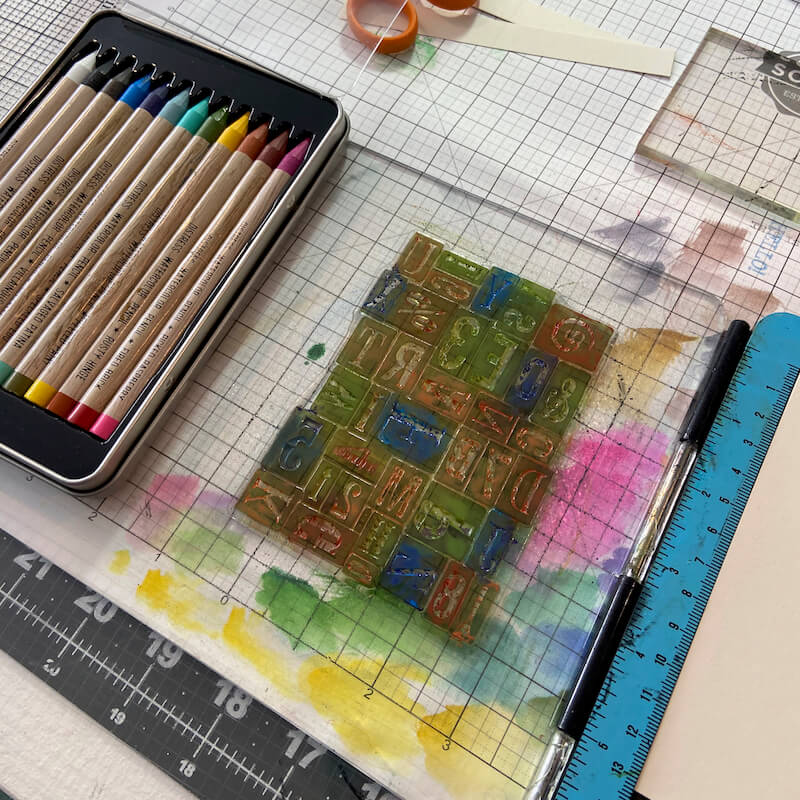
Place an Ivory panel into the platform and close the lid to transfer the colored image.
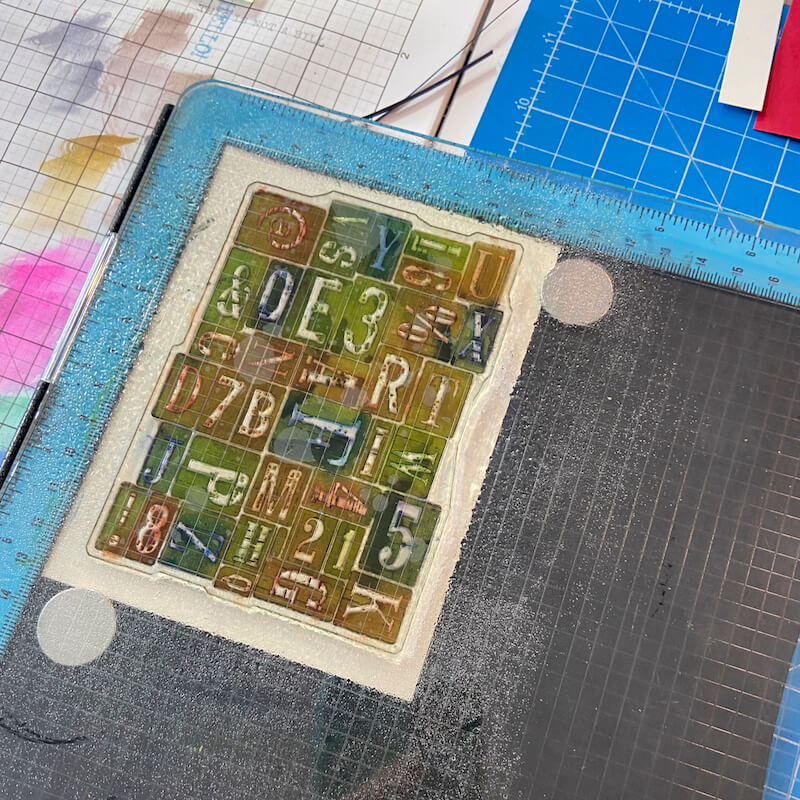
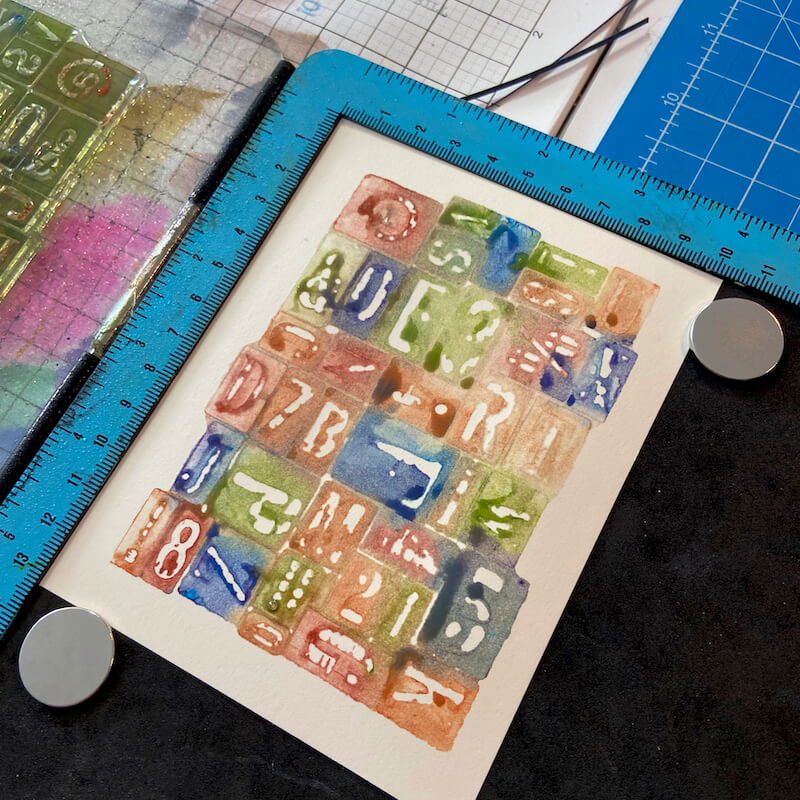
Open the lid, spritz the stamp again with water and insert a new Ivory panel into the platform to create a "second generation" of the image. Set this aside for later.
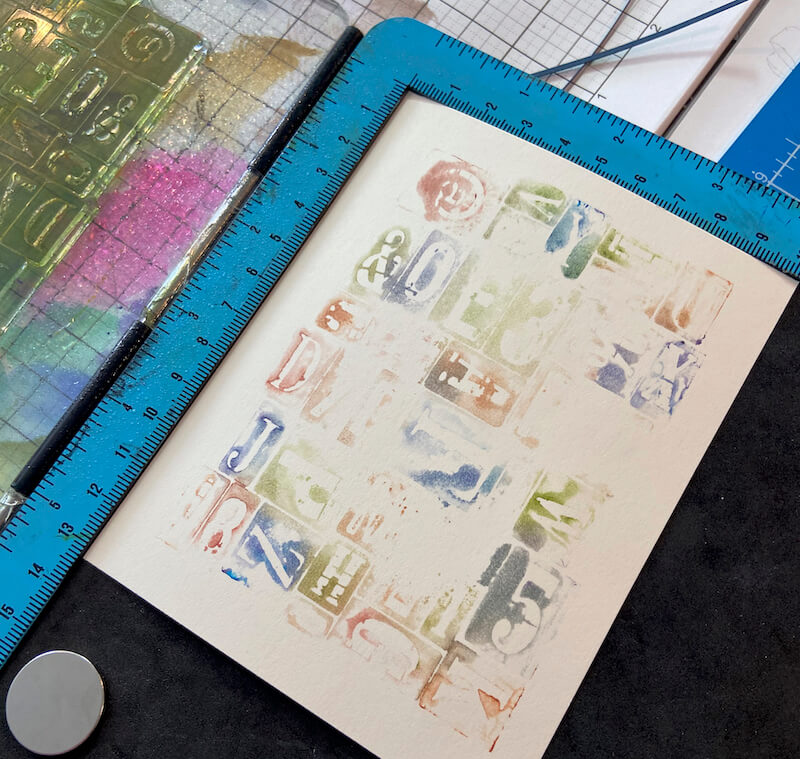
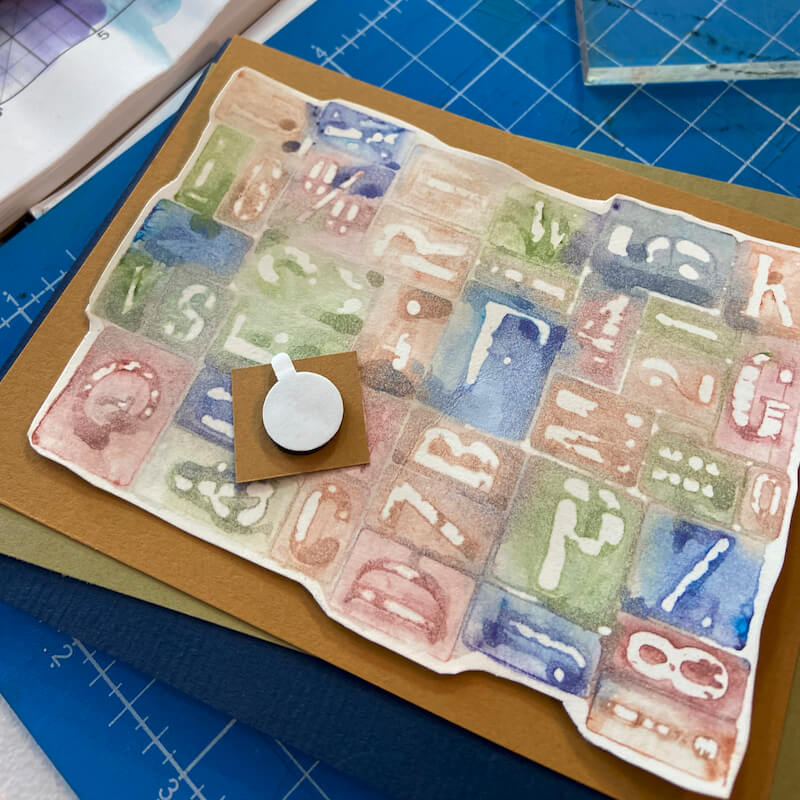
Fussy cut the image with scissors.
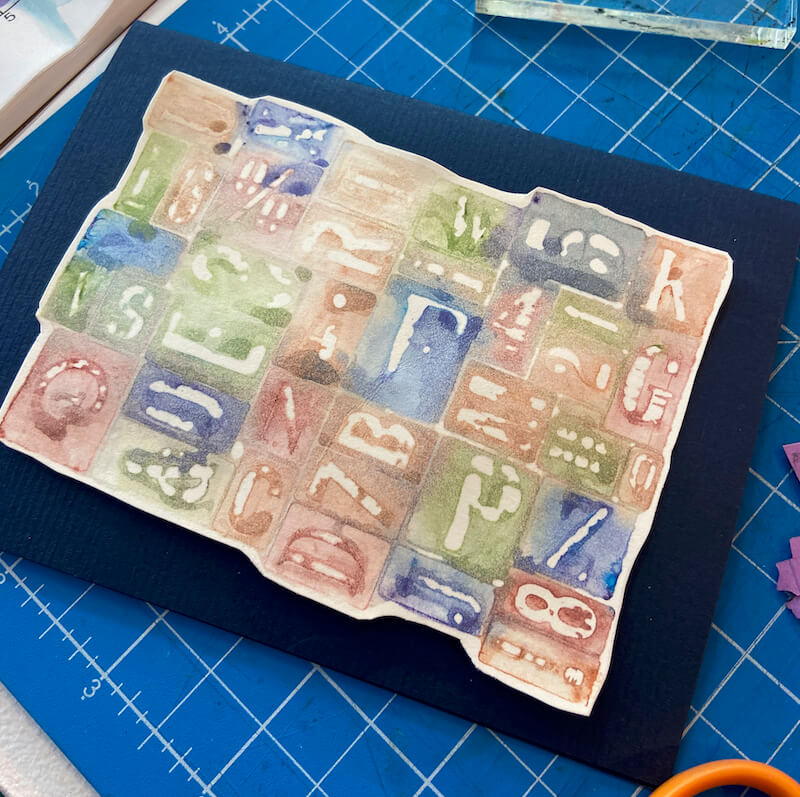
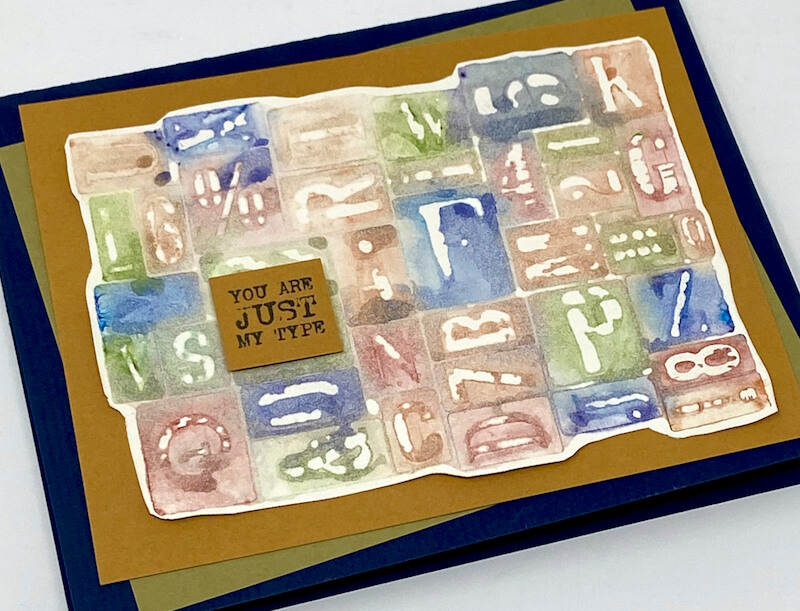
Stamp a sentiment onto a small scrap paper. Adhere the sentiment to the panel with foam adhesive.
30 minute Version
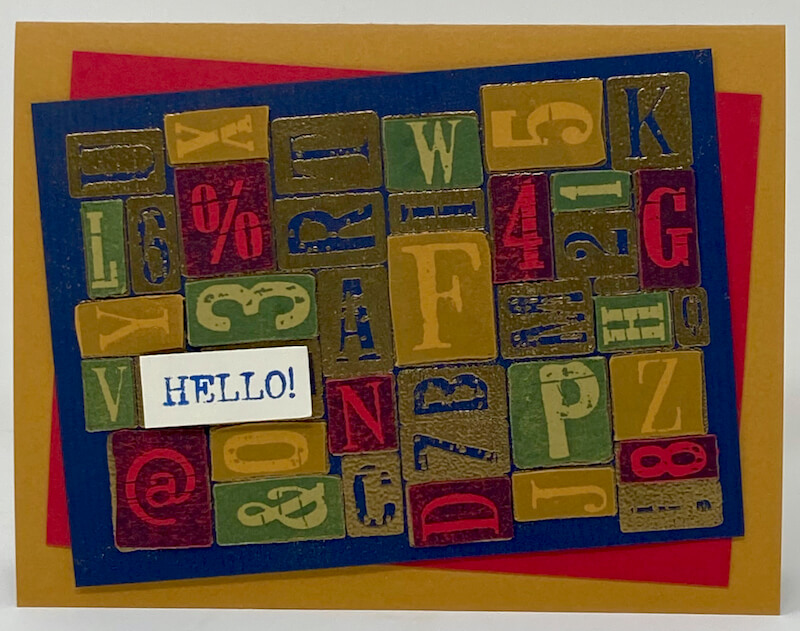
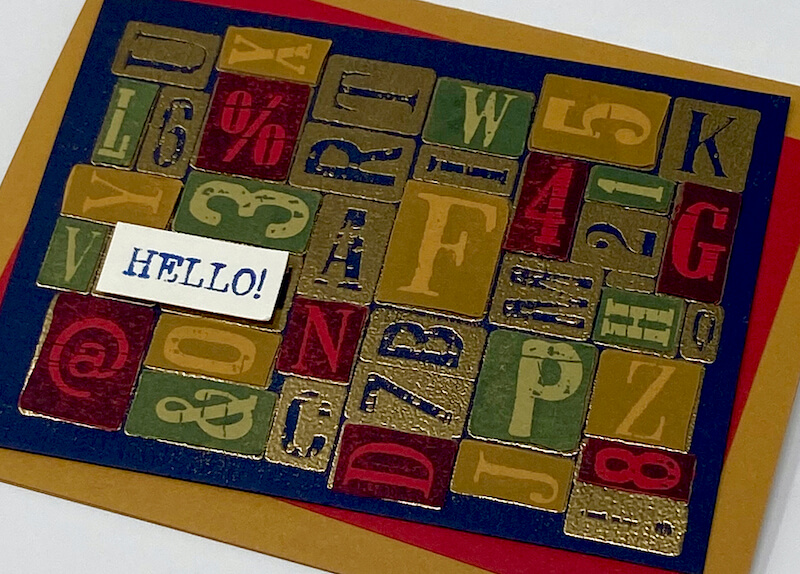
Stamp the letterpress image onto a Navy panel with Watermark Ink. Coat the image with gold detail embossing powder and heat set to melt.
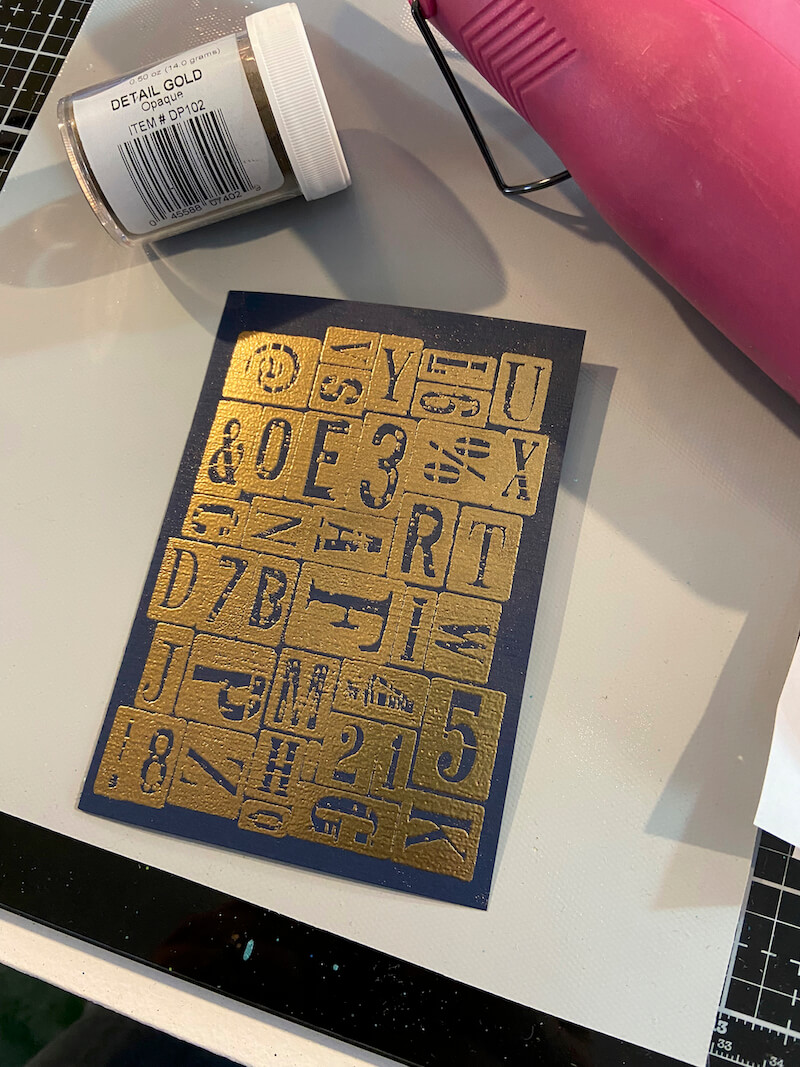
Stamp the same image onto a Red panel with Sapphire ink...
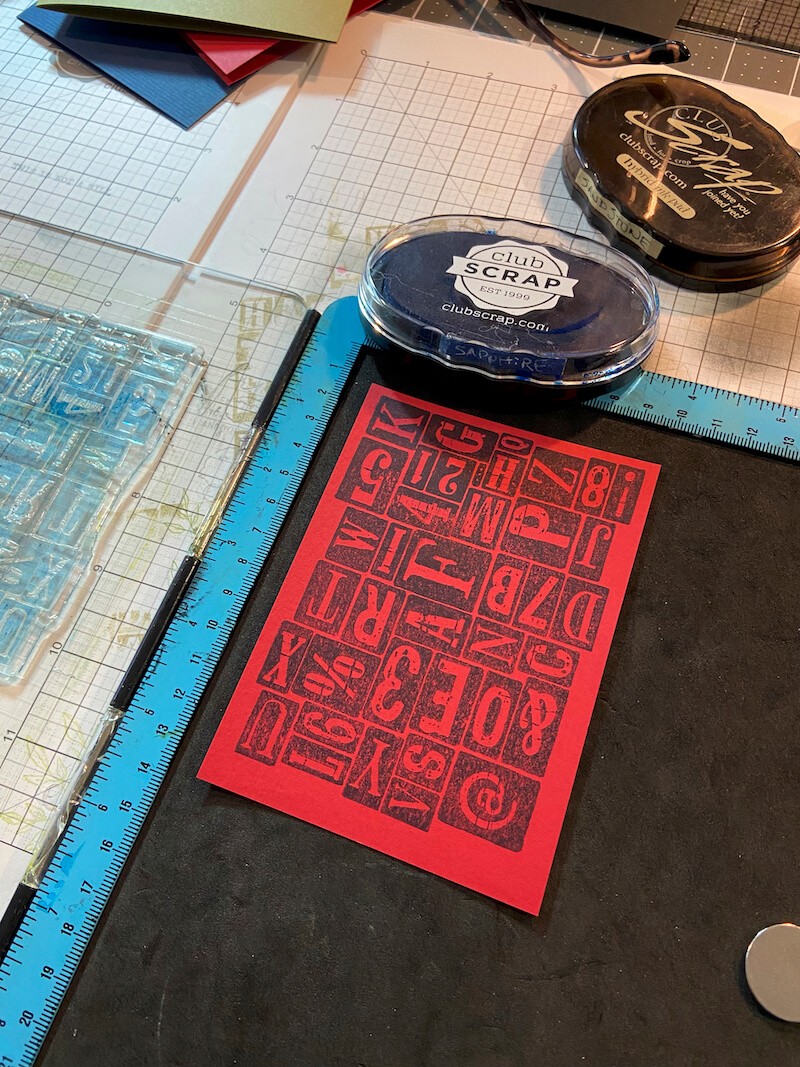
...a Green panel with Spruce ink...
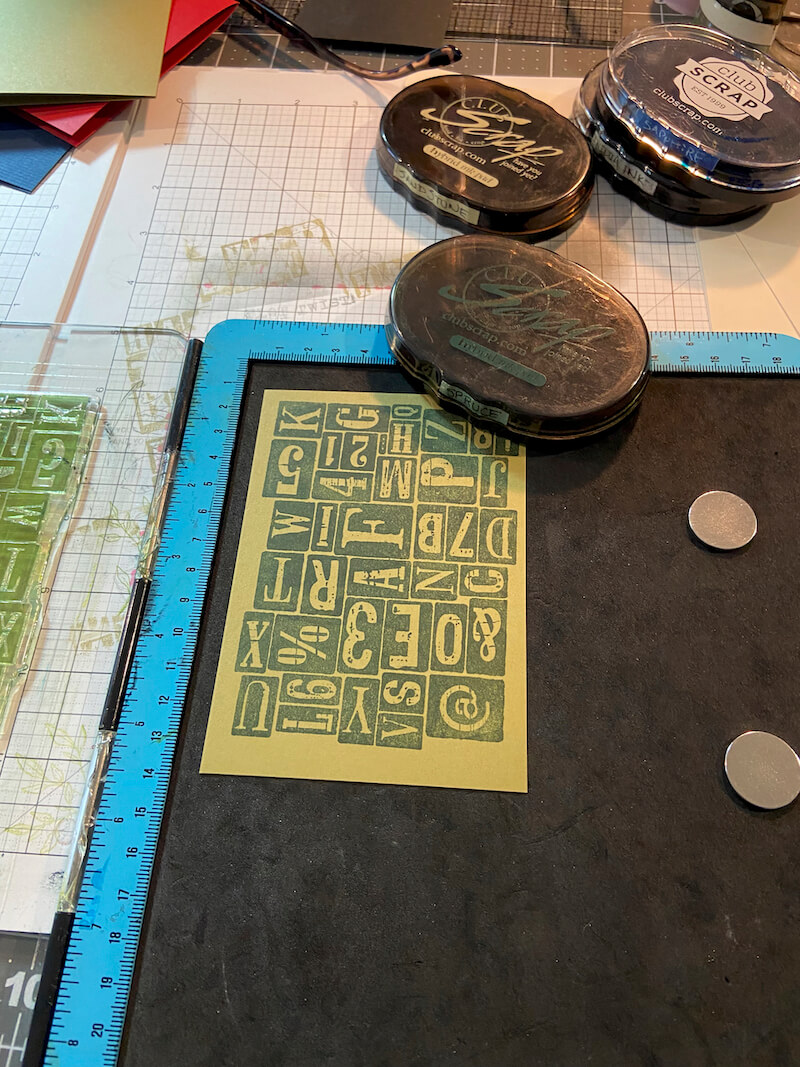
...and finally onto a Gold panel with Sandstone ink.
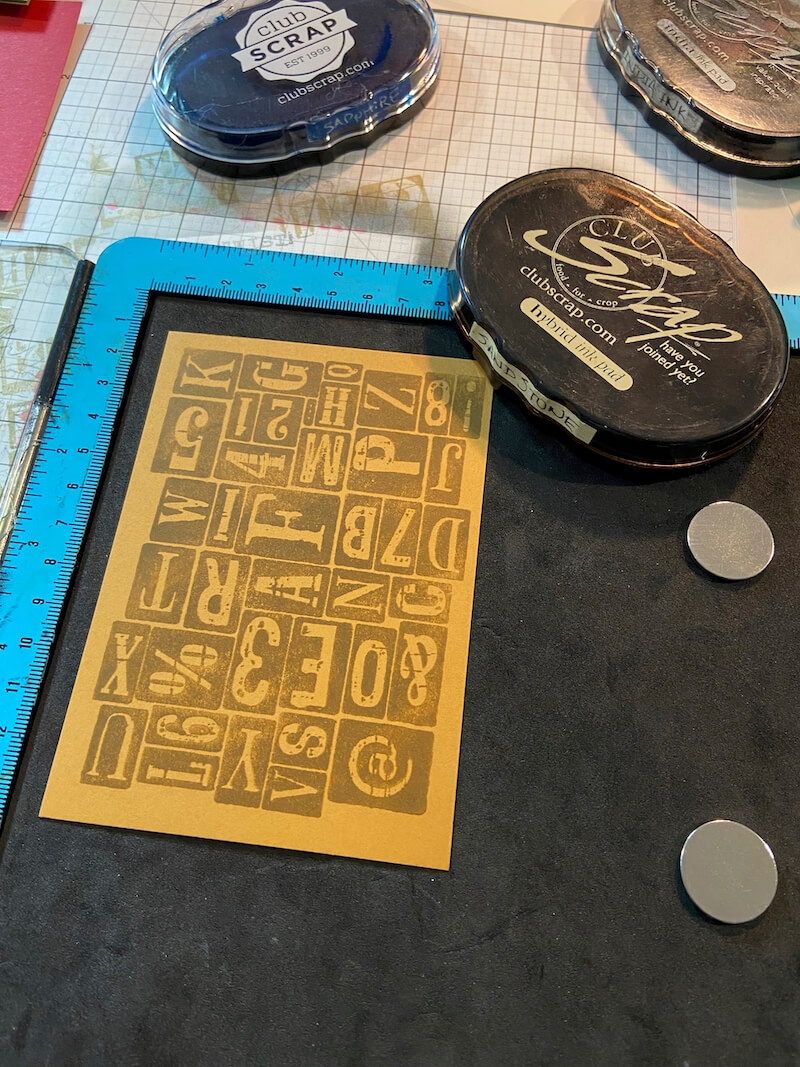
Remove select letters from the Gold, Green and Red panels with a craft knife and cutting mat.
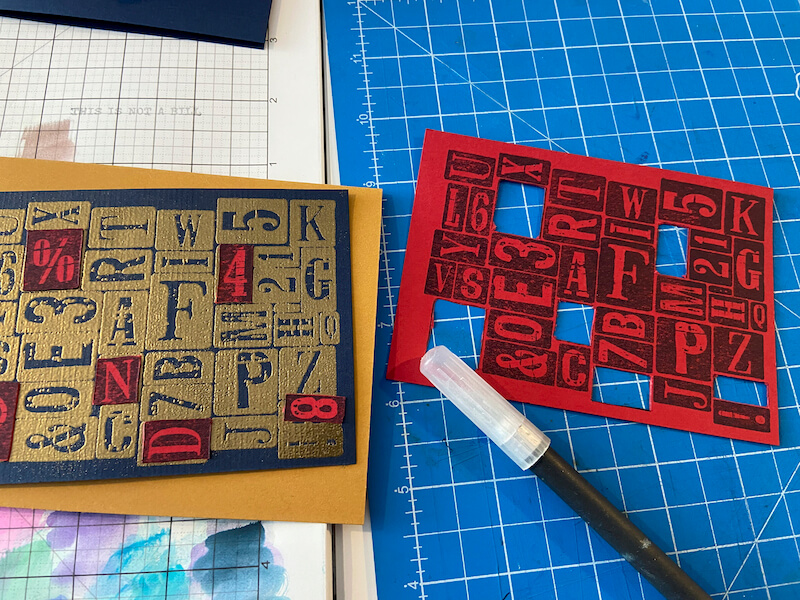
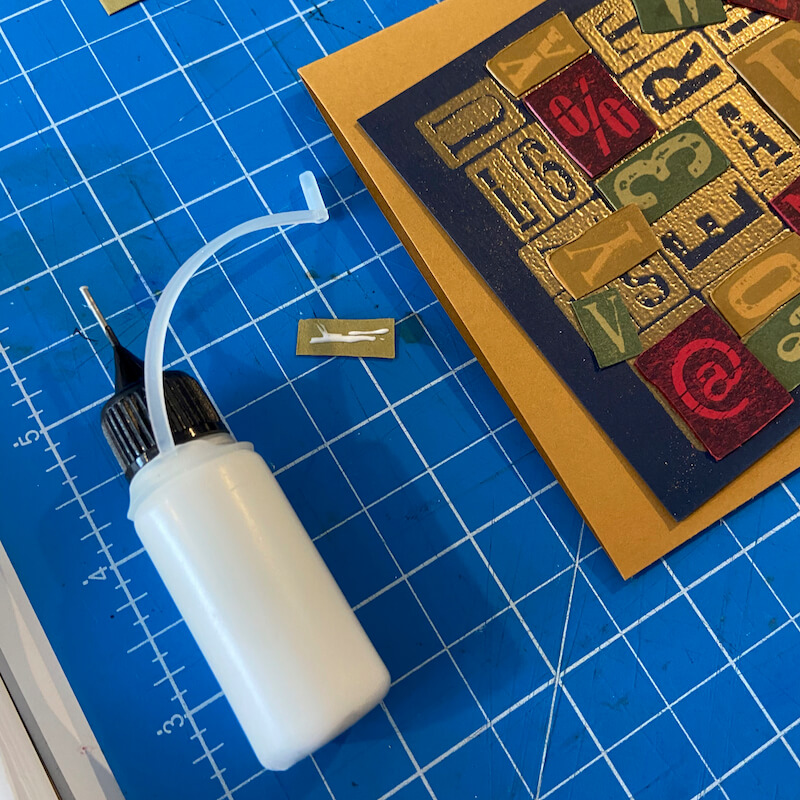
Add Bookbinding Glue dispensed from a Needle-tipped Applicator to the back of each letter and adhere over the corresponding letter on the embossed Navy Panel.
Stamp a sentiment onto an Ivor scrap with Sapphire ink. Adhere to the card with foam adhesive.
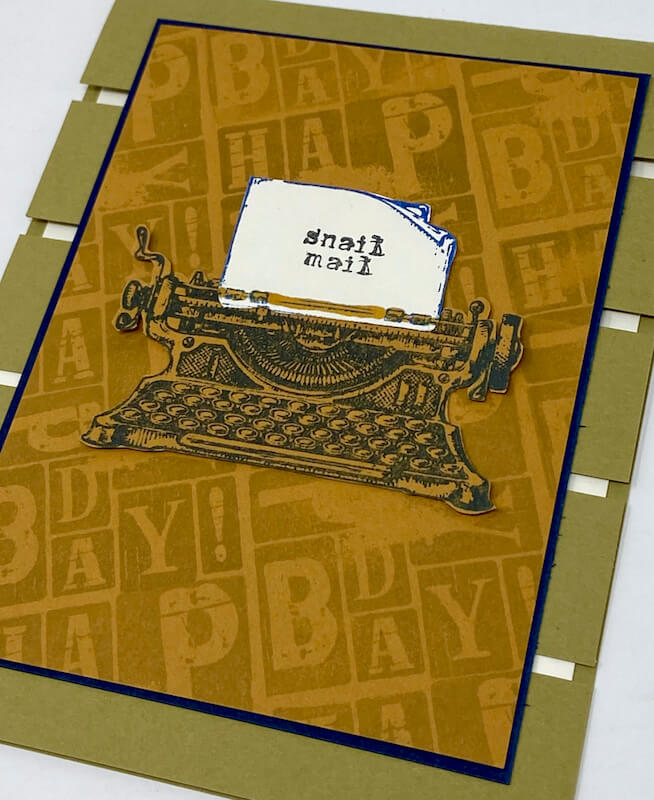
Typewriter Card
10 Minute Version
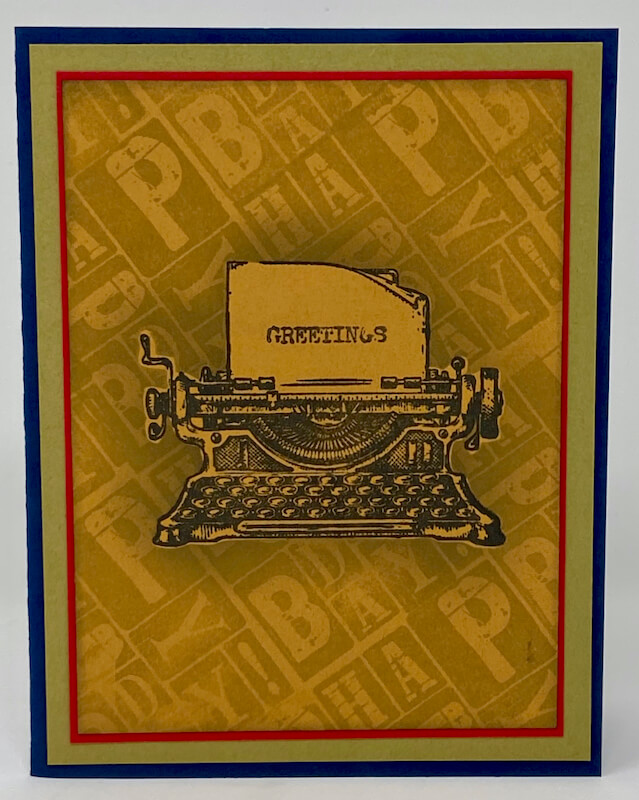
Stamp the typewriter image onto a Gold panel with India ink.
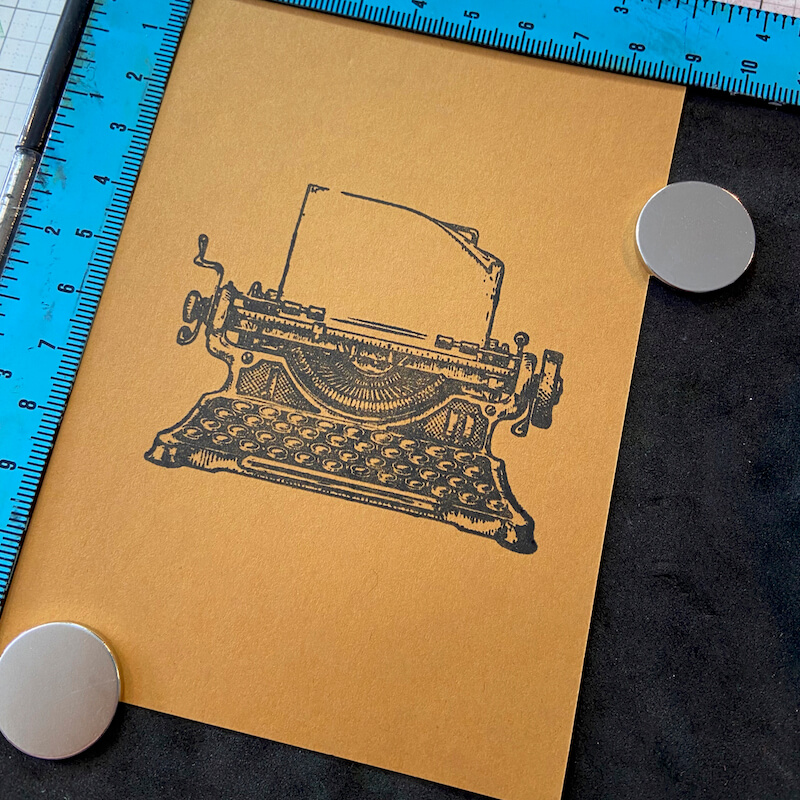
Stamp the same image onto a sticky note and fussy cut the image to create a mask.
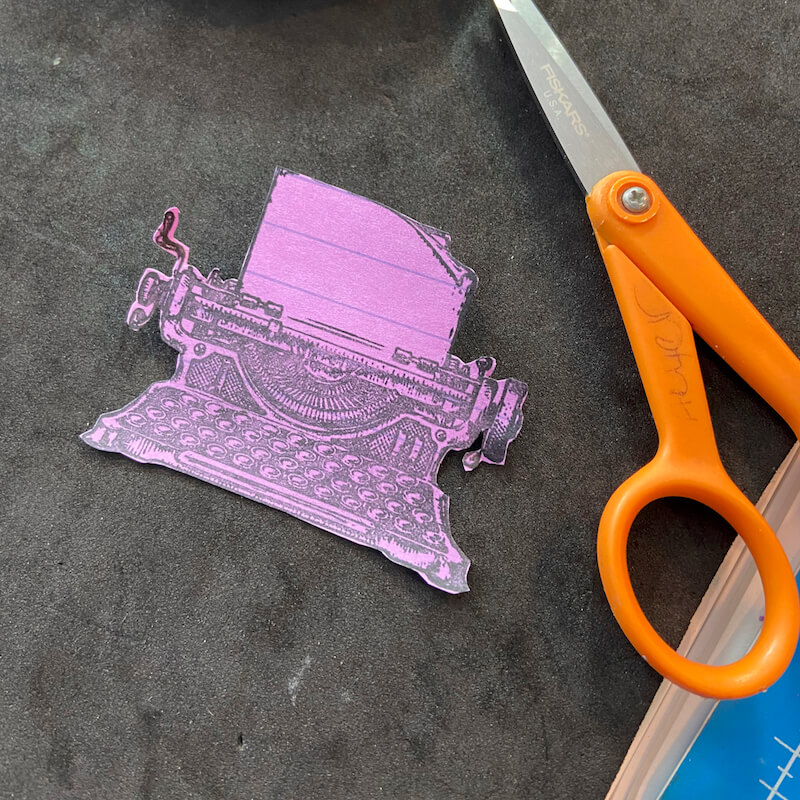
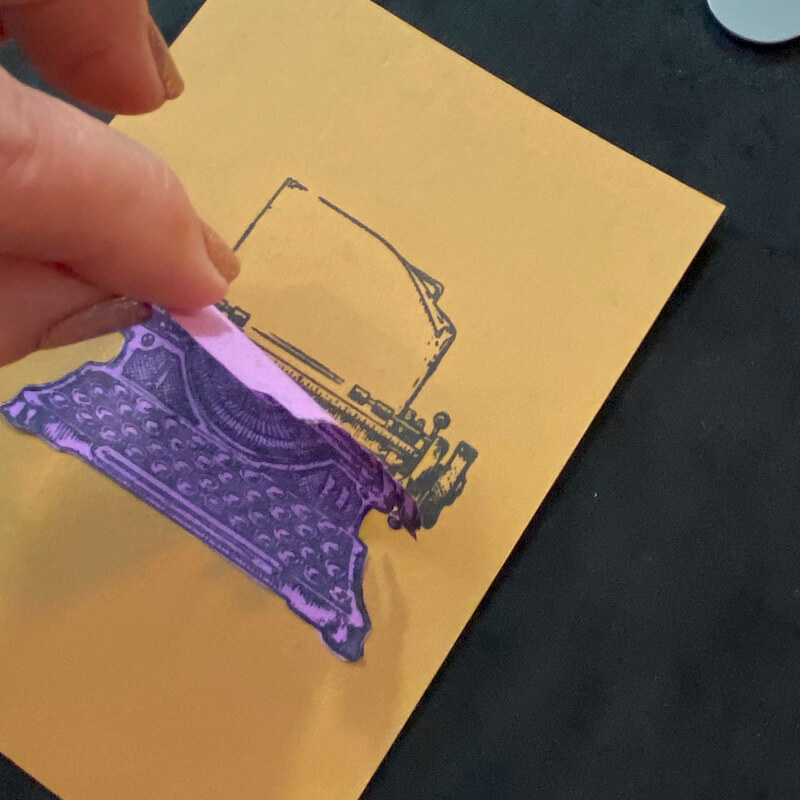
Place the mask over the typewriter image on the Gold panel.
Stamp the birthday word art at an angle, directly over the masked image with Sandstone ink.
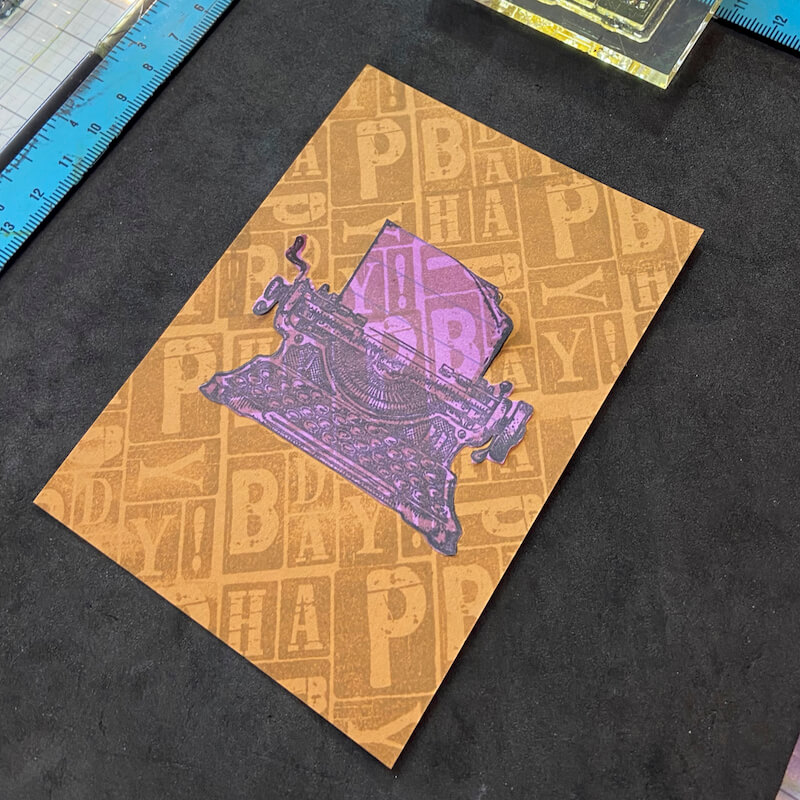
With the mask still in place, carefully apply a light "halo" of India ink to the perimeter of the image with a blending brush.
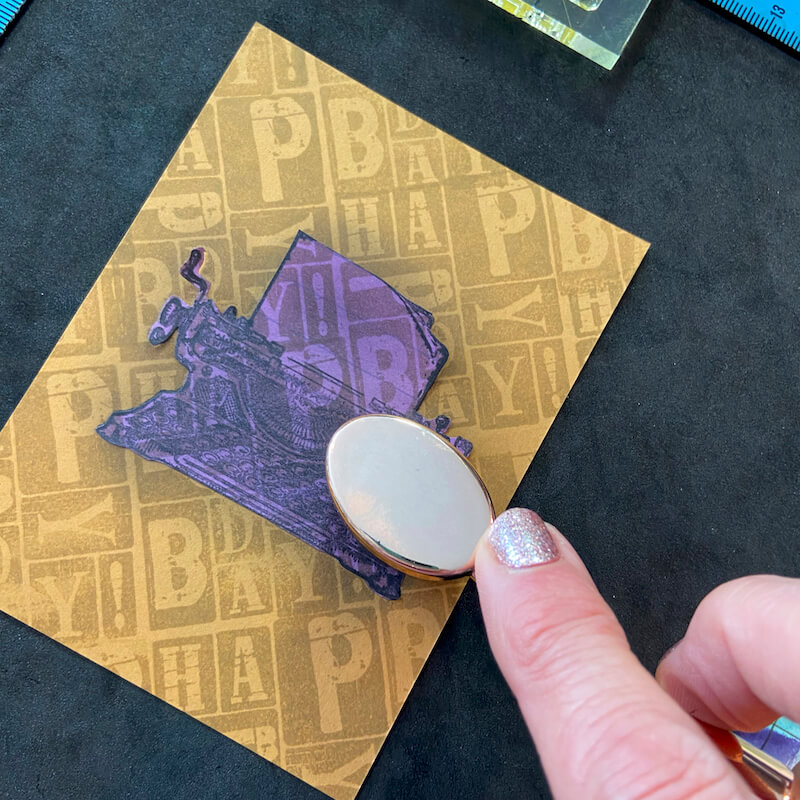
Carefully remove the mask to reveal a drop shadow effect.
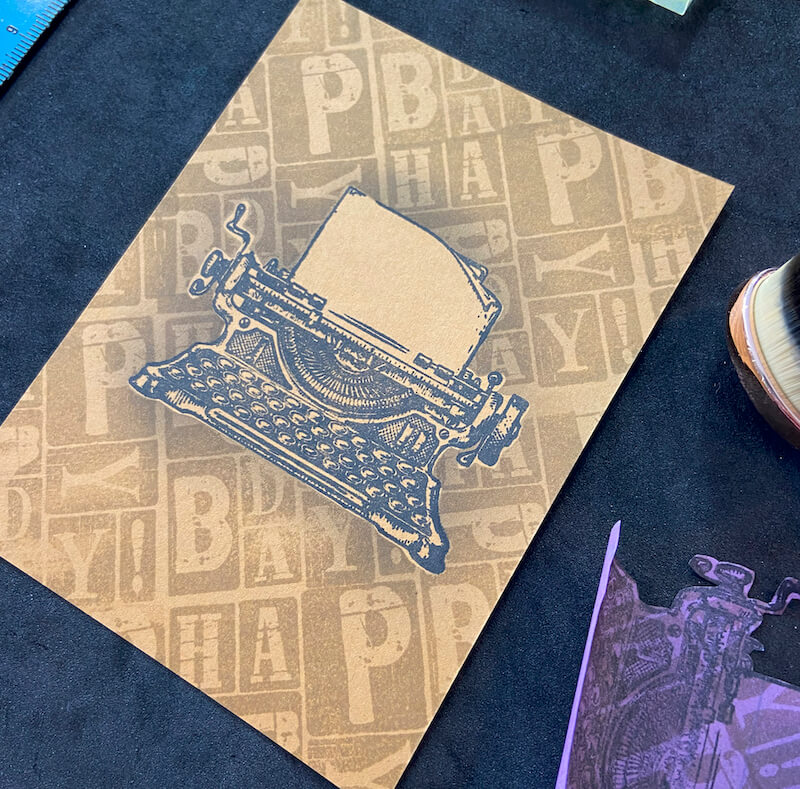
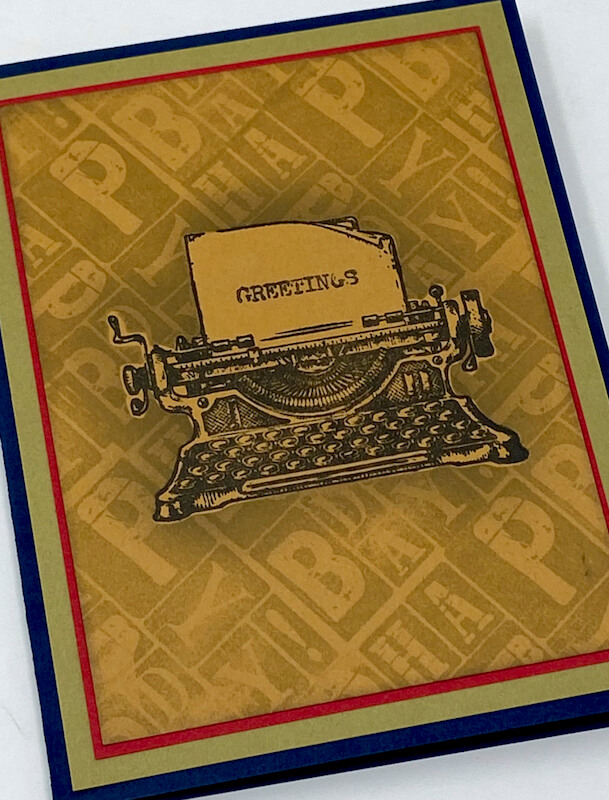
Stamp a greeting onto the open space on the typewriter paper to complete the card.
20 Minute Version
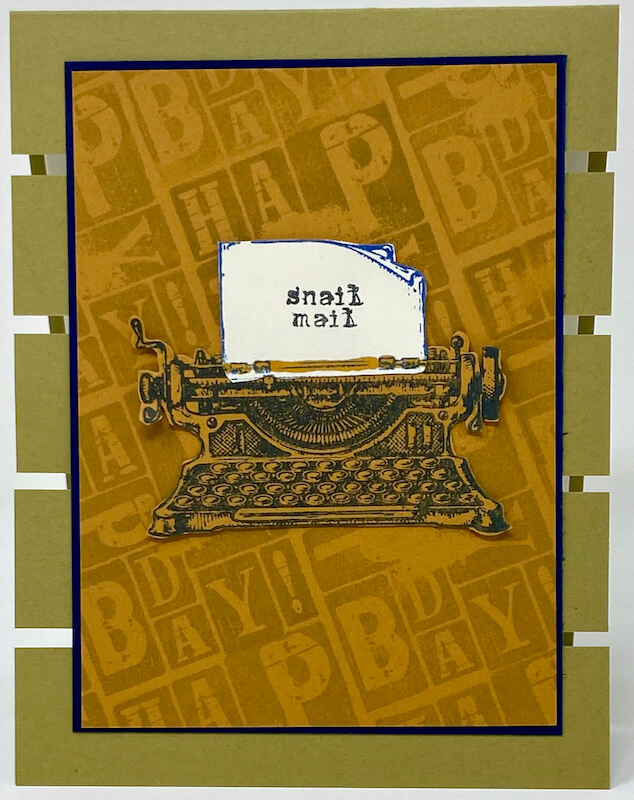
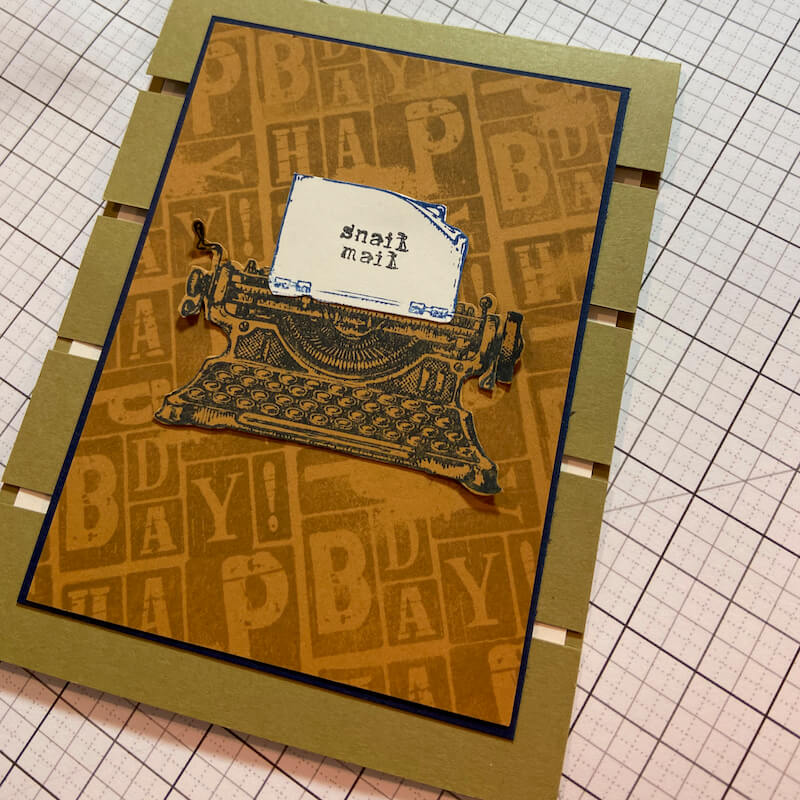
Stamp the typewriter image onto Gold paper with Sapphire ink. Fussy cut the image with scissors.
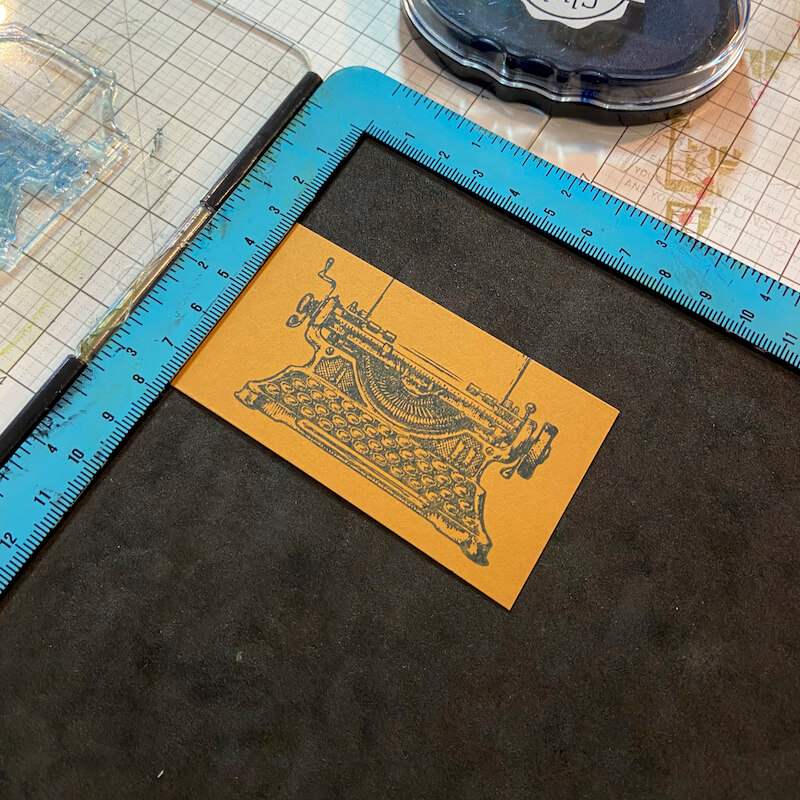
Add Sapphire ink to the top half of the typewriter image, where the rollers and paper are located.
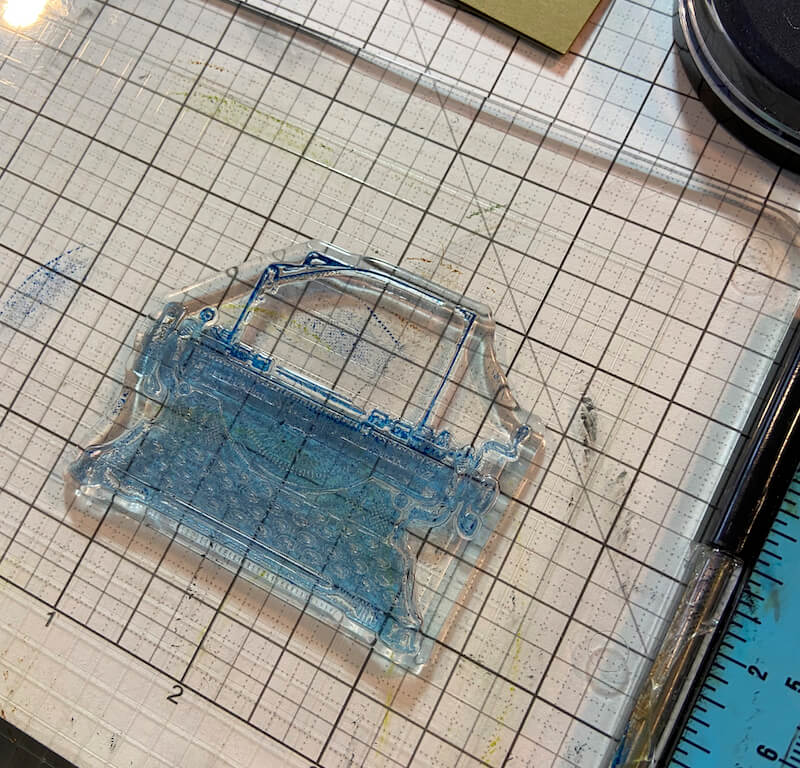
Stamp the partial image onto Ivory paper.
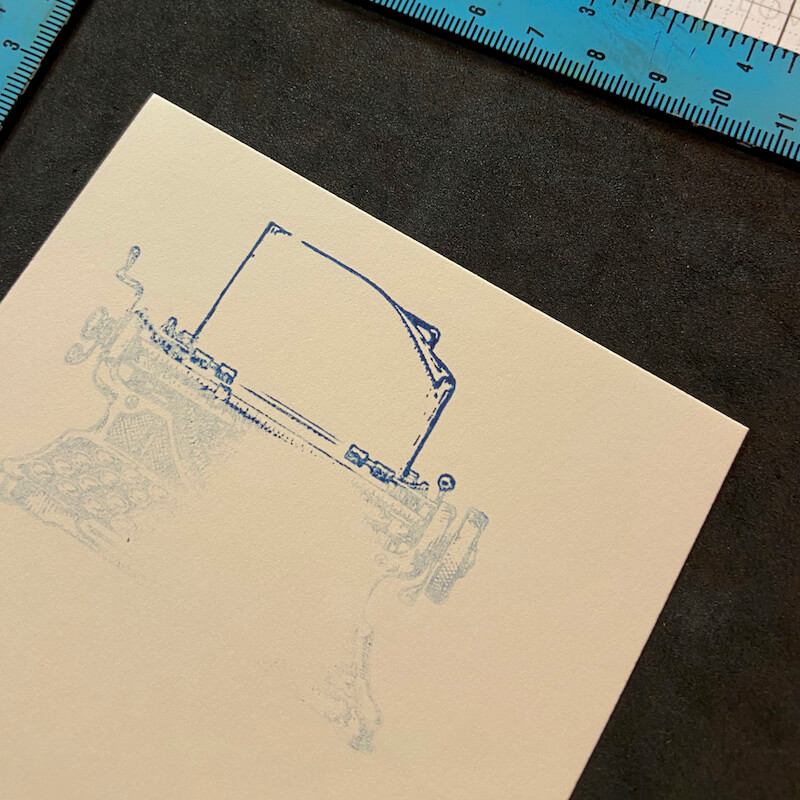
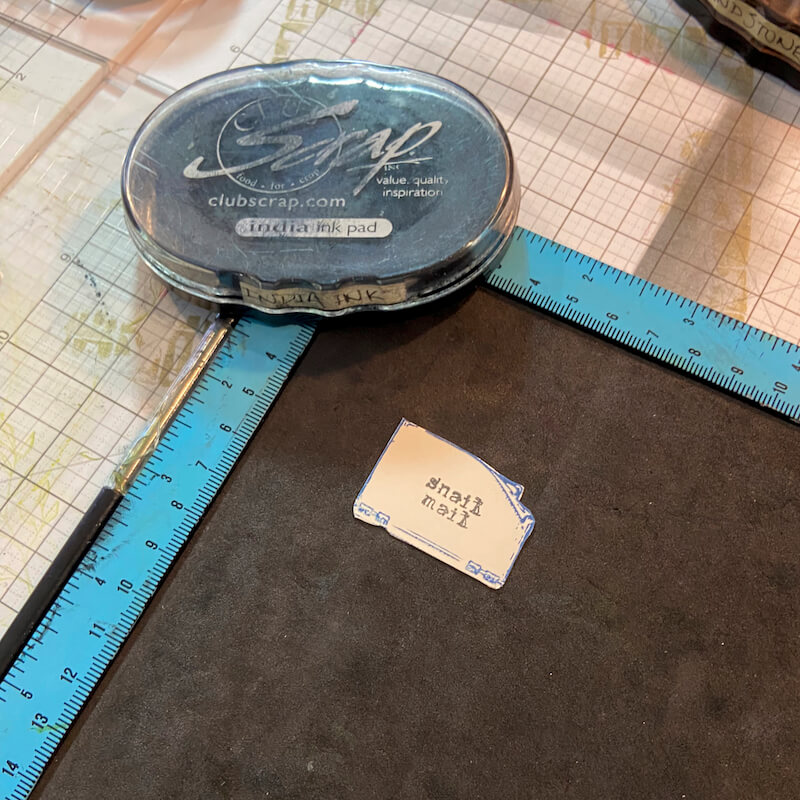
Fussy cut the paper with scissors. Stamp a sentiment onto the "paper".
Cover a Gold panel with the birthday word art with Sandstone ink.
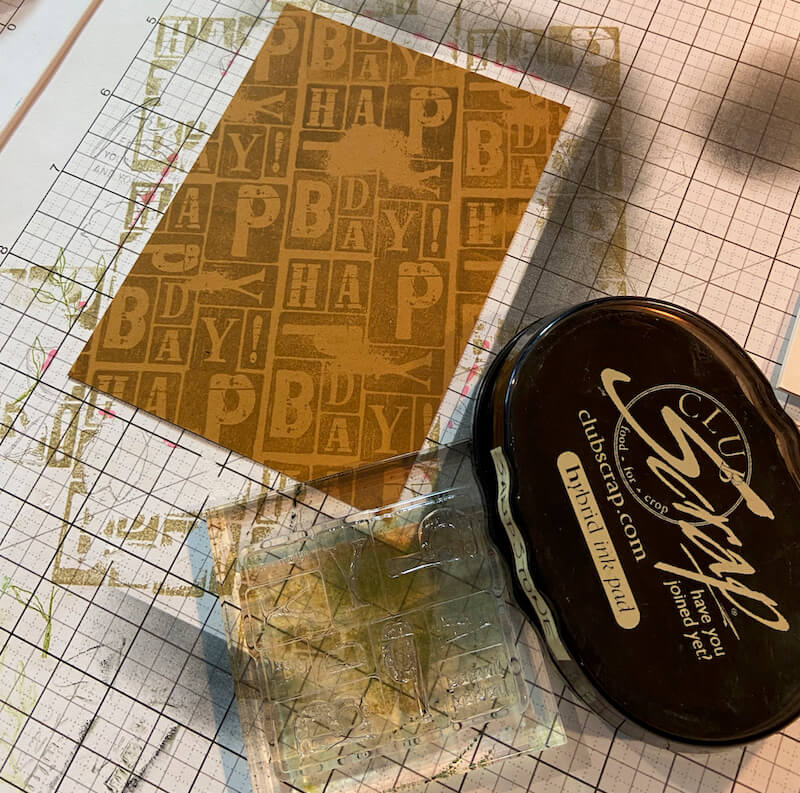
Position the fussy-cut Ivory paper over the typewriter image. Adhere into place with Bookbinding Glue.
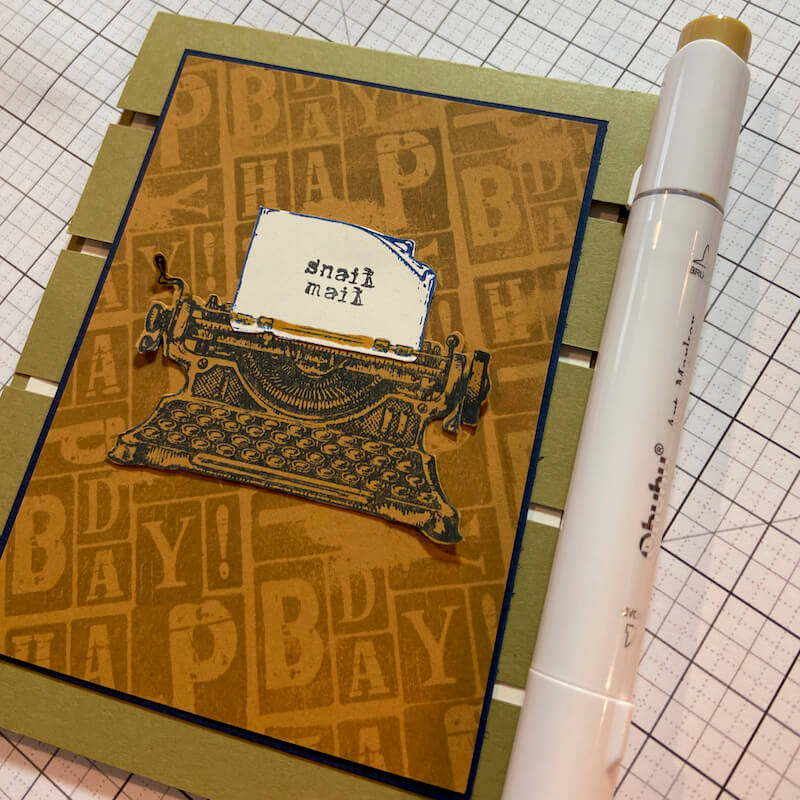
For dimension, color the "rollers" with gold marker to mimic the paper color underneath.
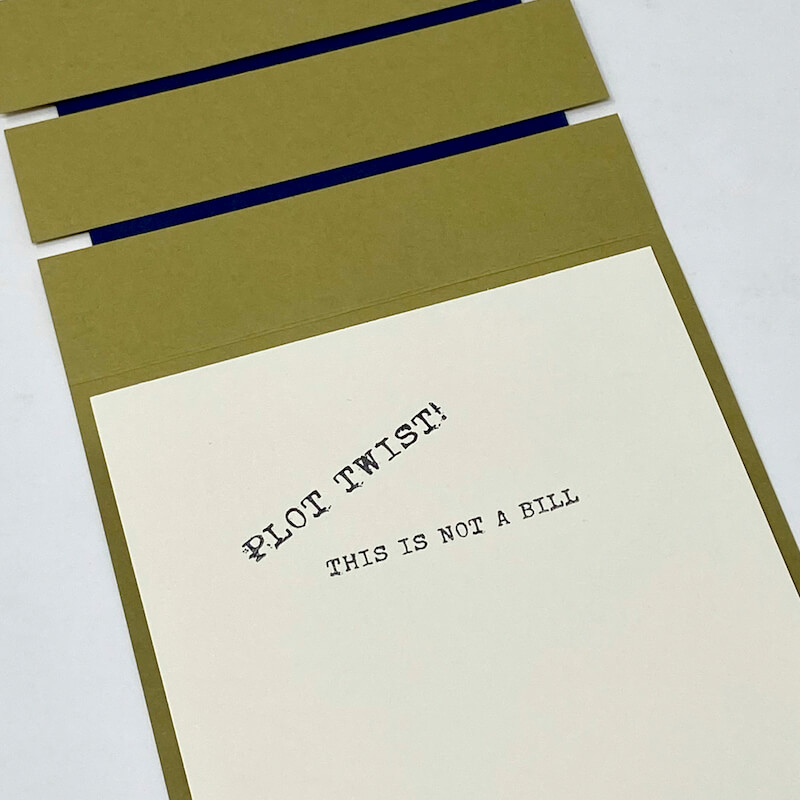
Stamp the inside panel with a fun greeting!
Words Background Card
5 Minute Version
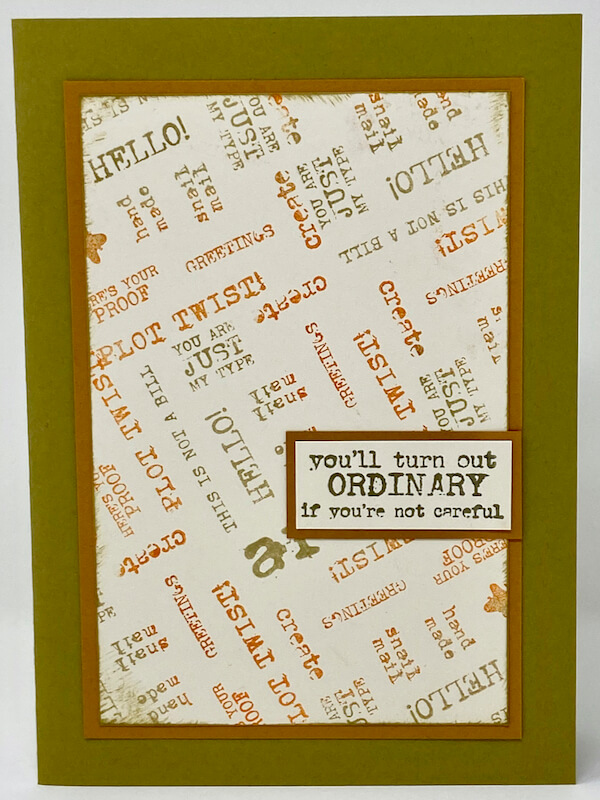
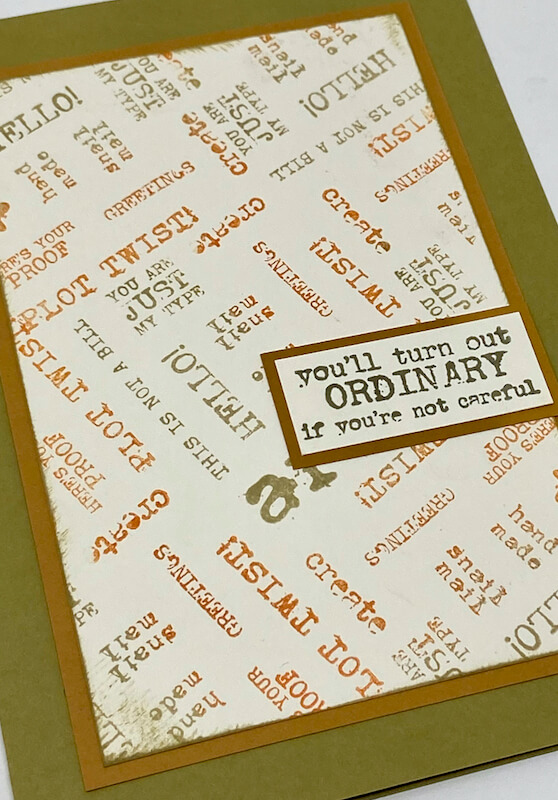
Assemble a variety of sentiments onto an acrylic block. Ink with Tangerine and Sandstone and stamp in a random pattern onto an Ivory panel.
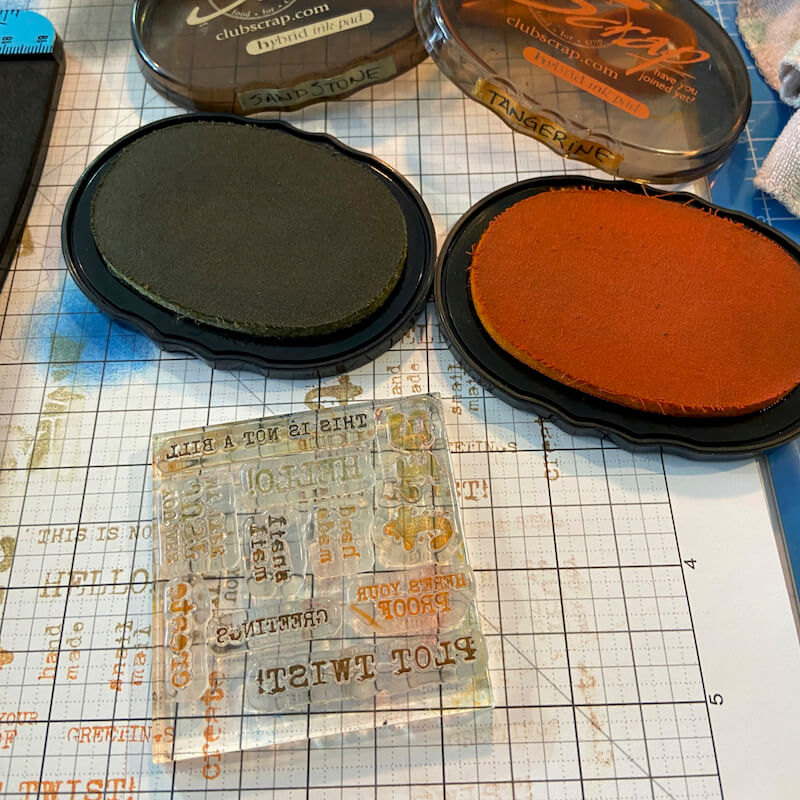
Make sure to rotate the images when stamping.
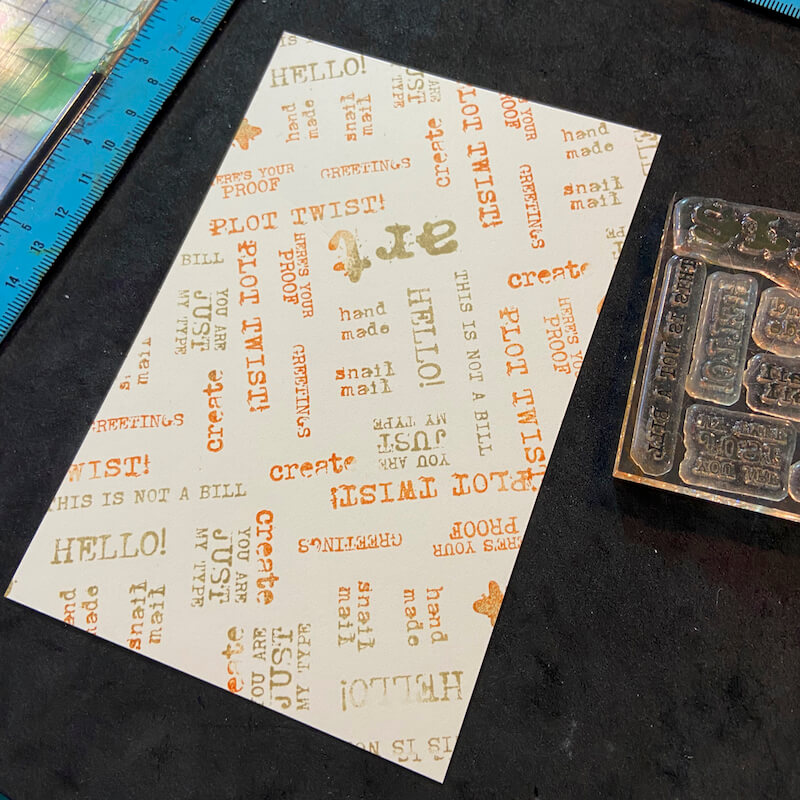
Adhere a stamped sentiment directly to the panel to complete the card.
15 Minute Version
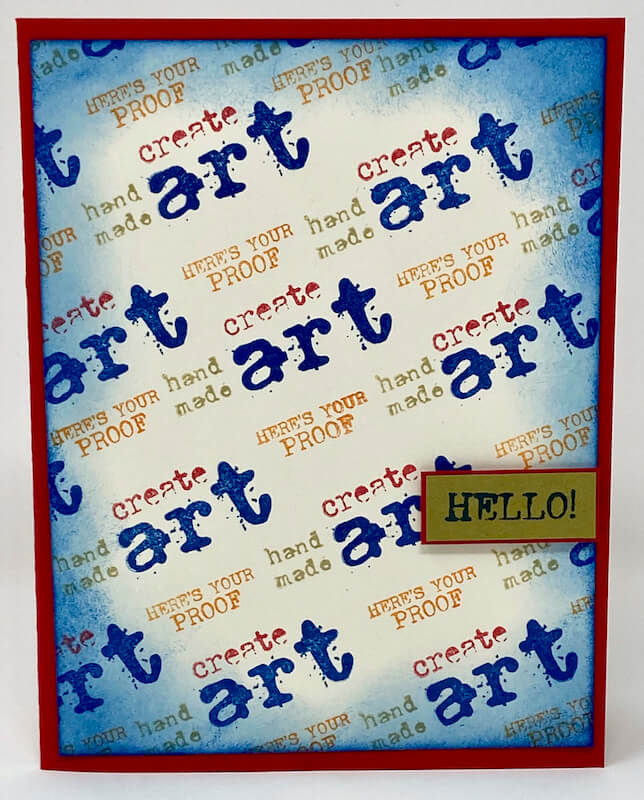
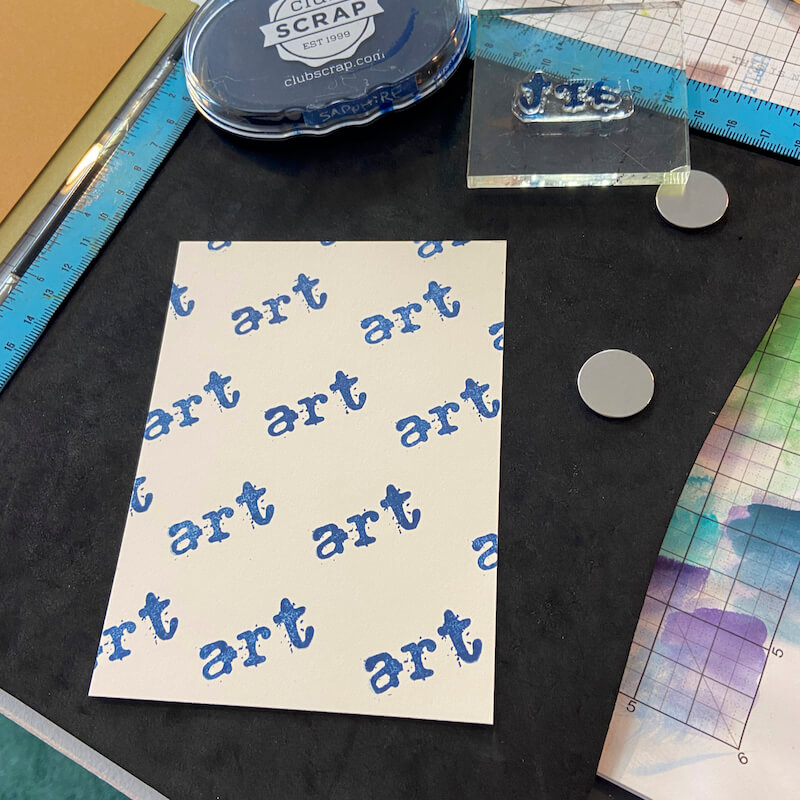
Repeatedly stamp the word "art" onto an Ivory panel in Sapphire ink.
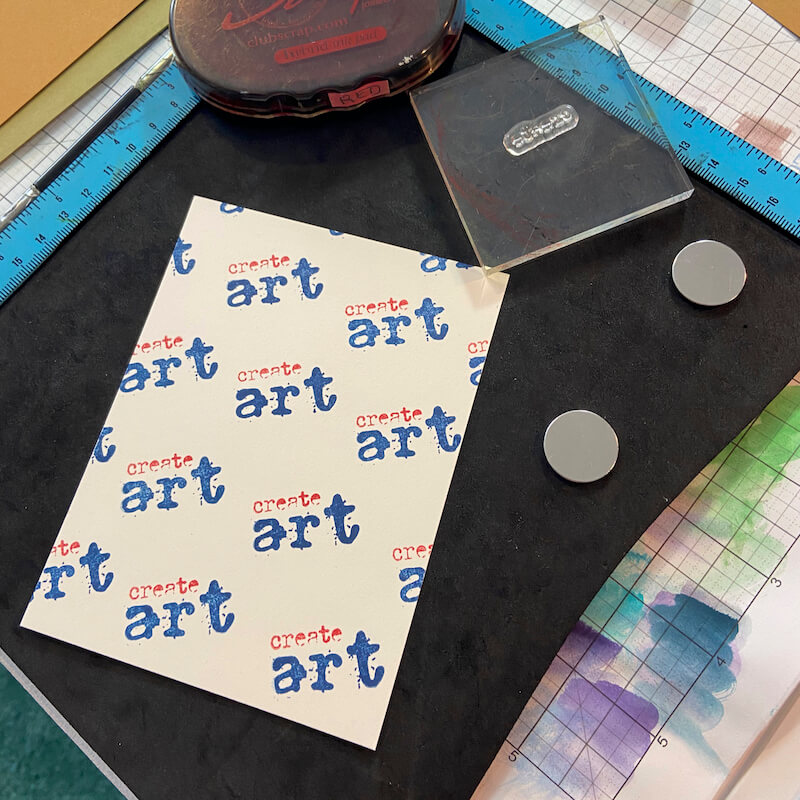
Stamp "create" with Red ink, "hand made" in Sandstone, and "here's your proof" in Tangerine to complete the background.
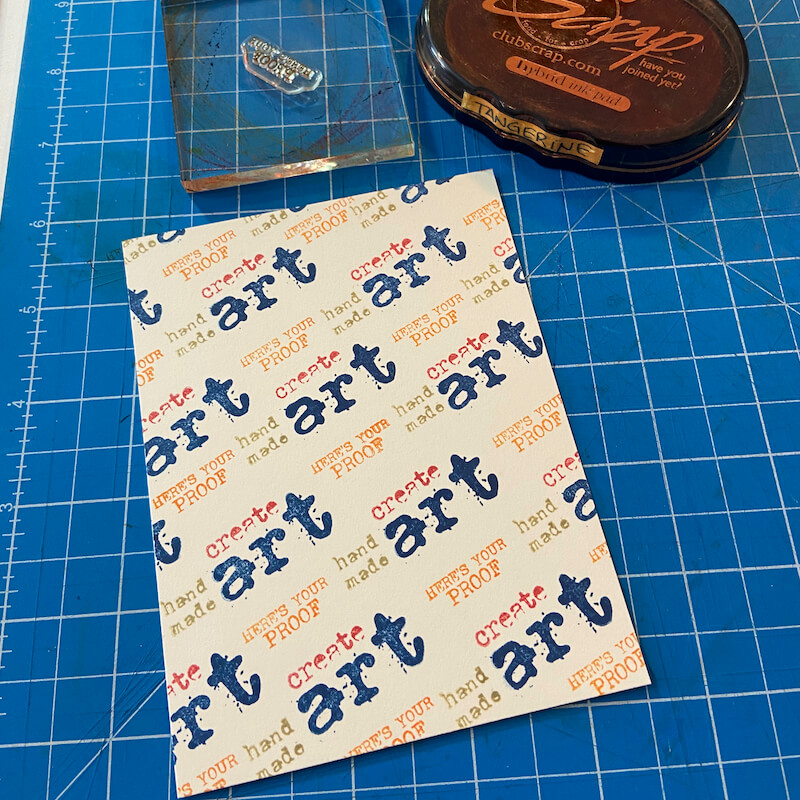
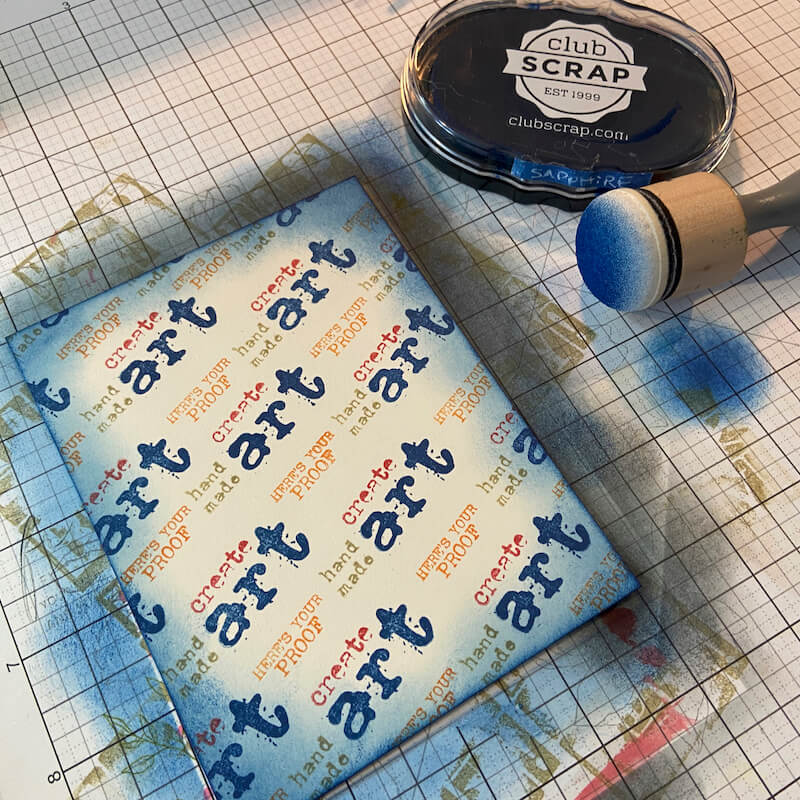
Apply Sapphire ink around the edges of the panel to create a halo effect.
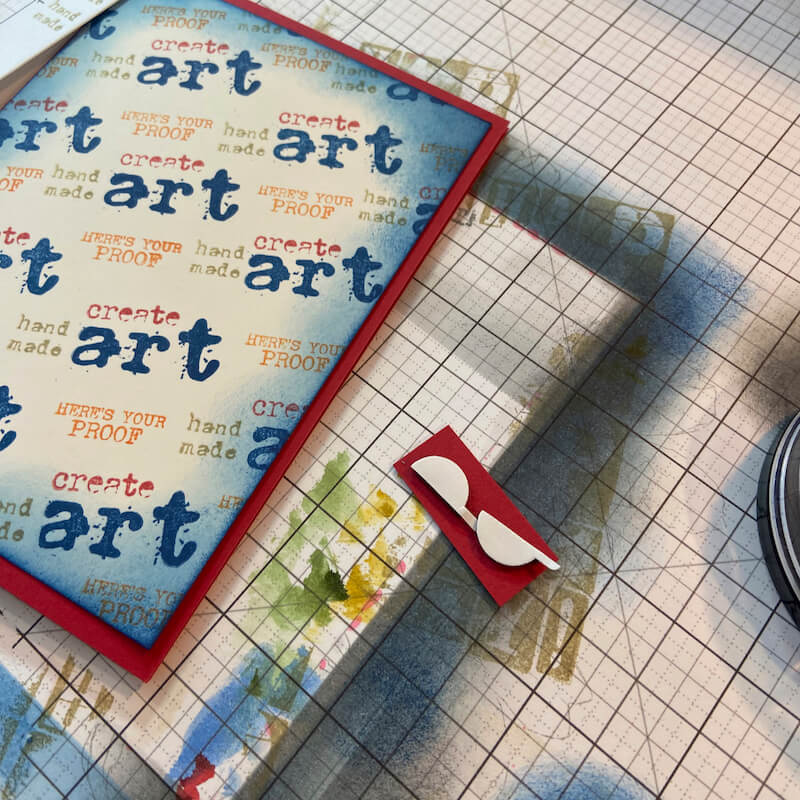
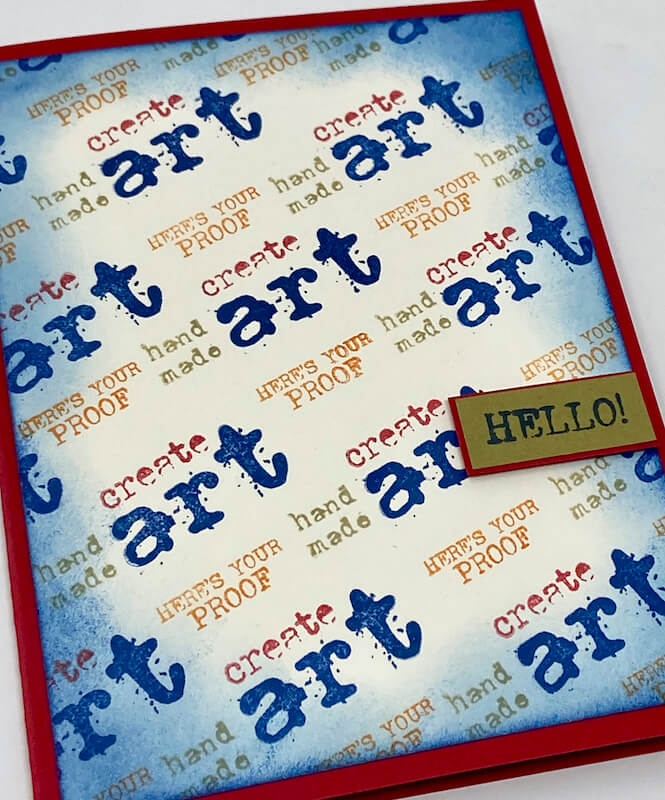
Stamp the sentiment and attach with foam adhesive to create dimension.
Letter Press Collage - Second Generation
5 Minute Card
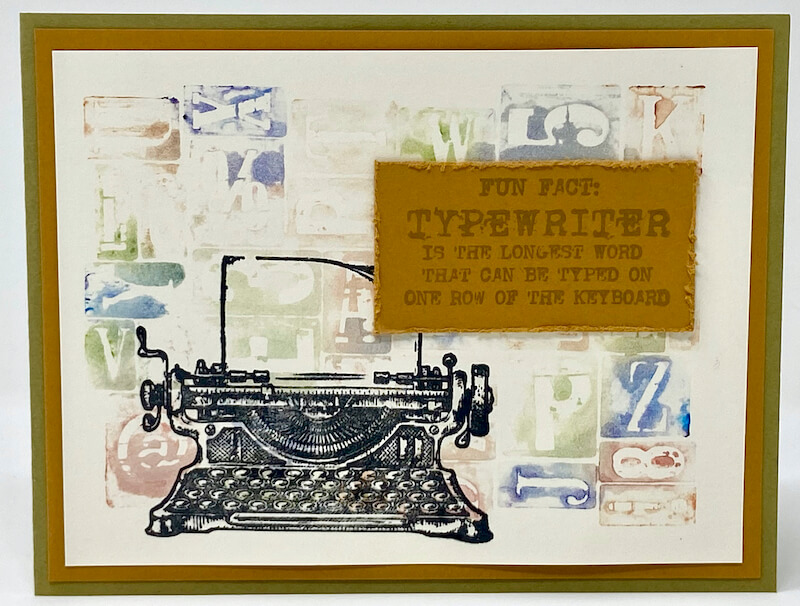
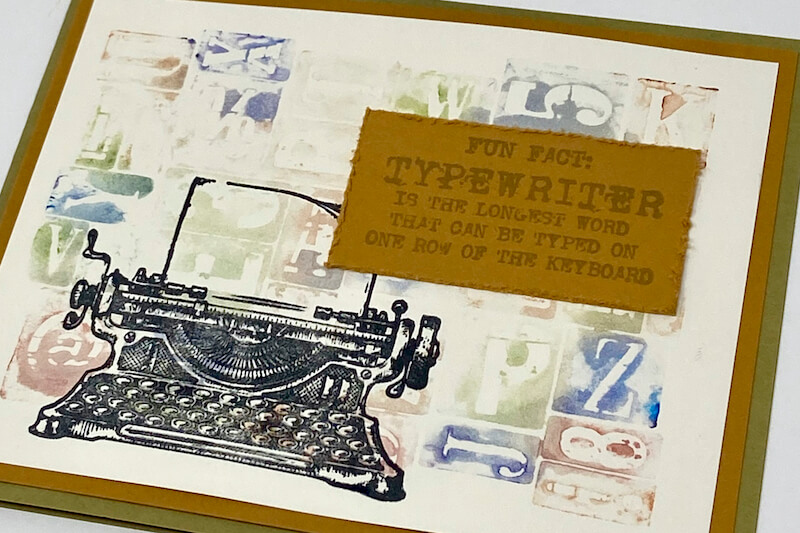
Locate the reserved "second generation" letterpress collage image. Stamp the typewriter image with India Ink in the lower left corner of the panel.

Stamp the sentiment on a Gold panel; rough up the edges with a paper distressing tool.
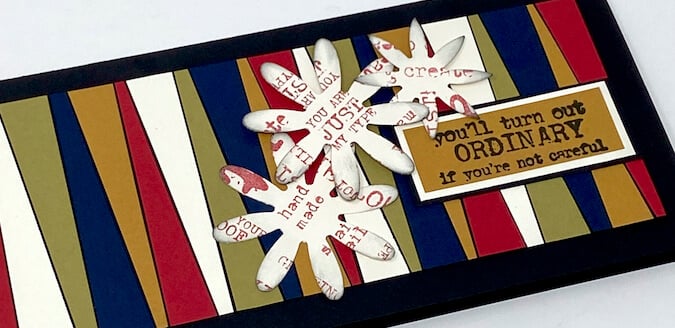
Scrappy Triangles and Word Art Flowers
30 Minute Card
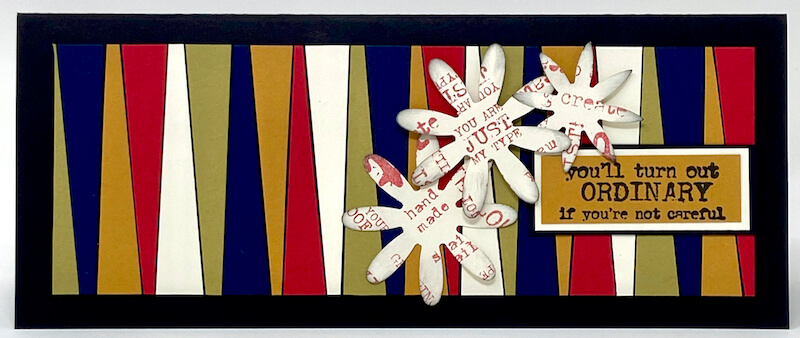
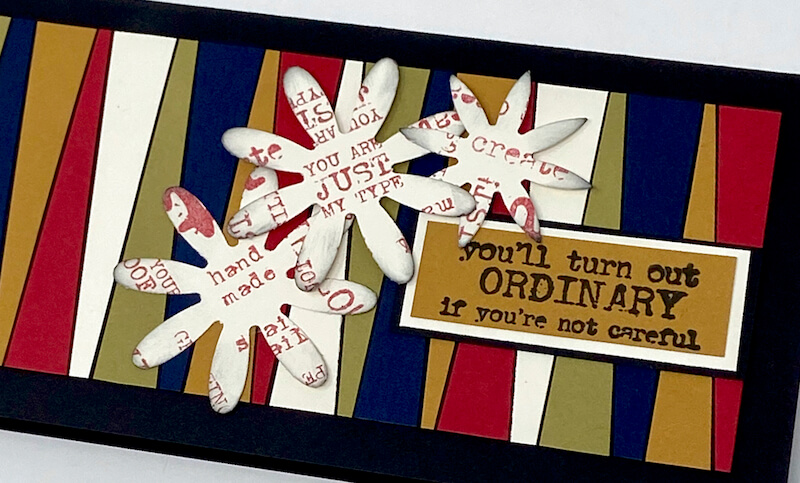
Trim a black panel to 2.75 x 7.75". Cut .5" strips of Gold, Red, Ivory, Green, and Blue papers diagonally to create triangle shapes. Apply Bookbinding Glue dispensed from a Needle-tipped Applicator to the back of the first triangle and adhere to the black panel.
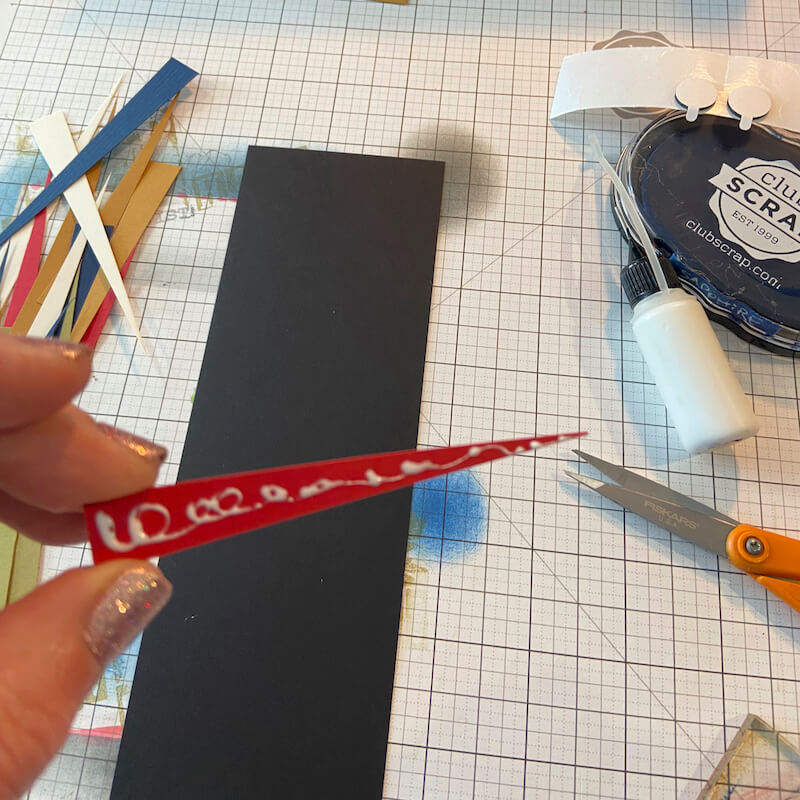
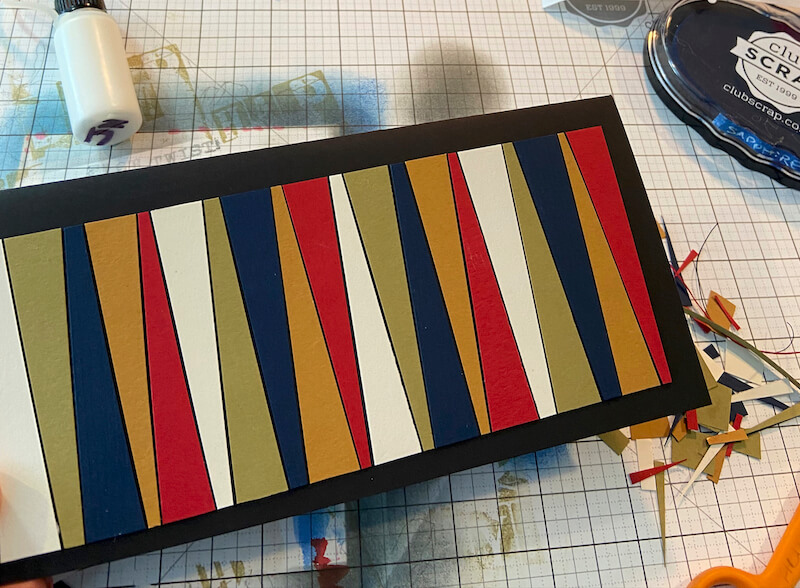
Apply glue to the black panel and continue to adhere triangles in alternating colors, leaving a tiny space between each one.
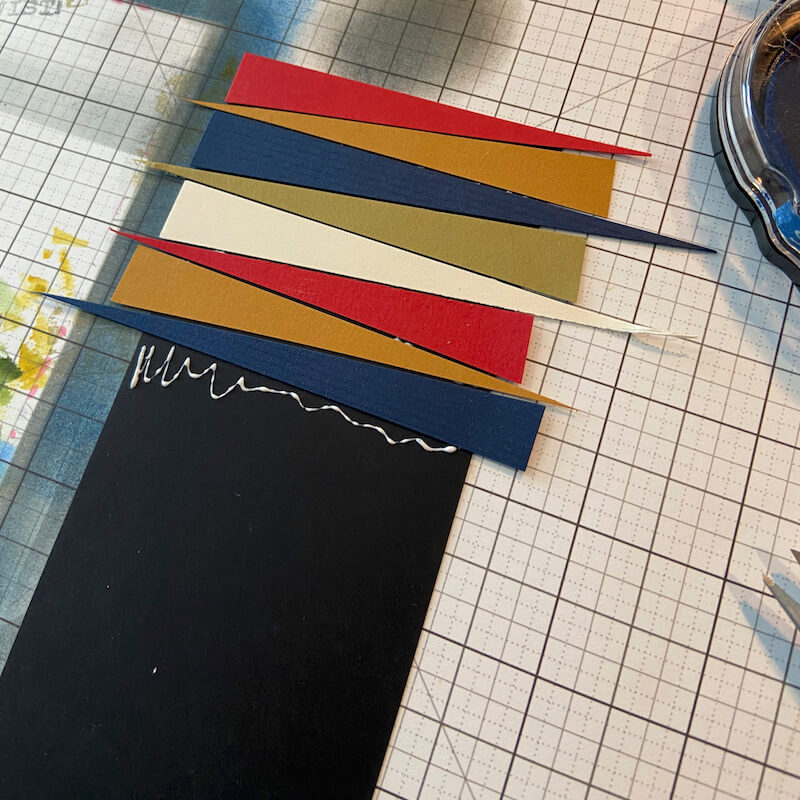
Cover the entire panel with triangles. Flip it over and trim off any excess papers with scissors or a paper trimmer.
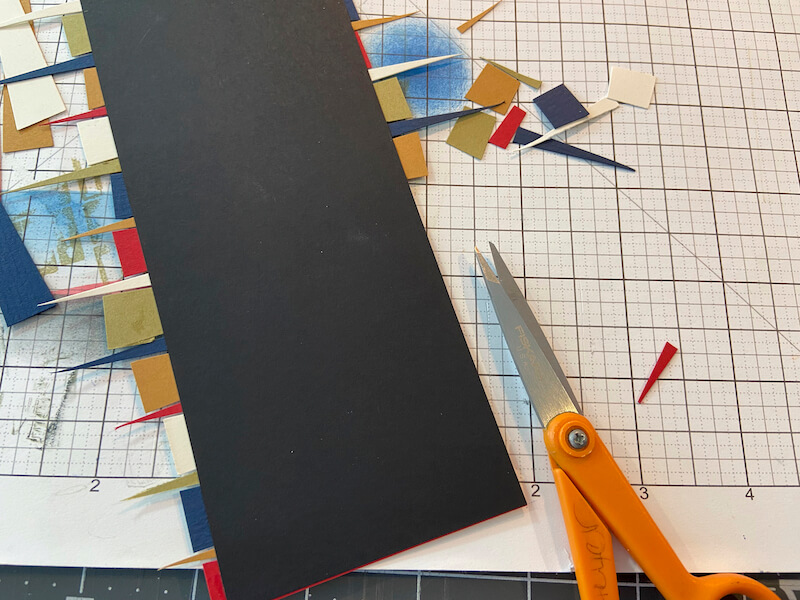
Adhere the panel to a black slimline card base.
Add words to an Ivory scrap with Red ink.
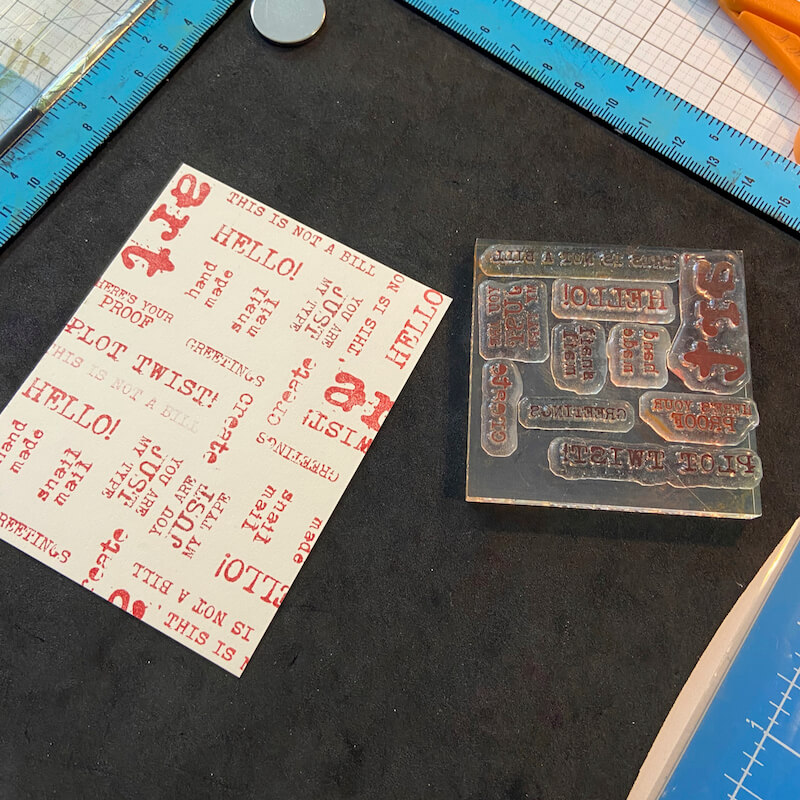
Use a punch (or die) to cut three flower shapes from the word art panel.
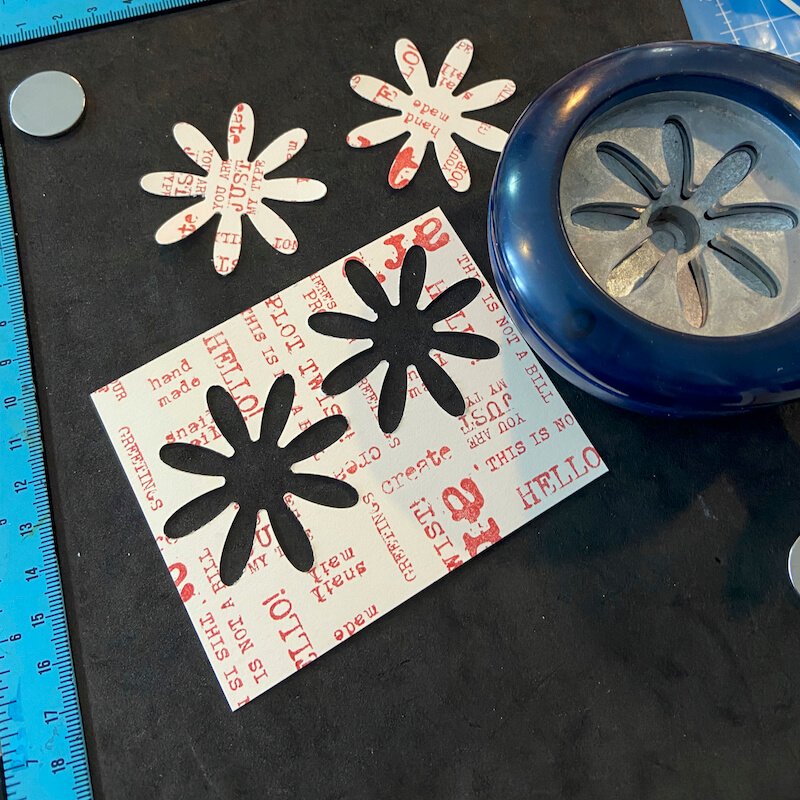
Adhere to the card. Complete the card by adding a stamped sentiment.
I hope my Typeset stamped cards inspire you to experiment with a few of these techniques in your personal stamping sessions. Be sure to share your finished artwork with us on our Club Scrap Chat Facebook group.
Happy stamping!
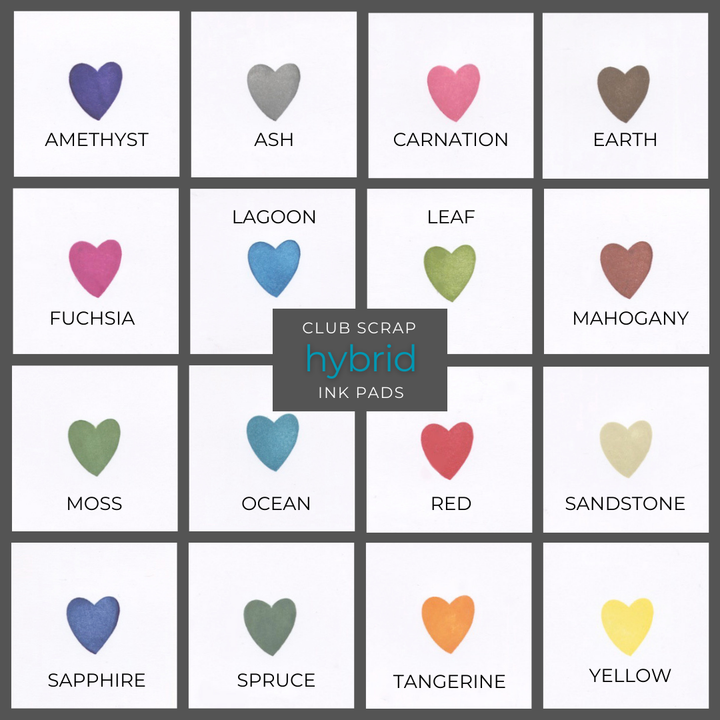
CS Hybrid Ink Pads
$6.35
Exclusively Club Scrap®, this hybrid craft ink combines the most exceptional ingredients of both pigments and dyes for a fine, crisp, fast-drying image! Don't forget to stock up on the coordinating re-inkers. Each ink pad sold separately. Please select the… Read More
