In yesterday's blog post, I shared some simple and elegant cards featuring April's Magnolia stamps. In this post, I'll show you how to take your cards to the next level by incorporating favorite stamping techniques and art mediums.
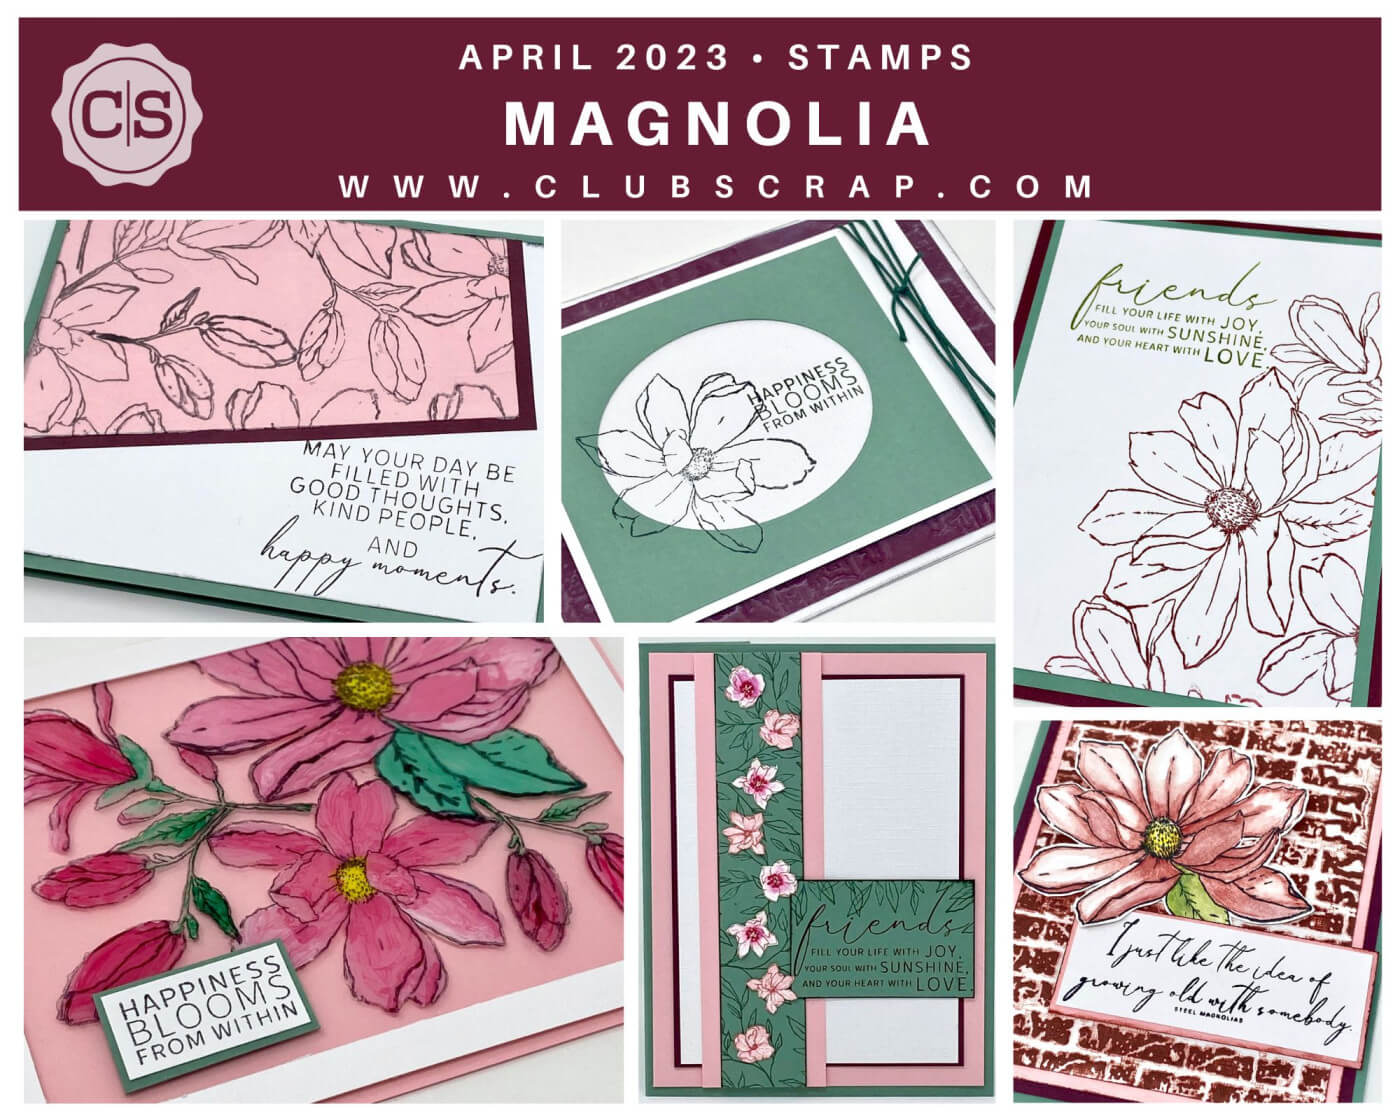
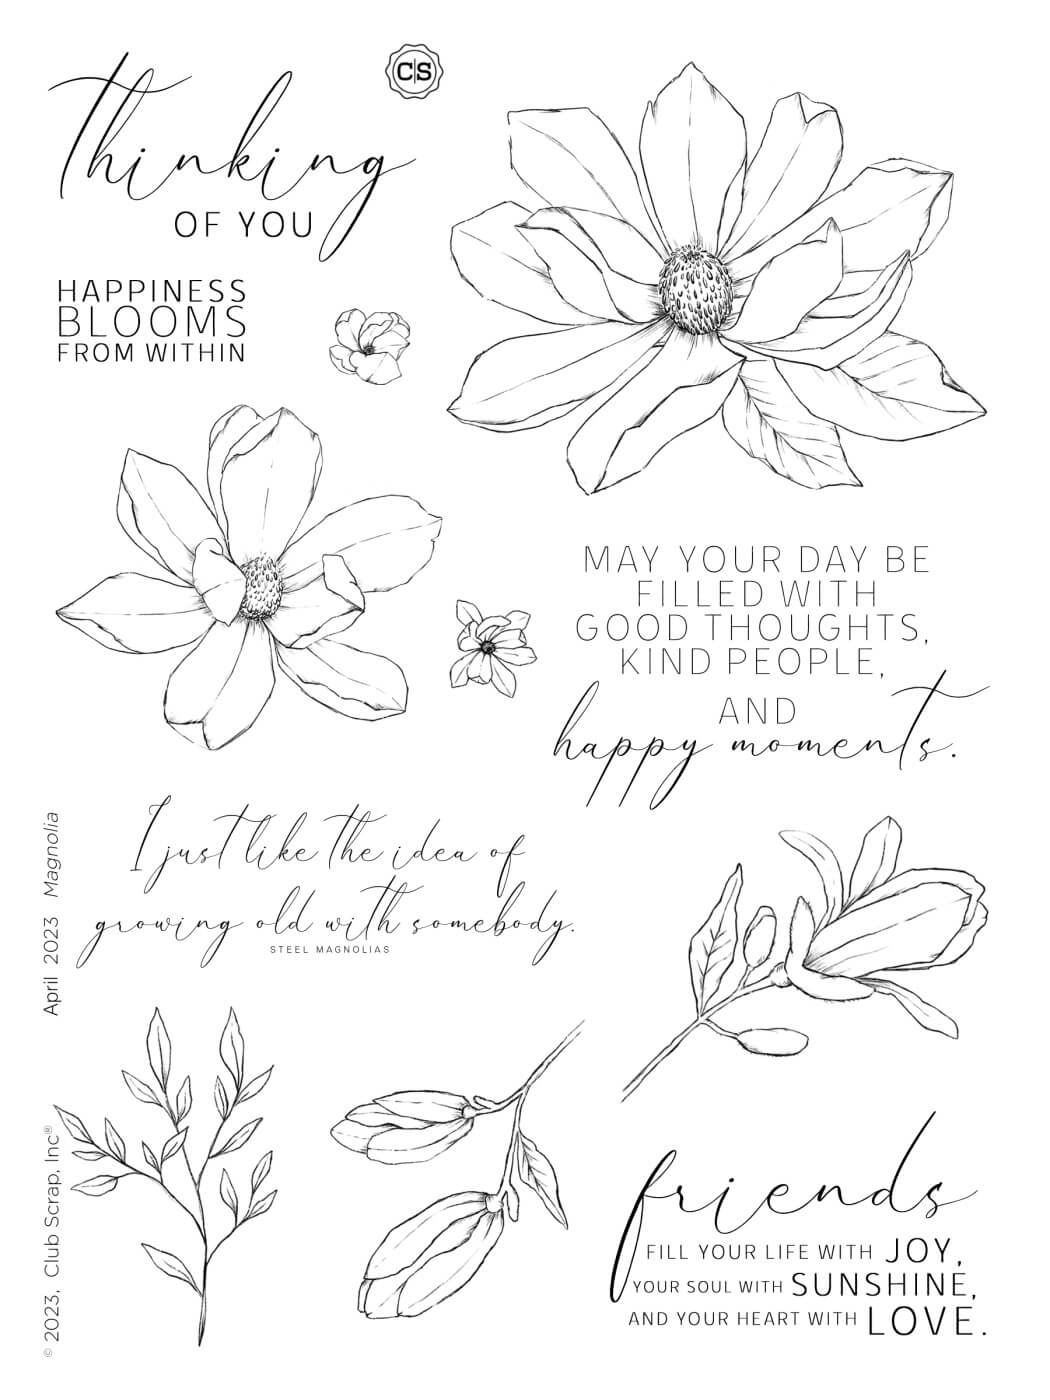
Magnolia Stamps
Card 8

Enhance your stamped artwork with alcohol markers.

Stamp the tiny magnolia blossoms on white and pink strips of paper with Mahogany ink.

Color the images with alcohol markers accented with a white gel pen.

Fussy cut the flowers with scissors.

Cover a Green strip with branch images stamped in Spruce ink.

Adhere the flowers to the branches with Bookbinding Glue dispensed from a Needle-tipped Applicator.

Complete the card with a stamped sentiment.
Card 9

A watercolored blossom serves as a beautiful focal point on this card.

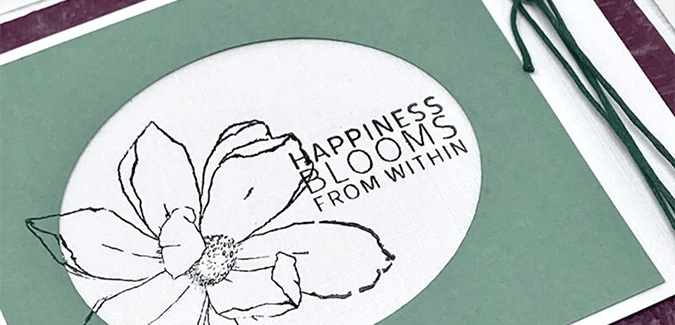
Place the large blossom image into a stamping platform. Ink with India ink and close the lid to transfer the image onto a white panel.

Color the image with watercolor pencils as shown.

Pull color from the edges of the image inward with a water brush. Continue to blend the colors until the desired effect is achieved. Allow the panel to dry before moving on to the next step.

Emboss a White Linen panel with a brick design.

Apply Mahogany ink directly onto the raised areas.

Add a stamped sentiment panel to the front of the card. Fussy cut the flower image and attach it with foam adhesive.
Card 10

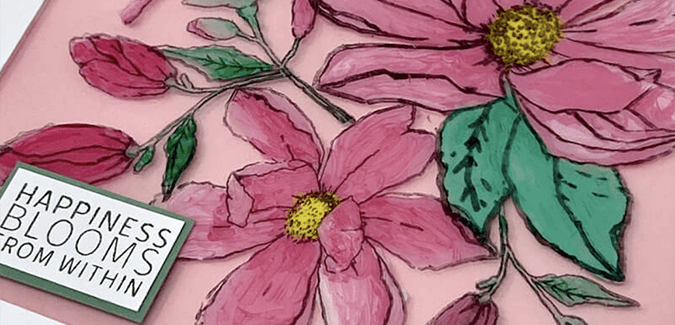
Recreate the look of painted glass with a few basic supplies.

Stamp a cluster of floral images on a clear acetate panel with India ink.

Hover over the wet ink for a few moments with a heat tool, being careful not to melt the acetate. Add acrylic paints in complimentary shades to a paint palette. Carefully blend the colors with a paintbrush.

Flip the stamped acetate panel to the non-inked side, add paint to the images.

Let the paint dry. Once dry, you can add more paint as desired - allowing the paint to dry between layers.

Add foam adhesive strips along the perimeter of the acetate, flush with the edges. Add small foam squares behind the flower centers for added stability.

Remove the backing from the foam adhesive and center the acetate panel onto a Pink card base. Create a 3/8" wide frame with a Craft Knife and Grid Ruler from a White Linen Panel. Apply Scor Tape to the back of the frame.

Center the frame over the acetate panel to hide the foam tape.

Complete the card with a stamped sentiment.
I hope my cards inspire you to experiment with new techniques and mediums in your stamping. Happy crafting!
