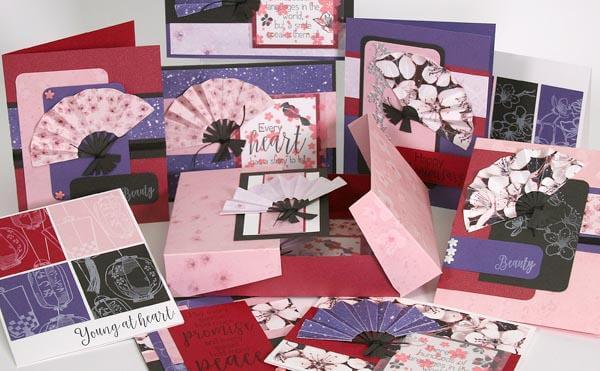
Make a beautiful split-lid card tray adorned with handmade paper fans and a set of ten cards with the
Cherry Blossoms Club Stamp kit.
Click on the link below to download the paper trimming and preparation instructions:
Cherry Blossoms Club Stamp Instructions
CARDS 1-4
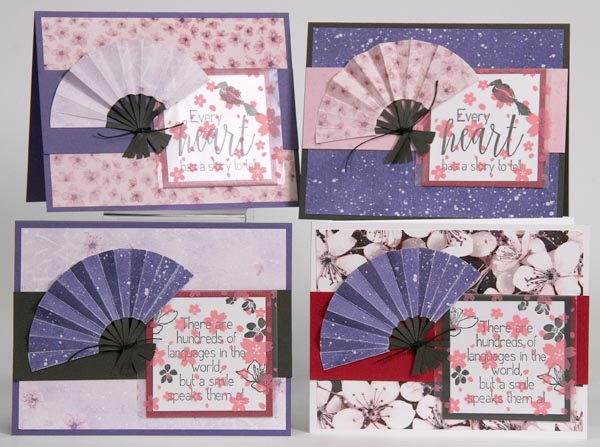
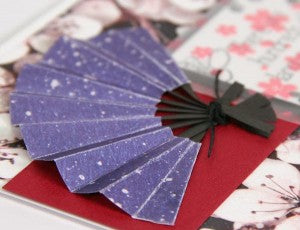
Earlier this month, Julie made a set of gorgeous paper fans with the help of her
Cherry Blossoms Digital kit. You can make eight fans from just one sheet of the Quad Print! Follow her
handy tutorial to create your fans.
After stamping the sentiment of your choice onto the 2.5" White panel, nest it onto a Cherry panel and drop into a clear
mini bag included in your kit. Remove the adhesive strip from the top of the bag and adhere to the back of the anchoring border.


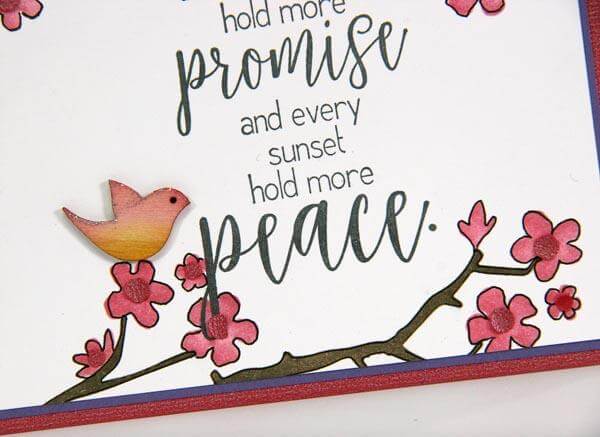
SET B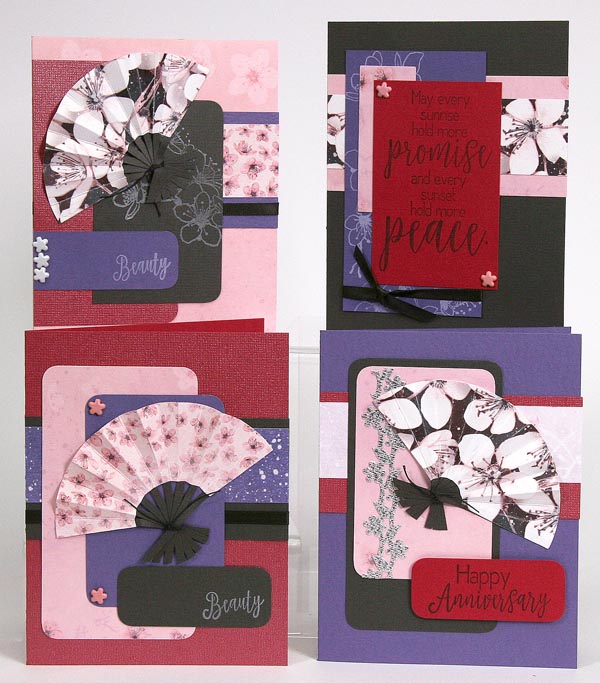
This fun set of cards was inspired by Roni Johnson's
Sketch Challenge for April and Julie's
freebie formula! Follow the paper trimming steps with Cherry, Purple Gray and Pink, and you've got fixings for a fabulous set of cards. Adorn the cards with a paper fan and add a sentiment from your stash.

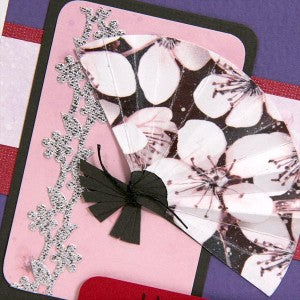
Add the silver
self-adhesive ribbon to the Pink card panel. Round the corners of each panel if you wish.
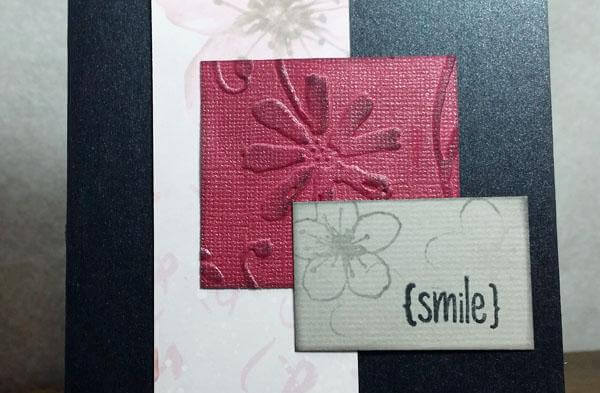
SET C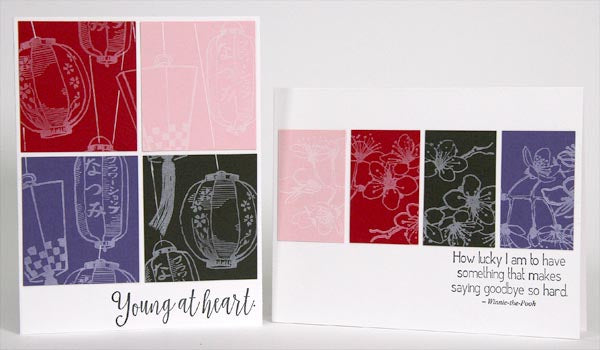
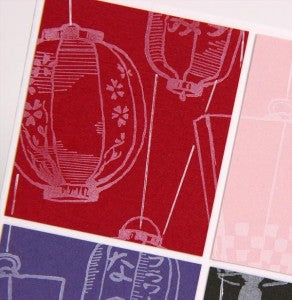
There will be a total of eight leftover pieces after trimming papers for the four previous cards. Assemble them onto a White card base and stamp images with
White Pigment ink. Connect the paper lanterns by drawing lines with a ruler and white gel pen.
Finish each card with a sentiment stamped in black ink.

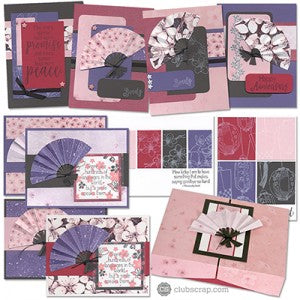
I was inspired to make the split lid card tray by a tutorial at
Split Coast Stampers. When I made the prototype, I realized the tray would be too small to hold envelopes, so I adjusted the measurements. I also adapted the lids to include an extra paper hinge to secure the lids onto the base.

Follow the preparation instructions on page three of the instructions provided at the beginning of this post, and consult the original
video tutorial to help guide assembly of the notecard tray. Nest the paper panels together and top with one last handmade paper fan.
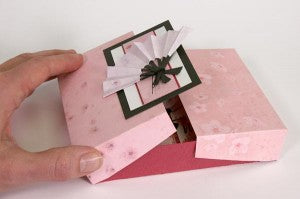
Pop the cards into the tray and consider it done. Enjoy!
Tricia