
Create embellishments for pages, cards or projects with an easy-to-follow tissue casting tutorial. Who knew you could make such fun accents with toilet tissue?!

Tissue Casting with Rubber Stamps
Gather stamps from the Happy Camper collection.

Tear off three squares of toilet tissue per image and trim to cover the stamps.

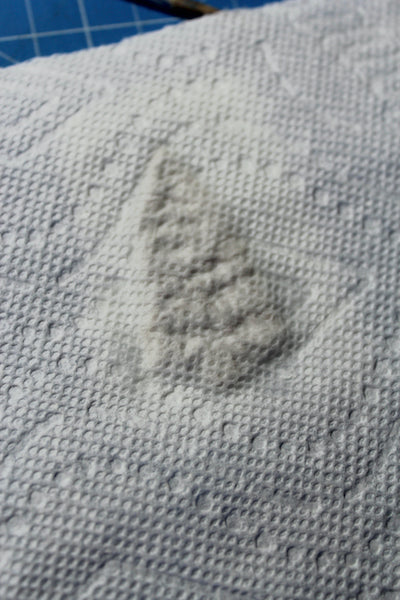
Lay the first layer of tissue over the stamp and spritz heavily with water. Press the tissue into the grooves of the stamp with a firm bristled brush and dabbing motion.

Continue this process by adding a layer of tissue, spritzing with water, and pushing it into the grooves with the brush.

Lay a piece of paper towel over the damp tissue covered stamps and press firmly to remove excess water.
Once these pieces are completely dry, rub an ink pad over each image, being careful to make contact with only the raised image.

Paint colors onto the image with a water brush, Gelatos, and Distress Inks. Any water-based art mediums will work well for this. Next, carefully remove the tissue from the stamp.
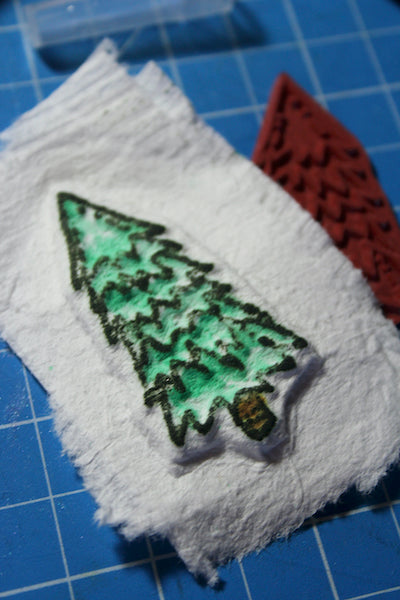
Fussy cut the image with scissors.

Apply Bookbinding Glue with a Needle-tipped Applicator along the perimeter of the image to seal the edges of the tissue to prevent the layers from separating.

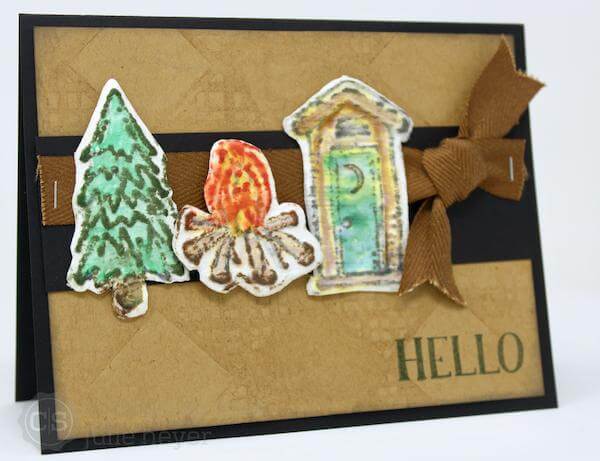
Create an adorable card with the images.

Tissue Casting with Stencils
Choose a stencil with large openings for the best results. (I chose the Succulents Layering Stencil.) Spray water onto the stencil and place one square of toilet tissue over the openings. Press the tissue into the open areas with a brush.
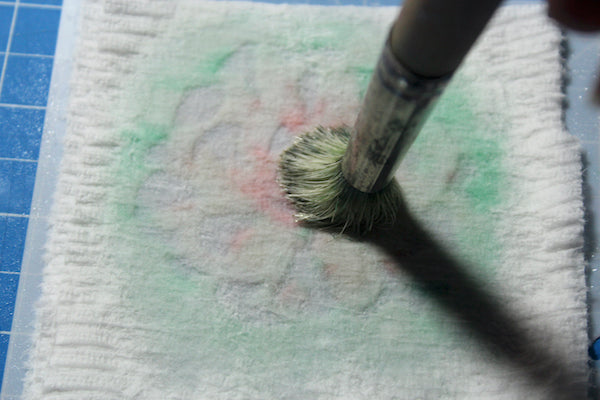
Rub Gelatos over the raised areas to add color to the tissue.

Remove excess water with a paper towel and remove the tissue from the stencil to dry.

Add more colors as needed with a water brush and Gelatos.

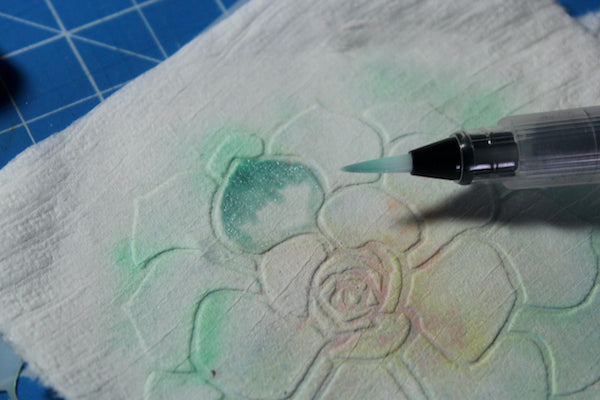
Set the piece aside to dry completely before moving onto the next step.

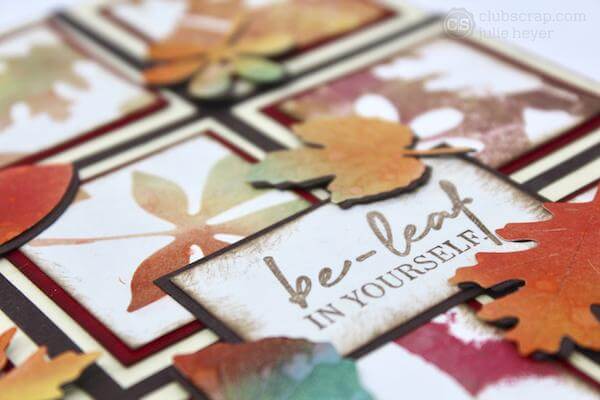
Fussy cut the image with scissors. Apply Bookbinding Glue with a Needle-tipped Applicator along the perimeter of the image to seal the edges of the tissue to prevent separation.

Create a card with the tissue casting flower paired with a background panel made with the Happy Camper Buffalo Plaid Stencil and Earth ink.

Now, it's your turn! Create artwork with the tissue casting techniques shared here or create your own. Visit the Facebook Chat Group 11/19 Technique Challenge post to upload completed artwork in the comments section. Not a chat group member? Answer a few simple questions, and we will accept your request in no time!
Julie