A trip to the local craft store where I purchased an 8x8" wood box for $1.99 was all the inspiration I needed for this fun Boardwalk project.
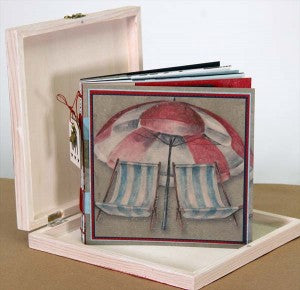
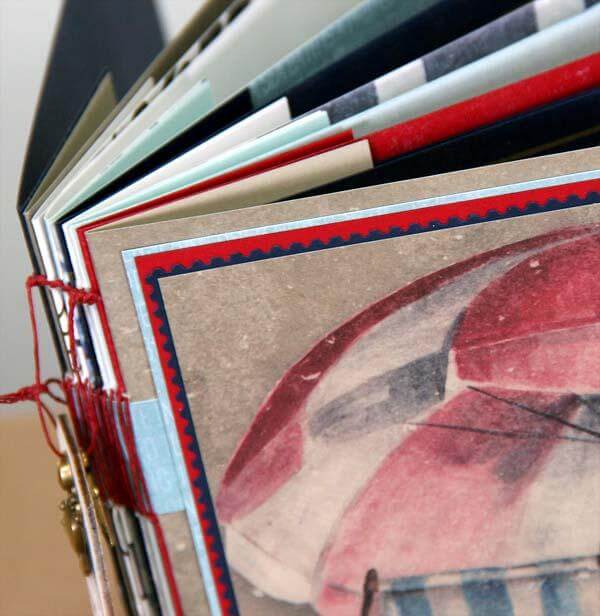
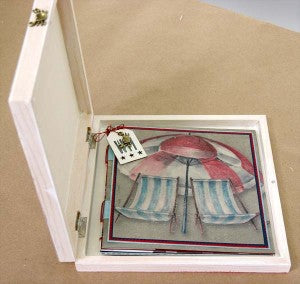
A 6x6" stitched album fits inside the box.

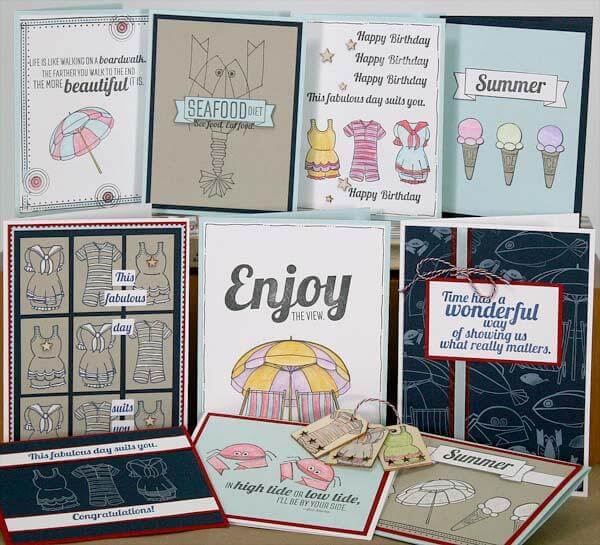
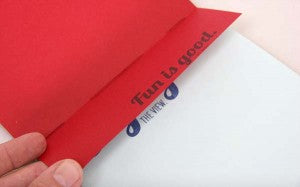
The front and back of the box is covered with prints from the Boardwalk Deluxe collection.
And the stitched album is made from more fabulous Boardwalk papers.
Preparing the Box
1. Paint the outside edges of the box with watered-down white acrylic paint. Wipe off excess prior to drying to create a whitewashed look.
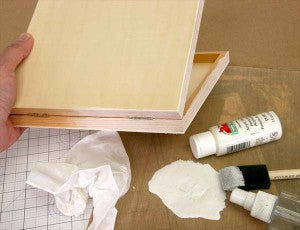
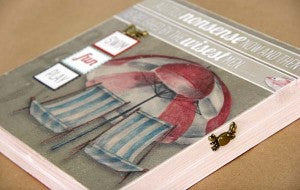
2. Adhere the 8.5x11 Red Print to the back of the box with CS® Bookbinding Glue.
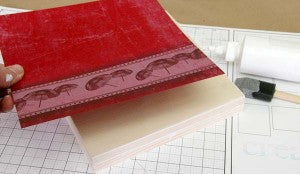
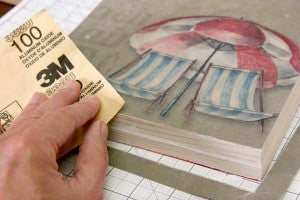
3. Sand away the excess paper from the edges.
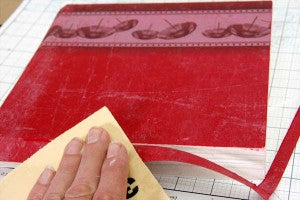
4. Adhere the 12x12 Sage Print to the front of the box and sand away excess.
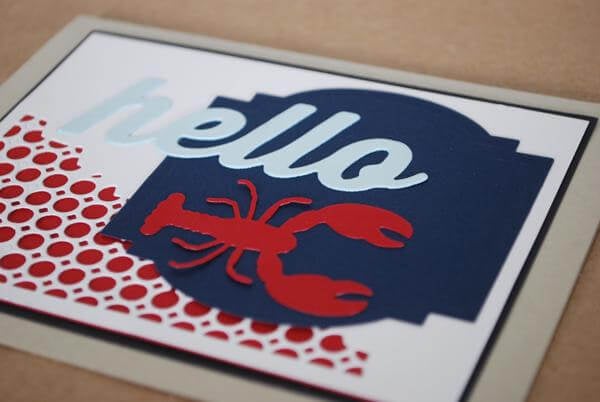
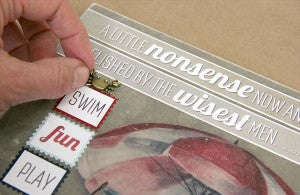
5. Adhere cutaparts and embellishments to the cover.
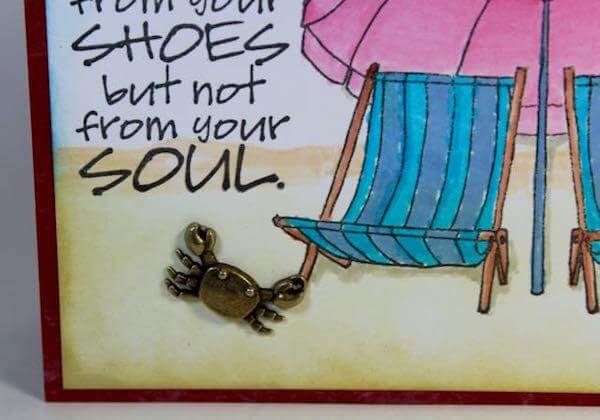
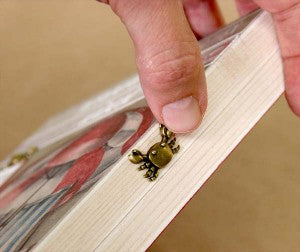
6. Adhere a bronze crab charm to the right edge of the box.
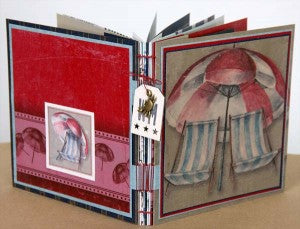
Stitched Book Assembly
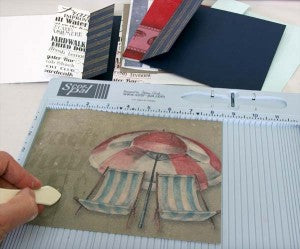
1. Trim ten 6.5x8.5" papers for the book pages and score horizontally at 2".
2. Measure and pierce the crease of one page at .5, 1.25, 2.25, 4.25, 5.25, and 6".

3. Use the page as a template to pierce the remaining nine pages.

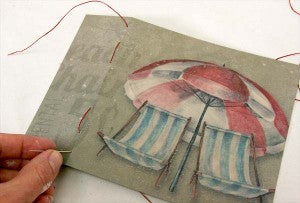
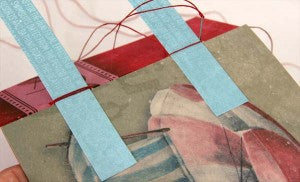
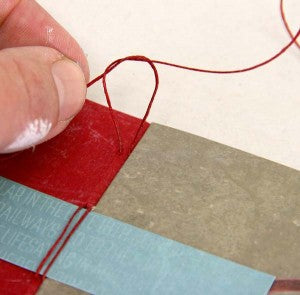
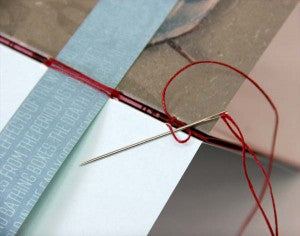
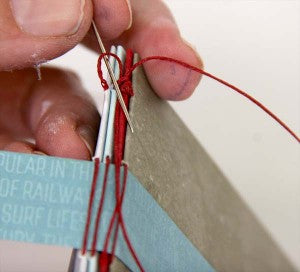
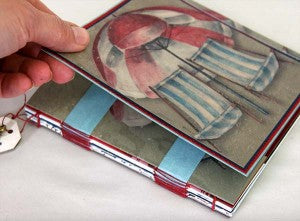
4. Use a basic kettle stitch to create the book. I've included a few photos to help jog your memory. If you like, review Tricia's ancient Craft TV Weekly video featuring this stitch at the 7-minute mark.
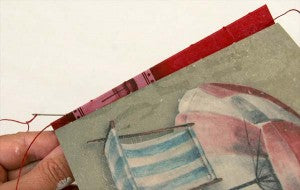
I like the addition of two .875x6.5" strips of paper in the binding. They add strength to the book and a nice decorative touch.

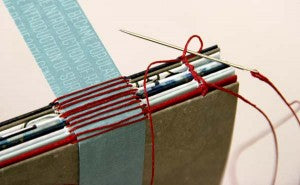
5. Once the last connecting stitch is made, adhere the binding strips to the outside pages.
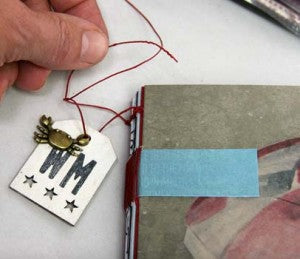
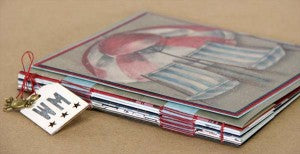
6. Tie a wood tag and bronze charm to the thread tails.
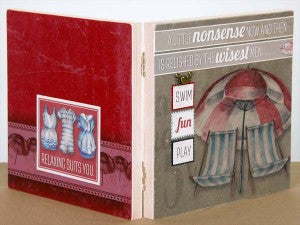
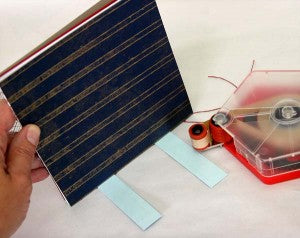
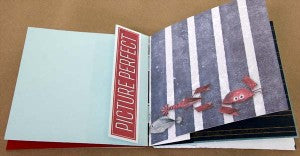
6. Layer a 6x6" art panel onto the outside front cover.
7. Repeat for the back cover.


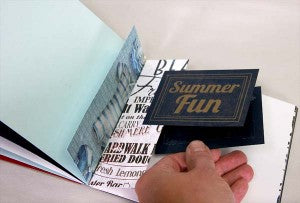
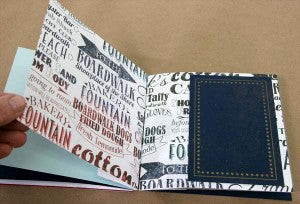
8. Decorate the inside pages of the book with cutaparts and embellishments. The short 2" page flaps provide all sorts of fun opportunities.
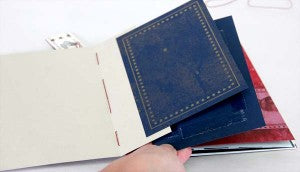


9. Pop the book into the box.
10. Go make some memories on the shore and add them to the book.
Thanks for taking a creative stroll down the Boardwalk! Click HERE if you need to load up on this delightful collection.
Kay