The
Homestead Lite kit has shipped, and it's time to enjoy the creative contents. Have you seen how great the
stencil,
cutaparts and
stamps work together?
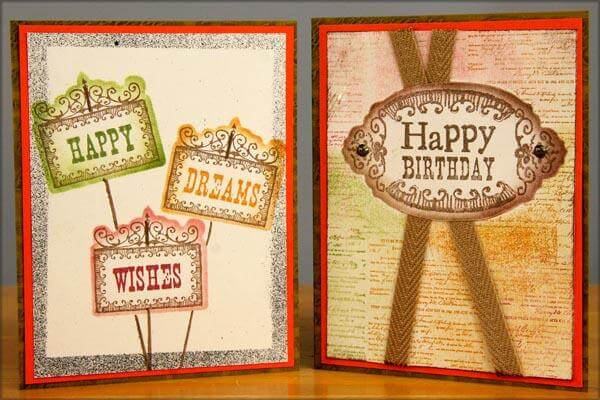
HAPPY BIRTHDAY CARD

1. Rubber stamp the oval frame from the
Homestead Greetings UM onto an Ivory card panel.

2. Stamp the "happy birthday" greeting within the oval frame.

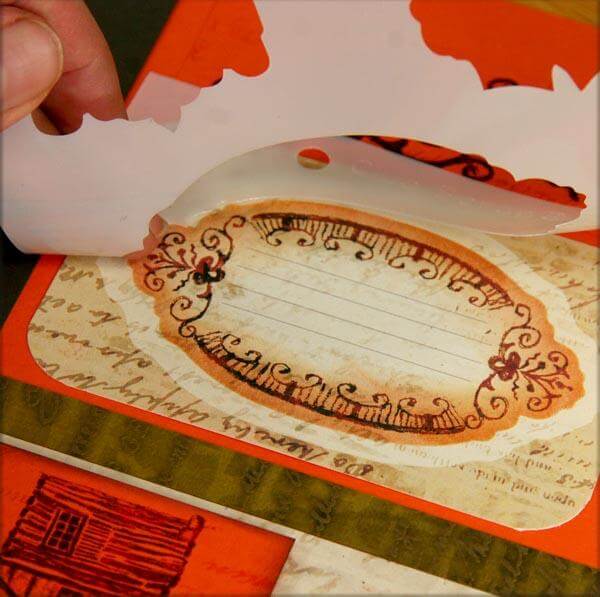
3. Place oval shaped stencil opening over the stamped frame. Sponge Earth ink around the edge of the opening with a
foam applicator.

4. Remove the stencil to unveil. (My favorite part!)

5. Make a mask from scrap paper using the stencil; trim.

6. Place the mask over the stamped oval frame to shield from other rubber stamping.

7. Embellish with ribbon and brads. Matte the panel with Pumpkin plain and add to a folded card base.

DREAMS AND WISHES CARD
The stencil also contains a shape to coincide with the rectangular frame on the
Homestead Borders & Backgrounds sheet.
1. Rubber stamp three signs onto an Ivory card panel with Earth ink.

2. Stamp a word within the opening of each sign with Leaf, Ruby and Topaz inks.

3. Stencil coordinating ink onto each sign.

4. Use a grid ruler and marker to add a stake to the bottom of each sign.

5. Embellish, matte and nest onto a folded card base.

Remember, you don't have to own the stamps to enjoy the stencil! Simply place the appropriate shape onto the printed cutapart included in the Lite kit and add the ink of your choice with a foam applicator.


My journaling cutapart really pops when attached to the page with the foam mounting squares featured as a goodie in the Lite kit.


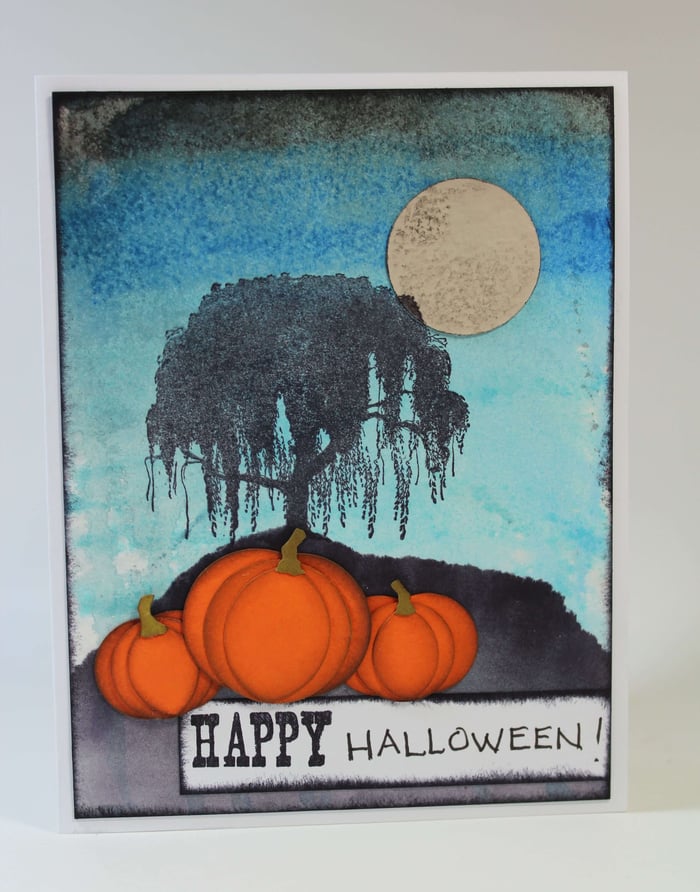
Happy Halloween!

This month's stencil, stamps and cutaparts go together like peas 'n carrots 'n carrots. Enjoy!
Kay at Club Scrap

 1. Rubber stamp the oval frame from the Homestead Greetings UM onto an Ivory card panel.
 2. Stamp the "happy birthday" greeting within the oval frame.
 3. Place oval shaped stencil opening over the stamped frame. Sponge Earth ink around the edge of the opening with a foam applicator.
 4. Remove the stencil to unveil. (My favorite part!)
 5. Make a mask from scrap paper using the stencil; trim.
 6. Place the mask over the stamped oval frame to shield from other rubber stamping.
 7. Embellish with ribbon and brads. Matte the panel with Pumpkin plain and add to a folded card base.
 DREAMS AND WISHES CARD
The stencil also contains a shape to coincide with the rectangular frame on the Homestead Borders & Backgrounds sheet.
1. Rubber stamp three signs onto an Ivory card panel with Earth ink.
DREAMS AND WISHES CARD
The stencil also contains a shape to coincide with the rectangular frame on the Homestead Borders & Backgrounds sheet.
1. Rubber stamp three signs onto an Ivory card panel with Earth ink.
 2. Stamp a word within the opening of each sign with Leaf, Ruby and Topaz inks.
 3. Stencil coordinating ink onto each sign.
 4. Use a grid ruler and marker to add a stake to the bottom of each sign.
 5. Embellish, matte and nest onto a folded card base.
 Remember, you don't have to own the stamps to enjoy the stencil! Simply place the appropriate shape onto the printed cutapart included in the Lite kit and add the ink of your choice with a foam applicator.


 My journaling cutapart really pops when attached to the page with the foam mounting squares featured as a goodie in the Lite kit.

 Happy Halloween!