
It's been a little nutty around here with the Retreat shopping bags and supplies returning from the Oshkosh convention center, the Minnesota Scrapbook Expo U-Haul leaving tomorrow, and the Lite kits shipping today!
Homestead Lite Kit
LAYOUT 1 & 2

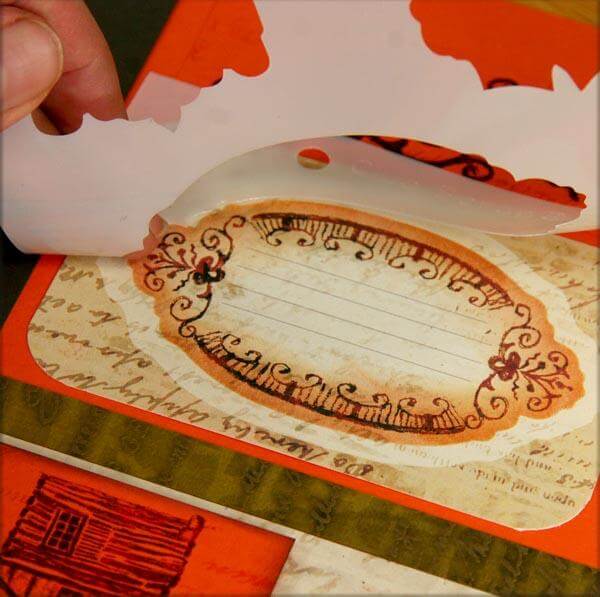
The stencil works in tandem with the cutaparts. You have the ability to add shading around each pre-printed frame in the color of your choice. Here, Earth ink was added with a CS Ink Applicator.


LAYOUTS 3 & 4

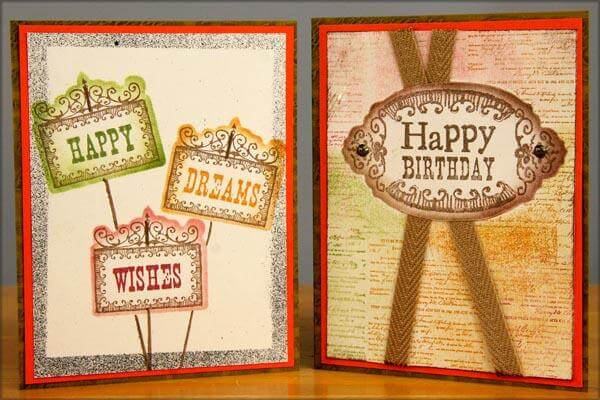
The multi-colored ribbon has an iridescent strip that adds a little shimmer to the page. It has a wired edge, so it shapes well and easily wraps around to the back of a layout.

LAYOUTS 5 & 6

The lettered captions on this page were stenciled with Ruby ink. Rounding the corners added a more finished look.

Your kit also includes a full package of black mini foam mounting squares by 3L. We love adding dimension with these handy self adhesive squares!

LAYOUTS 7 & 8

In addition to the frame fill-ins, the stencil also features a beautiful scroll image which can create a repeating pattern for a border as shown at the top of layout seven.


You will be happy to know the stencil frames are also designed to fit perfectly around the frames featured on the unmounted rubber stamps from the Homestead collection. Jacqueline is clever that way.
Take the Greeting UM, for example. The size of the large frame will match up with the stencil. Tons of dimension can be added when the frame is masked and ink is sponged into the opening.

Have fun framing it up!
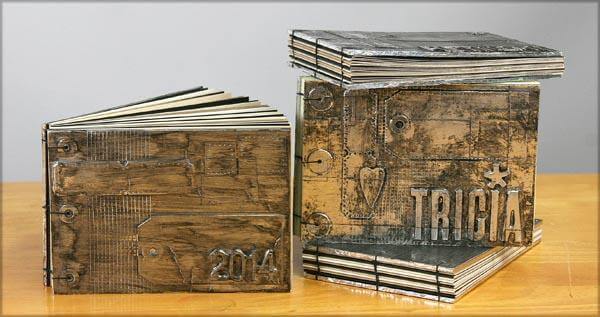
Tricia