
Create beautiful stacked squares to adorn colorful cards with the Zest for Life stencil and stamps!
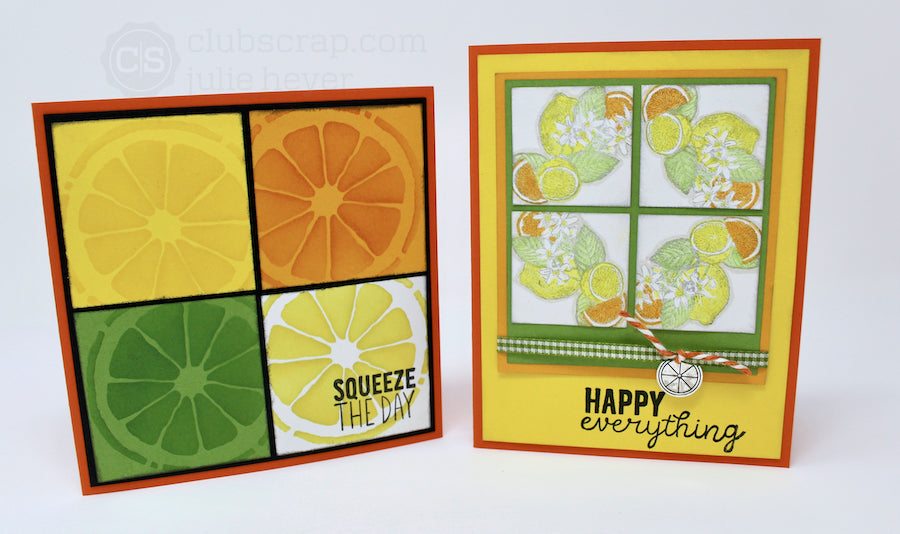
Stacked Squares Technique
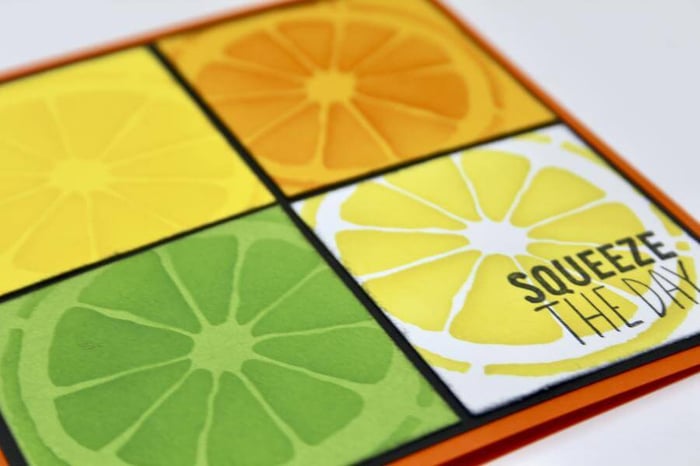
Zest for Life Stenciled Squares
Secure the Citrus Stencil to the Club Scrap Grid Paper Pad with washi tape.

Slide a yellow panel under the stencil and make note of the panel's location on the grid. All future panels will be placed along the same grid lines.

Add Yellow Ink over the stencil in circular motions with an Ink Applicator Brush.

Remove the light yellow panel and replace with a dark yellow panel. Repeat the stenciling process but with Tangerine Ink.

Repeat this process with a green panel/Moss Ink and a white panel/Yellow Ink.

Stack and trim the panels into to 2-1/4" squares. Adhere the squares in a grid formation onto a black panel and add to the front of a 5x5" orange folded card base.

Add a stamped sentiment to the white panel to complete the card.

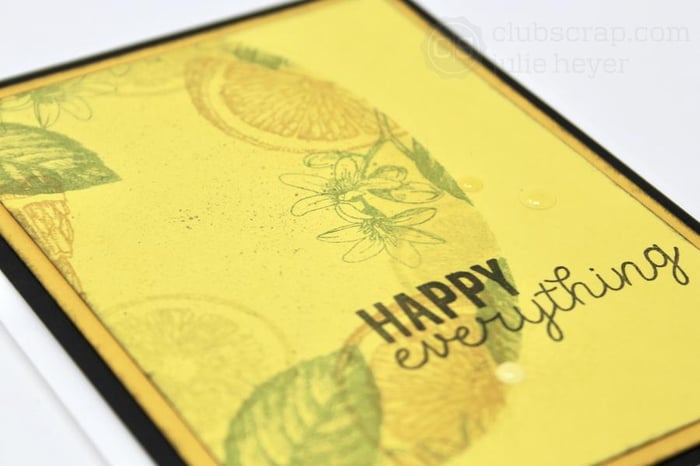
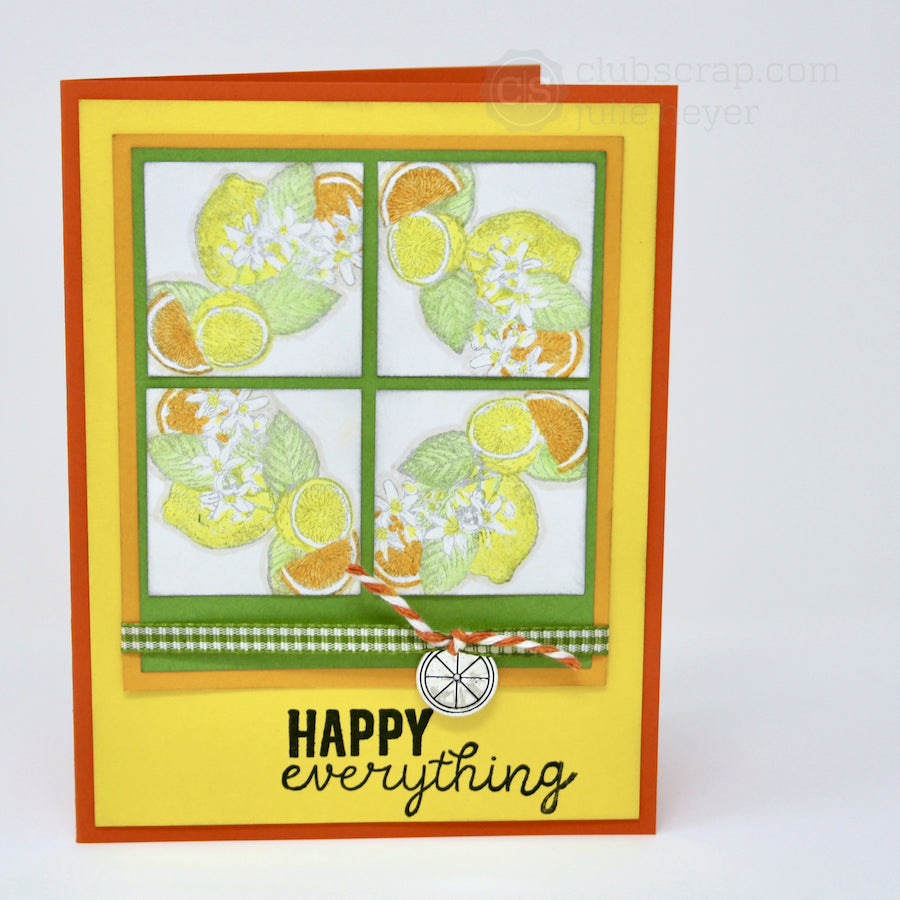
Zest for Life Stamped Squares
Stamp the citrus cluster image onto four 1-1/2" squares with Ash ink. Use a stamping platform to ensure the images are in the same location on every square. Color the images with coordinating markers.

Add a shadow around the images with a light gray marker.

Position the squares onto layered green and dk. yellow panels. Embellish with Card Kit ribbons and a citrus slice charm.
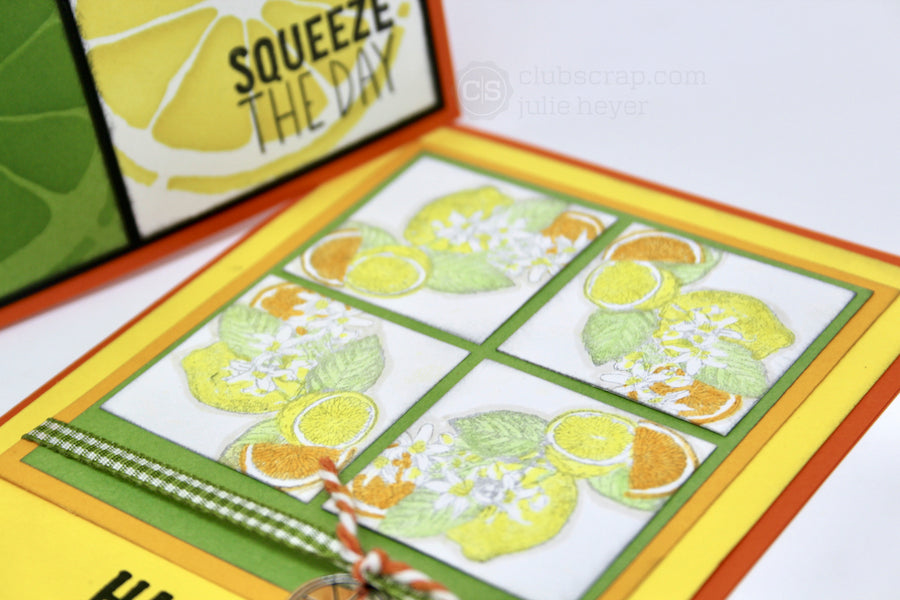
Stamp a sentiment in India Ink on the large yellow mat and adhere to a folded orange card base.
I hope you like these zesty cards guaranteed to perk up anyone's day. It's hip to be square!

Julie