Create cool art to adorn any project with the Masked Shapes technique. Lisa and I experimented with both gel printing and stamping to make our simple but elegant samples.

Masked Shapes Technique
Lisa - Kintsugi inspired Gelli Print
Add a thin layer of gold acrylic paint to a gel plate.

Cover the wet paint with the Cobblestone stencil.

Carefully lift the stencil to remove some of the paint and reveal the image. Cut a tissue paper heart mask and place onto the gel plate.

Lay a white panel over the tissue paper. Rub the panel to ensure a proper transfer of paint from the gel plate.

Lift the paper off the plate to reveal the printed heart image.

Complete a card with a Kintsugi stamped sentiment.

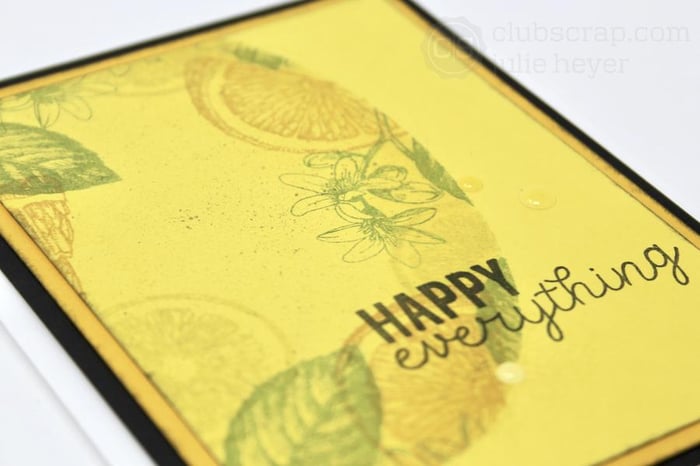
Julie - Zest for Life Stamped Oval
Die cut a large oval from a piece of copy paper. Lay the mask over a yellow panel and secure temporarily with washi tape. Swipe Yellow Ink from the mask into the center of the oval with an ink pad direct to paper technique.

Stamp around the perimeter of the oval opening with a variety of Zest for Life images in Moss, Tangerine, and Yellow Inks.

With the mask in place, add a bit of speckling with Black Soot Distress Crayon, water, and a tooth brush. Remove the mask to reveal the art.
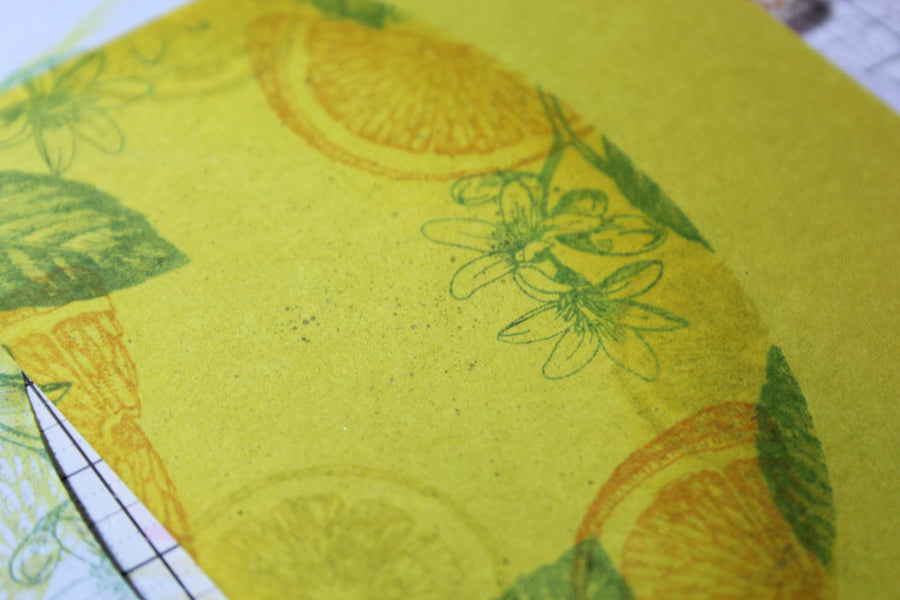
Finish the card with a stamped Zest for Life sentiment and three enamel dots.

Julie - Bonus Kintsugi Stamped Heart
Hand cut a heart shape out of copy paper. Add the Kintsugi images onto the red panel with White Pigment ink and dust with Perfect Pearls Pearl powder while wet. Frame the panel with Silver Dazzles from the Geodes Page kit.

Now, it’s your turn! Create artwork with the Masked Shapes technique shared here, or create your own! Visit the Facebook Chat Group 01/21 Technique Challenge post to upload completed artwork in the comments section. Not a chat group member? Answer a few simple questions, and we will accept your request in no time!
Lisa and Julie
