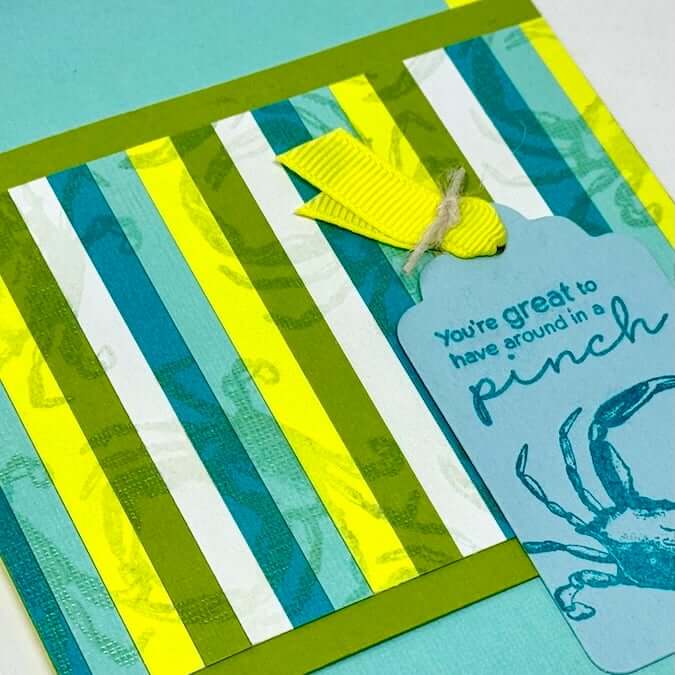

Create a unique shaker flap to adorn the front of a 5x7" card. Pair the Beachcomber collection with a Happy Life card shaker cover. My friend, Sue, recently shared a Stampin' Up card design with me. I thought it would be fun for me to figure out how to achieve the same look with my Club Scrap supplies!
Shaker Flap Card Tutorial
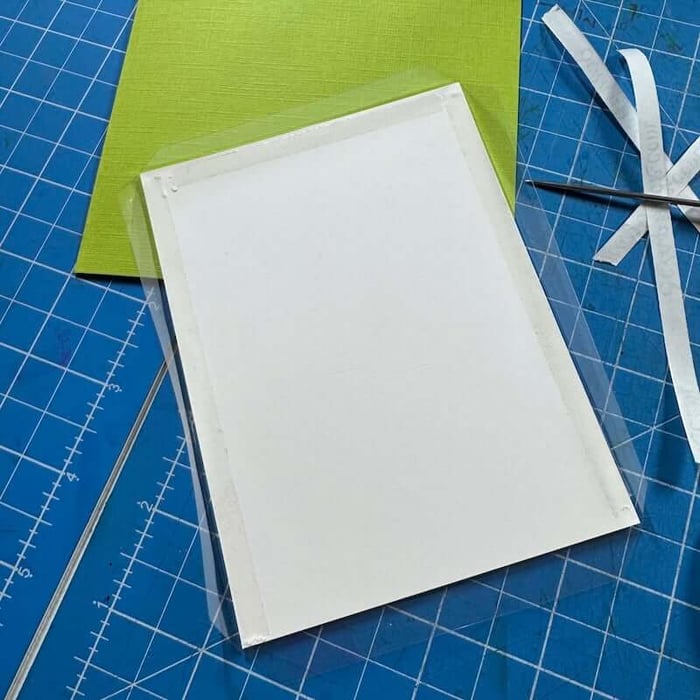
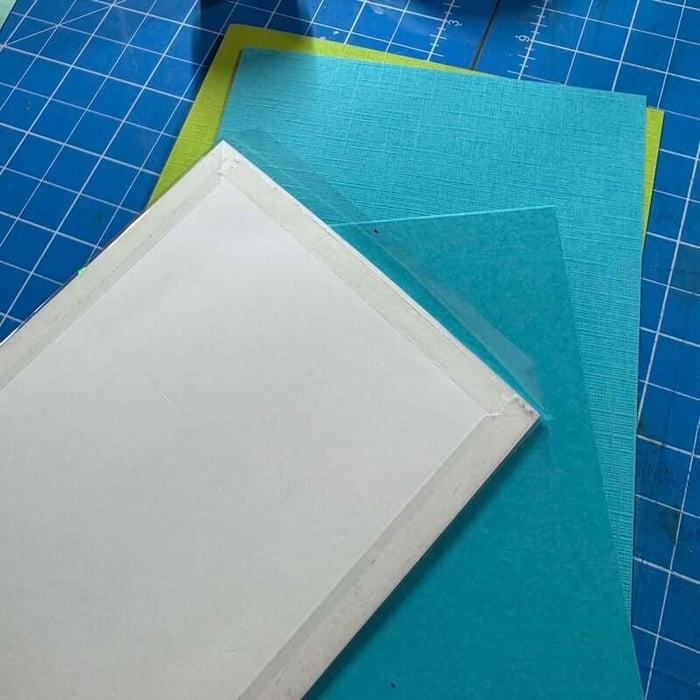
Gather a shaker cover and papers from the Beachcomber collection.
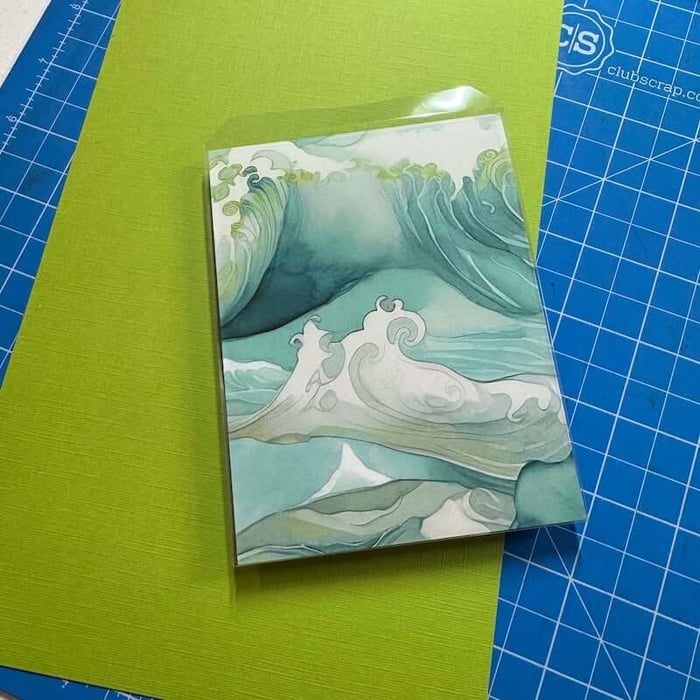
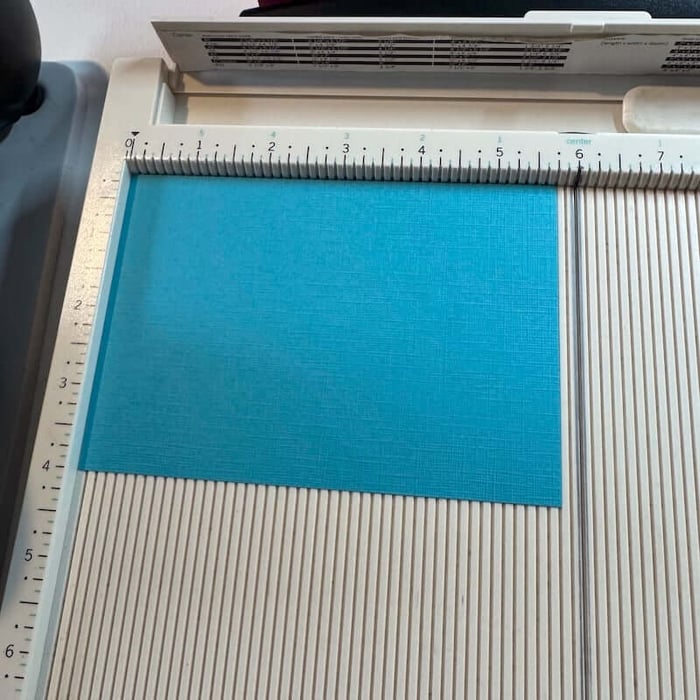
Trim a Wave Print to 4x5.25". This will fit perfectly inside the shaker cover element.
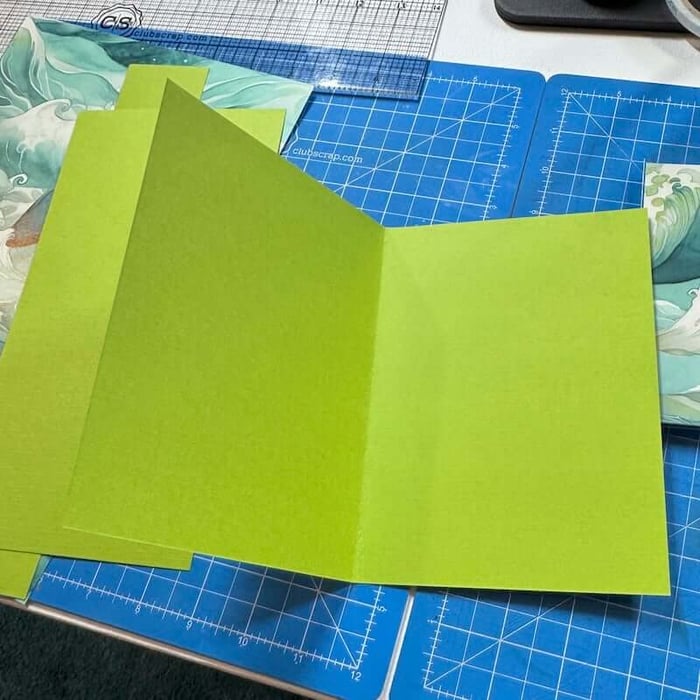
Cut a 7x10 Green, 4.75x7 and 4x5.75" Aqua.
Score the 7x10 Green horizontally at 5" to create the card base.
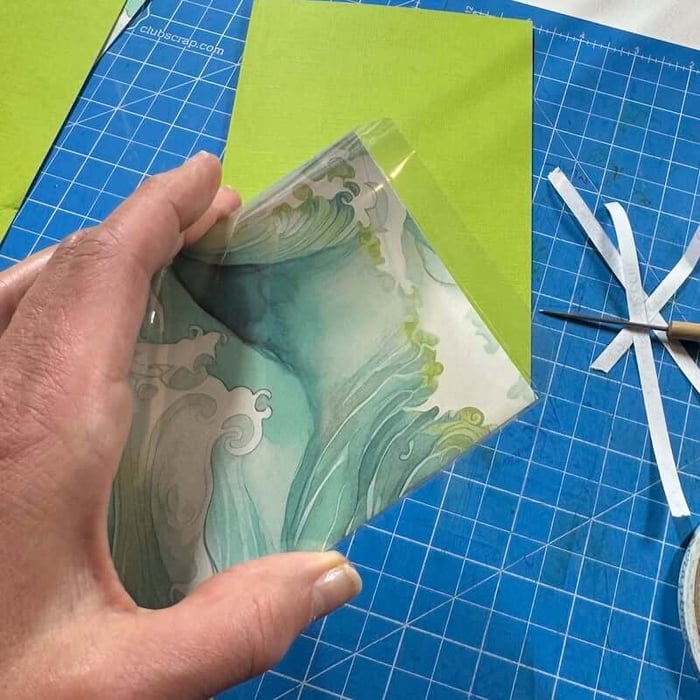
Place the Wave print inside the large scored area of the shaker cover. Add 1/4" Score Tape along the bottom and sides of the paper. Remove the backing strips to expose the adhesive.
Fold three of the shaker cover flaps over the adhesive and burnish to ensure proper adhesion.
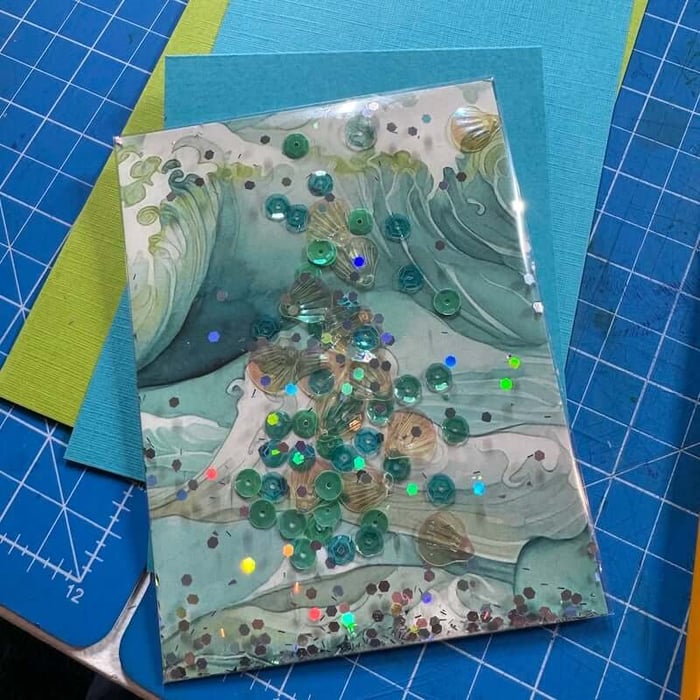
Flip the shaker cover over to reveal the Wave print. Note: The opening of the cover is at the top and free of adhesive, creating a way to add the shaker elements.
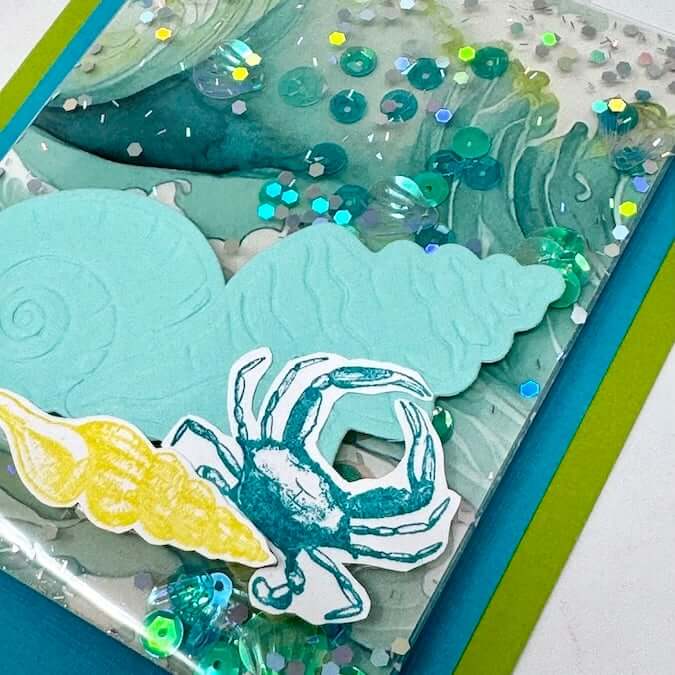
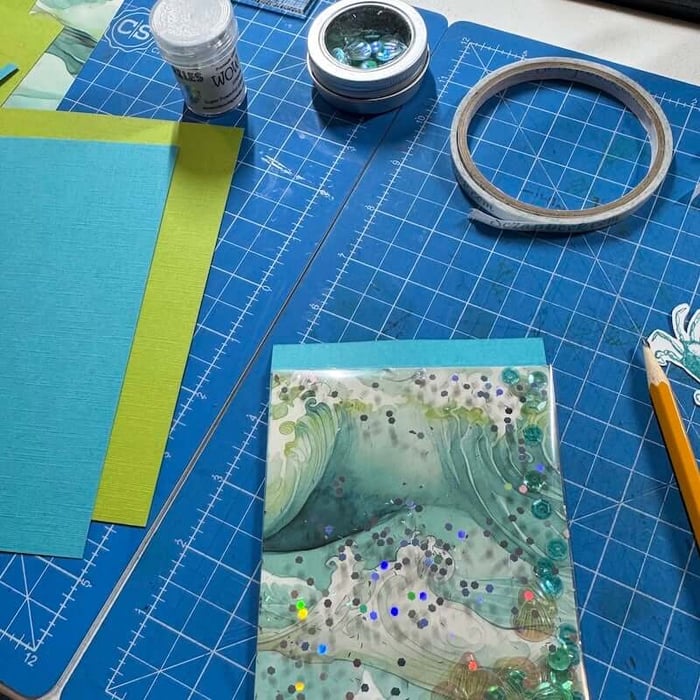
Add sparkle glitter, beads, sequins, etc. from your stash in coordinating colors.

Once the shaker elements are added, add a strip of 1/4" Score Tape to the back of the Wave print to seal the shaker cover.
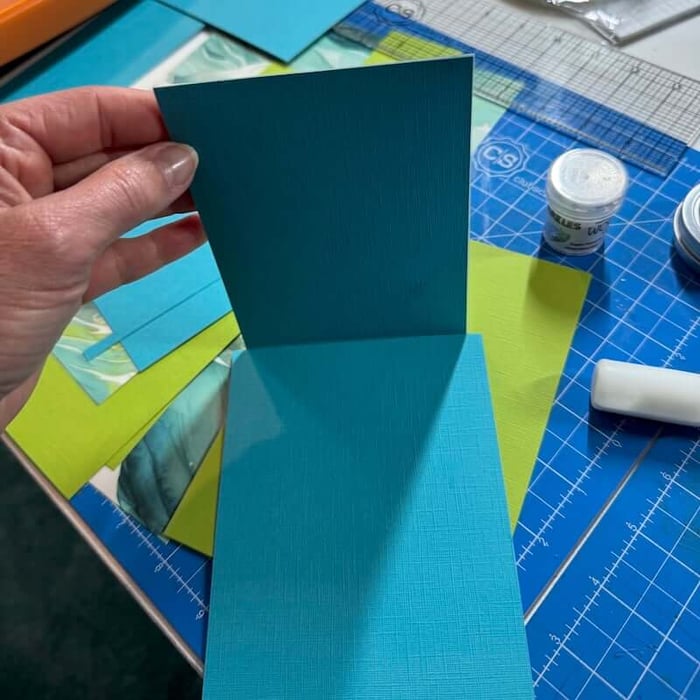
Place the 4x5.75" Aqua panel into a scoring board horizontally.
Score at 5.25".

Apply 1/4" Score Tape to the back of the shaker and center it onto the large scored area of the Aqua panel. (The tab should be at the top of the shaker.)
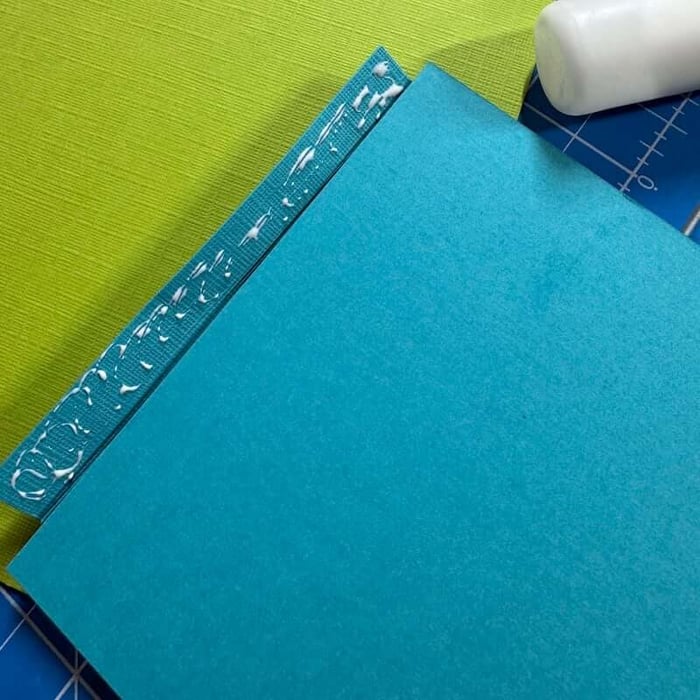
Place the shaker face down onto your work surface with the tab at the top. Position the 4.75x7" Aqua panel linen texture side down and centered left to right along the score line. Add Bookbinding Glue dispensed from a Needle-tipped Applicator to the tab. Fold the tab over onto the large Aqua panel. Burnish to ensure proper adhesion.
The shaker flap is now adhered securely to the panel.
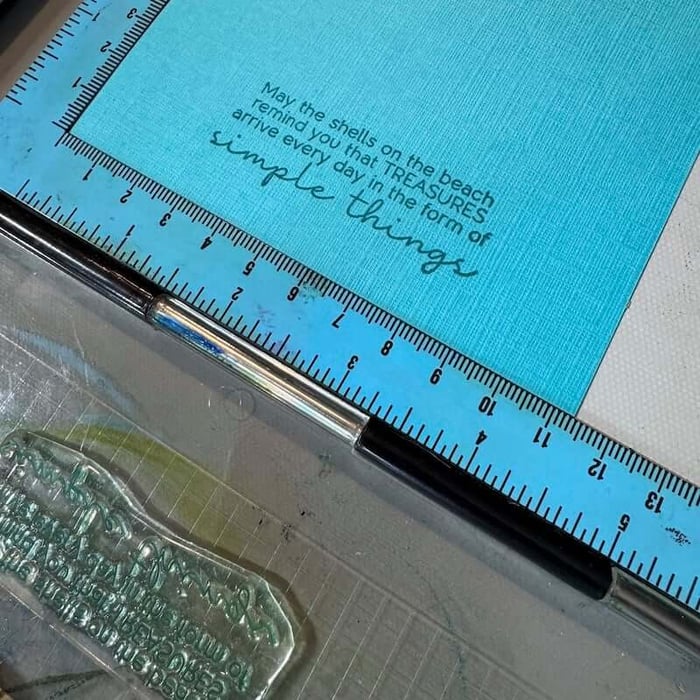
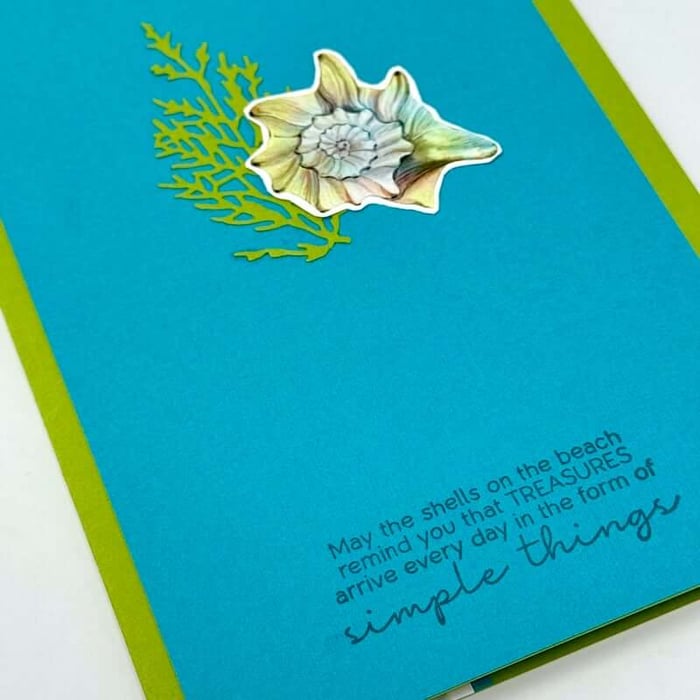
 Center the sentiment along the bottom of the large Aqua panel; stamp with Ocean ink.
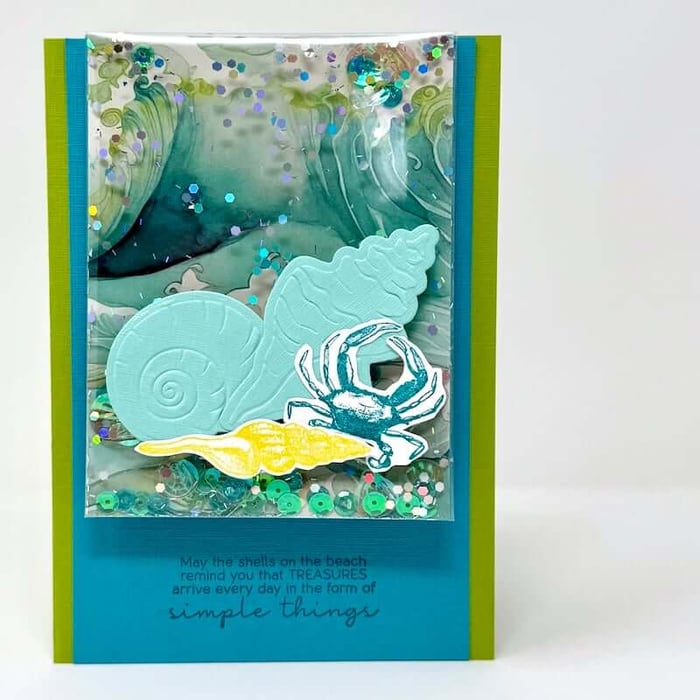
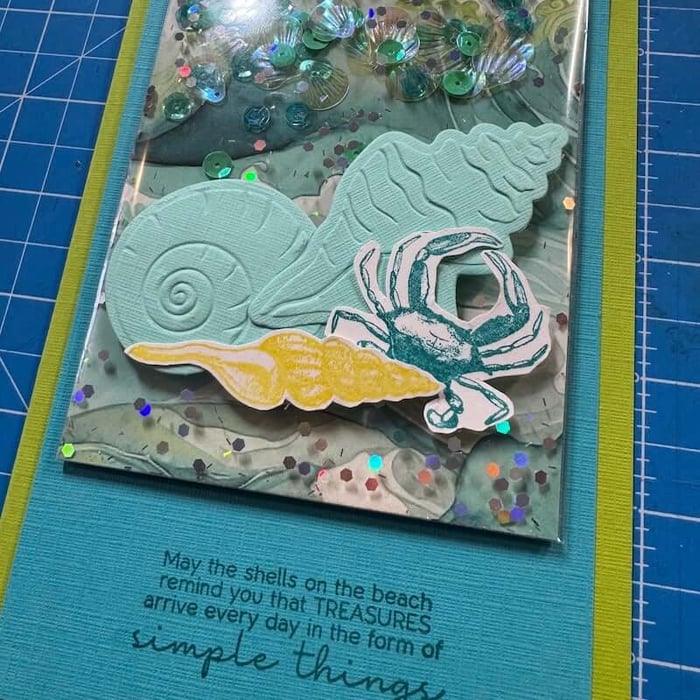
Adhere the panel to the center of the Green card base. Decorate the shaker flap with die cut shells and stamped elements fussy cut with scissors.
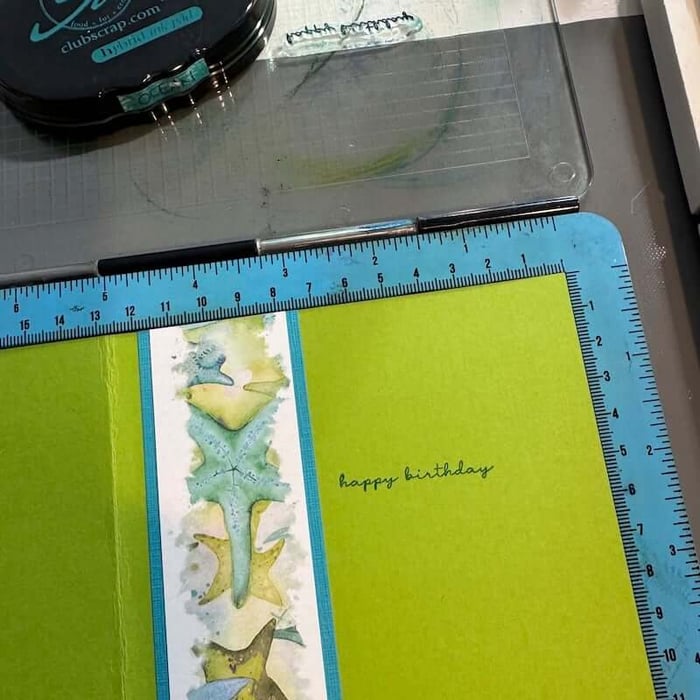
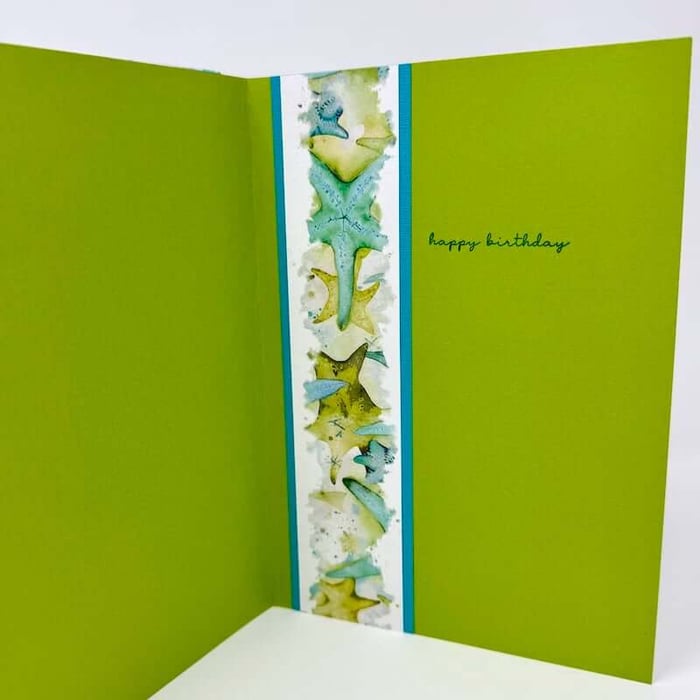
For the inside of the card, trim a border strip from the page kit to 7" and mat with Aqua. Add the sentiment with Ocean Ink.
You can even add cutapart and die cut embellishments underneath the shaker flap.
Let's take another look at the finished card.
We invite you to share your finished artwork on our Facebook Chat Group. Not a member of the group yet? Simply answer a few questions and we'll get your request processed in no time!