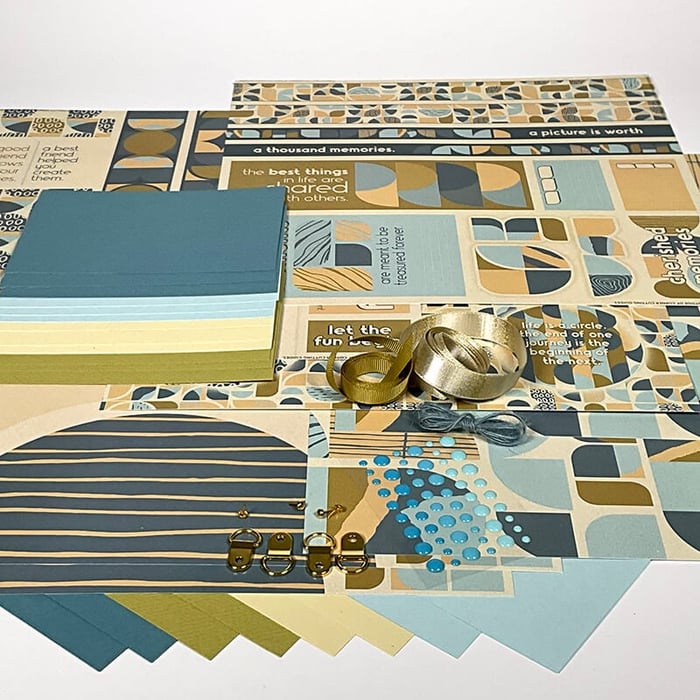

Create simple and beautiful cards with the Round and Round stamps. Pair these gorgeous organic images with the subdued paper colors of the collection.
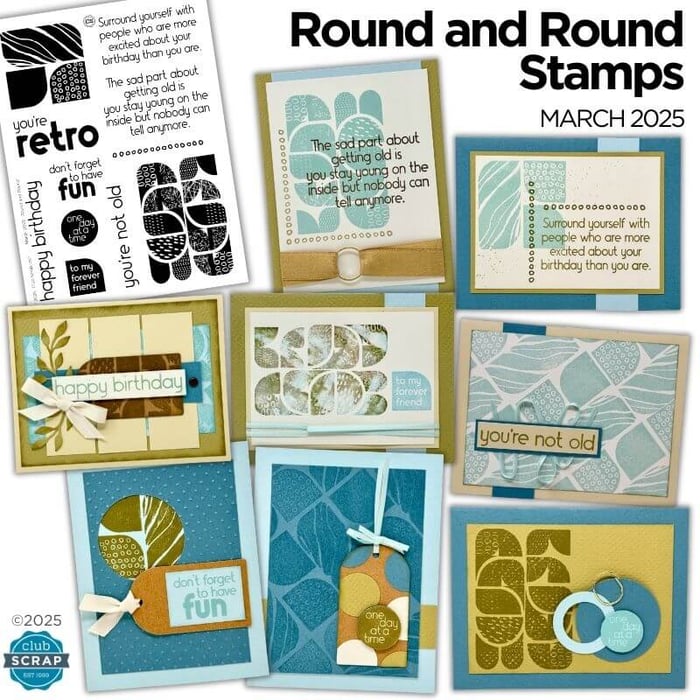
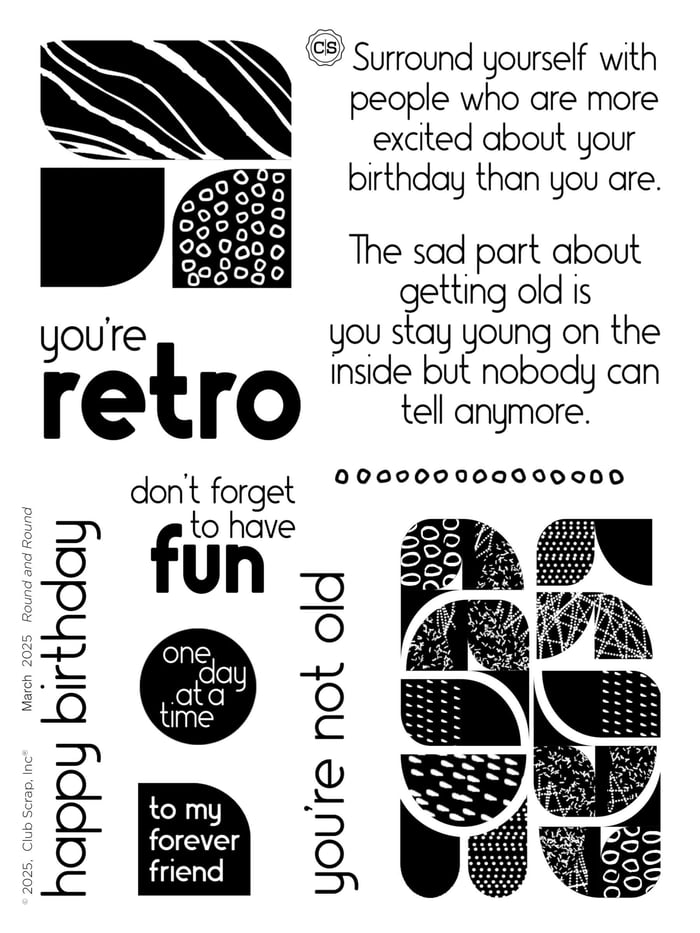
Round and Round Stamps
(The finished size of each card below is 4.25x5.5", unless otherwise noted.)
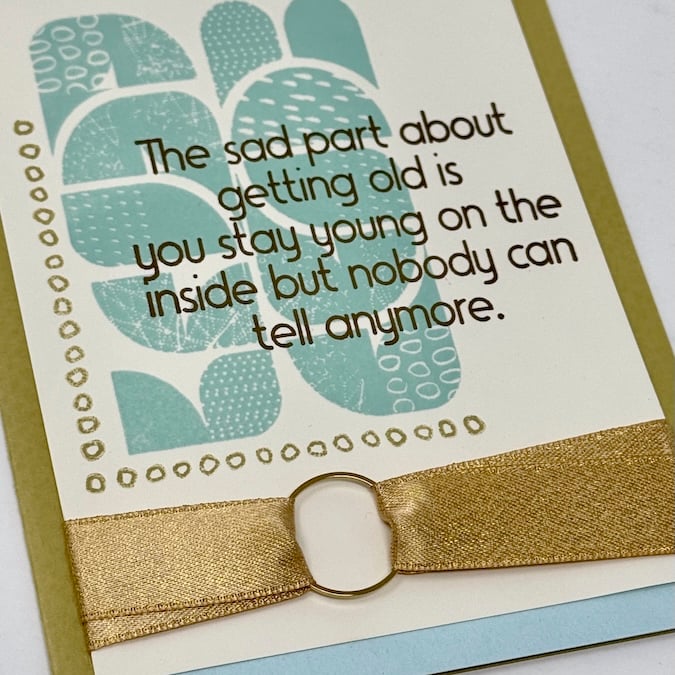
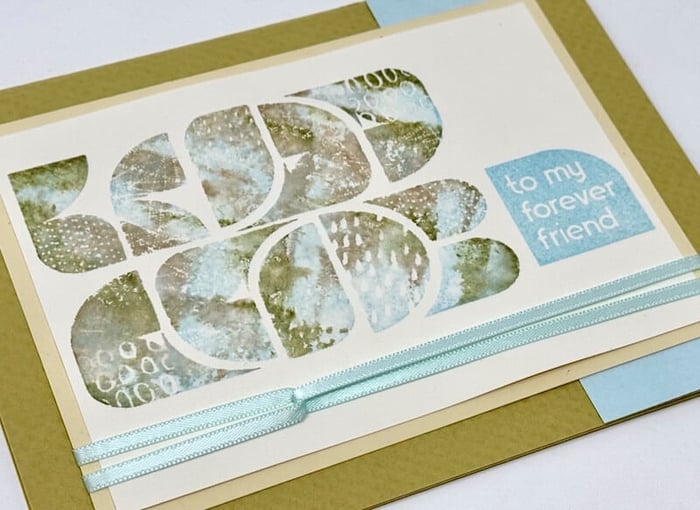
Card 1
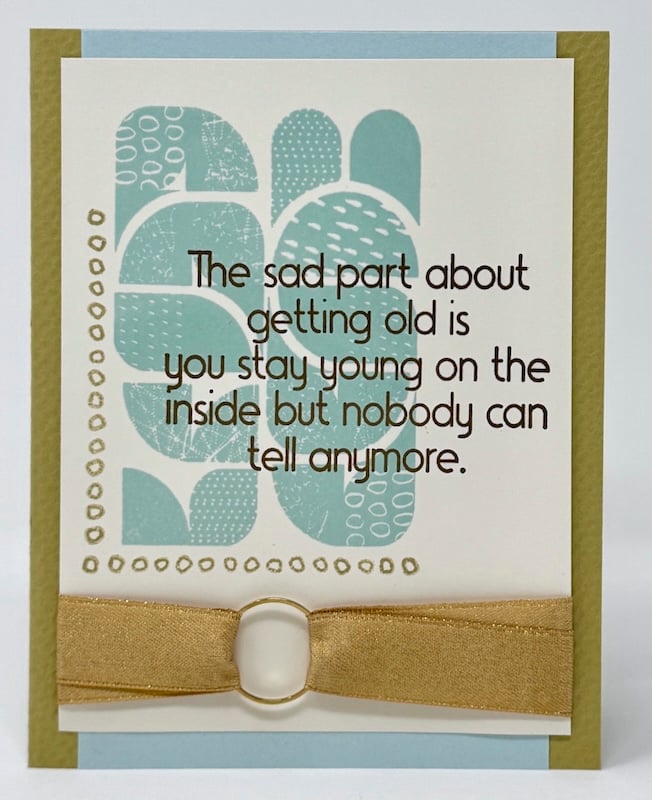
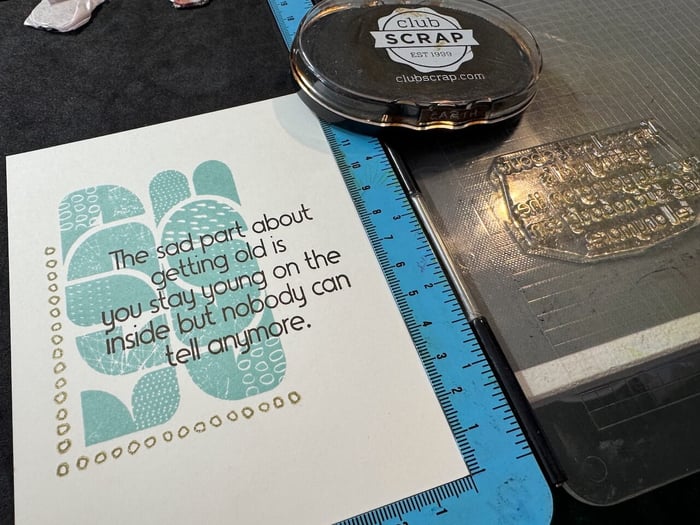
Stamp the large collage image onto an Ivory panel with Lt. Blue Ink.
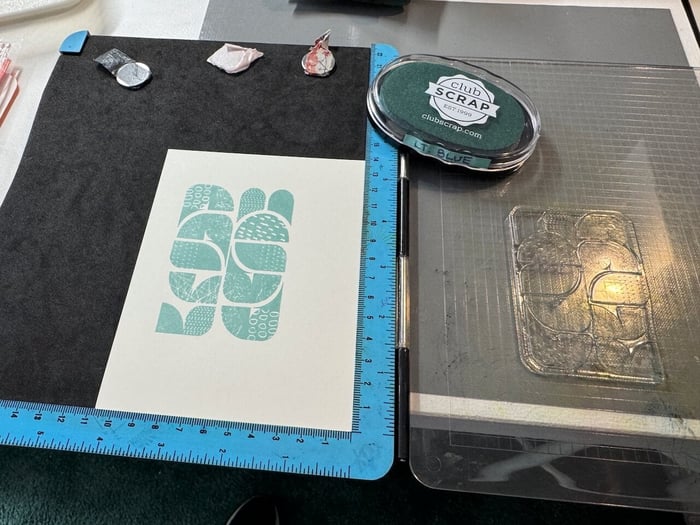
Position the row of small circles beneath the first image. Apply Sandstone Ink and add to the panel. Add a second row of circles along the left side of the image.

Stamp the sentiment directly over the Lt. Blue image with Earth Ink.
Cut two 4" lengths of gold ribbon. Loop each end through a Gold Ring.
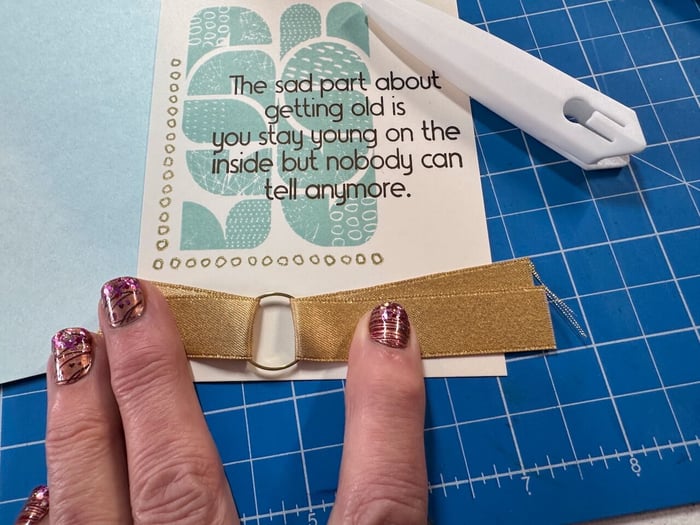
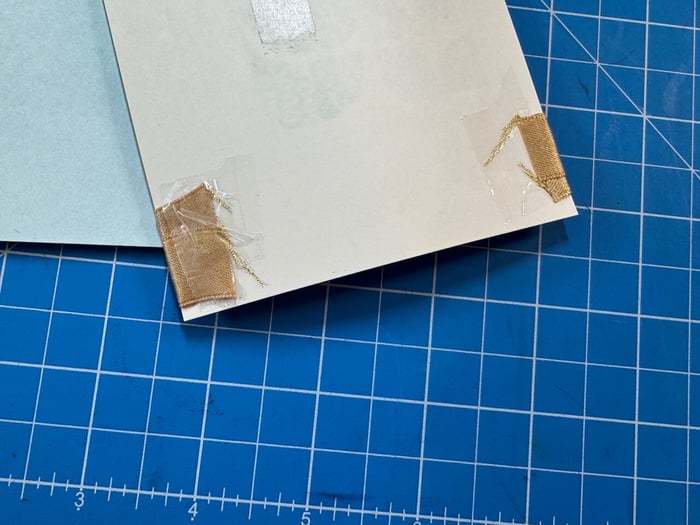
Wrap the ends around the back of the panel and secure with clear tape.
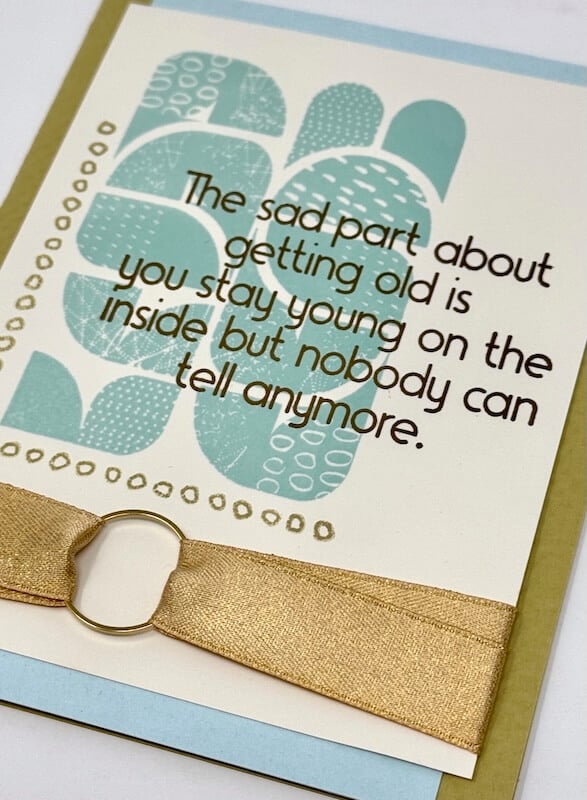
Adhere the panel to a folded card base to complete the card.
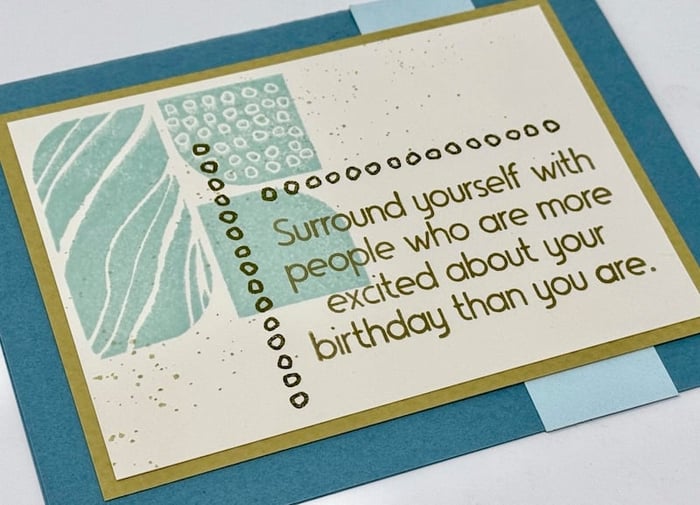
Card 2

Stamp the square image in the top left corner of an Ivory panel. Add the sentiment with Sandstone Ink. Frame the sentiment with two rows of circles (Forest Moss Distress Ink).
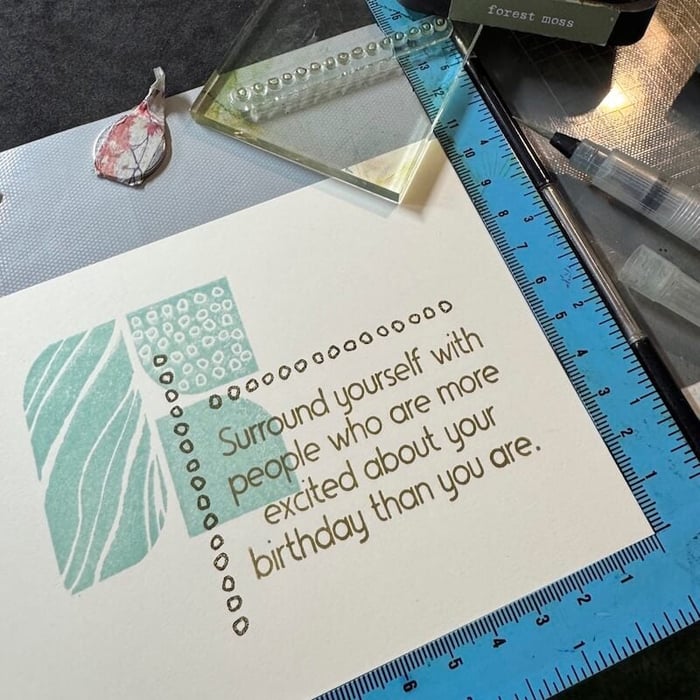
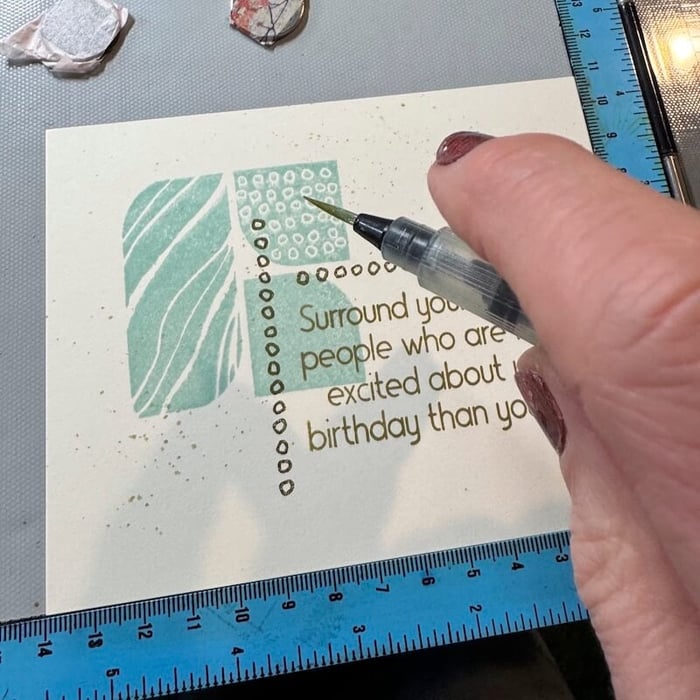
Pick up a bit of Forest Moss Distress Ink with a water brush and tap over the Ivory panel to create flecks of color.
Nest onto a Gold mat; adhere to a folded Dusty Blue card base accented with a Sky Blue strip.
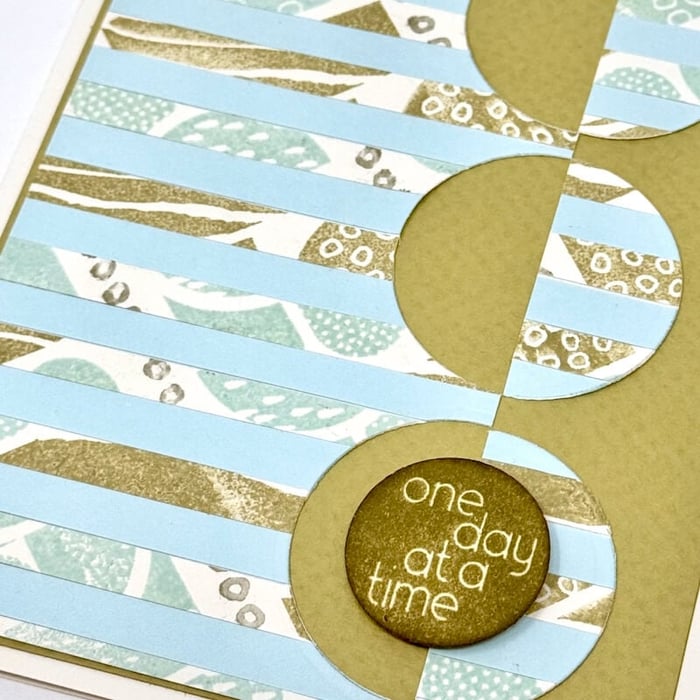
Card 3
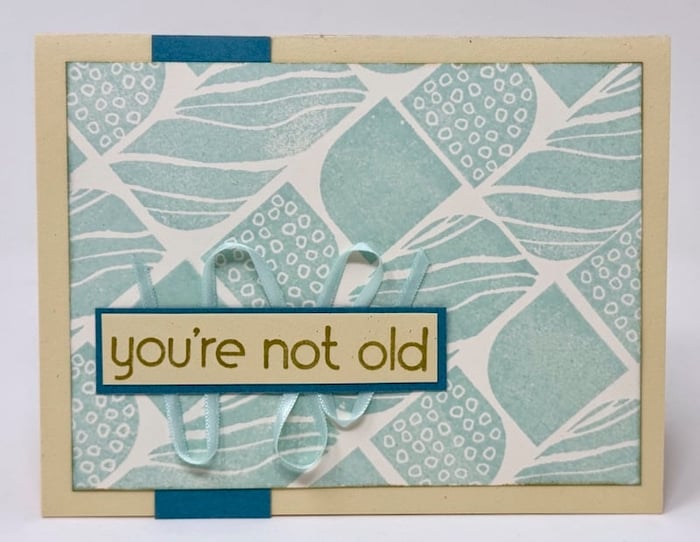
Stamp the square image onto an Ivory panel (Lt. Blue ink) in a diagonal, repeating pattern.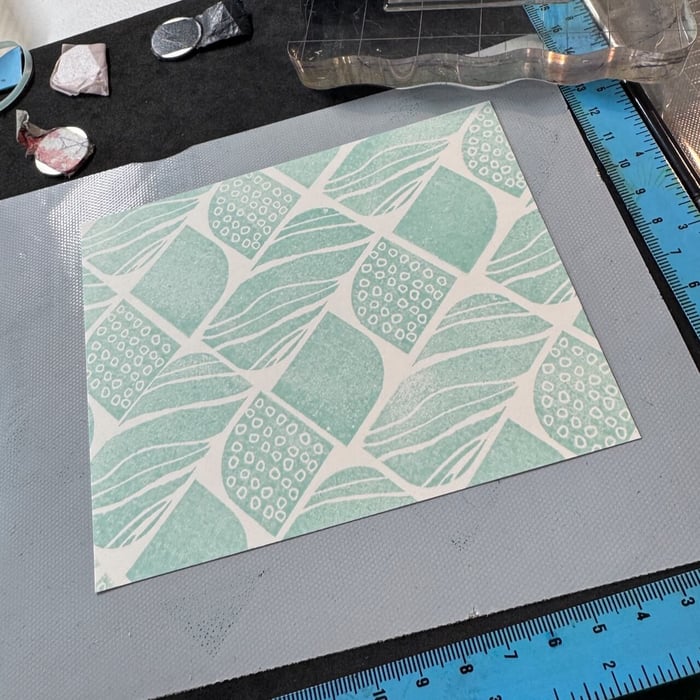
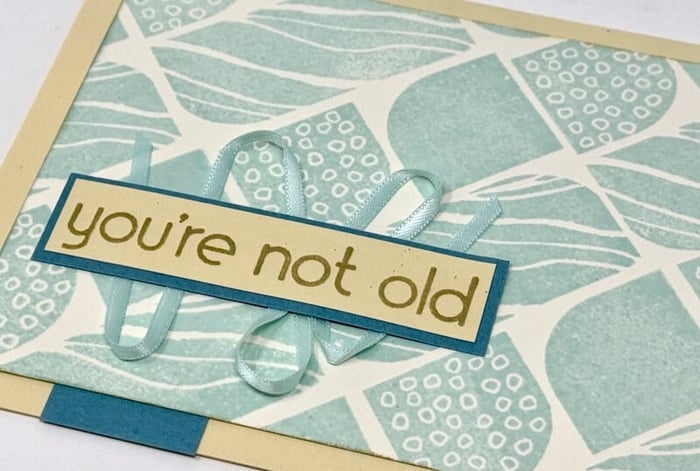
Add the sentiment to an Ivory strip with Sandstone Ink. Layer the strip onto a Dusty Blue mat. Apply adhesive to the back; adhere thin satin ribbon as shown below.
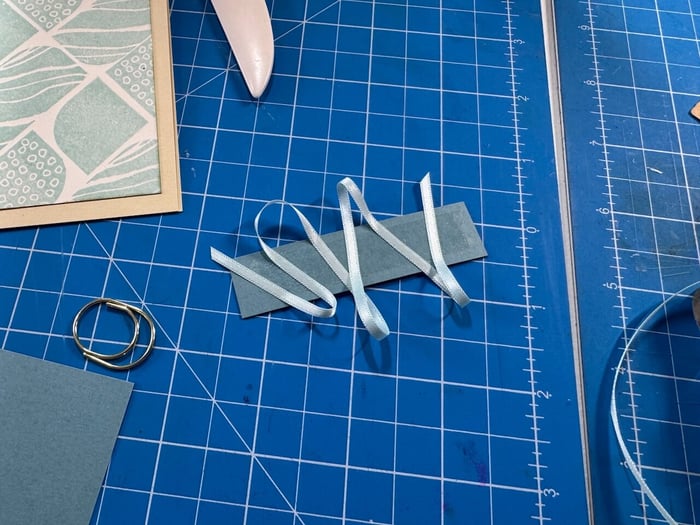
Add the matted sentiment to the front of the card.
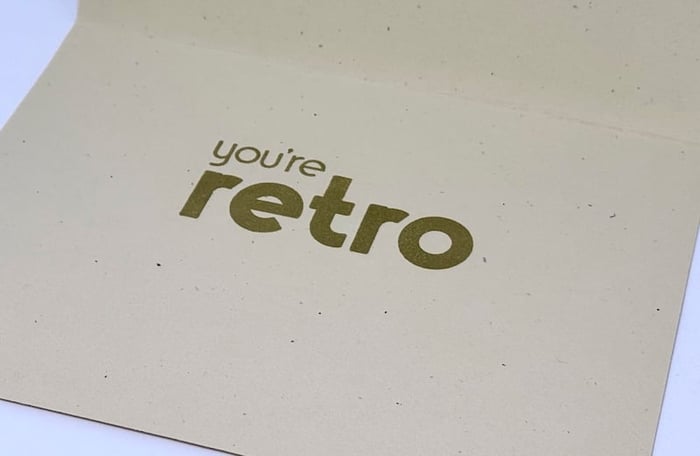
Stamp the companion sentiment inside the card with Sandstone Ink.
Card 4

Position the large collage image onto the lid of a stamp positioning tool. Apply Speckled Egg and Tumbled Glass Distress Oxide Ink to the stamp; spritz lightly with water.
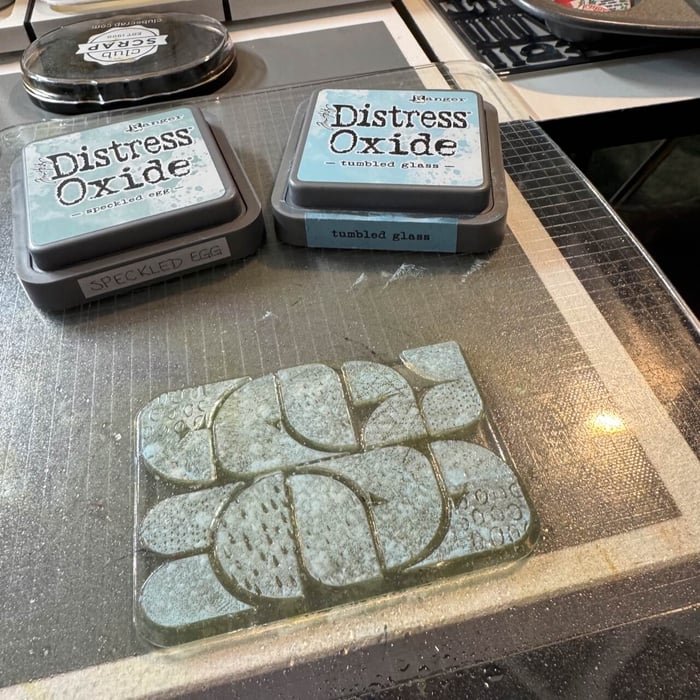
Close the lid of the platform to transfer the image onto an Ivory panel. Open the lid and apply Forest Floor and Frayed Burlap Distress Ink to the stamp.
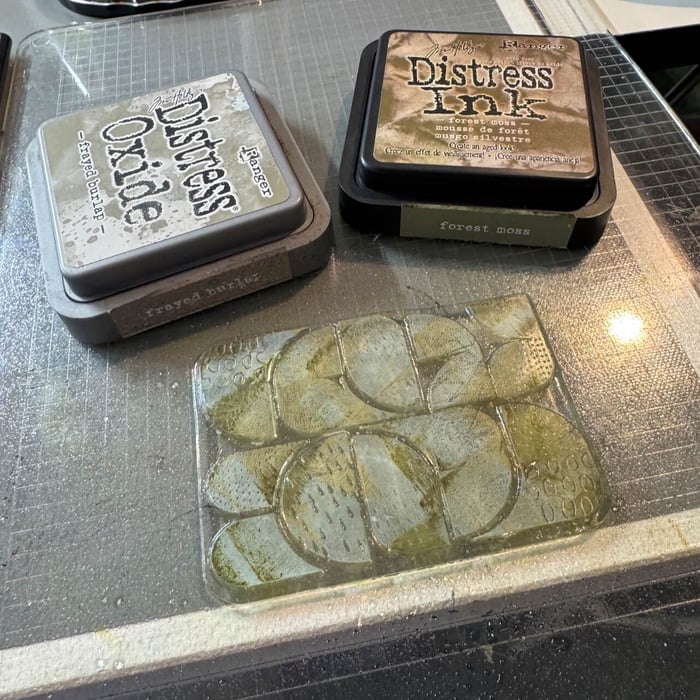
Mist again with water and close the lid to apply the second layer of ink. Position the sentiment next to the image, face down.
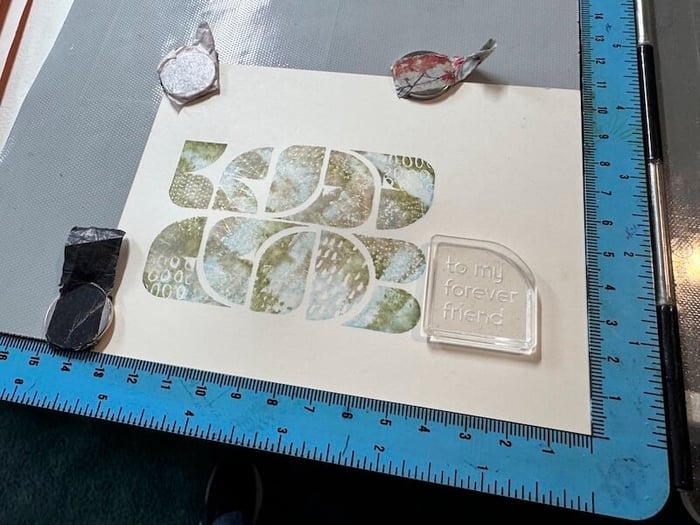
Close the lid on the stamping platform, ink the sentiment with Tumbled Glass Distress Oxide. Close the lid to add the sentiment to the panel.
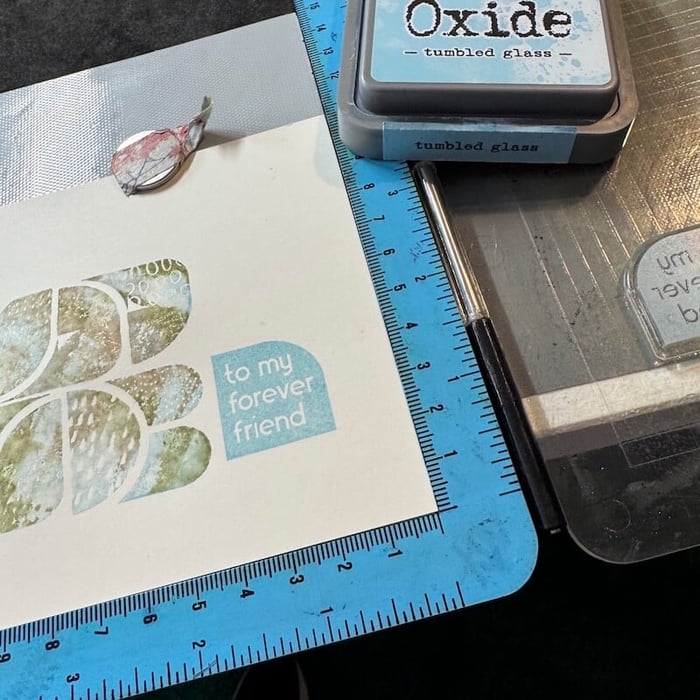
Nest the stamped panels onto a Manila mat. Trim two lengths of lt. blue satin ribbon and interlock them using double loop technique. Wrap the ends around the back; secure with clear tape. Add to a Gold folded card base accented with a Sky Blue strip to complete the card.
Card 5
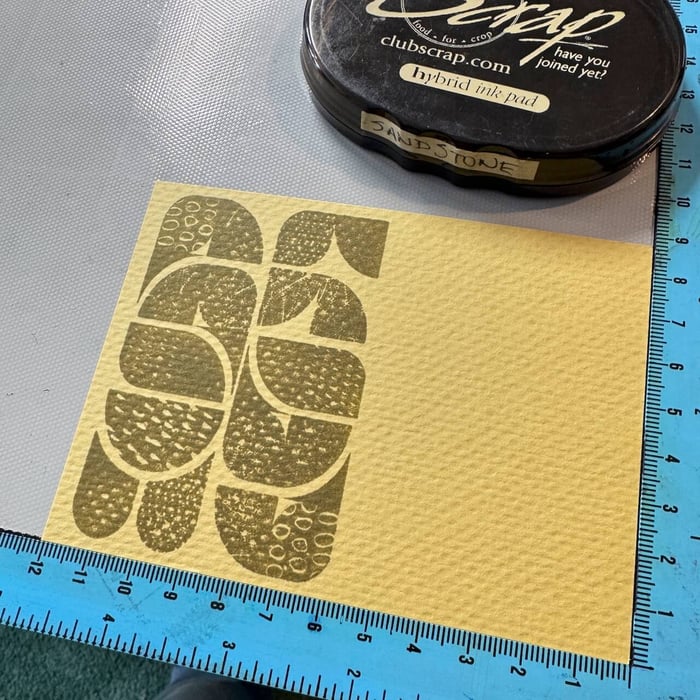
Stamp the large collage image onto the left side of a 3.5x4.75" Gold panel with Sandstone Ink.
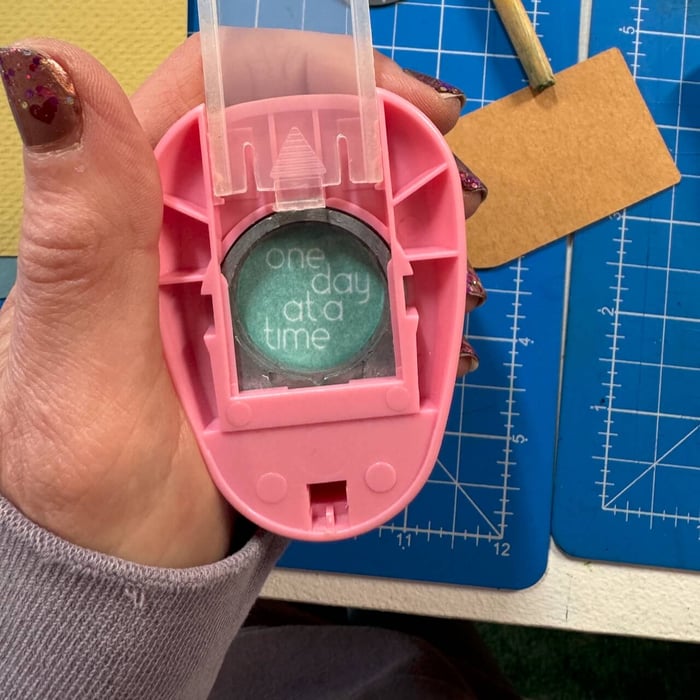
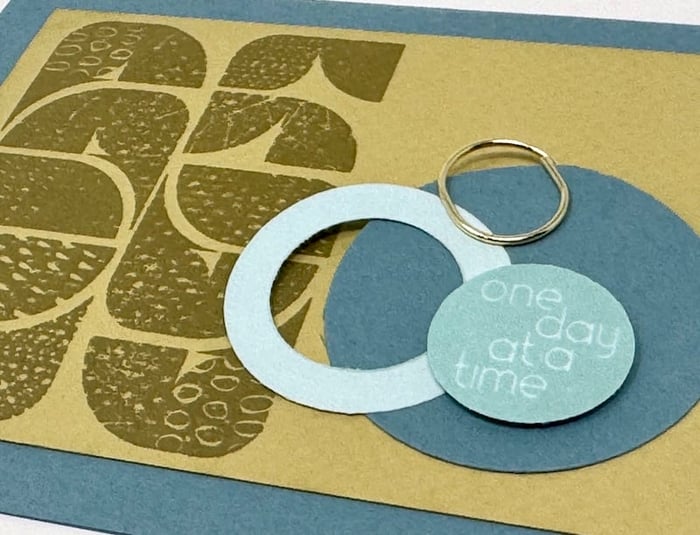
Die cut a 2" Sky Blue circle*; add the sentiment to the center with Lt. Blue Ink.
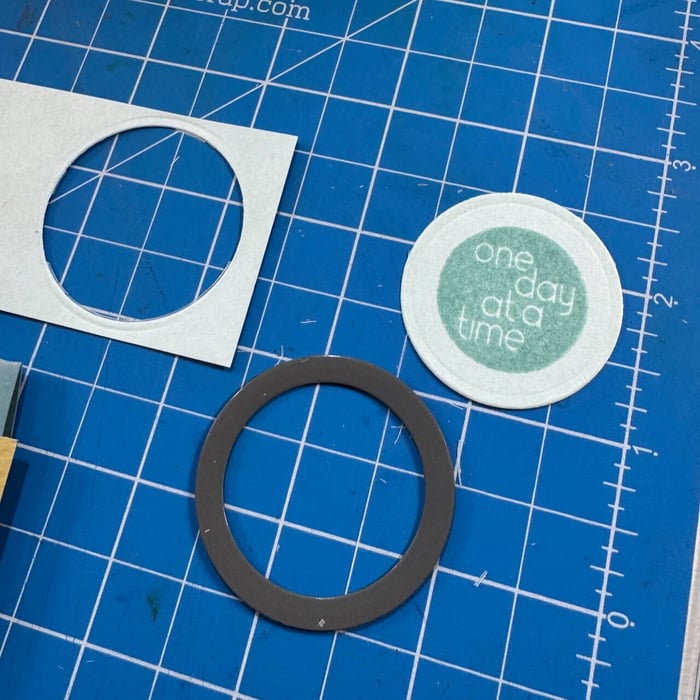
Remove the sentiment with a 1" circle punch*.
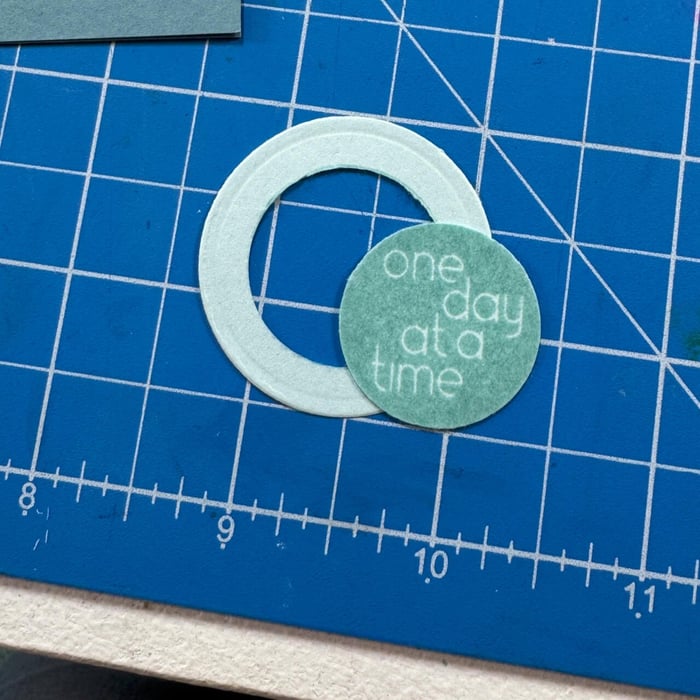
Die cut a 2.5" circle* from a Dusty Blue panel; set the panel aside for Card 6. Create a collage with the circles; embellish with a Gold Clip.
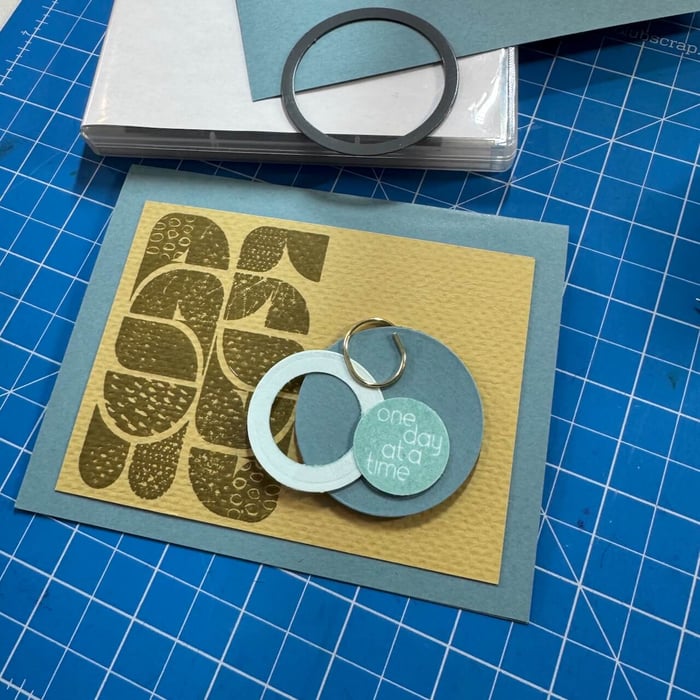
Before adhering the collage, add a Foam Adhesive Circle to the back of the sentiment.
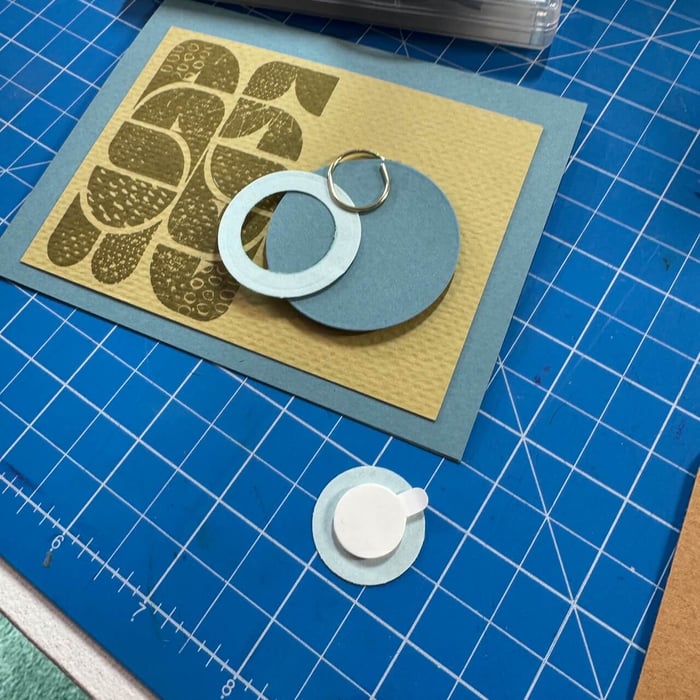
Remove the backing and add to the collage. Center the panel onto a Dusty Blue folded card base.
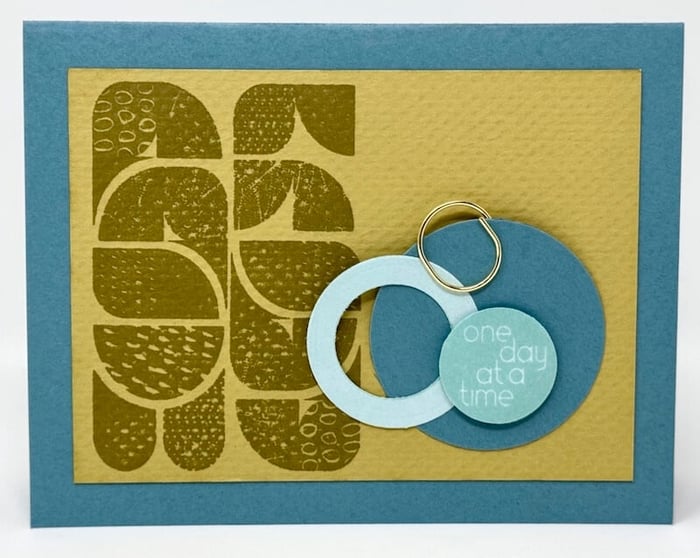
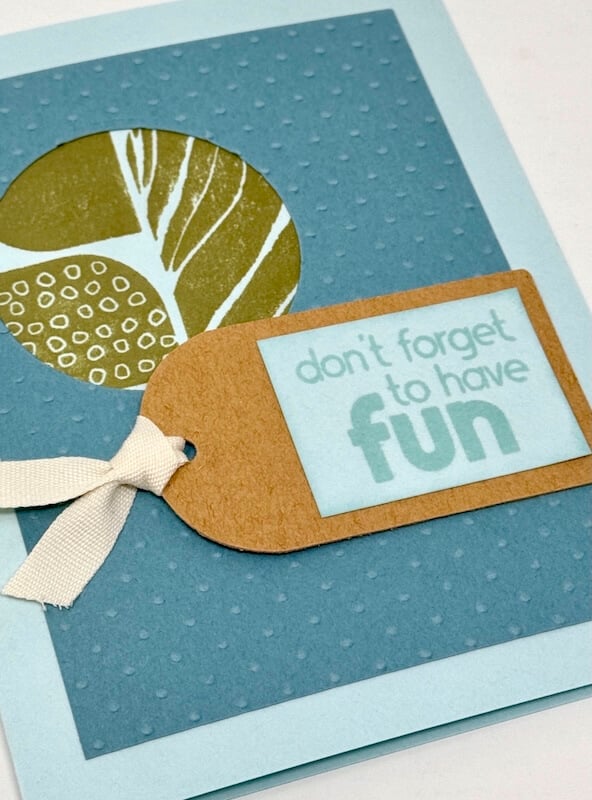
Card 6
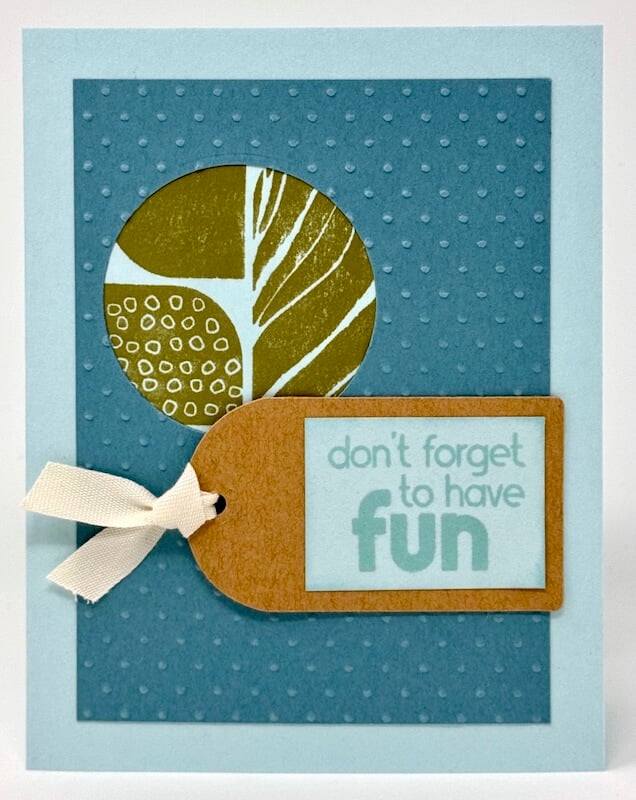
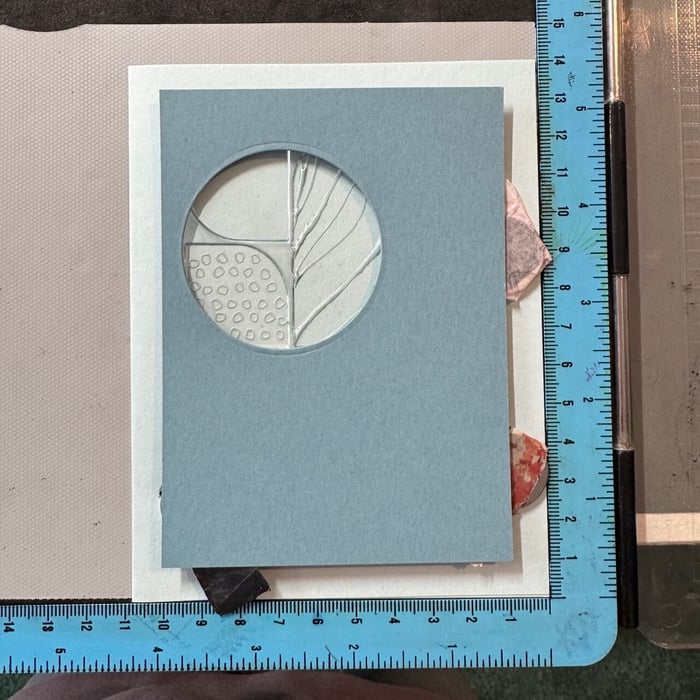
Note the position of the round opening on the reserved Dusty Blue panel (from Card 5). Place a Sky Blue folded card panel into a stamping platform. Dry fit the die cut panel. Position the square image underneath the opening; remove the panel and stamp the image directly onto the card base with Sandstone Ink.
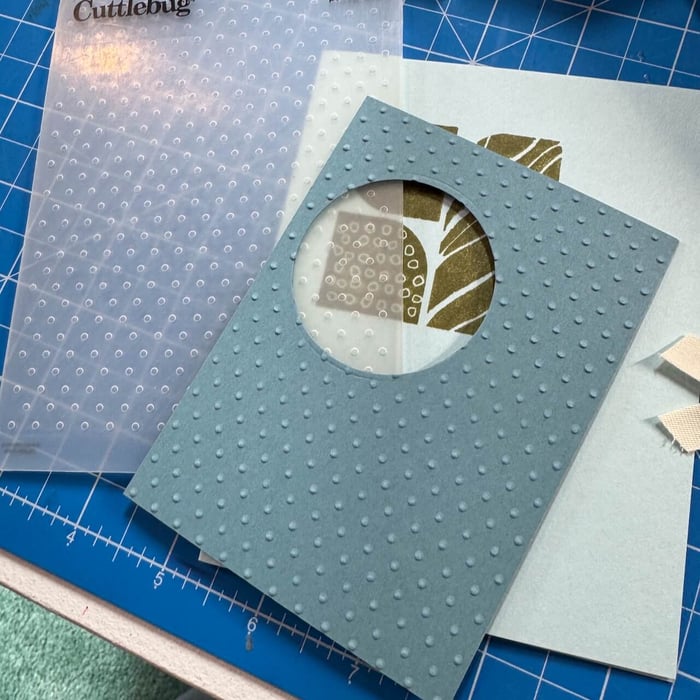
Add texture to the Dusty Blue panel with a Cuttlebug "Dotted Swiss" embossing folder.
Stamp the sentiment with Lt. Blue Ink onto a Sky Blue panel. Crop the panel to nest onto a Kraft Tag tied with Ivory Twill.
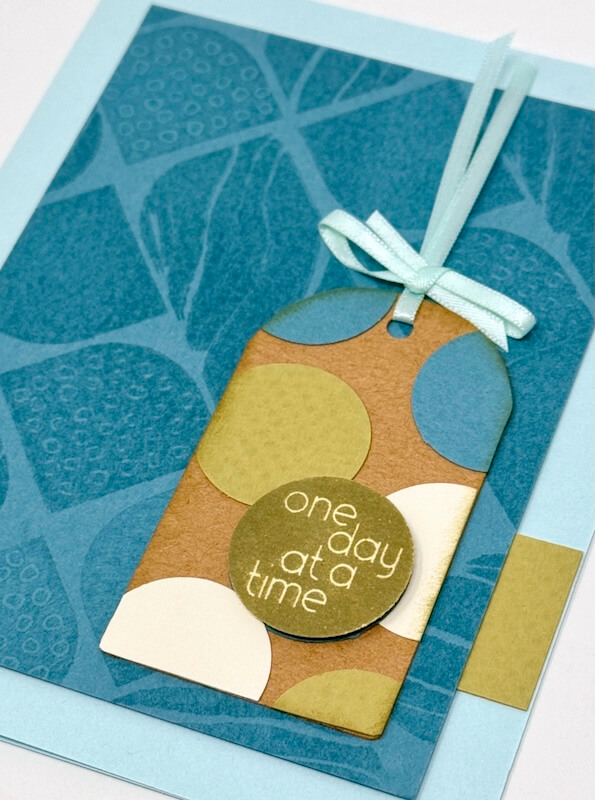
Card 7
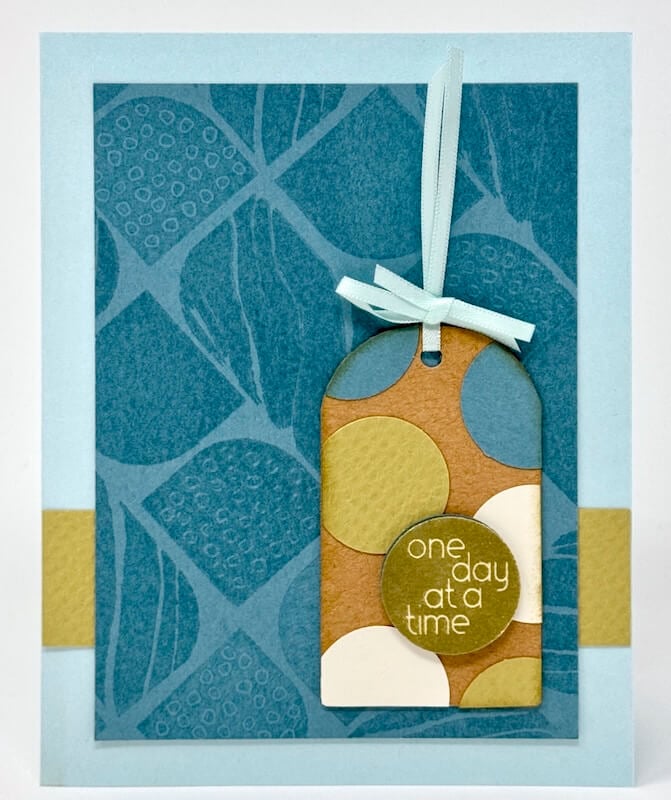
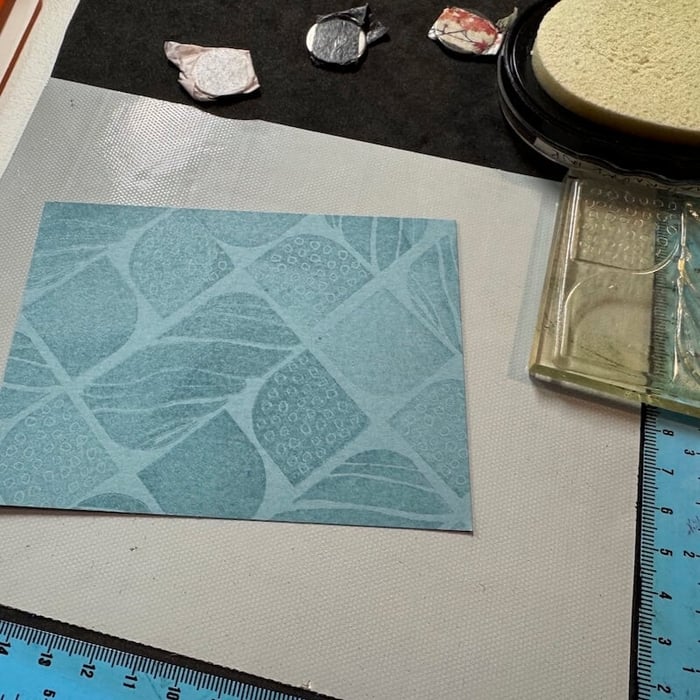
Stamp a 3.5x4.75" Dusty Blue panel with Watermark Ink in a repeating pattern.
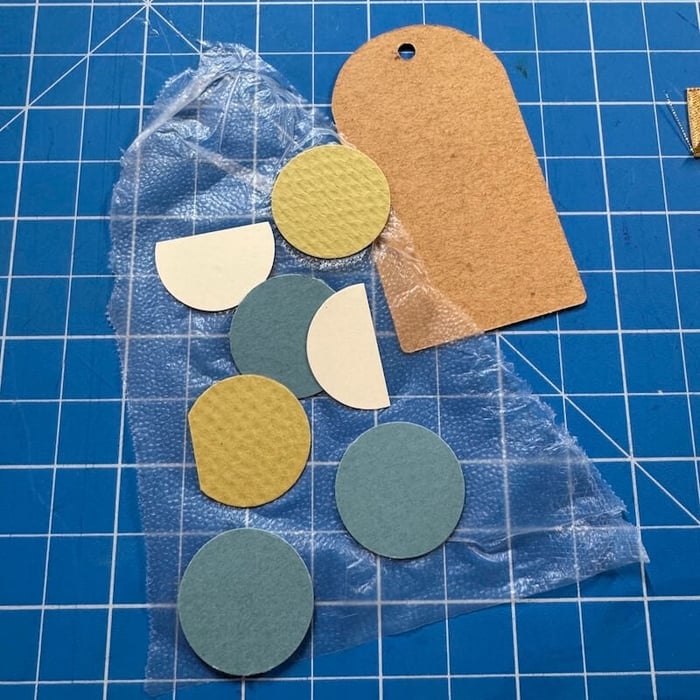
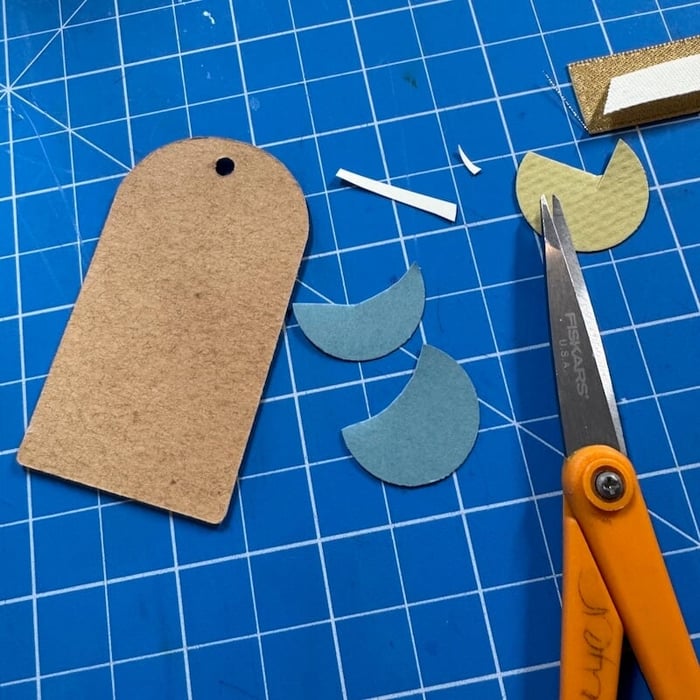
Cut circles from leftover paper scraps (or Pack of Panels) with a 1" punch*. (Some of the scraps were too narrow, so I punched half circles). Dry fit the circles onto a Kraft Tag.
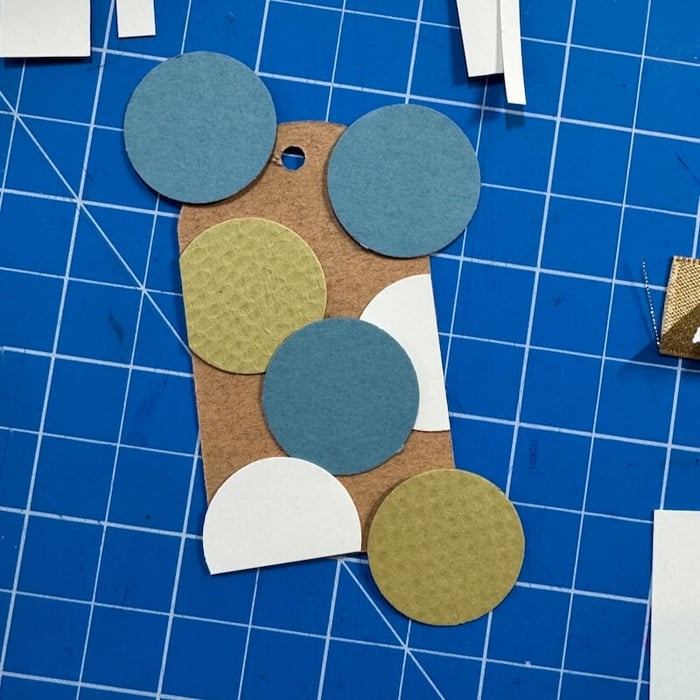
Apply a piece of Press n' Seal plastic wrap over the circles, sticky side down.
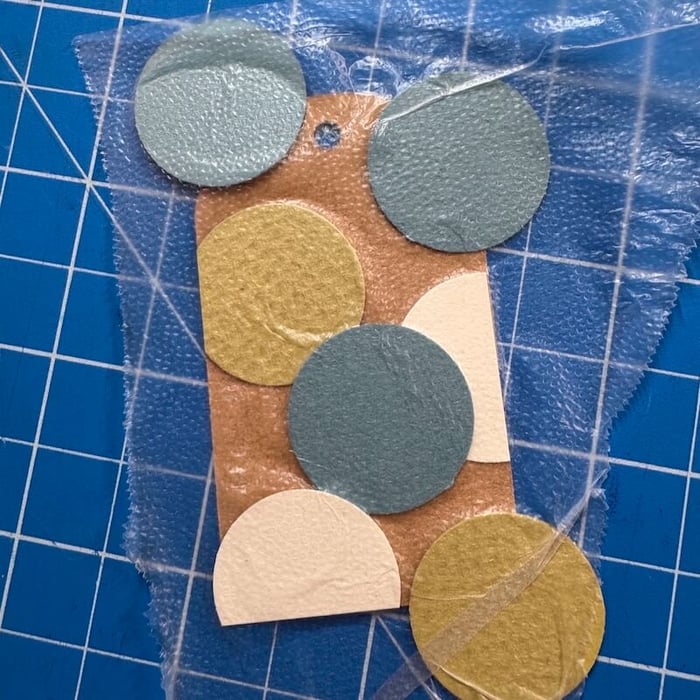 Gently burnish the wrap covering the circles; carefully peel them away from the tag.
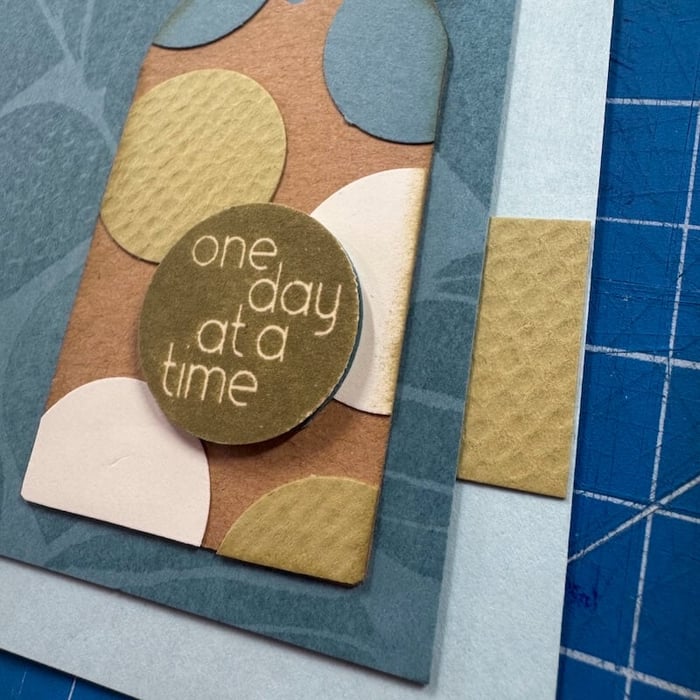
Add Bookbinding Glue (in a Needle-tipped Applicator) to the back of the circles.
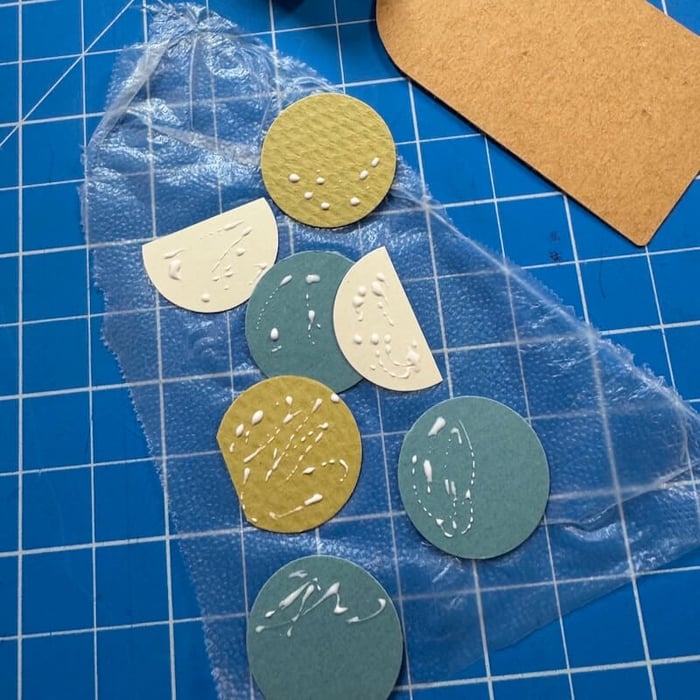
Reposition the circles back onto the tag; burnish to ensure proper adhesion. Gently remove the Press n' Seal.
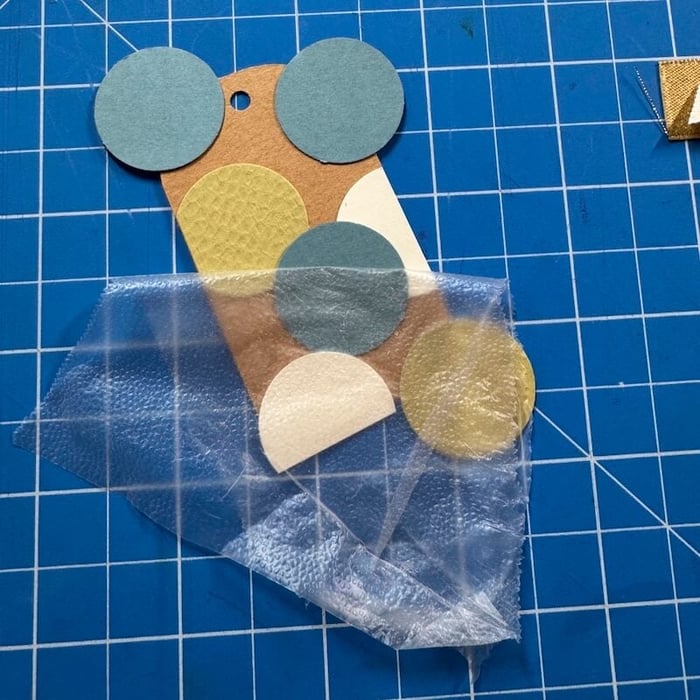
Flip the tag over and trim any excess paper with scissors*.
Stamp the sentiment onto a Manila scrap with Sandstone Ink .
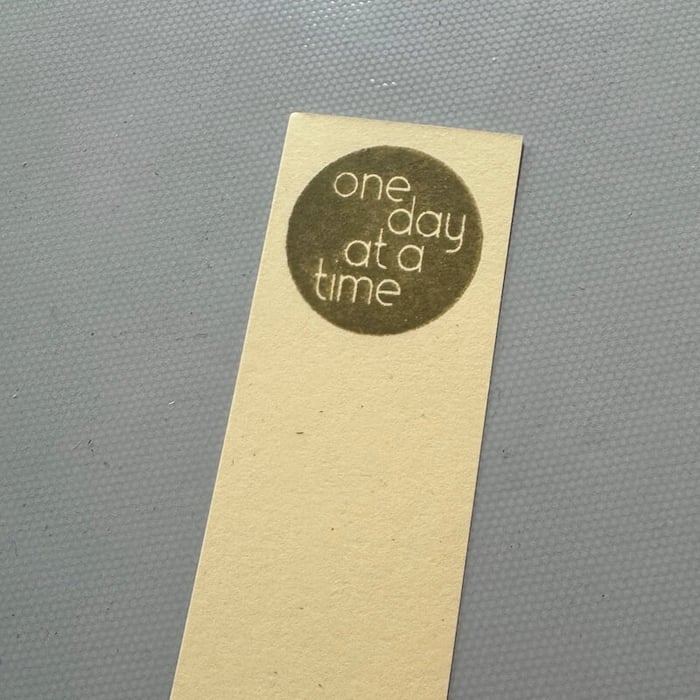
Punch out the sentiment and adhere to the tag with a Foam Adhesive Circle.
Tie lt. blue ribbon to the tag and adhere to the Dusty Blue panel.
*As an Amazon Associate, Club Scrap earns from qualifying purchases. This means we may earn a commission if you make a purchase through links on our site. Thank you for supporting us!
We'd love to see how you're using the Round and Round stamps, too! We invite you to share your finished artwork on our Facebook Chat Group. Not a member of the group yet? Simply answer a few questions and we'll get your request processed in no time!
Happy stamping!
CS Hybrid Ink Pads

$6.35
Exclusively Club Scrap®, this hybrid craft ink combines the most exceptional ingredients of both pigments and dyes for a fine, crisp, fast-drying image! Don't forget to stock up on the coordinating re-inkers. Each ink pad sold separately. Please select the… Read More
CS Hybrid Ink Pads - New Colors

$6.35
Exclusively Club Scrap®, this hybrid craft ink combines the most exceptional ingredients of both pigments and dyes for a fine, crisp, fast-drying image! Don't forget to stock up on the coordinating re-inkers! Each ink pad sold separately. Please select the… Read More