After assembling the Flourish Card Kit, I was inspired to repurpose the instructions to make a set of Roost cards with gift purses. The "punny" and clever sentiments included in the 09.22 collection make me giggle, and you can never have too many cards, right?
Creating alternate cards from an existing formula is fun and easy: First, choose a set of Card Kit instructions featuring your favorite card structures. Next, grab the card kit of your choice - or gather the number of 12x12 papers needed to complete the formula. Assign paper substitutions and trim and sort the cut elements as directed. Finally, assemble the cards using the sample photos as a guide, adding ribbons and other embellishments as desired.
The Flourish card formula creates six each of two different card structures, for a total of twelve cards - and two gift purses to hold them - from just eleven sheets of paper!
Roost Cards
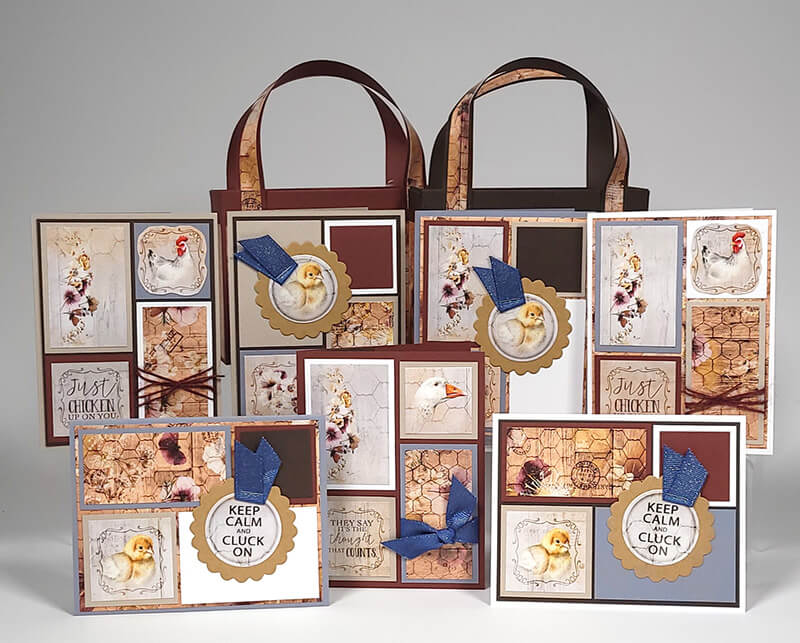
To repurpose the Flourish instructions with the Roost Card Kit, use the following paper substitutions:
- (1) Brown
- (1) Brick, (2) Taupe Metallic, (2) Blue, (2) White
- (1) Brown, (1) Brick
- (1) Card Print
- (1) Card Print
Due to the variety of card styles each Club Scrap Card Kit makes, the number of 12x12 plains included in each kit varies. The Flourish kit includes eleven sheets of paper, while the Roost Card Kit has twelve. Trimming the twelfth sheet yielded two bonus cards, one of each style, for a total of fourteen.
Set A - Collage Panel Cards
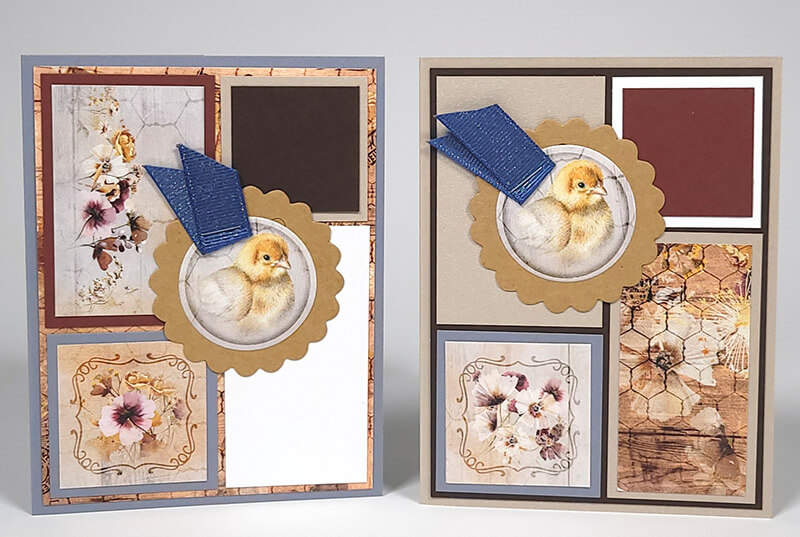
The round kraft tags with circle-punched artwork honor the original card design - simply attach a bit of blue metallic grosgrain with a staple. The square floral Cutapart artwork nests perfectly onto the square panels.
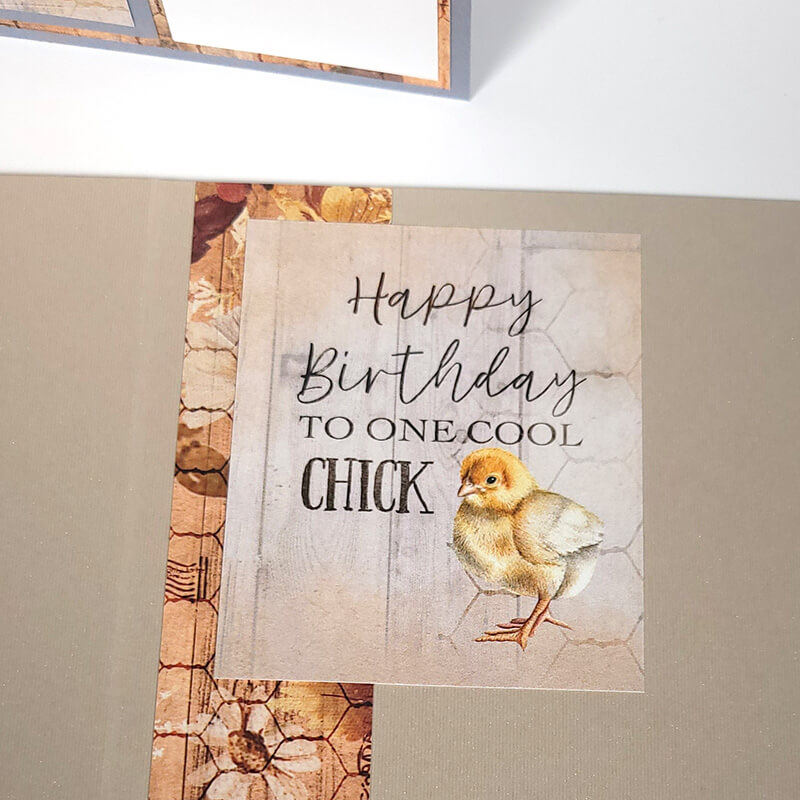
Inside, add a scrap of Card Print to anchor the Cutapart "innie" sentiment.
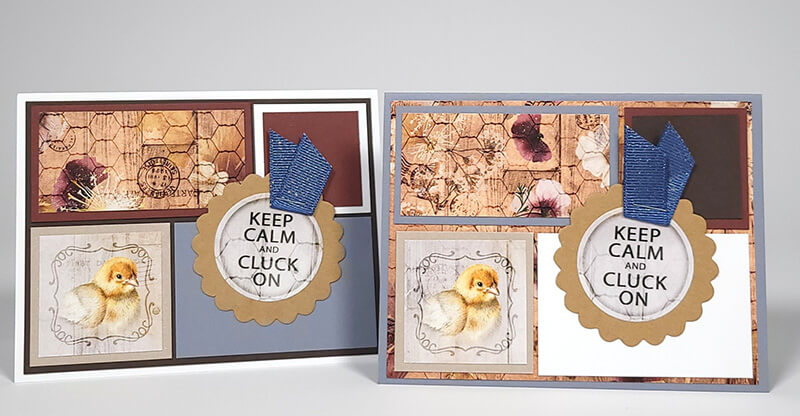
These two cards feature a horizontal orientation. (Blank inside.)
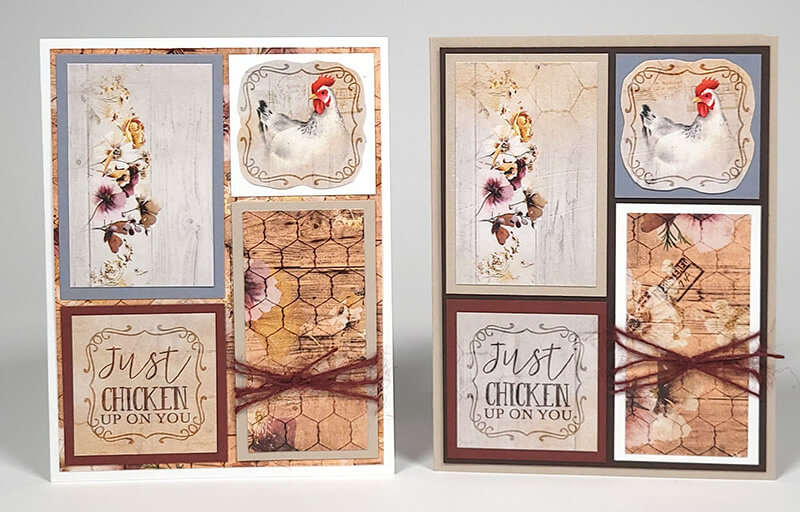
Fussy cut the decorative border on the hen Cutapart and nest onto a square panel. Tie a length of burgundy jute around the rectangular nesting panels.
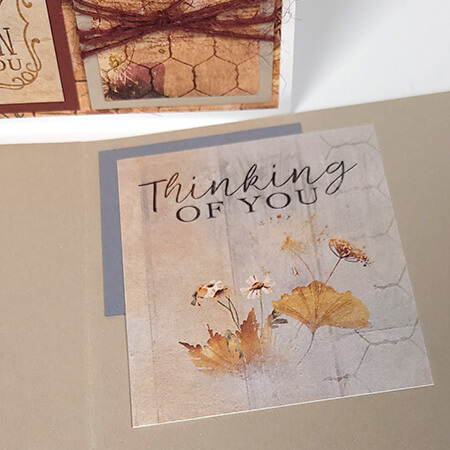
Anchor the inner sentiment Cutapart with a scrap.
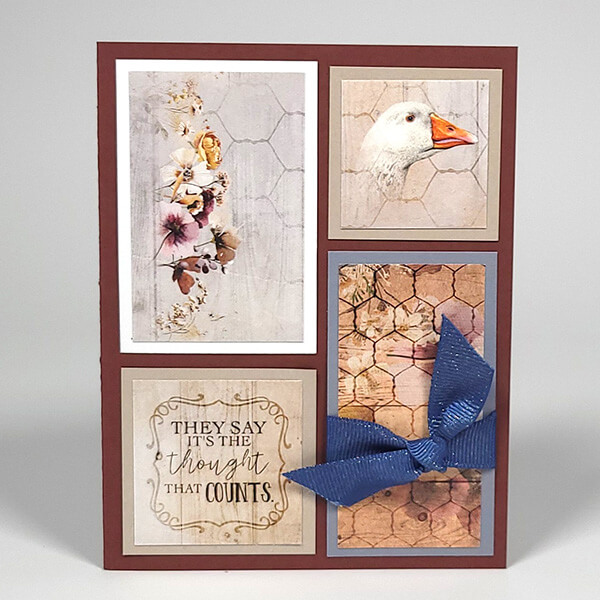
Crop the goose artwork to fit a square panel. Tie blue metallic grosgrain ribbon around the rectangle-shaped nesting panels.
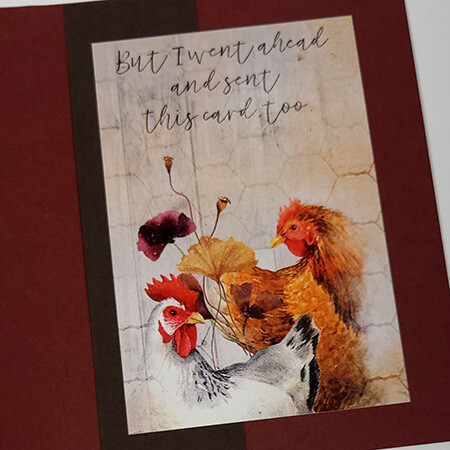
Trim the sentiment Cutapart to fit inside the card.
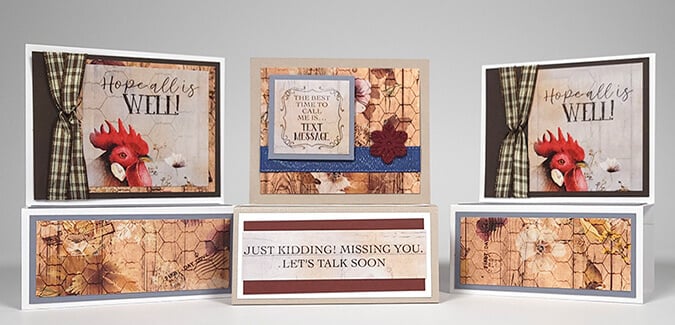
Set B - Standing Box Cards
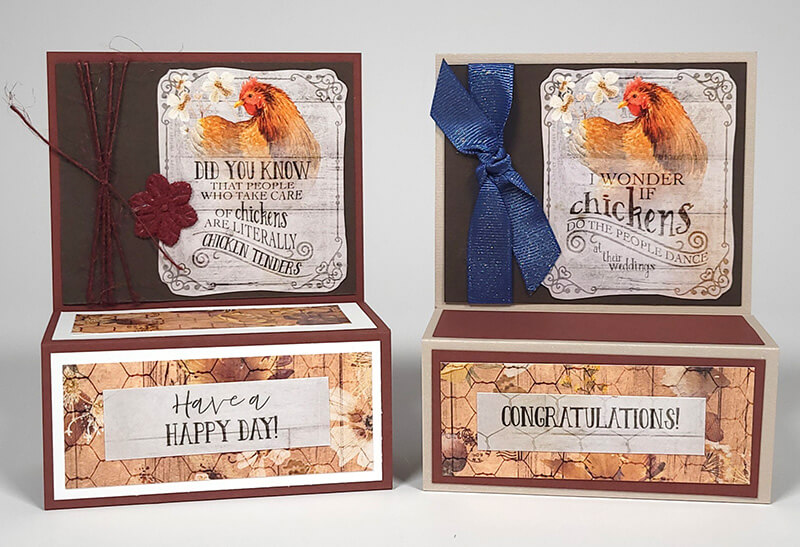
Fussy cut the decorative border on the 3x4" Cutapart. Tie jute or ribbon around the brown panel. Accent with a wine flower appliqué. Trim the "innie" sentiment to .75x3.75" and center onto the bottom panel.
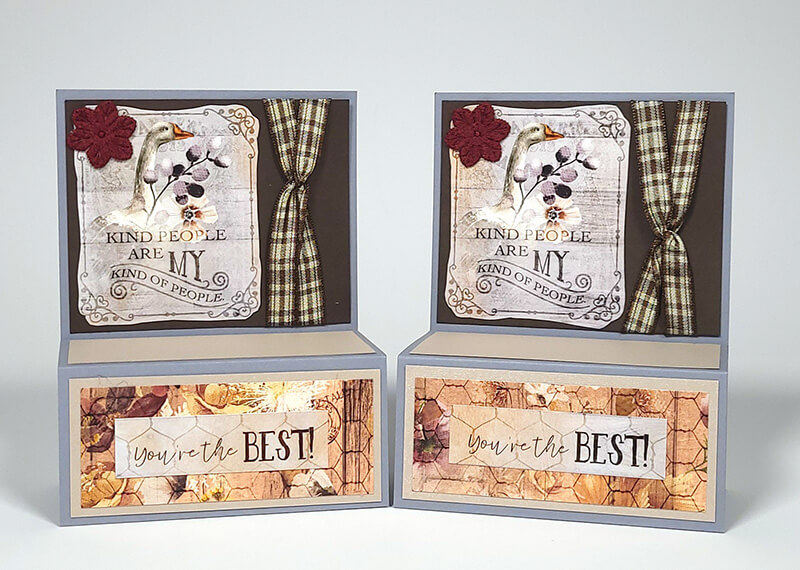
Repeat the steps above for this pair of cards. Tie a length of plaid ribbon around the brown panel before adhering to the top of the card. Glue a wine flower appliqué into the left corner.
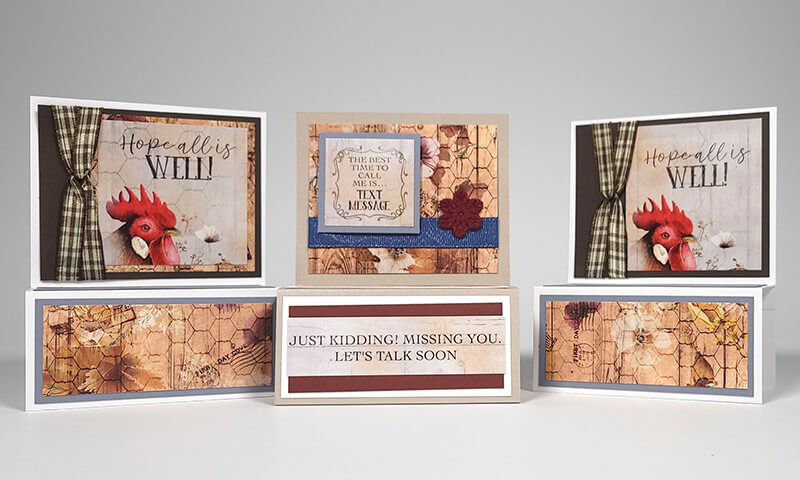
For the cards on the left and right, trim the "all is well" Cutpart to 2.75" square. Create two loops with plaid ribbon, interlock them, and tape the ends to the back of the brown panel.
For the center card, wrap a length of blue metallic ribbon around the 3.75x3" printed scrap, adhere to the top of the seventh card base. Mat the "text message" sentiment with a leftover blue square (collage panel cards) and adhere with foam adhesive for dimension. Accent with a wine flower appliqué. Trim the companion sentiment to fit the width of the bottom front panel.
Gift Purses
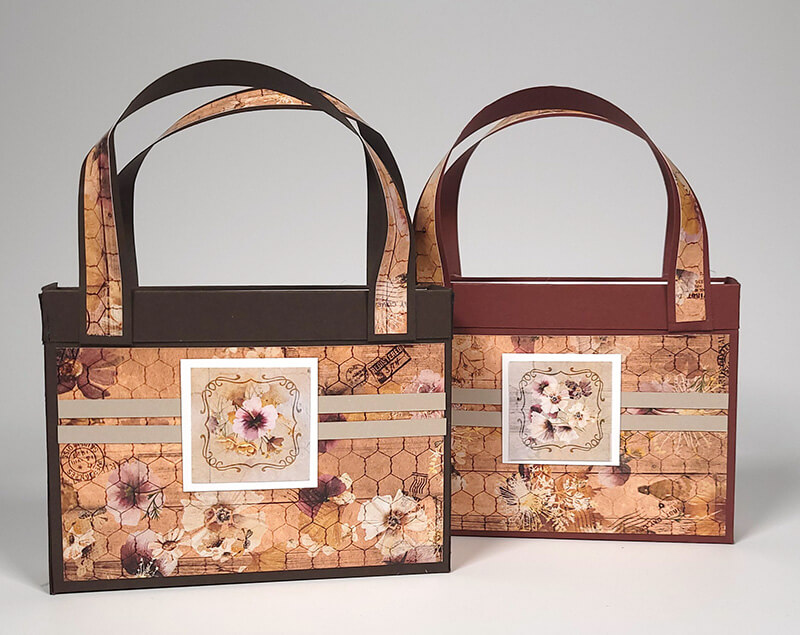
Follow the steps outlined in the Flourish instructions to construct the two gift purses. Be sure to consult Tricia's video tutorial for extra support during assembly.
Thanks to the instructions, everything came together quickly and easily, with very little waste. Each purse holds seven of the cards, including envelopes. The sets make great gifts - perfect for hostesses, wedding/baby shower prizes, and more.
Which collection would you like to see transformed with this formula? We invite you to share your finished cards, pages or other projects on our Facebook group, Club Scrap Chat.
