
Create cards featuring the Peek-a-boo Prints technique. The prints themselves can include patterned papers, stamped designs, an arrangement of printed washi tape, and more. There are so many possibilities!
Peek-a-boo Prints Technique
Create an opening in your artwork and let a print of any kind "peek through" from behind it. It really is that simple!
Let's take a look at some cool variations of this technique, including tips to help you achieve similar results.
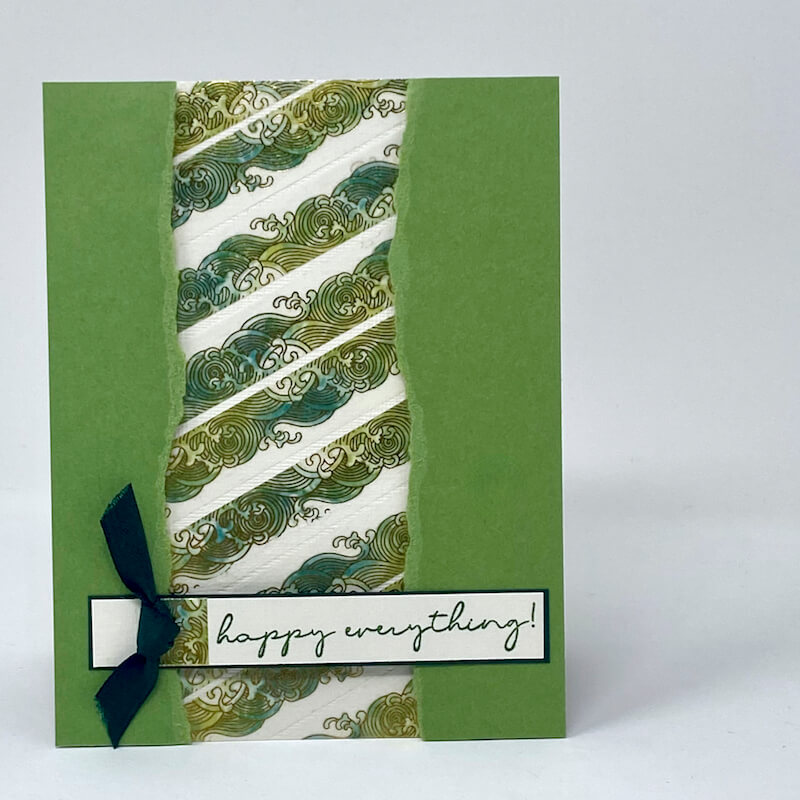
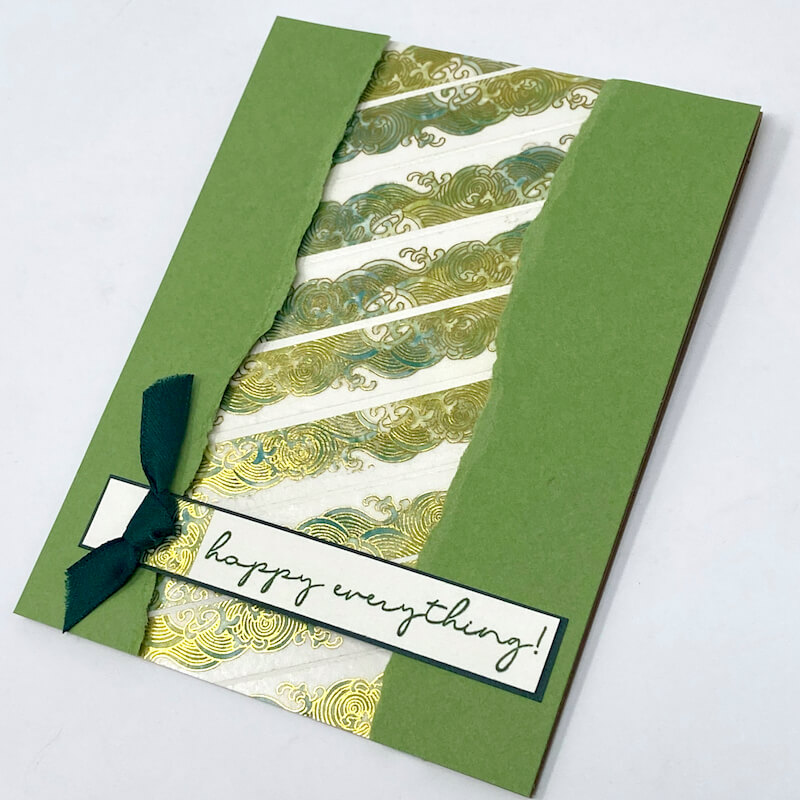
Torn Paper + Washi Tape - Julie
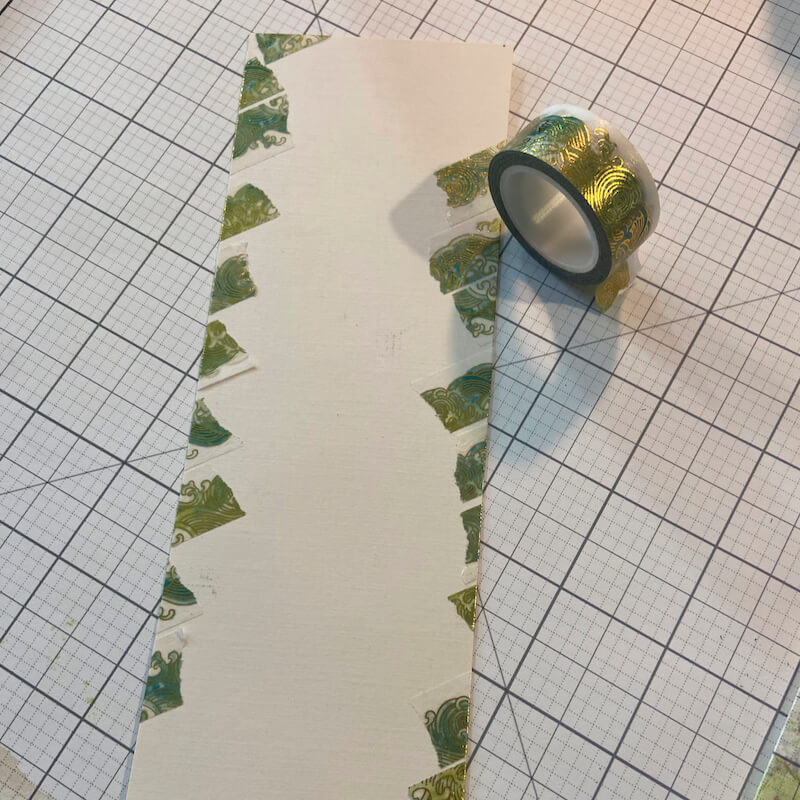
Adhere lengths of washi tape diagonally across a white panel.
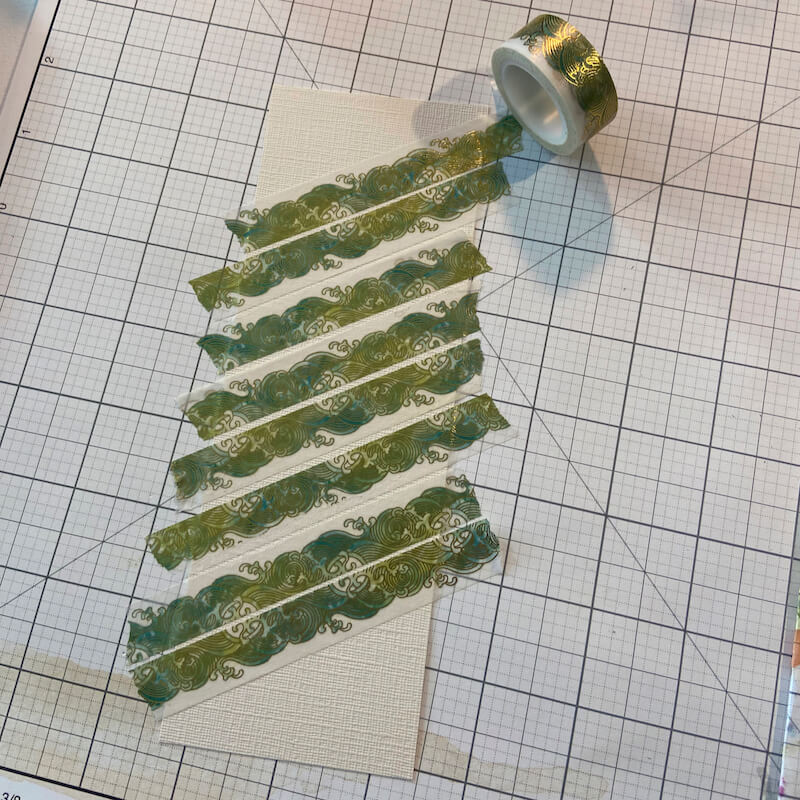
Continue adding washi tape until the panel is covered.
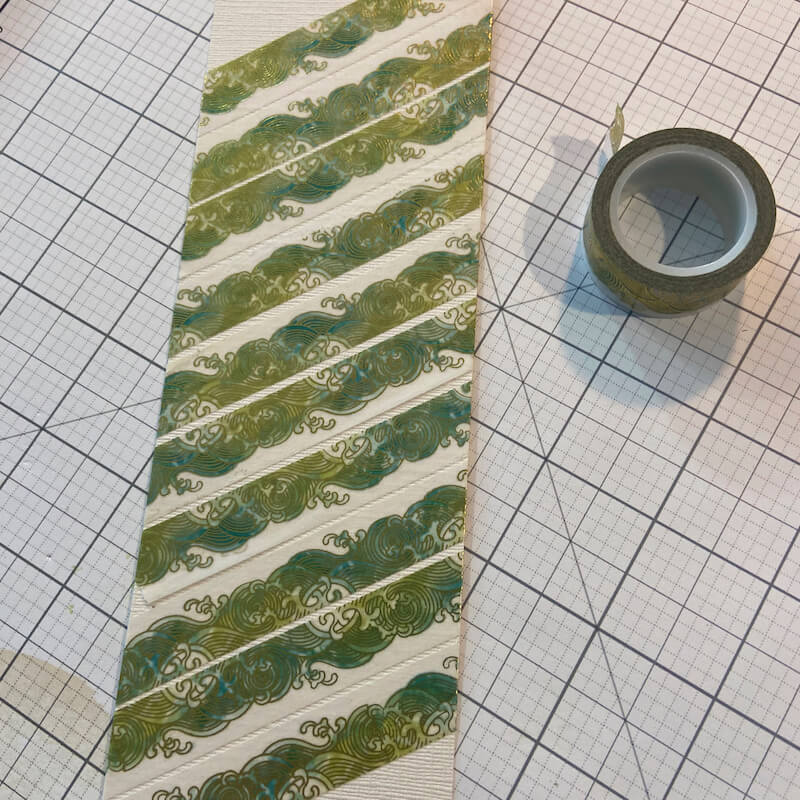
Wrap the ends and secure to the back side of the panel.
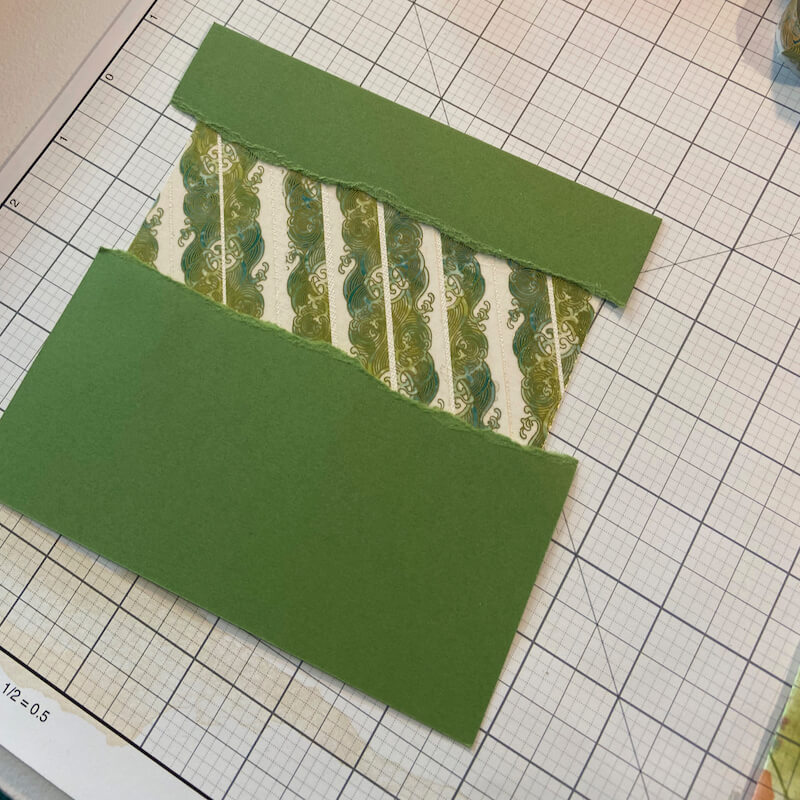
Tear a Lt. Green panel to expose the paper core.
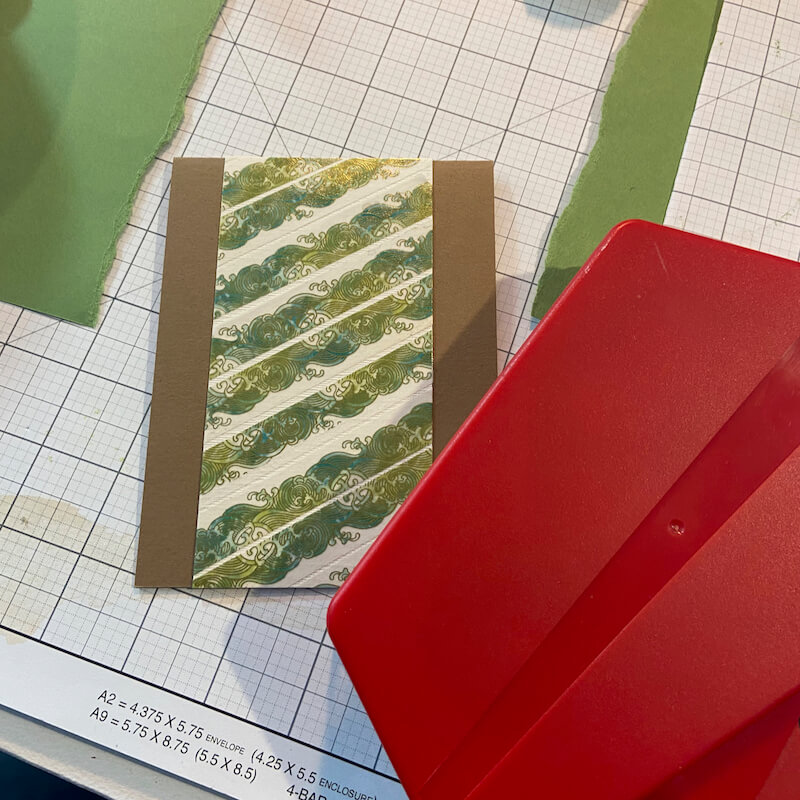
Adhere the washi tape print vertically onto a folded card base.
Add foam adhesive strips to the back of each side of the torn paper panel.
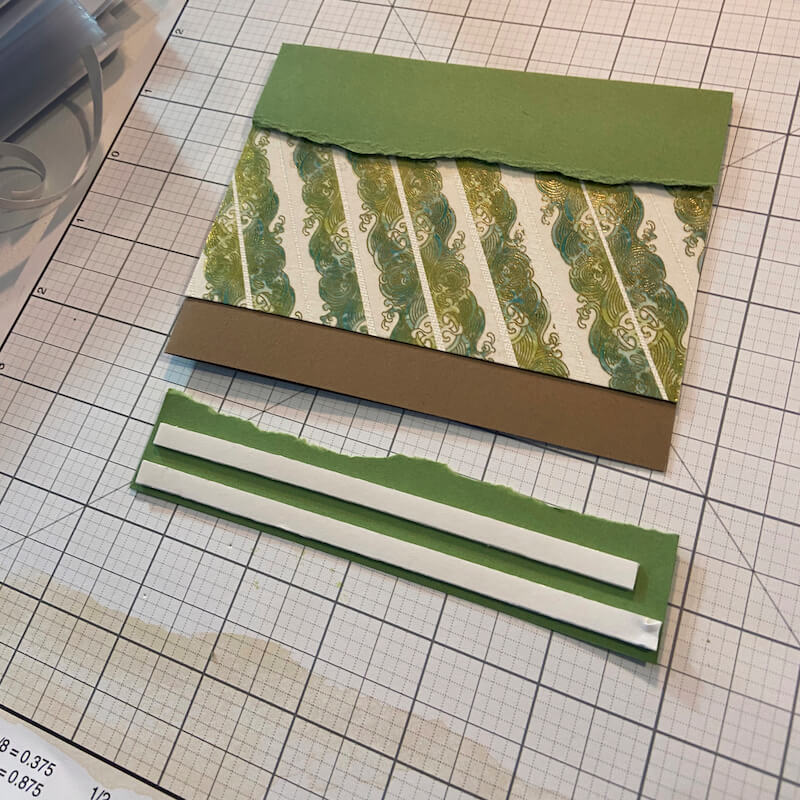
Complete the card with a stamped sentiment.
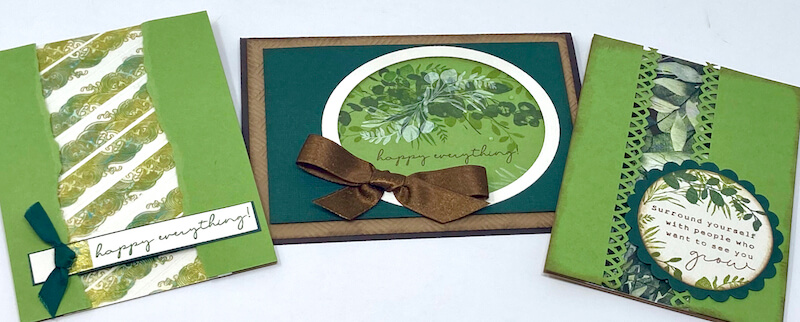
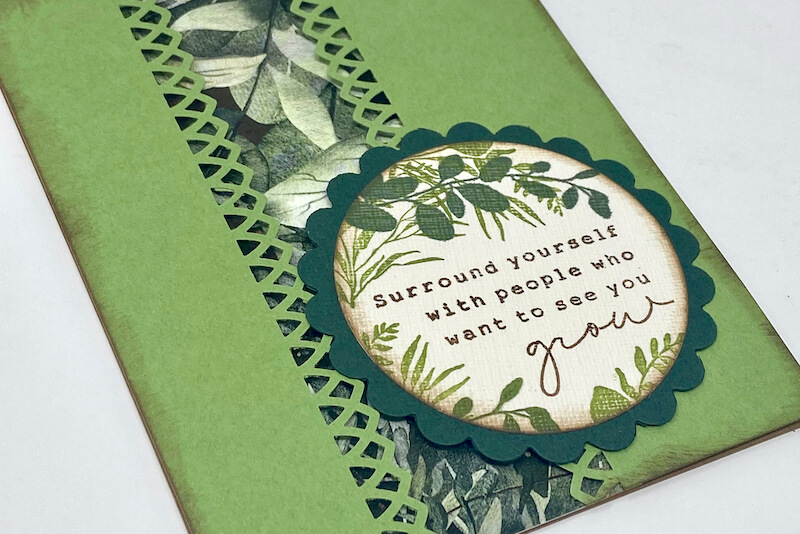
Die Cut + Stamped Designs - Julie
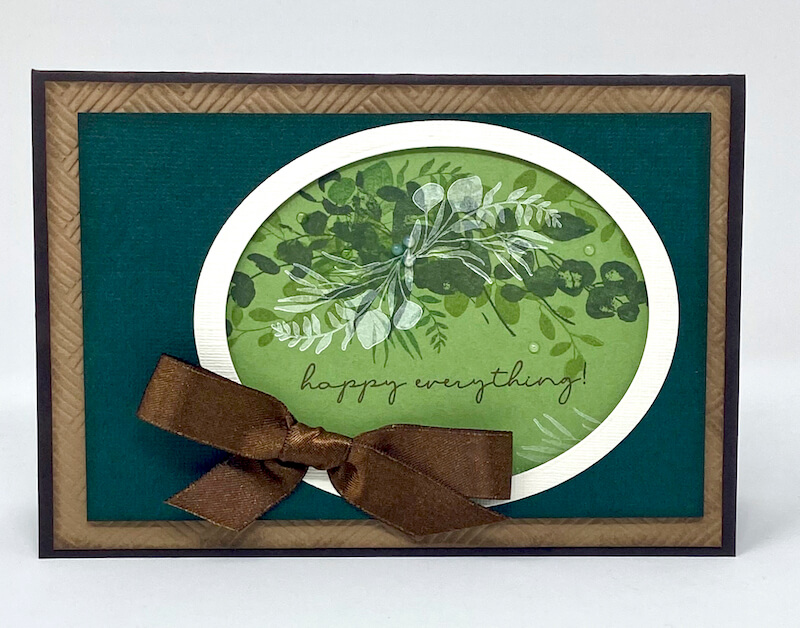
Stamp a design on panel with Flourish images. Cut out the stamped print with an oval die.
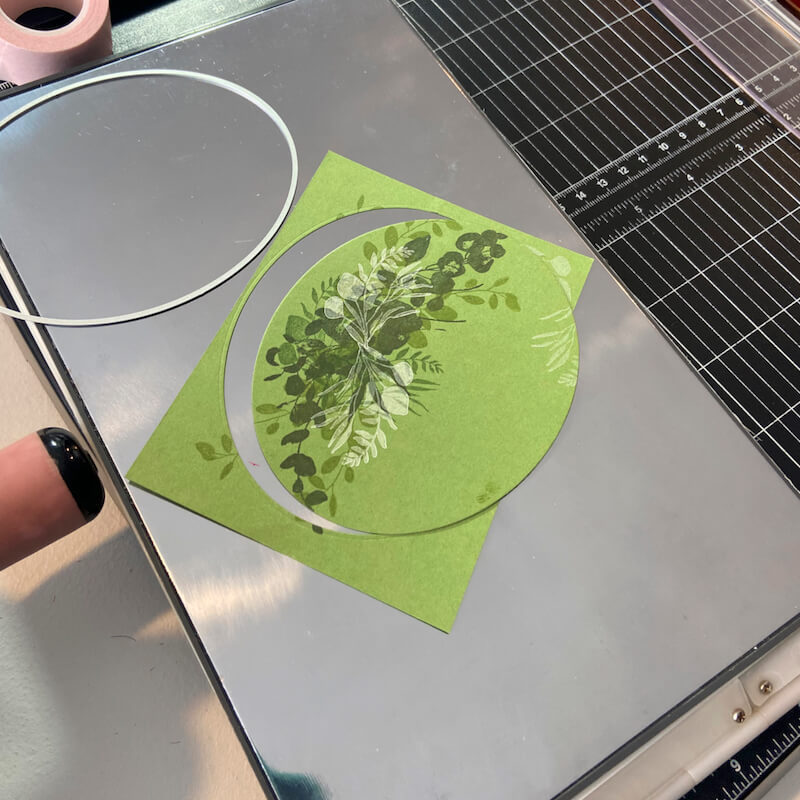
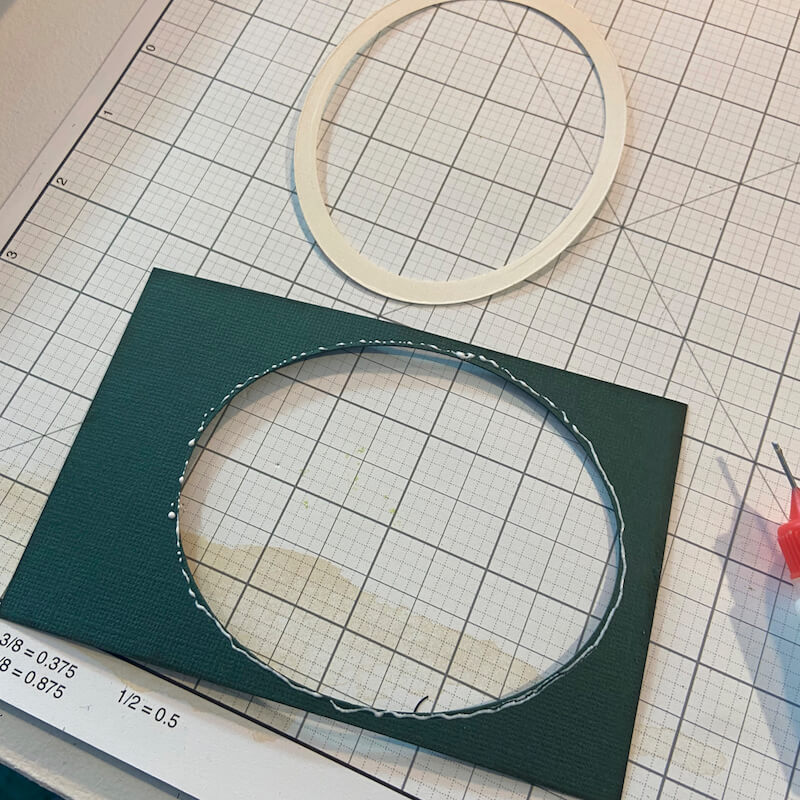
Cut another oval from the Dk. Green panel.
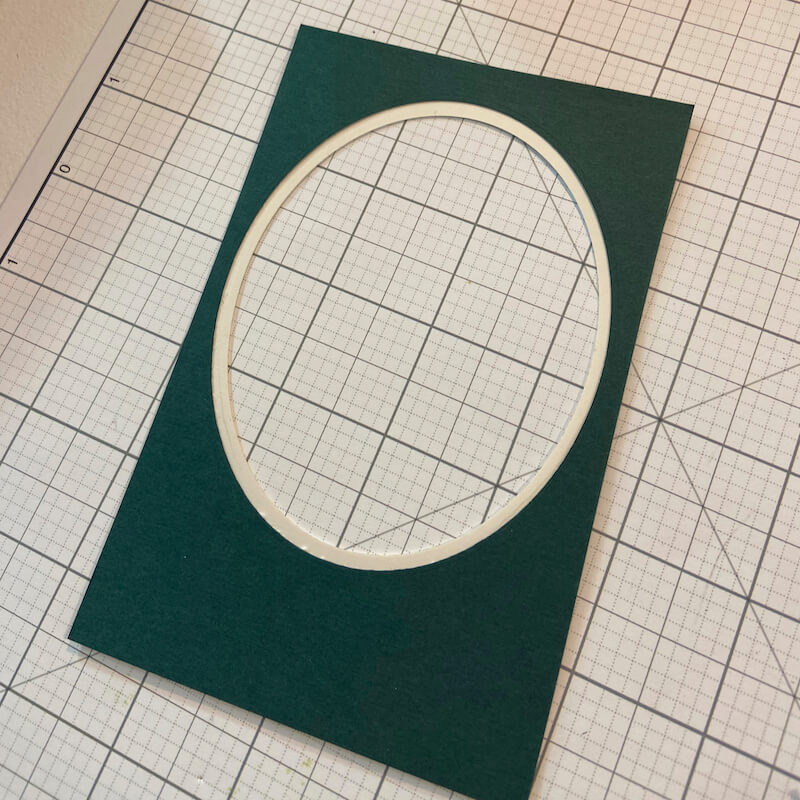
Make an Ivory frame from two larger nested ovals. Temporarily position the Dk. Green panel onto the card. Center the stamped print oval inside the Dk. Green panel opening and adhere into place.

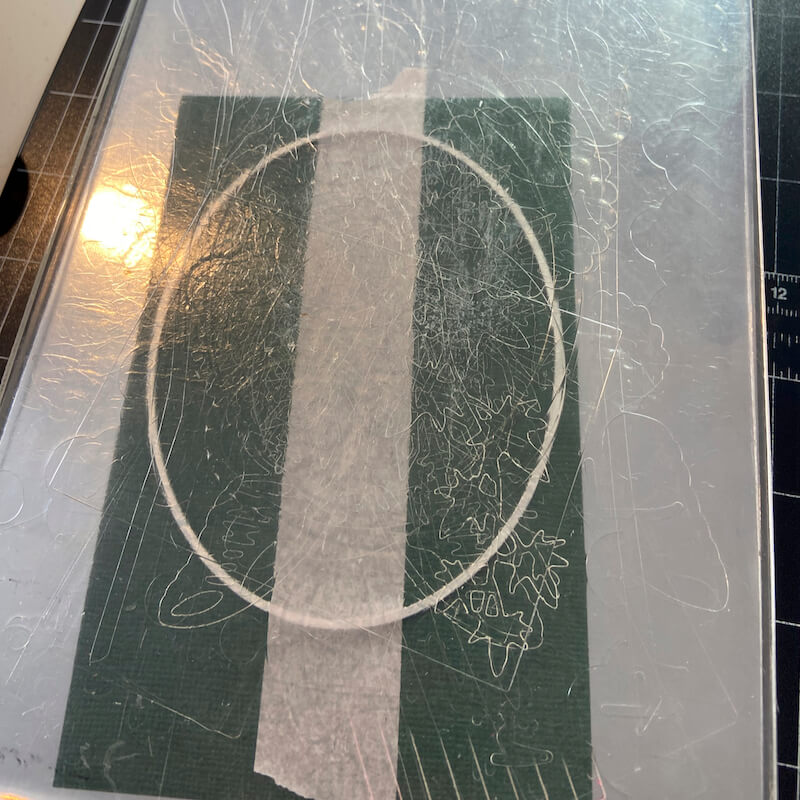
Remove the Dk. Green panel. Add Bookbinding glue dispensed from a needle-tipped applicator around the perimeter of the opening.
Flip the Dk. Green panel over and position onto the back of the Ivory frame.
Add foam adhesive strips to the back of the Dk. Green panel.
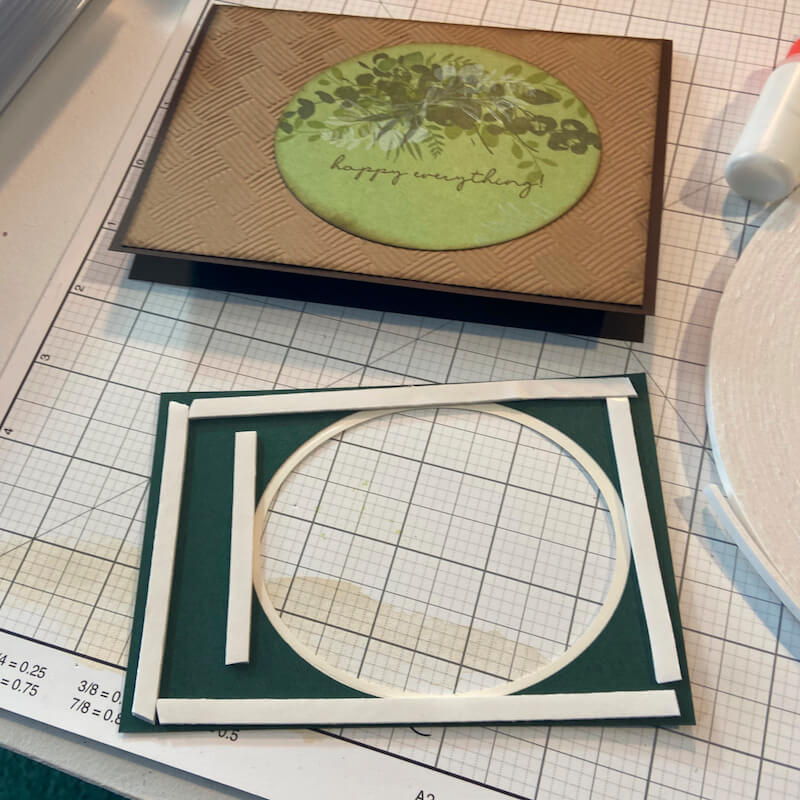
Center over the stamped print to complete the card.

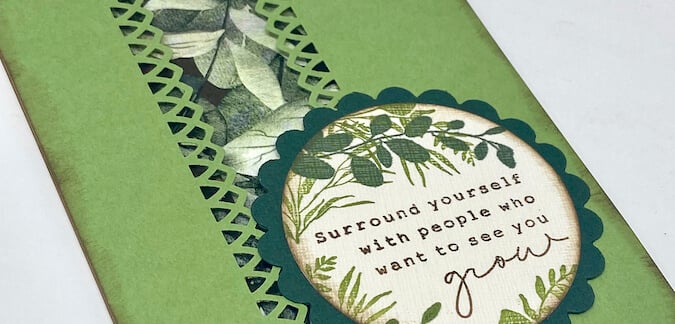
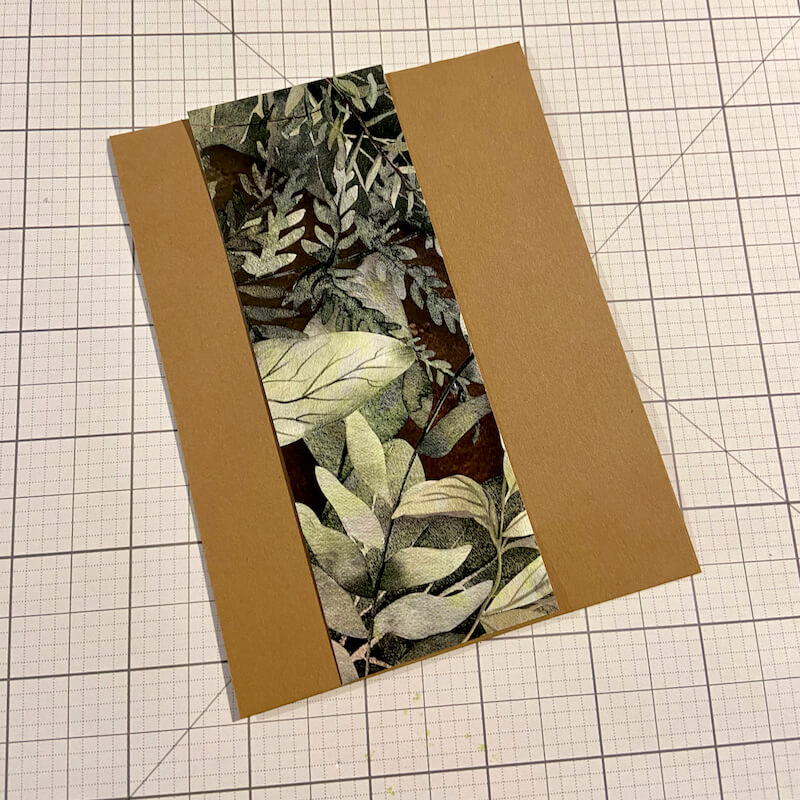
Border Punch + Printed Paper - Julie
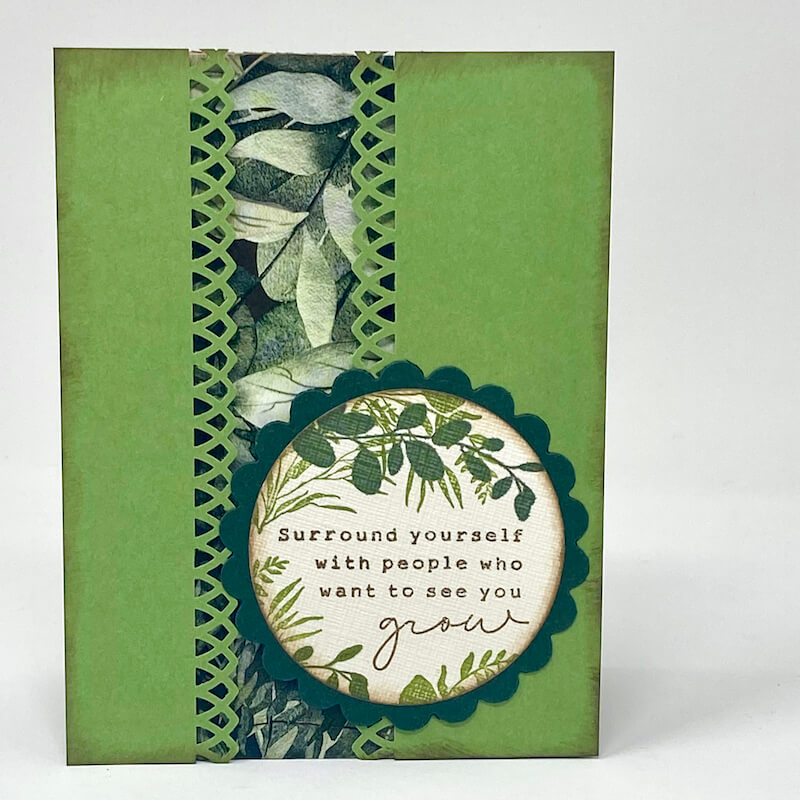
Adhere a strip of Flourish Greenery Print to the front of a folded card base.
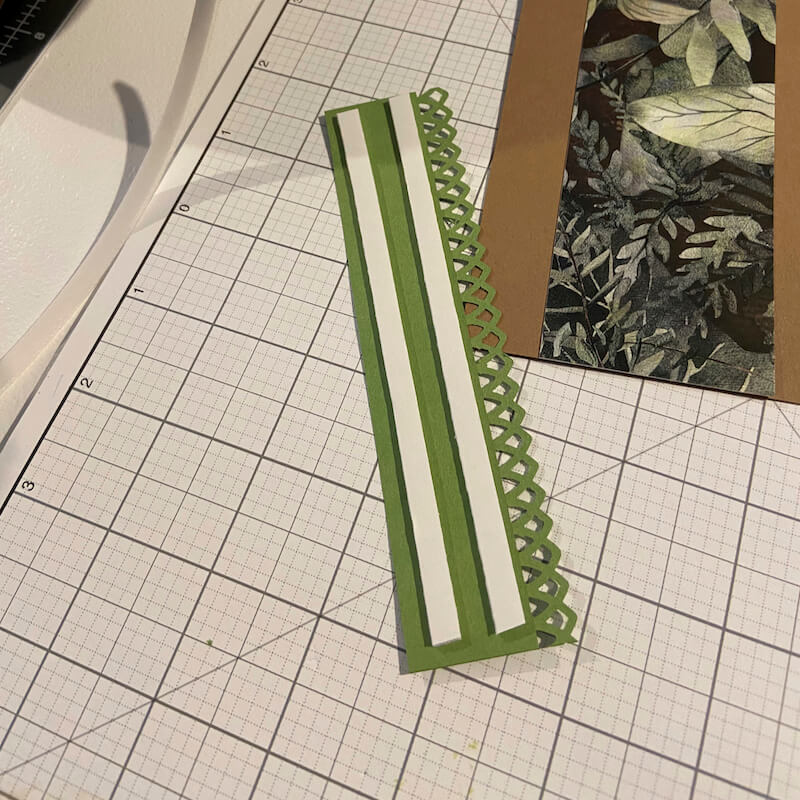
Trim two Lt. Green panels; border punch the edges.
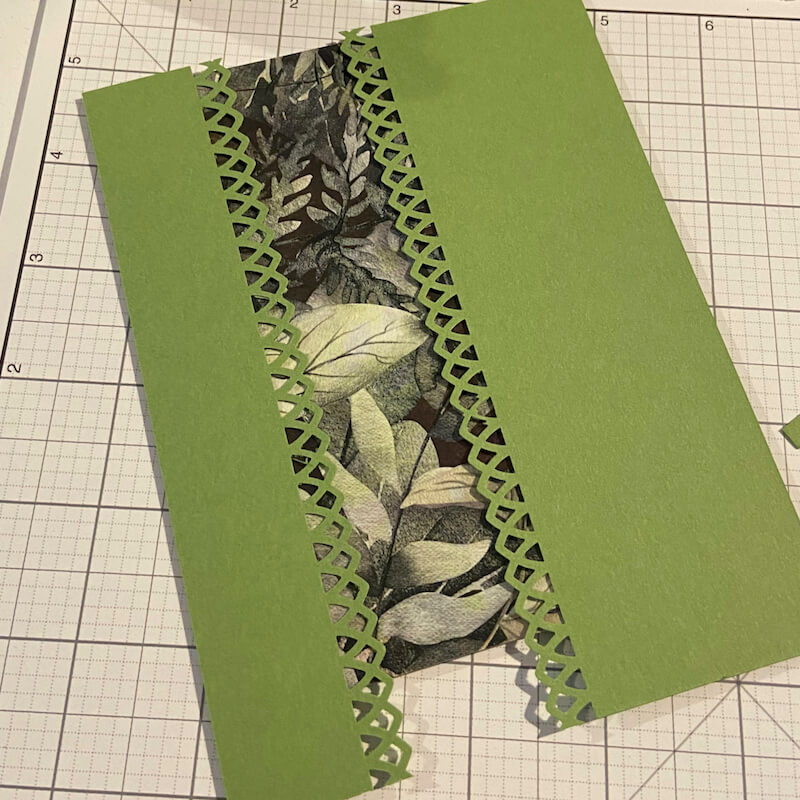
Add foam adhesive strips to the back of the Lt. Green panels.
Adhere the panels, overlapping the print slightly.
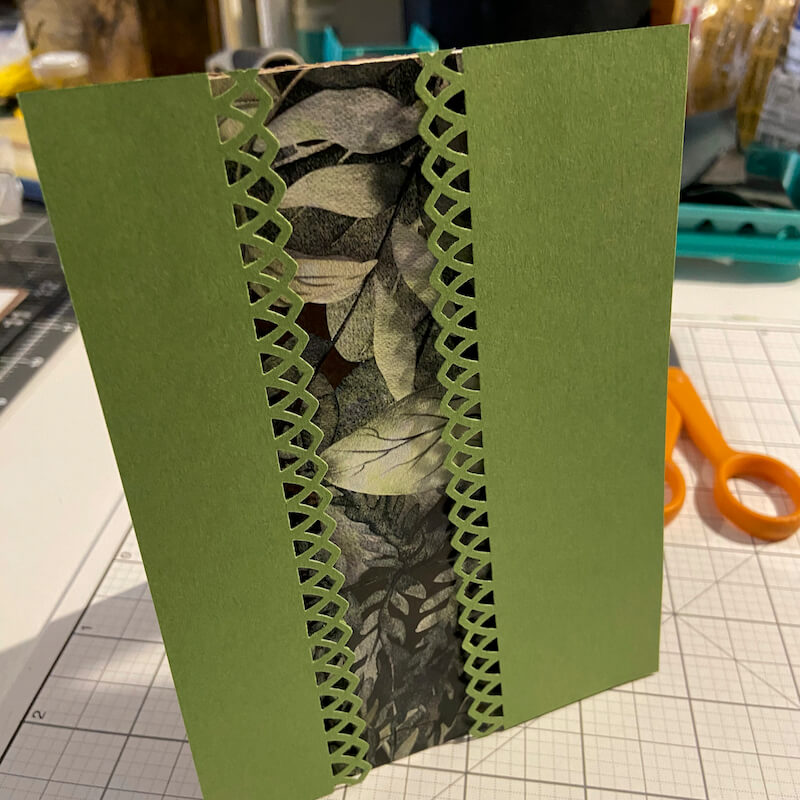
Complete the card with a stamped sentiment.
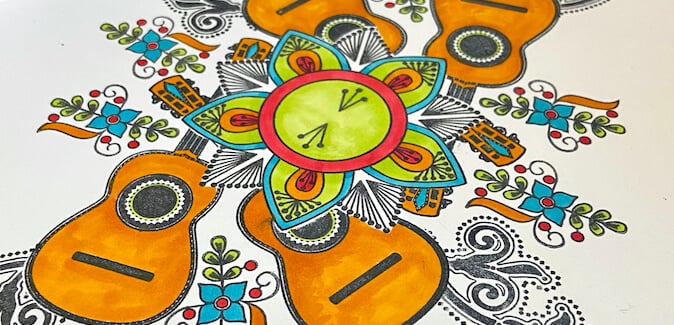
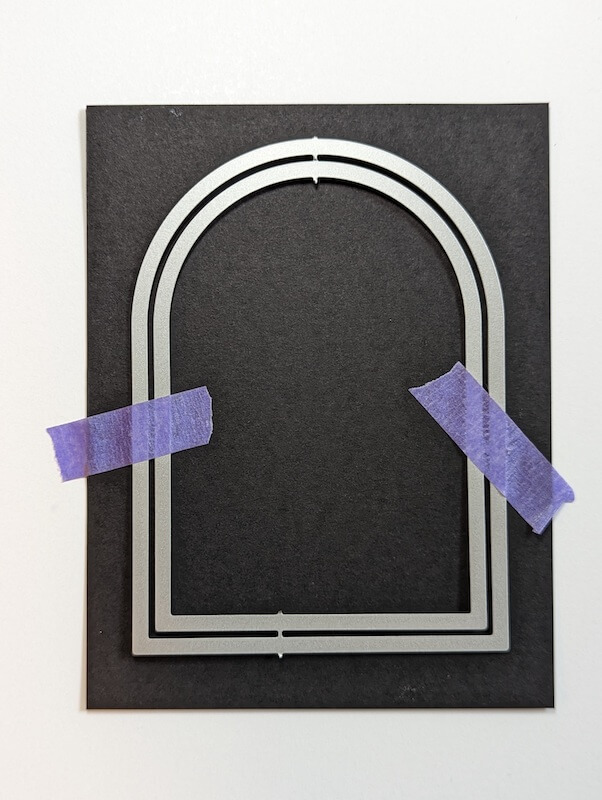
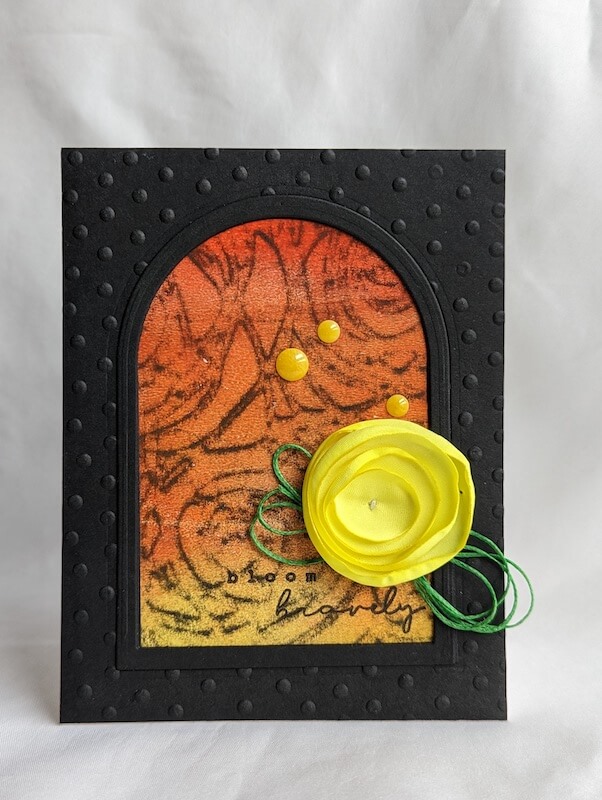
Die Cut Window + Gel Prints - Lisa
Die cut a window from Black paper and layer over a Wax Crayon Resist Gel print background.
Add texture to the Black die cut panel with an embossing folder. Embellish with a Flourish stamped sentiment, enamel dots, What's Up, Buttercup? silk flower and some looped twine.
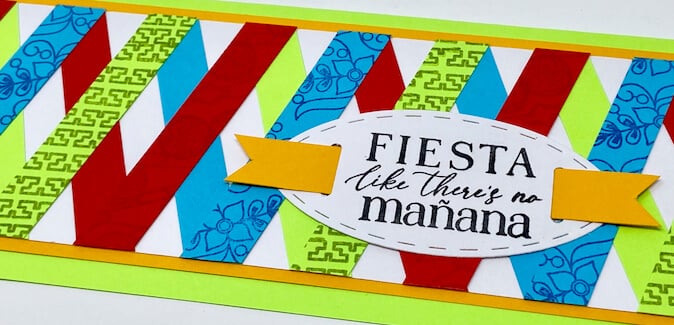
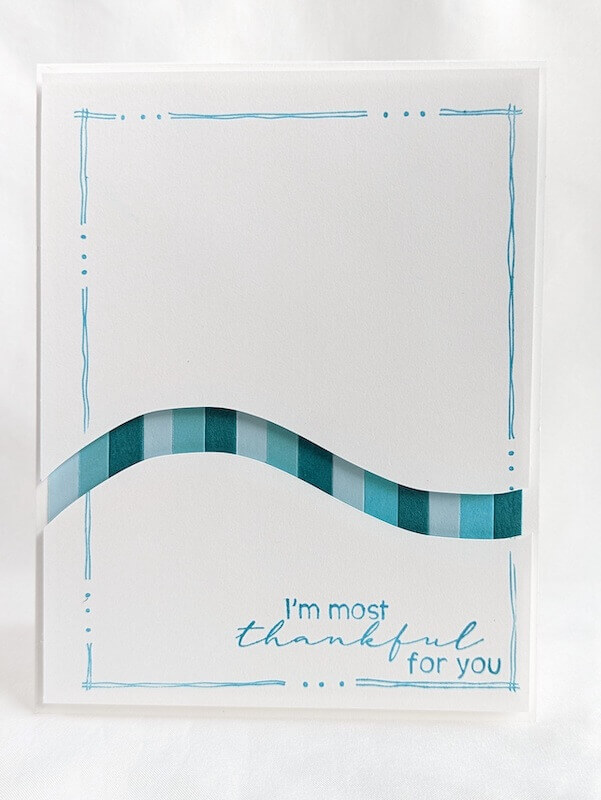
Craft Knife Curved Cut + Scrappy Strips - Lisa
Adhere 1/4" scrappy strips of paper to a white panel.
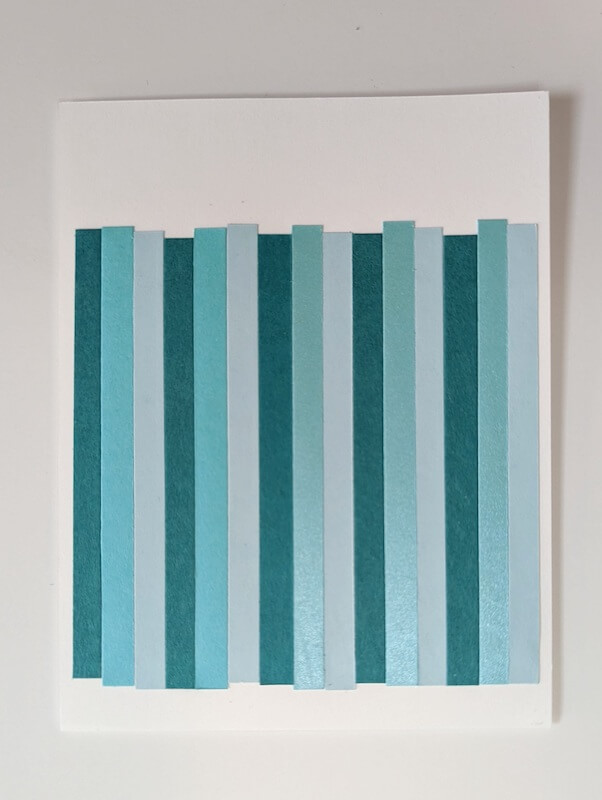
Cut a curved line with a craft knife on a cutting mat to separate a white panel into two pieces.
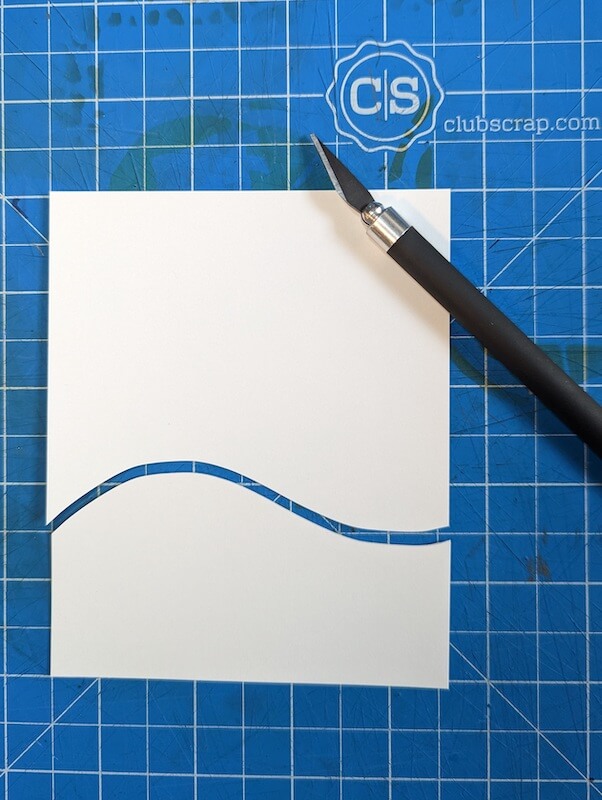
Adhere the cut panels over the strips with foam adhesive. Complete the card with a Meadow stamped sentiment and a sweet hand-drawn doodle border.

We hope you love all of the ideas shared here and we encourage you to share them with fellow Club Scrap enthusiasts on our Facebook Chat Group. Not a member of the group yet? Simply answer a few questions and we will get your request approved in no time.
CS Hybrid Ink Pads

$6.35
Exclusively Club Scrap®, this hybrid craft ink combines the most exceptional ingredients of both pigments and dyes for a fine, crisp, fast-drying image! Don't forget to stock up on the coordinating re-inkers. Each ink pad sold separately. Please select the… Read More