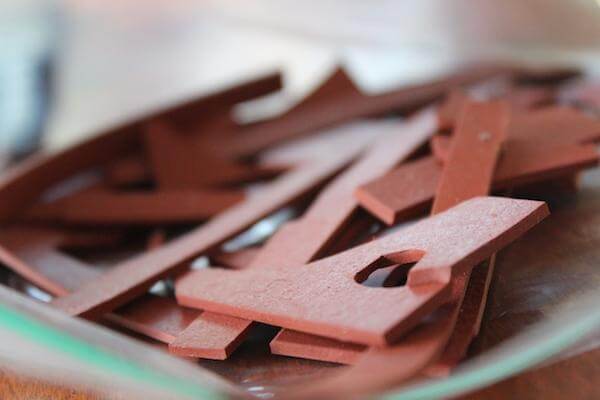

Inspiration can strike at any time, but for me, it comes while I browse the pages of Pinterest. I spotted this pencil eraser DIY stamp idea and thought, I can use my UM (unmounted) rubber scraps to create something similar!

Cut out the desired shapes, add a touch of Mount It adhesive to the back and away you go! Tip: The front of the rubber will be smooth while the back is textured.

Let's create a layout using our recycled scrap stamps and items from the Picnic kit, which just happen to be on sale beginning today!
Picnic Blanket Technique
1. Place some prepared stamp scrap squares on an acrylic block in a checkerboard formation.

2. Stamp with Neon Blue ink to create a checkerboard pattern.


3. Fill in the pattern with single squares stamped in Lagoon ink.


Now that you have a custom Picnic blanket print, create a 12x12 layout featuring your favorite feathered friends having a Picnic on the frozen tundra.

Stayed tuned to the blog for future "stamp scrap" creations. What shapes would you create?
 Julie
Julie