
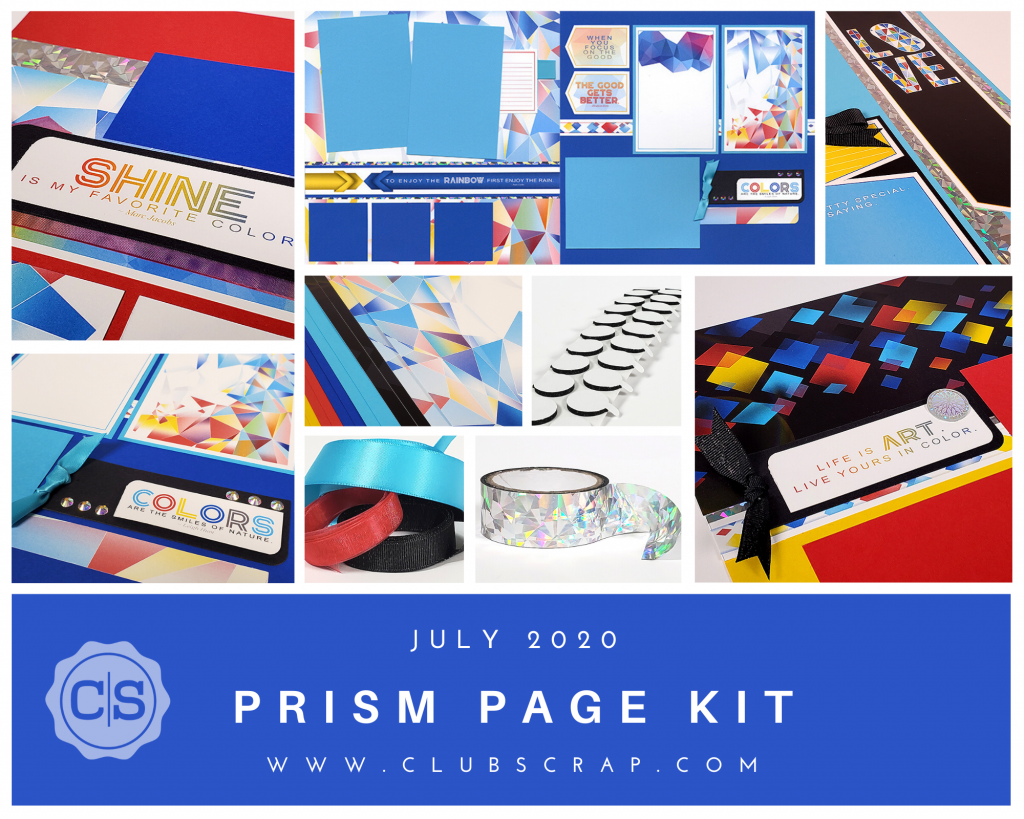
There they are . . . the eight beautiful Prism pages you can make with July's kit!

We chose this month's theme based on a recommendation from our very own Julie Heyer's daughter, Shannon. They compiled a vast selection of inspiring images and ideas as well as the name for the collection. When Julie started working with the hybrid kit, Shannon saw it and immediately said, "This is exactly what I imagined! This might be my favorite CS kit yet!"
You'll have lots of fun with the nifty embellishments we've included. The Prism washi tape couldn't be more perfect, and the foam adhesive circles will add a little extra dimensional pop.
The best way to learn the ins and outs of the Prism pages is to view the assembly video, but read further for a sneak peek at some of the fun details. (You'll find the video link on page one of the assembly instructions.)
Prism Pages
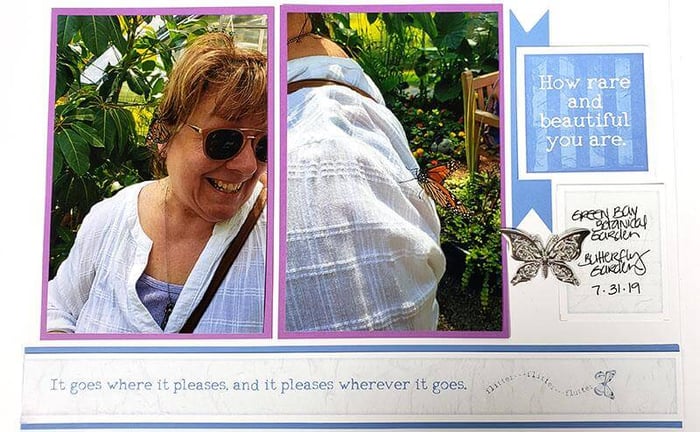
Layouts 1 & 2
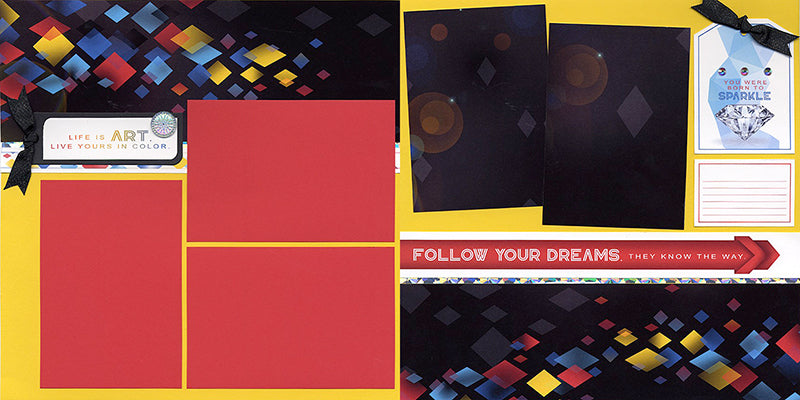
Punch a hole in the top of the tag shape and thread the black metallic grosgrain ribbon through the hole; tie in a single knot. Add three crystals above the text on the cutapart, spacing them equally with the help of a CS® Grid Ruler.

Layouts 3 & 4
Add just a touch of sparkle to the page title with two strips of washi tape. Allow about 1/8" of the tape to show on each side of the border on the left page. A grid ruler will help keep things level.

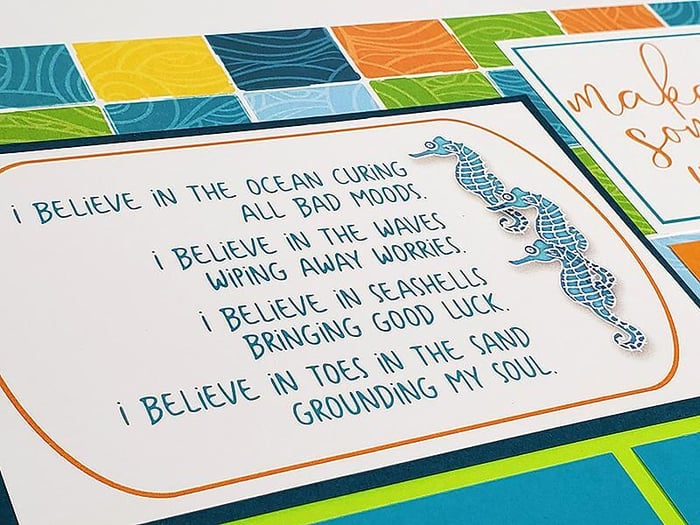
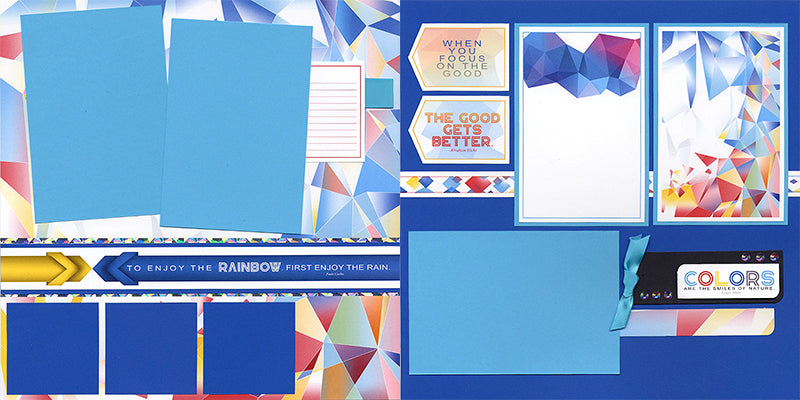
Layouts 5 & 6

Build an attractive focal point with the cutaparts, washi tape, black tag, ribbon, and a sparkle gem. We've designed four cutaparts to fit perfectly onto the long black tags. Round the upper left and lower right corners of the cutapart to match the tag shape, and adhere the gem with CS® Bookbinding Glue.

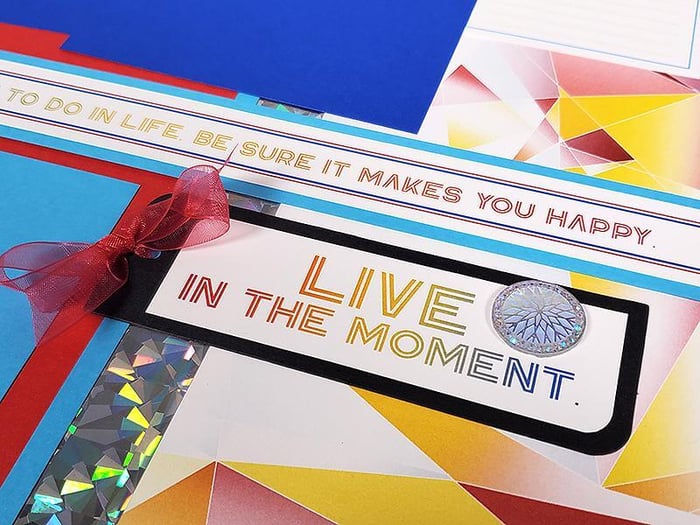
Layouts 7 & 8
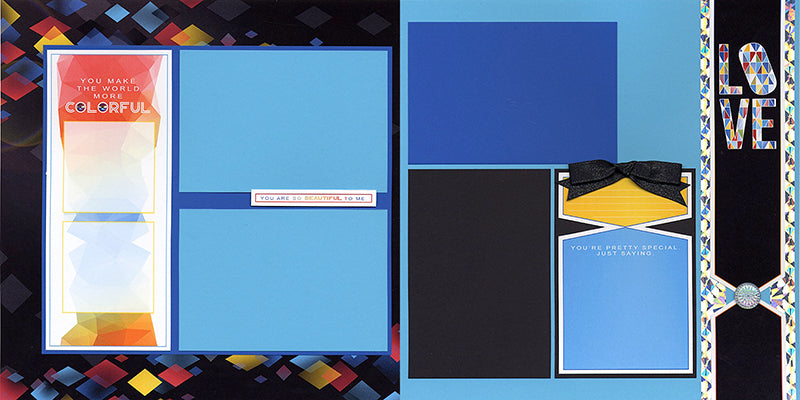
Stretch two pieces of prism washi tape across the right edge of the layout, spaced wide enough to peek past the strip. Use a craft knife, ruler and cutting mat to add two "v"-shaped cuts to the strip. For best results, align the first line of the ruler (the 1/8" dashed line) with the outline of the artwork. The margin created by this cut will match the margin on the rest of the artwork. Finally, finish by adding a sparkle gem to the intersection of the "v" cut.

Not highly visible in the mix is our inclusion of the nifty black 1/2" foam adhesive circles. We already carry a white 5/8" size, which is my favorite go-to for a little bit of pop. The dots have a relatively low profile, making them ideal for cards and layouts. If you want more height, simply double up the dot. I often trim the dots in half, cutting through the pull tab, so there is a tab to conveniently remove the backing from each half of the dot.
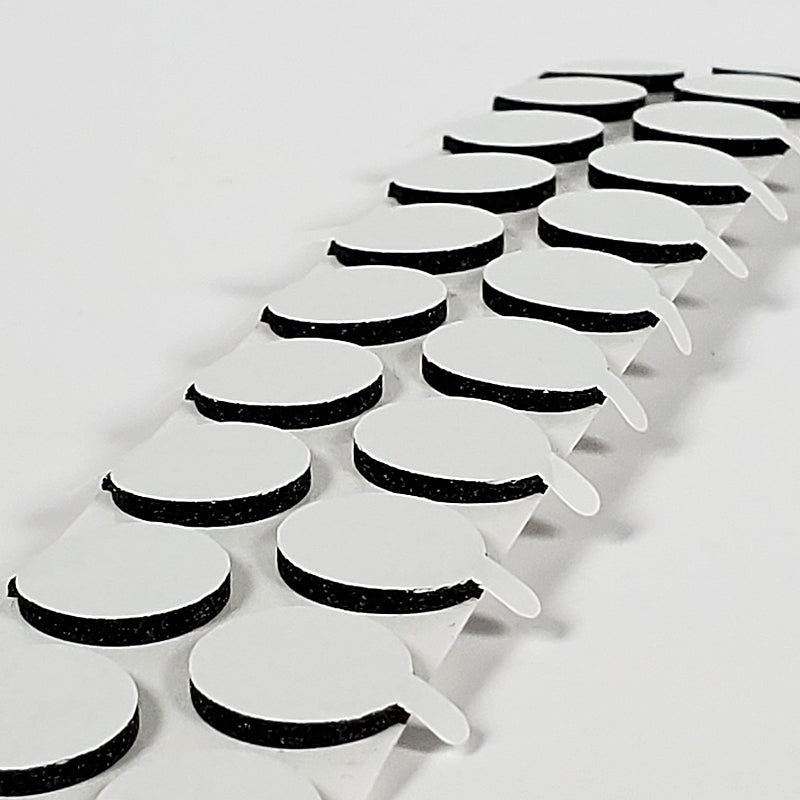
We're all about efficiency . . . no need to spend five minutes separating the backing! (Or is it just me?)

If you aren't a member but would like to give this a try, you can still shop the Prism collection without joining. Also, keep in mind that there is no minimum membership requirement. It's our job and goal to earn your loyalty.
Have a bright and beautiful day!
Tricia