
Table of Contents
The Photo Drop Box is a great project to store and display special memories. Originally released as a Retreat project long ago, Tricia has recently given the instructions and video tutorial an update*. Starting today, your purchase of the Components kit includes the instructions in a new, easier to follow format, as well as an updated video tutorial featuring the Color Crush collection.
*If you've purchased the Photo Drop Box Components in the past, or own a previous version of the instructions, no technical aspects of the project have changed.
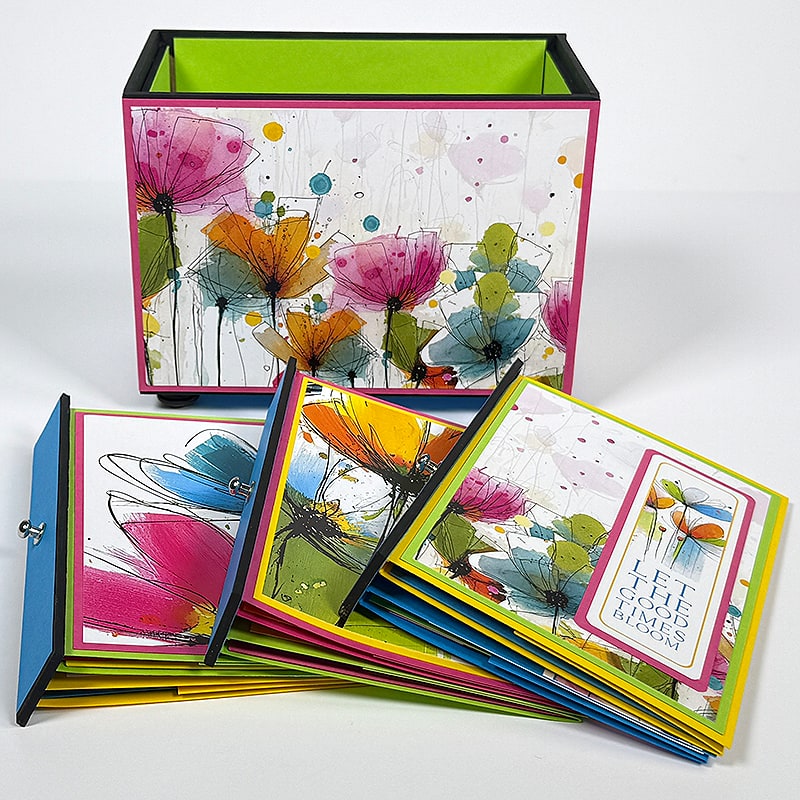
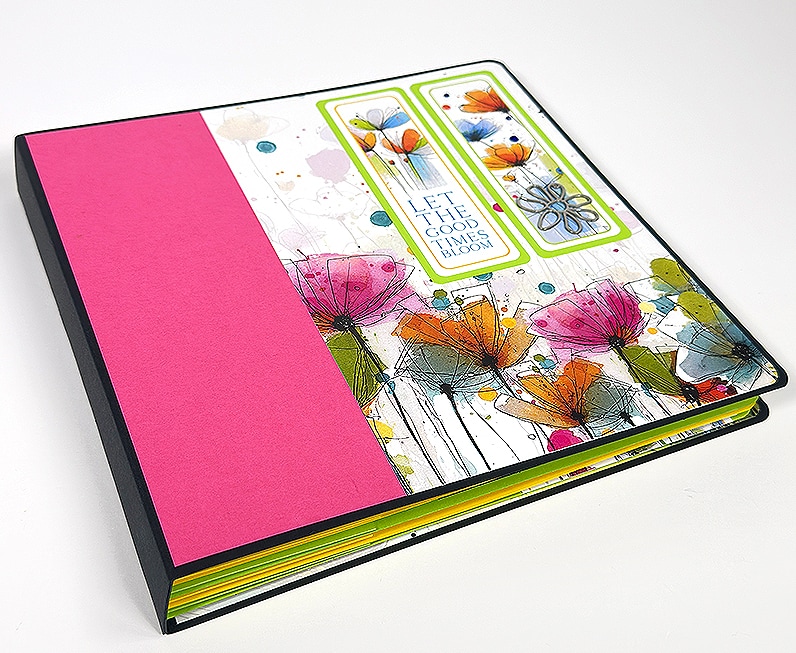
Color Crush Photo Drop Box
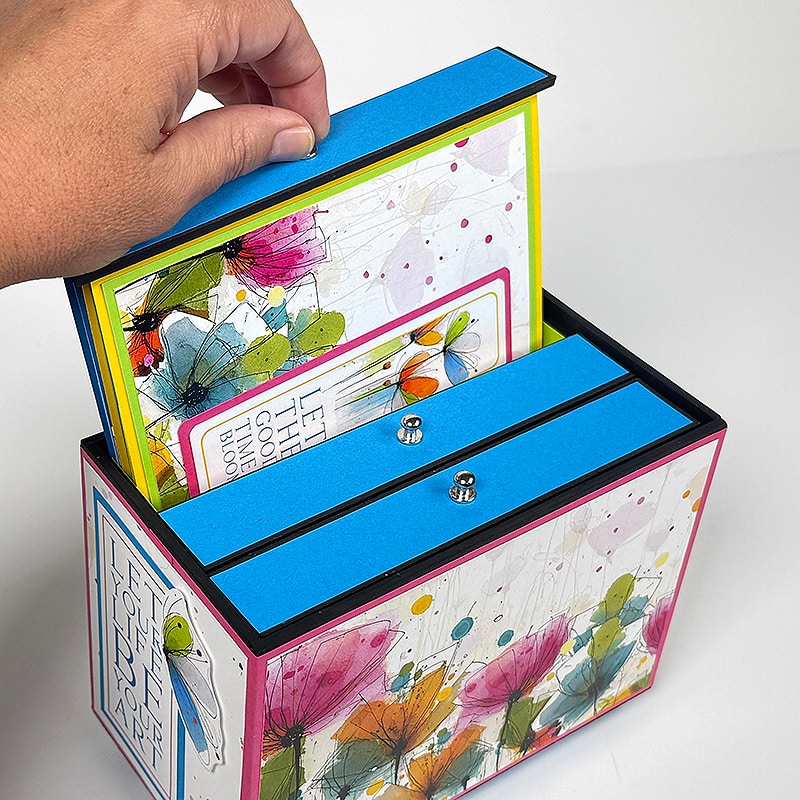
Let's take a quick peek at the project:
To get started, gather the supplies listed below.
Supplies List
Photo Drop Box Components
Color Crush Page Kit (or Page Kit of your choice)
CS® Bookbinding Glue
Needle-tipped Applicator
12” Paper Trimmer
3x14" Grid Ruler
Scor Pal 1/8s
Accordion Pocket File
Bone Folder
Crop-a-Dile* (or other 1/8" Hole Punch)
Black Acrylic Paint*
Foam Brush(es)
Phillips Head Screwdriver
Pencil
Scissors
Paper Assignments
To replicate Tricia's finished box, utilize the paper substitutions below for each step of the printed instructions. (Or you can always do your own thing!)
- Pink
- Blue
- Pink, Blue, (2) Yellow
- (2) Green
- Sm. Flower Print
Trim the remaining prints and plains into mats following Step 6 of the instructions.
Assembly and Decor
Follow the written instructions to assemble the box and inserts. If you've never created a project like this before, I highly recommend watching the video tutorial. Tricia shares helpful tips to make the process go smoothly.
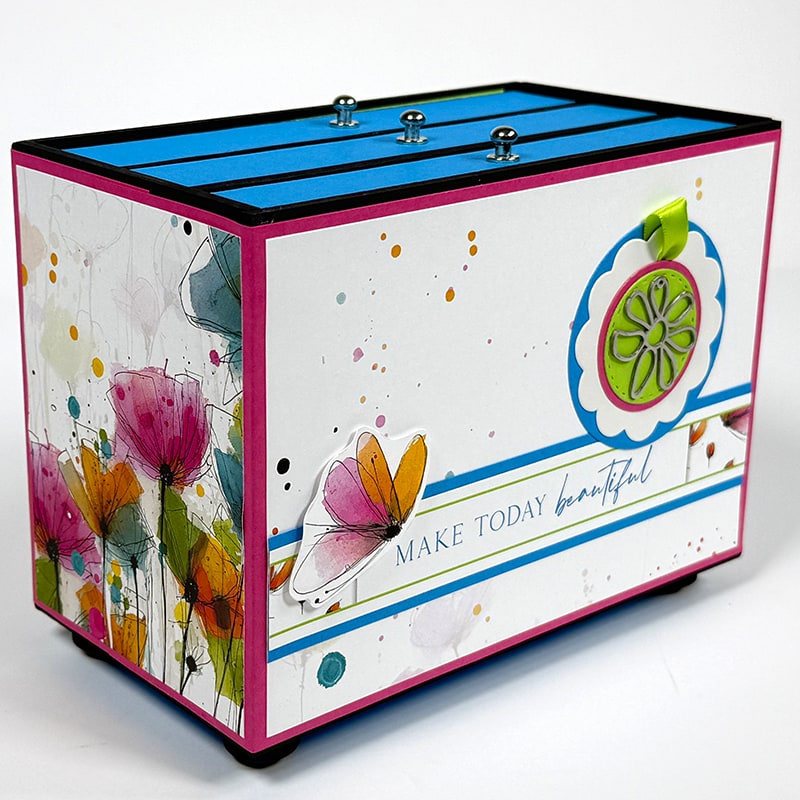
After building the box structure, camouflage the edges of the book board with black acrylic paint. Once dry, wrap the perimeter of the box with Pink. Tricia chose the gorgeous Sm. Flower Print to decorate the four outside panels of the box—one long and one short wall are left unembellished to really let the print shine.
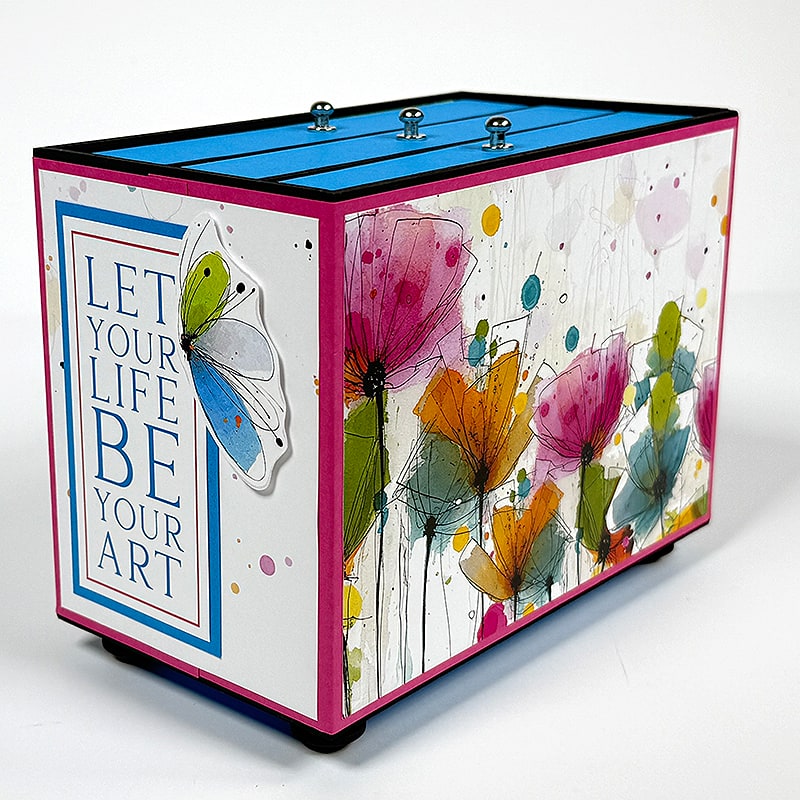
Enhance the two remaining short and long walls with cutaparts nested onto Blue Plain, fussy cut flowers, tags, charms and ribbon.
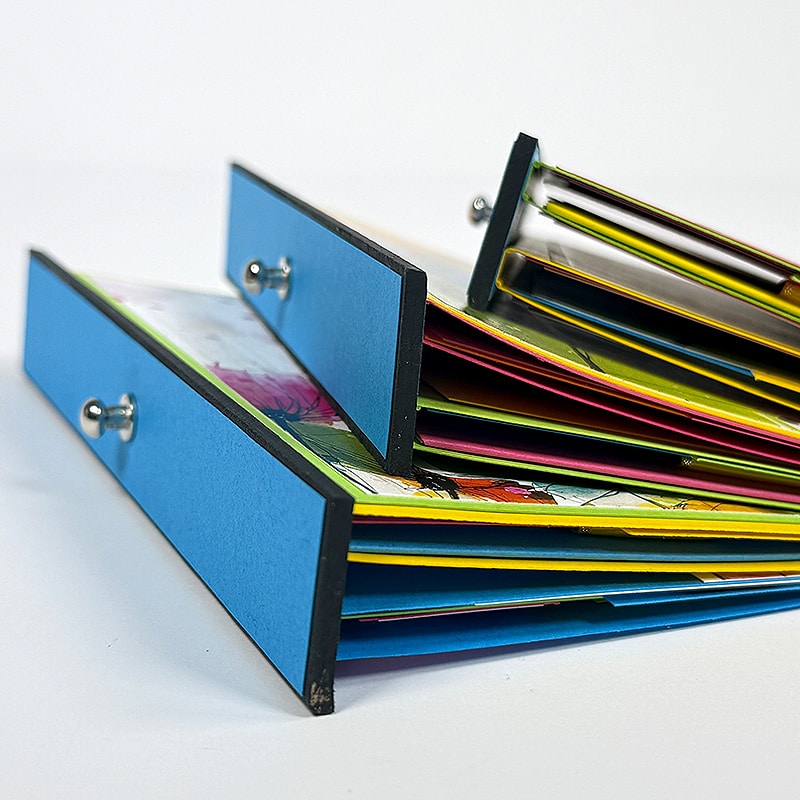
The box features three removable “books,” each designed to hold a collection of 4×6 photographs. The books slide neatly into the box for compact storage.
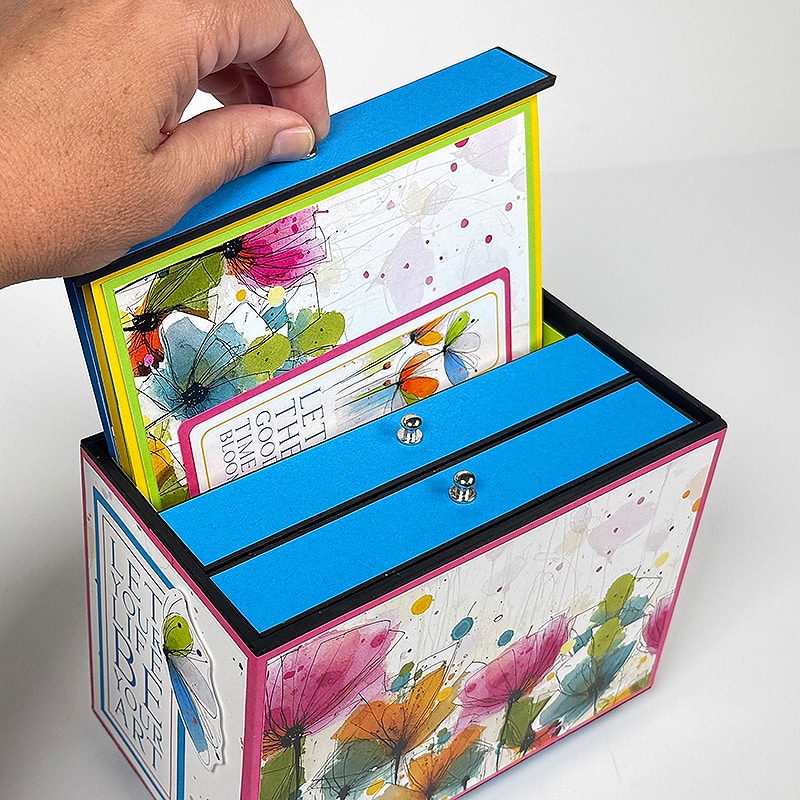
When removed, the inserts allow photos to be flipped through like a traditional photo album.
Bonus: Create "Fly Out" Pages
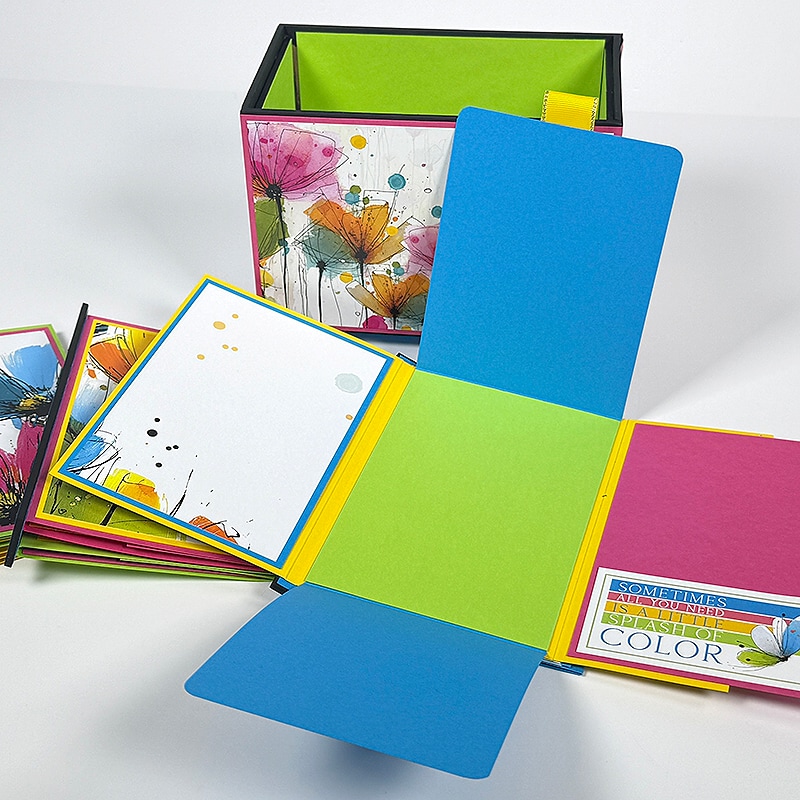
Need room for even more photos? Create "fly out" pages for your inserts. Simply follow the bonus steps below:
- Trim the 5.5x12" (from Step 3 of the instructions) vertically at 4.25".
- Cut the 4.25x12" horizontally in half at 6".
- Score each 4.25x6 at 5.5".
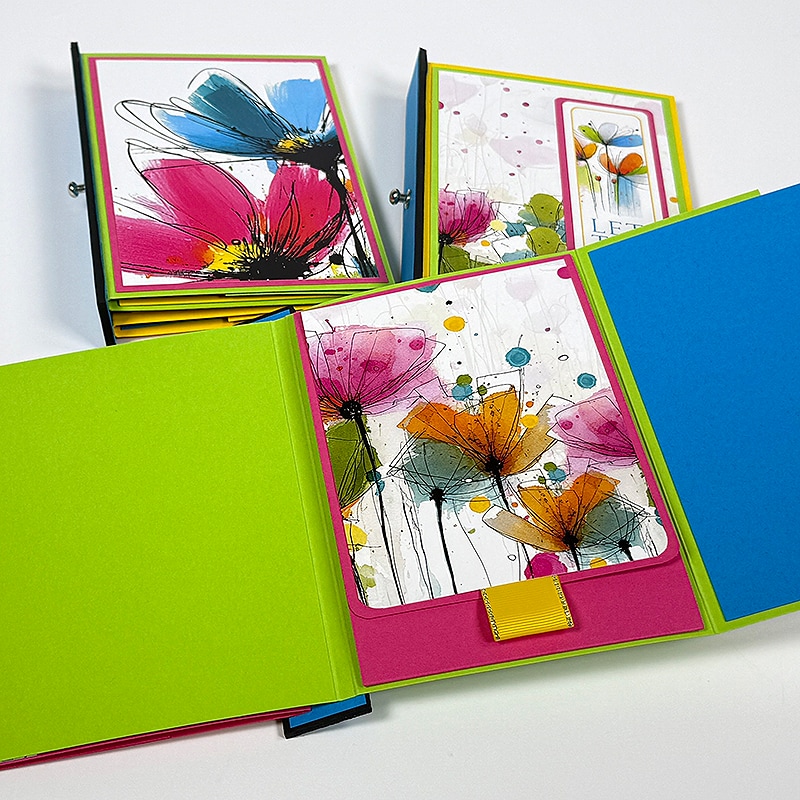
Adhere the 1/2" scored area to the top and bottom of an inside page, flush with the edges. Cover the center opening with a pre-cut photo mat to hide the seams.
Timeless Christmas Photo Box
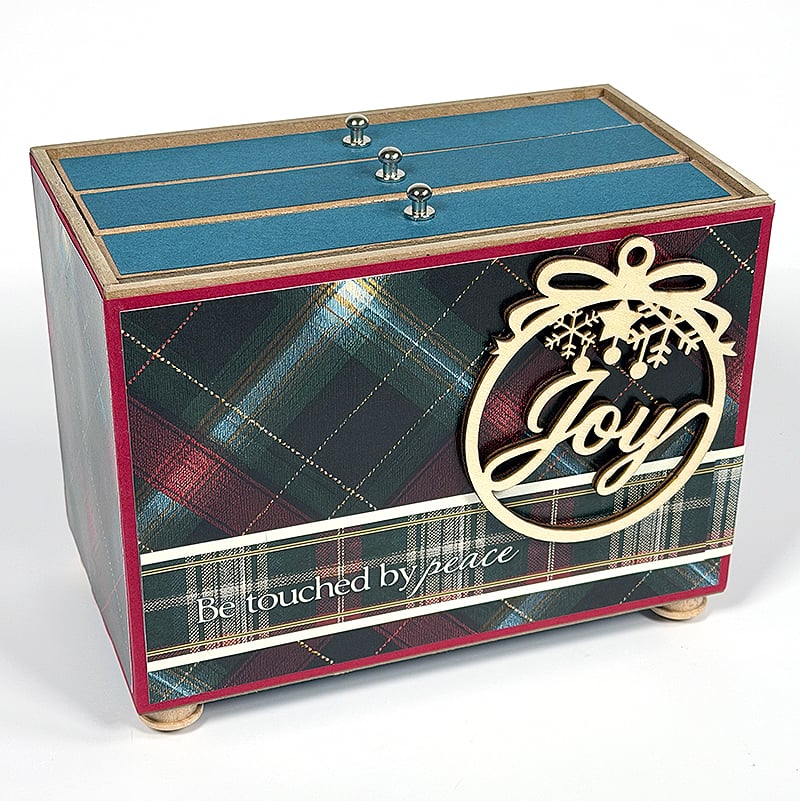
The holiday version makes a great gift. Or turn it into a seasonal keepsake to preserve Christmas photos from year to year.
Paper Assignments
To replicate the Timeless Christmas version, utilize the paper substitutions below:
- Red
- Teal
- Red, Teal, (2) Ivory
- (2) Green
- Diagonal Print
Assembly and Decor
In lieu of paint, I left the edges of the book board and the wooden feet natural. Wrap the perimeter of the box with Red; nest the trimmed Diagonal Print panels onto each side.
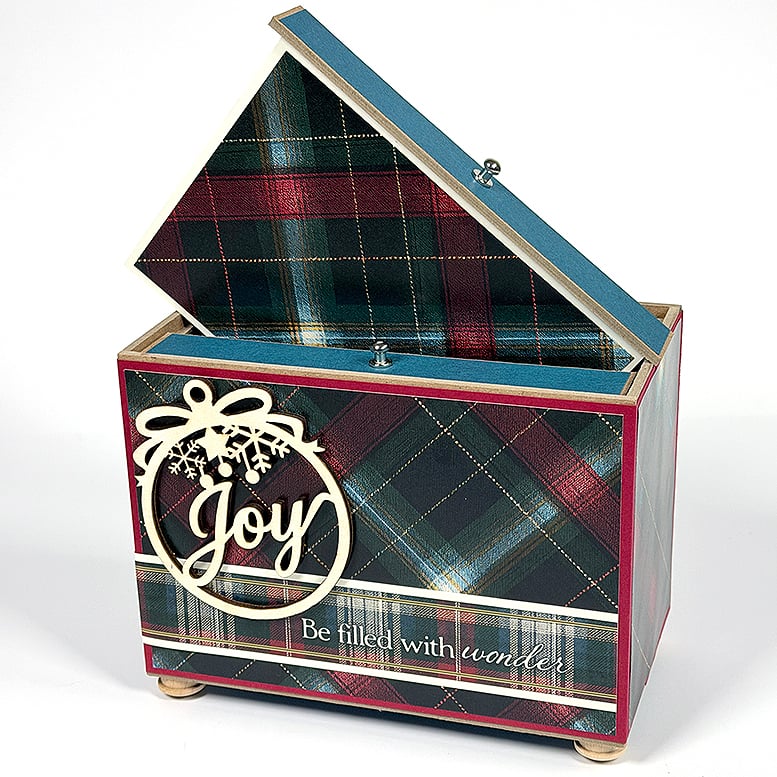
Trim and wrap the two-part border strip sentiment to fit both long walls. Adhere an Ornament Woodcut to each long wall with Bookbinding Glue in a Needle-tipped Applicator.
To really maximize the number of photos the box will hold, simply add mats to the pages of each insert and keep the embellishments to a minimum. I made a real effort to achieve a nice balance of places for photos vs. the number of embellished pages.
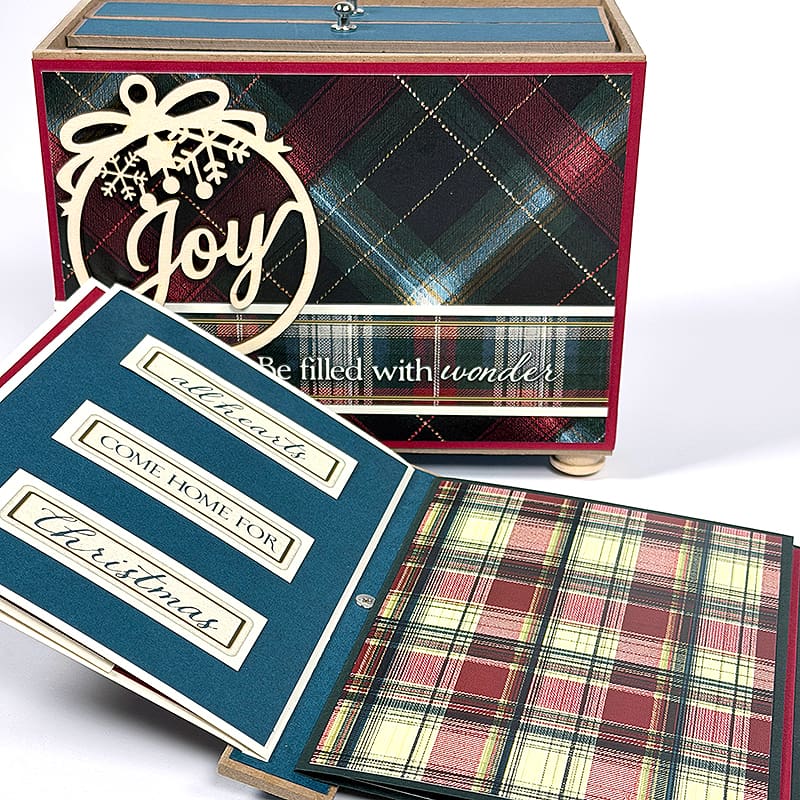
Add a 4.25x6.25" mat to each of the short flaps to create additional space for full-sized photos. Decorate the reverse side with paper scraps, border strips, sentiments and cutapart artwork.
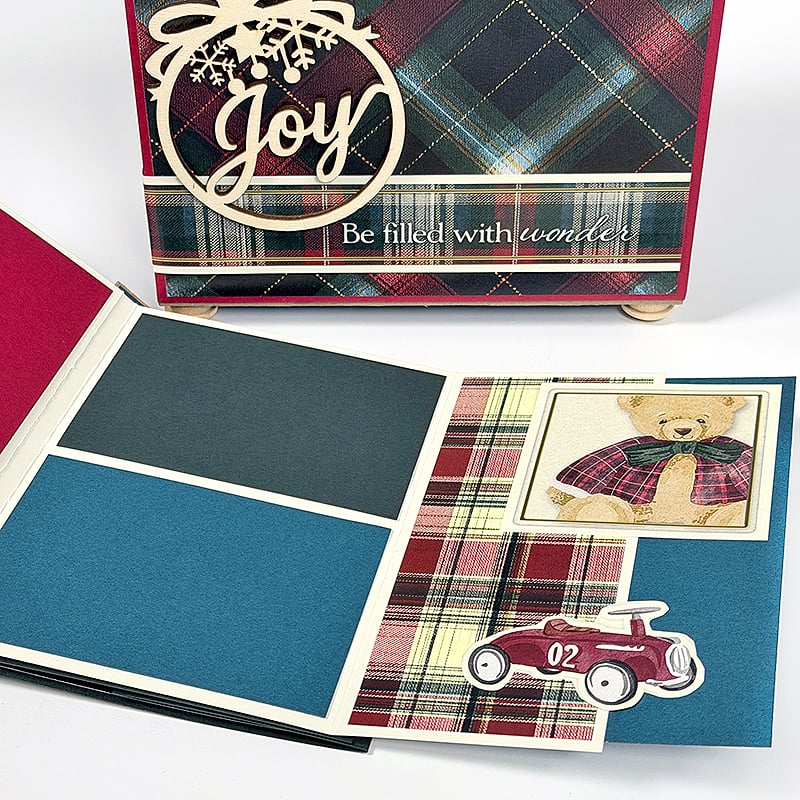
Tip: If/when you run out of 4.25x6.25 photo mats, utilize the 4.25x5.75" panels left over from the trimming process. For example, adhere it to an inside page and add a trimmed cutapart sentiment below it to fill the open space.
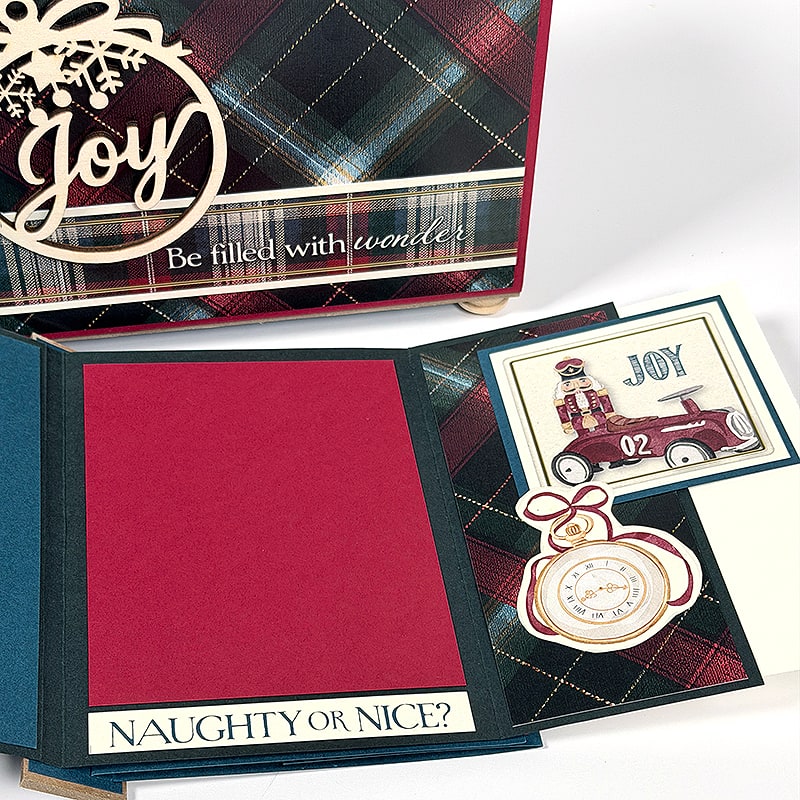
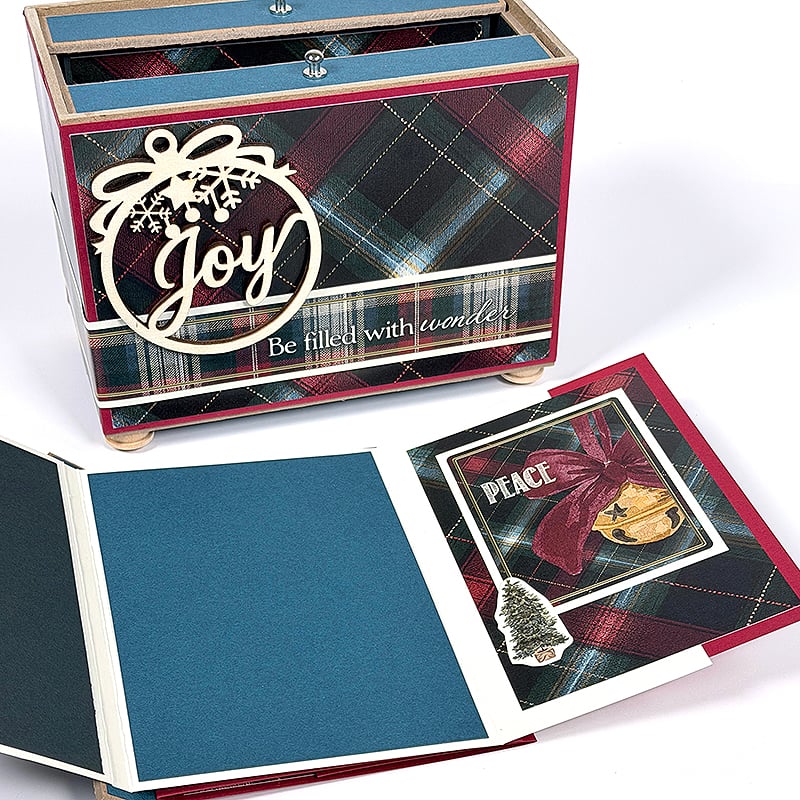
While constructing this type of project can be a bit challenging, watching the updated video tutorial and following Tricia's newly refreshed instructions makes it easier than ever. Transform your favorite CS® Page Kit into a really impressive keepsake. Which kit will you choose?
We invite you to share your finished artwork on our Facebook Chat Group. Not a member of the group yet? Simply answer a few questions and we'll get your request processed in no time!
Shopping Links
Photo Drop Box Components
$22.17
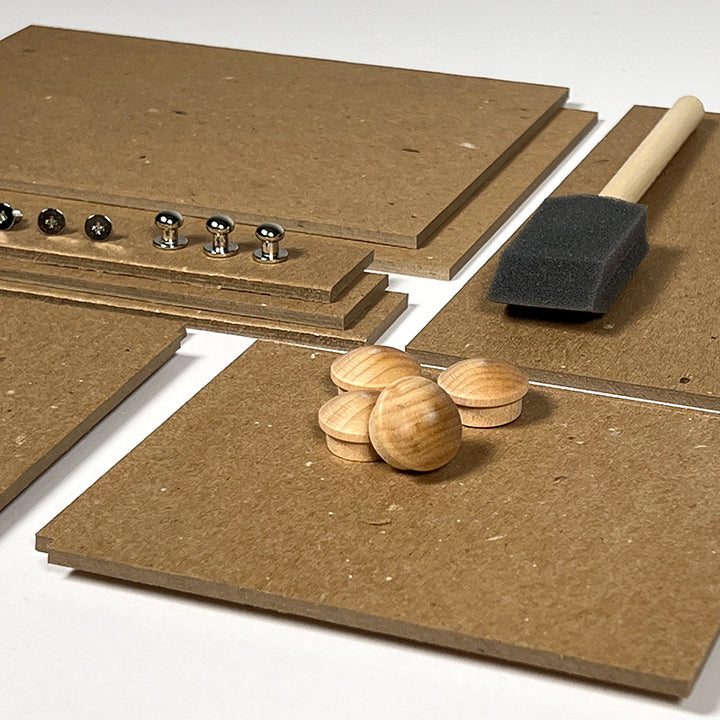
Learn how to make a clever and interactive photo storage solution when you pair the components with any CS page kit. The box measures approximately 7.25x5.25x4" and is home to three removable inserts for photos. (A few additional materials and… Read More
Color Crush Page Kit
$35.95
Kit includes all of the supplies needed to complete eight fully-embellished 12x12 scrapbook pages. Just add a trimmer, scissors and adhesive. Instructions download and video tutorial included. Includes: (4) 12x12 Prints: 2 ea. Lg. Flower Print, Sm. Flower Print(2) 12x12… Read More

Timeless Christmas Page Kit
$35.95
Kit includes all of the supplies needed to complete eight fully-embellished 12x12 scrapbook pages. Just add a trimmer, scissors and adhesive. Instructions download and video tutorial included. Includes:(4) 12x12 Prints: 2 ea. Diagonal Print, Vertical Print(3) 12x12 Green Plains(3) 12x12… Read More