
I have many stencils in my Club Scrap collection, but my favorite is the Ornament Overlay stencil originally released back in the December 1999 Holiday Collection. (That was before digital photography was mainstream!)

Feeling nostalgic for the good ole days, I set out to create two Christmas cards. Be sure to check out the video in which Tricia shares tips, tricks and techniques for using this stencil.
Cardinal Card
- 4.25x5.5" Navigation Dark Green print card base
- 4x5.25" Moroccan Spice Red panel
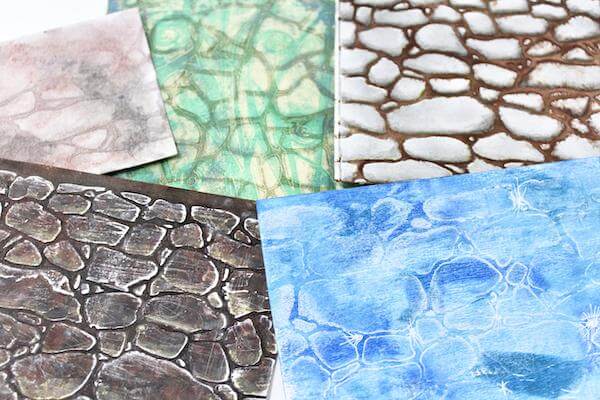
- 3.75x5" mixed media art paper panel from stash
- Watercolor Christmas UM cardinal image created with Gelatos misted with water and stamped
- Watercolor Christmas UM sentiment in Black India Ink
- Christmas 2006 UM Pine branch stamped in Pine Needles and Peeled Paint Distress inks misted with water to create watercolor effect
To create the ornament, apply clear embossing ink to the open circle. Apply red Pan Pastel with a sponge. Stencil the striped overlay with Gold Metallic ink. Heat set, and spray with a fixative.

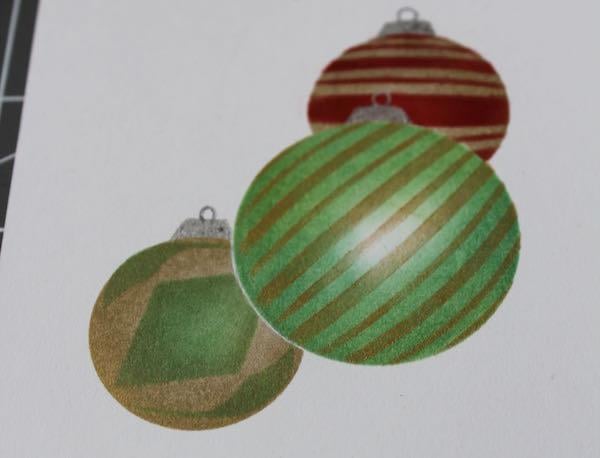
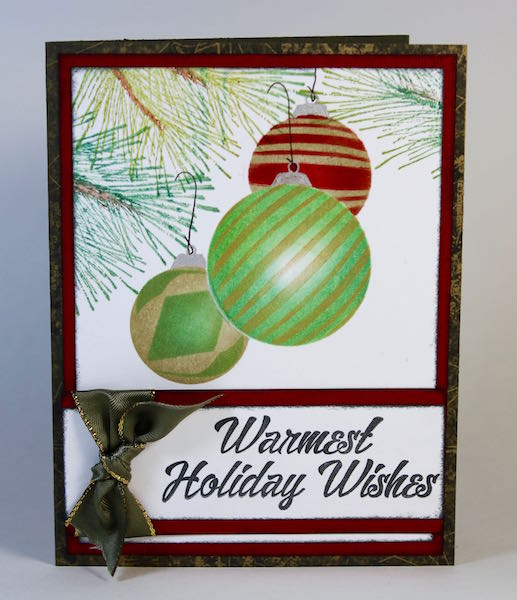
Hanging Ornaments Card
- 4.25x5.5" Navigation Dark Green print card base
- 4x5.25" Moroccan Spice Red panel
- 3.75x5" Navigation White panel
- Navigation fiber - satin ribbon with gold trim
- Watercolor Christmas UM sentiment stamped in Black India Ink on Navigation White strip and Moroccan Spice Red mat
- Christmas 2006 UM Pine branch stamped with Pine Needles and Peeled Paint Distress inks and Rust Gelato
Combine Peeled Paint and Pine Needles Distress inks, Gold Metallic ink with Red and Gold Pan Pastels to create these hanging ornaments. Mask off the large ornament with a scrap paper circle when adding the two smaller ornaments.
Happy Holiday card making!
 Julie
Julie