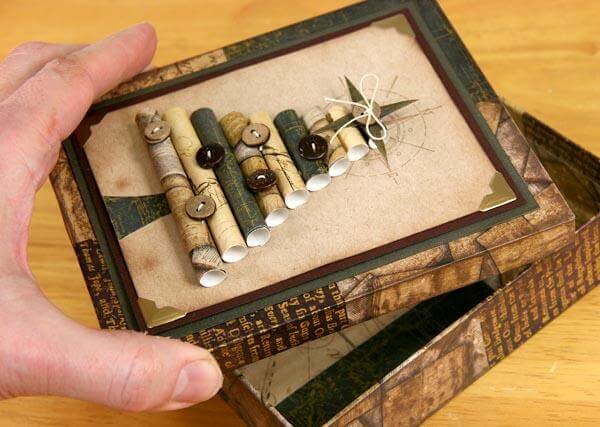
The
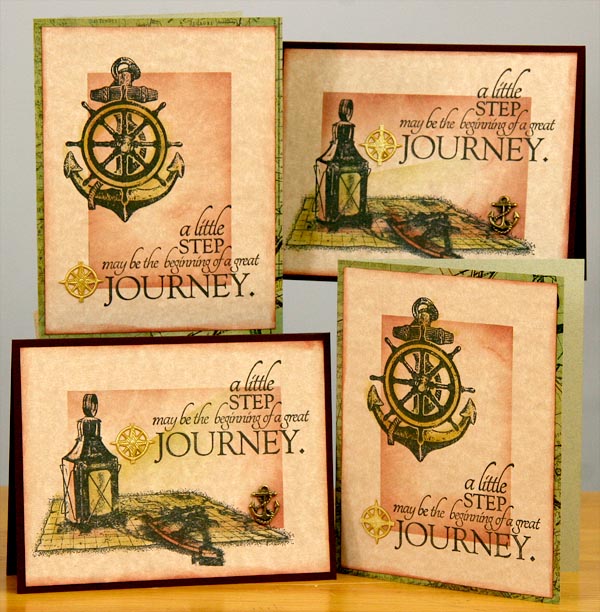
Navigation Club Stamp kit will create twelve classy cards.
Download the paper trimming document by clicking on the link below to get the journey started . . .
1215ALCM
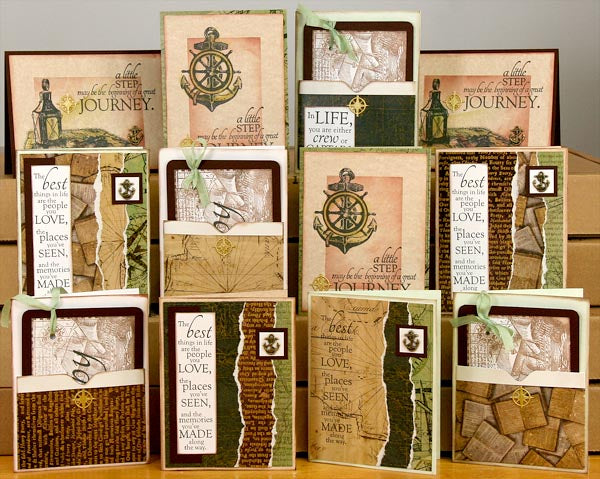
Now that you've trimmed the papers, let's take a closer look at how to assemble the cards.
CARDS 1-4
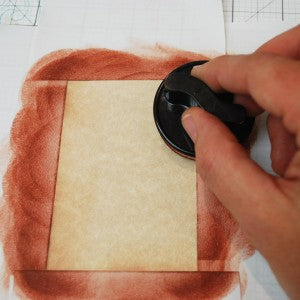
To prepare the 4x5.25" Tan Parchment panels for stamping, mark faint guidelines 3/4" from the outside edges with a 2x8" CS®
Grid Ruler and pencil. (NOTE: The 2x8" ruler is back in stock! This handy tool is perfect for card making.)

Mask the 3/4" areas with Eclipse Tape, Post-It Notes, or painter's tape.

Sponge ink into the open area with a CS®
Ink Applicator and CS®
Mahogany ink.
Remove the mask, erase your pencil marks and stamp images onto the panel with
India Black ink.

Sponge color onto the stamped images, if desired, and adhere the compass or anchor charm with a
Glue Pen.


TIP: Mask at an angle from the lantern window and sponge with Topaz ink to create a glow of light.
CARDS 5-8

Nest the 4x5.25" Green Fiber Print panels onto the card bases. Add the narrow Quad Print torn strip to the center of the card, and finish with the wide torn strip, being sure the white torn edges are exposed.

Nest the .75" White squares onto the 1" Rust squares and adhere the
Anchor Charms with a
Glue Pen.

CARDS 9-12

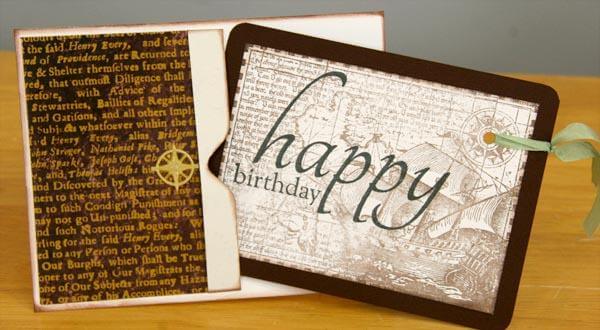
Each 4.25x5.5" Quad Print panel will be turned into a pocket. Score horizontally at .75 and 4.75". Score vertically at .75 and 3.75". Trim the corners that intersect at .75". Fold the 1/2" score back to expose a white flap; fold all 3/4" scored areas to create the pocket. Adhere the pocket to the card base.

If you have an Envelope Punch Board, punch a notch into the center of each pocket. Adhere a compass beneath the notch.

Round the corners of the 3.75x5" Rust panels and nest with the 3.5x4.75" White stamped panels. (Stamp the image with Earth ink and the sentiment with India Black ink.) Punch a hole into the center of the stamped compass and tie with ribbon.

The "Happy Birthday" sentiment is from the
Greeting UM.

This is a fun set. Be sure to pick up the
Club Stamp kit!


 Mask the 3/4" areas with Eclipse Tape, Post-It Notes, or painter's tape.
 Sponge ink into the open area with a CS® Ink Applicator and CS® Mahogany ink.
 Remove the mask, erase your pencil marks and stamp images onto the panel with India Black ink.
 Sponge color onto the stamped images, if desired, and adhere the compass or anchor charm with a Glue Pen.

 TIP: Mask at an angle from the lantern window and sponge with Topaz ink to create a glow of light.
 Nest the .75" White squares onto the 1" Rust squares and adhere the Anchor Charms with a Glue Pen.
 CARDS 9-12
 This is a fun set. Be sure to pick up the Club Stamp kit!