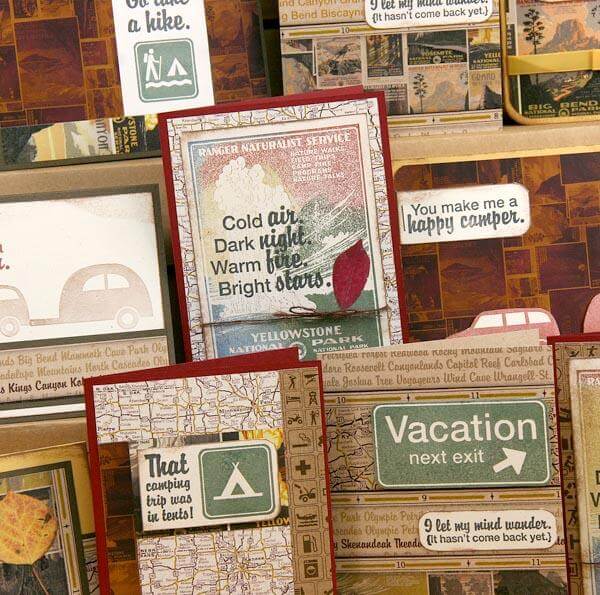
This may be a personal record. We'll get fourteen well-dressed cards from the
National Parks Club Stamp kit!

To prepare for card assembly below, begin by following the detailed paper trimming instructions. Click this link to download:
0615ALCM CARDS 1-3

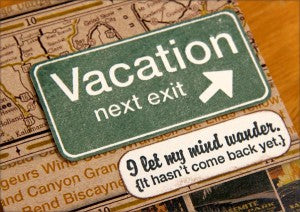
The "Vacation" road sign was stamped with Spruce ink, but any 'ole green will remind you of many
joyous hours on the road.
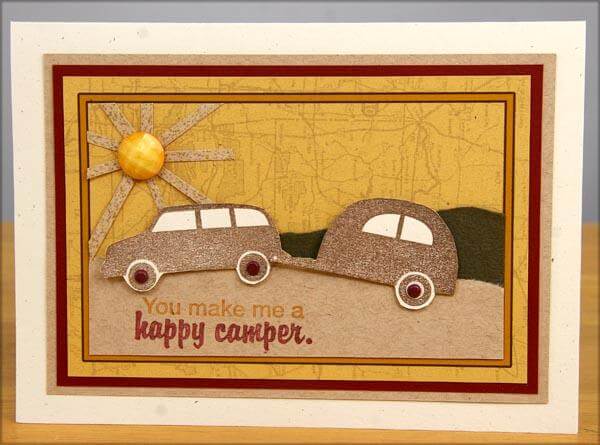
Trim the car and camper from the paper with a detail scissors and attach with foam adhesive to add a little dimension.

CARDS 4-5

Round the right corners of the "happy camper" quote and staple the straight edge to the left side of the printed panel. Attach the camper and car with foam adhesive.

Stay tuned during this month's blog hop to learn how to make this beautiful 3-part bow (in an efficient way).
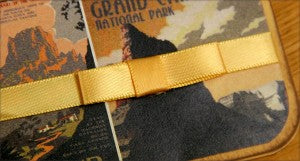
6/26/15 Update: here is the video!
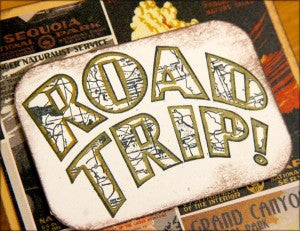
Outline the "road trip" letters with the
Metallic Gold Marker featured in this month's Lite kit.
CARD 6

We had enough White paper available to add a writing panel on the inside of each Brown card base. That makes me a happy camper when I want to write my greeting inside with a standard black pen. CARDS 7-8
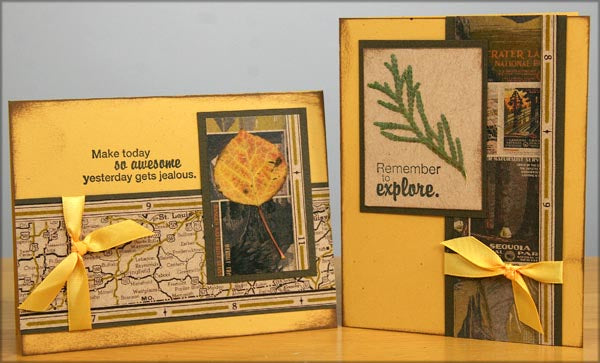
Attach the natural elements to the card panels with CS
Bookbinding Glue.
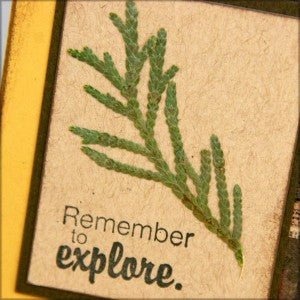
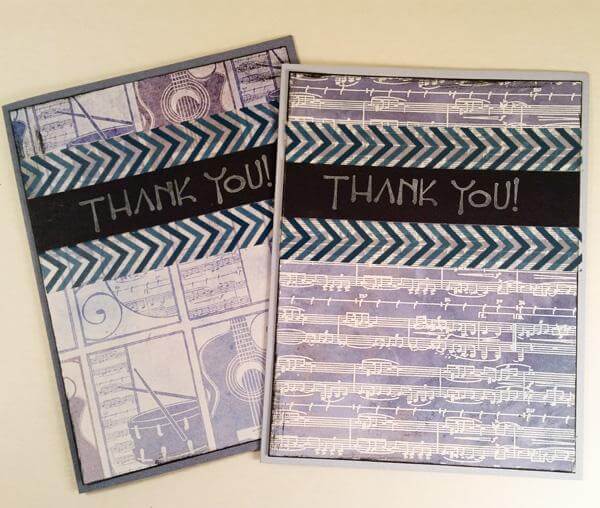
This stamped sentiment is from the UM
Greetings -- one of my favorites for a birthday wish.

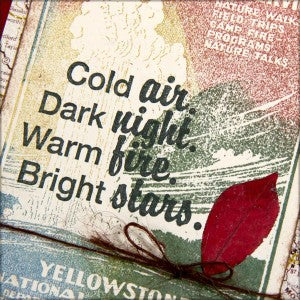
CARDS 9-10

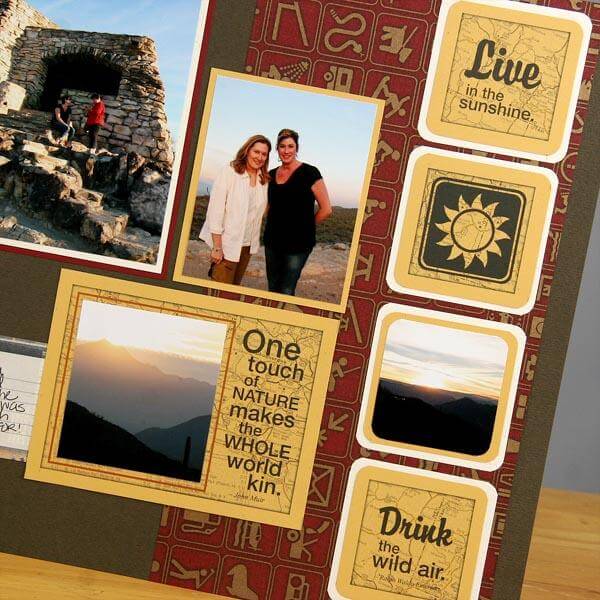
Ink the large collage image with several colors, starting with the lighter shades first to avoid inkpad contamination. Tie a small bow with the jute fiber and adhere the leaf with bookbinding glue.
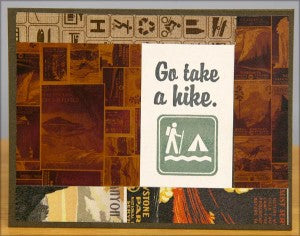
CARDS 11-14

I like the versatility of this paper-pieced card. Consult the instructions for more detail, but you can duplicate this technique with any stamped sentiment. The "go take a hike" image came from the
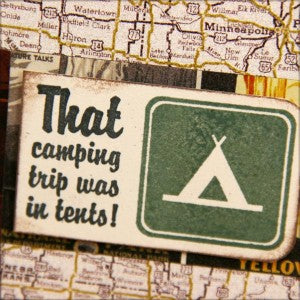
Borders & Backgrounds sheet. It matches the size of the "tent" image, which made it a perfect fit for the spot. (Stamp on the plain side of the printed panel.)
The tent sentiment is on a separate panel and was attached with foam adhesive.
Have a creative road trip! (I hope it's not too "in tents".) Tricia

 CARDS 4-5
 Stay tuned during this month's blog hop to learn how to make this beautiful 3-part bow (in an efficient way).
  6/26/15 Update: here is the video!
  CARD 6
 This stamped sentiment is from the UM Greetings -- one of my favorites for a birthday wish.
  CARDS 9-10
 CARDS 11-14
 The tent sentiment is on a separate panel and was attached with foam adhesive.
  Have a creative road trip! (I hope it's not too "in tents".) Tricia