I had the privilege of teaching the Memento Holder project at the beautiful Olbrich Botanical Gardens in Madison, WI, last week. The cleverly-made book is constructed with manila envelopes, and I'd mentioned in class that the project could be adapted with small coin envelopes. Rather than speculate, I decided to make one.
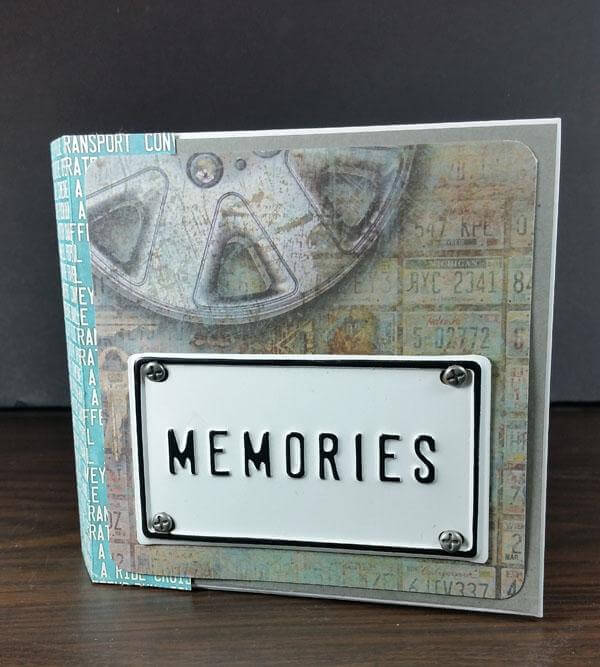
Notice the 6x9" full size, and the miniature version made with Creative License papers.

Here are the basic steps to make the mini version. (It's helpful to make the original Memento Holder project first, which includes a video tutorial.)
1. Fold six 3x4.5" coin envelopes in half.

2. Trim six 2.5x3" pieces from the Club Stamp Quad Print. Fold in half vertically at 1.25" to make 1.25x3" envelope flap covers. Adhere the covers to the envelope flaps.

3. Round the outside corners of each flap with a Corner Rounder on the 1/2" setting.

4. Trim six 2-1/8x2-7/8" panels from a Club Stamp Lt. Gray Print. Apply adhesive around the entire perimeter of the panel and adhere to the coin envelope on the side opposite the flap.

5. Measure 1.25" down from the top edge of the envelope with a 2x8" Grid Ruler and mark with a pencil. Use the marked envelope as a template to mark the five remaining envelopes. Make a pencil mark at the top of the center crease on each envelope.

6. Insert an envelope into a paper trimmer and align the marks with the edge of the blade; slice to remove a corner from the envelope. (Save the removed triangles, slide them onto the bottom right corner of the envelope to make a second pocket.

7. Trim six 3x4.5" papers; fold in half horizontally to make 2.25x3" pages. Nest a folded envelope into each folded page to form six signatures for the book.

8. Trim a 3-1/8x5-3/4" Off White Print and score horizontally at 2-3/8 and 3-3/8". Fold along score lines to form the outside cover for the book.

9. Measure and mark six vertical lines 1/8" from the scores for the spine, and 1/8" apart. Mark a horizontal line 3/8" from the top and bottom edge of the spine and at the center. Use a piercing tool or push pin to pierce a hole at each intersecting pencil mark.

10. Pierce stitching holes into the six signatures to correspond with the stitching holes on the cover. Use a basic pamphlet stitch to attach the signatures to the cover with waxed linen thread. (The pamphlet stitching procedure is explained in detail in the video.)
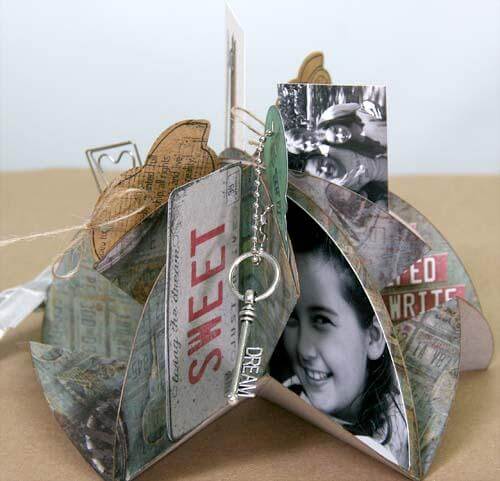
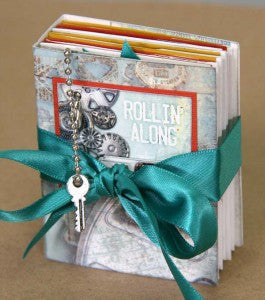
11. Embellish the mini book cover and inside pages with Creative License stamps or cutaparts.


This project parallels the original version in every way, except it is made with six envelopes instead of four. If you want to tackle this book, I highly recommend completing the original version with the help of Karen's video as a pre-requisite.
After that, the sky's the limit! Happy Memento Making!