Create uniquely magical artwork by adding a sparkly glow with the Light it Up challenge. There are all sorts of products on the market today to add twinkly lights to any project, like dollar store battery powered votive candles to tiny strands of lights. Caution: Flame candles are not recommended for illuminating paper projects.

Light It Up Technique
Doorway Card - Lisa
Score a 6x10⁻⁵/8" panel horizontally at 1/2, 3-7/8 and 7-1/4".

Cut and remove squares from each scored section.

Die cut doors (Elizabeth Craft Designs) and decorate each with Prima flowers. Line the back of each die cut with a 3x3" yellow vellum panel to cover each window opening.

Add Bookbinding Glue to the 1/2" tab and adhere to form a triangle.

Place a battery operated votive candle inside to illuminate.

Christmas In The Neighborhood Shadowbox - Julie
Create an origami frame from a 12x12" sheet of red paper.

Trim the village print to fit the shadowbox.

Make pencil marks on the back of the print indicating the positions of all the windows. Tip: Hold the paper up to a window to see through to the artwork from the back of the paper.

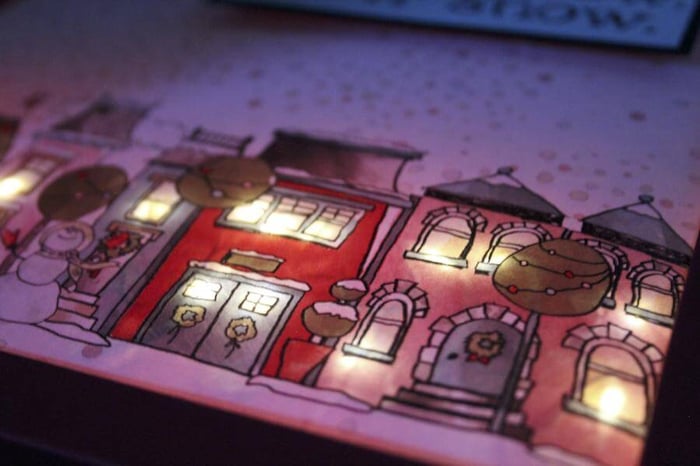
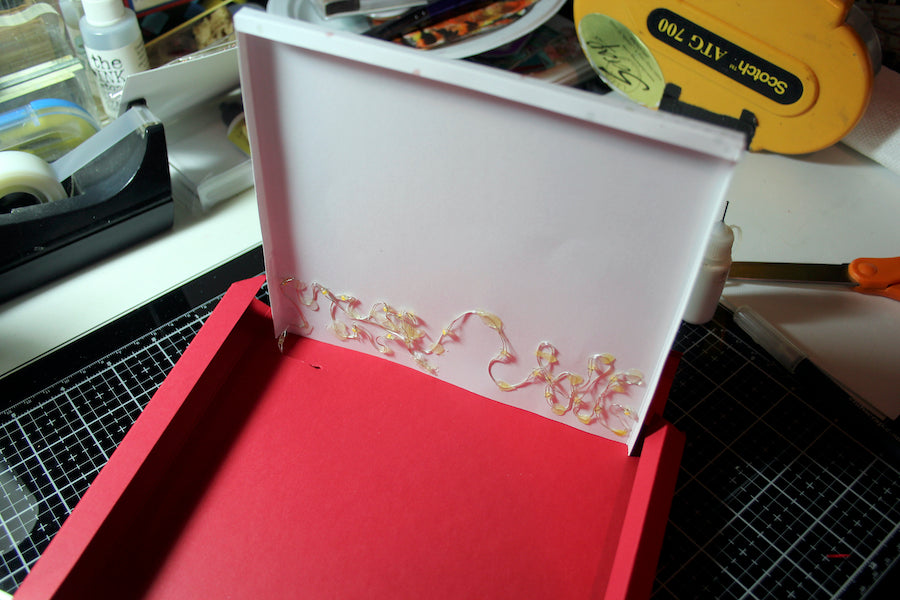
Adhere tiny battery operated lights (Tim Holtz Idea-ology Tiny Lights) to the back of the panel.

IMPORTANT - Do not let the hot glue touch any of the light bulbs. The hot glue should only be applied to the wires to hold them in place on the back of the paper. Each tiny lightbulb is aligned with a pencil mark.

Cut a slit in the shadowbox and feed the battery pack to the back of the project. Secure with a small amount of hot glue.
Let's take a look at the finished shadowbox.

Visit these blog posts for even more lighted project inspiration.
Now, it’s your turn! Create artwork with the Light It Up technique shared here, or create your own! Visit the Facebook Chat Group 12/20 Technique Challenge post to upload completed artwork in the comments section. Not a chat group member? Answer a few simple questions, and we will accept your request in no time!

Lisa and Julie
