Create visually stunning artwork featuring white elements made with stencils, stamps, die cuts and more on a black background with the Black & White technique.

Black & White Technique - Stencils
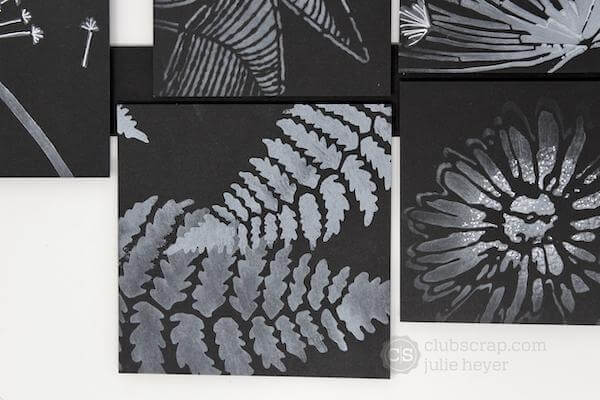
Gather a variety of Club Scrap stencils, including the Forest Floor Fern Stencil and White Pigment Ink.

Cut three 4x4" and three 3.5" black paper squares.

Apply White Pigment Ink through each stencil with an ink applicator brush onto the black square panels.

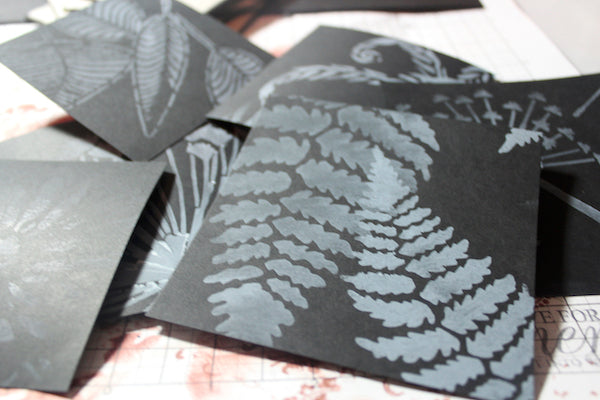
Add additional details to the stenciled images with a white gel pen.

Create a wall hanging project with the panels. Special thanks to Beth Moran for sending me a photo which served as inspiration for this technique and project.
Trim book board into (1) 1.25x12, (3) 3.75x3.75, and (3) 3.25x3.25" mats. Cover the front and sides of the 1.25x12" strip with black matte acrylic paint. Paint the sides of the (6) square book board mats.

Cover each book board square with Bookbinding Glue and center onto the back the coordinating stenciled panels.


Lay the painted book board strip onto the Club Scrap Grid Paper Pad. Place the Acrylic Grid Rulers above and below the strip. Note: The rulers are the same depth (1/8") as the book board strip.

Align the first stenciled panel with the grid ruler markings as a guide.

Apply Bookbinding Glue with a Needle-tipped Applicator onto the back of the panel and glue to the painted book board strip.

Continue adding panels leaving an 1/8" gutter between each square.

Adhere the final two panels to the left and right sides of the strip. Add glue to each end of the strip and align the final square panels with the 1/8" gutter spacing to the wall hanging.


Let's take another look at the completed project.

Now it is your turn! Visit the Facebook Chat Group 07/19 Technique Challenge post to upload completed Black & White Technique artwork in the comments section. Not a chat group member? Answer a few simple questions, and we will accept your request in no time!
 Julie
Julie
