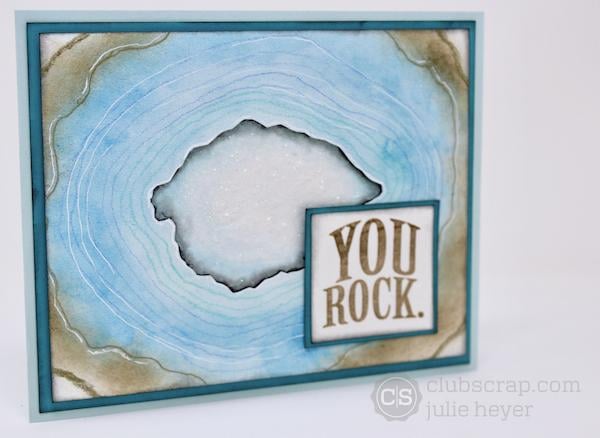
Create the look of a realistic geode with some simple inking combined with a bit of glitter glue.
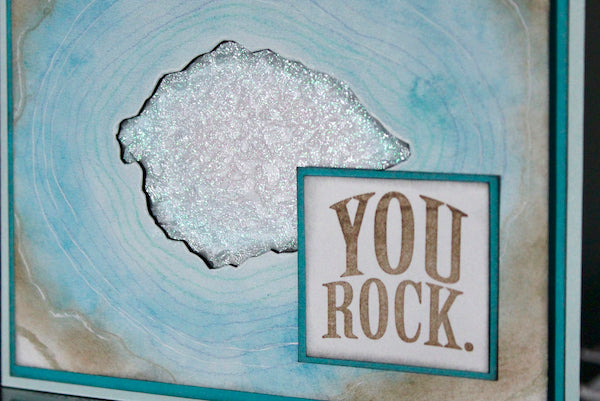
Geode Technique
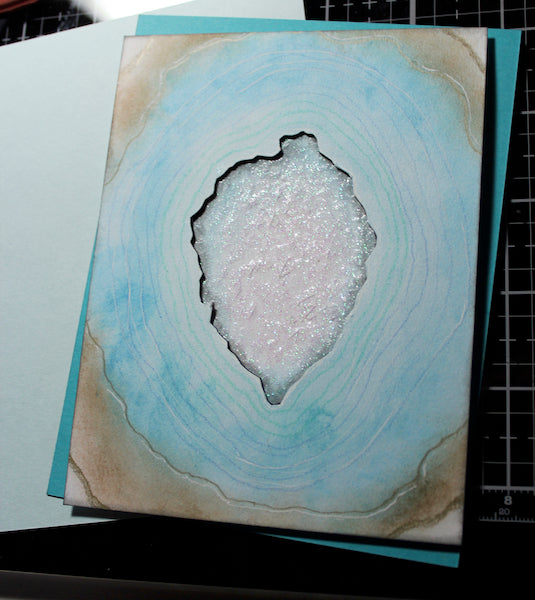
Apply Ocean Hybrid Ink to create an oval shape around the center of a white panel. Layer a second, larger oval of color around the first with Lagoon Ink. Overlap the inks to blend the colors.
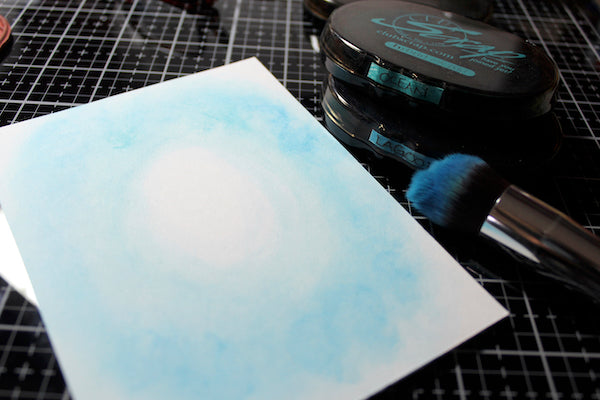
Complete the outside of the geode with an oval layer of Earth Ink.
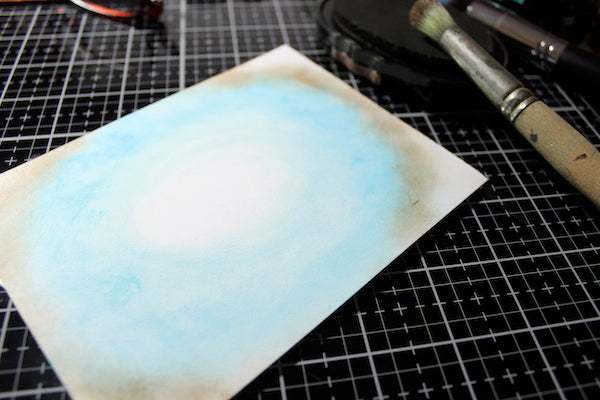
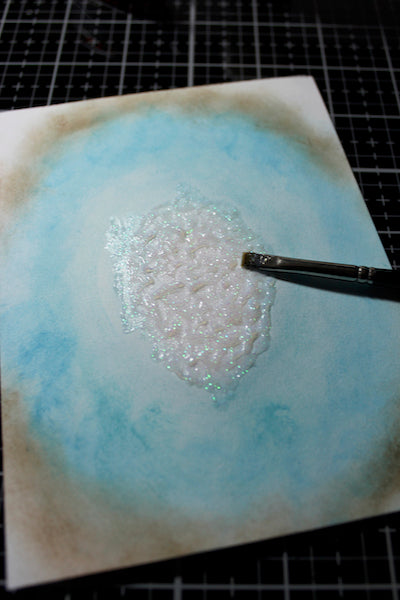
Apply a thick layer of Nuvo Drops or clear glitter glue to the center of the panel.
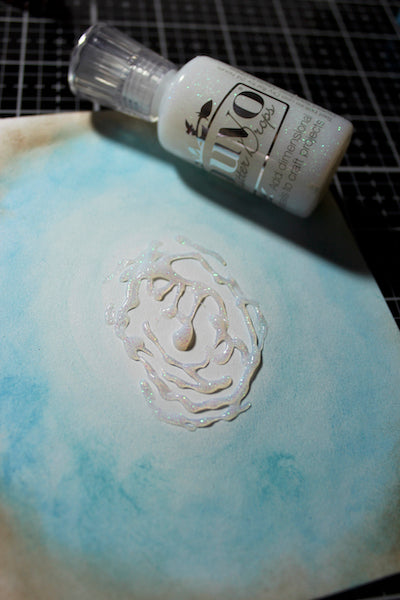
Spread the drops around the center of the panel with a paintbrush. Set the panel aside to dry.
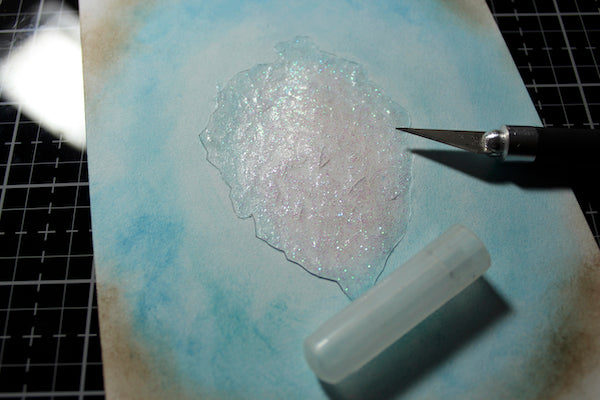
Cut out the center of the panel with a craft knife, following the perimeter of the dried drops.
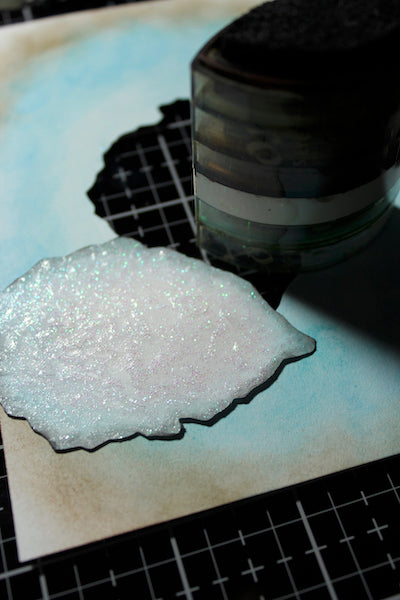
Distress the edges of the trimmed piece with black ink.
Draw a line around the Earth ink area with a gold colored pencil.
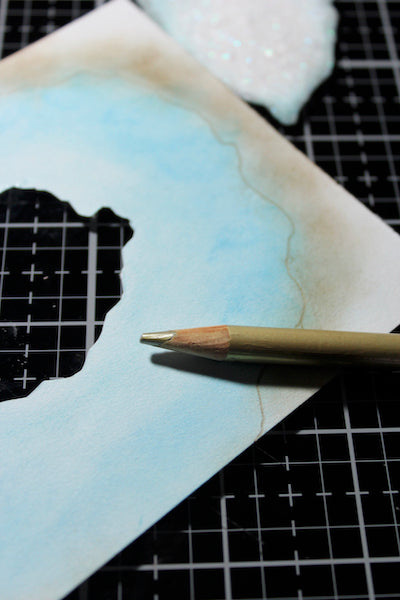
Draw rings around the center of the panel using the shape of the cutout as a guide.
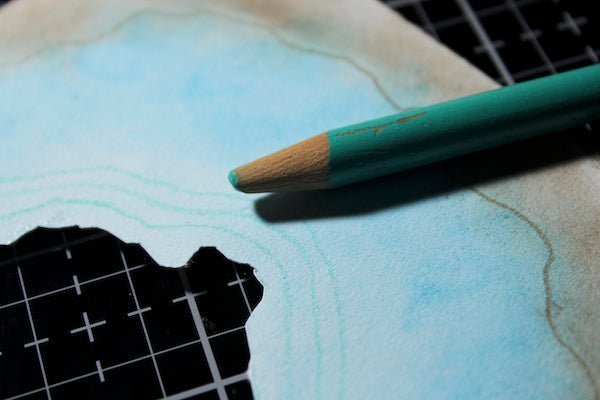
Add white gel pen details to further define the layers of the geode.
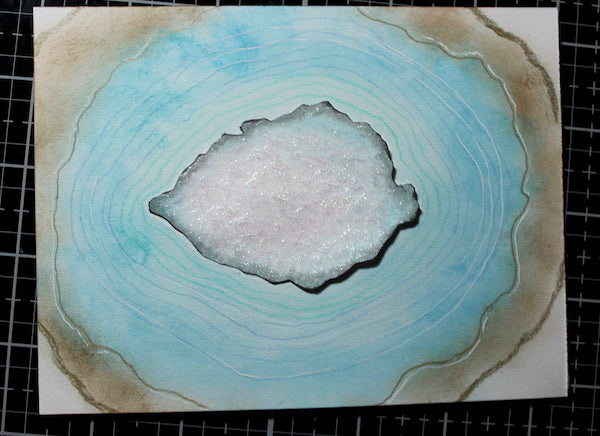
Card assembly
Trim Foam Adhesive Circles in half and apply to the back of the white panel, leaving a 1/4" reveal around the outside edge.
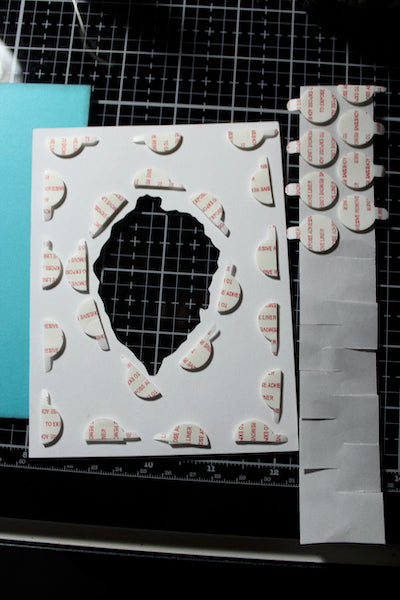
Cover the back of the Nuvo Drop cutout with adhesive. (I used ATG adhesive.)

Place the white panel onto your work surface with the foam facing up. Replace the cutout into the opening, adhesive side up. Remove the backing from the foam.

Center a black panel onto the prepared white panel. Press firmly to bond with the adhesive.
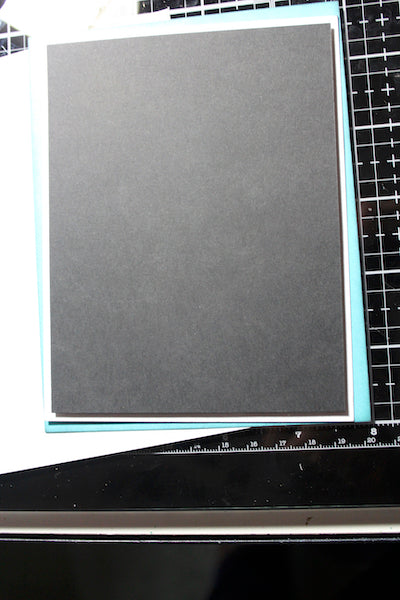
Mat the white panel with a Sea Breeze Turquoise panel and layer onto a Sea Breeze Pale Blue card base.
Add the Cobblestone sentiment to complete the card.

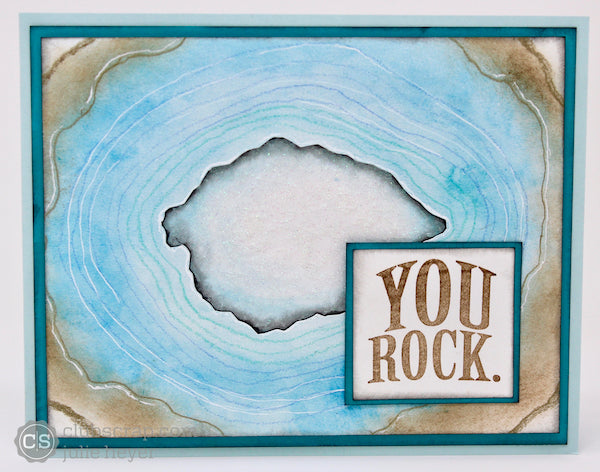
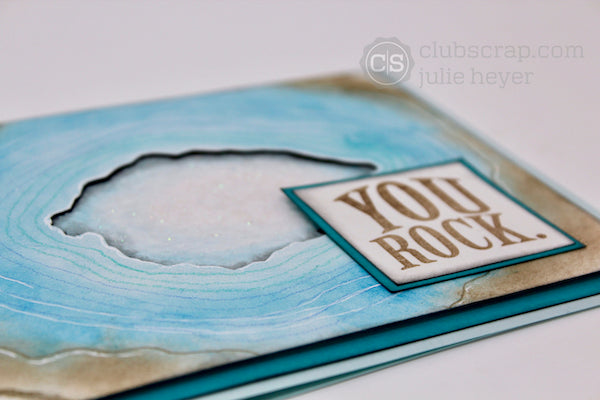
Let's take a look at the completed card.
Now it is your turn! Please join us on the Facebook Chat Group in the 05/19 Technique Challenge post to upload your completed Geode Technique artwork in the comments section. Not a chat group member? Answer a few simple questions, and we will accept your request in no time!
 Julie
Julie