
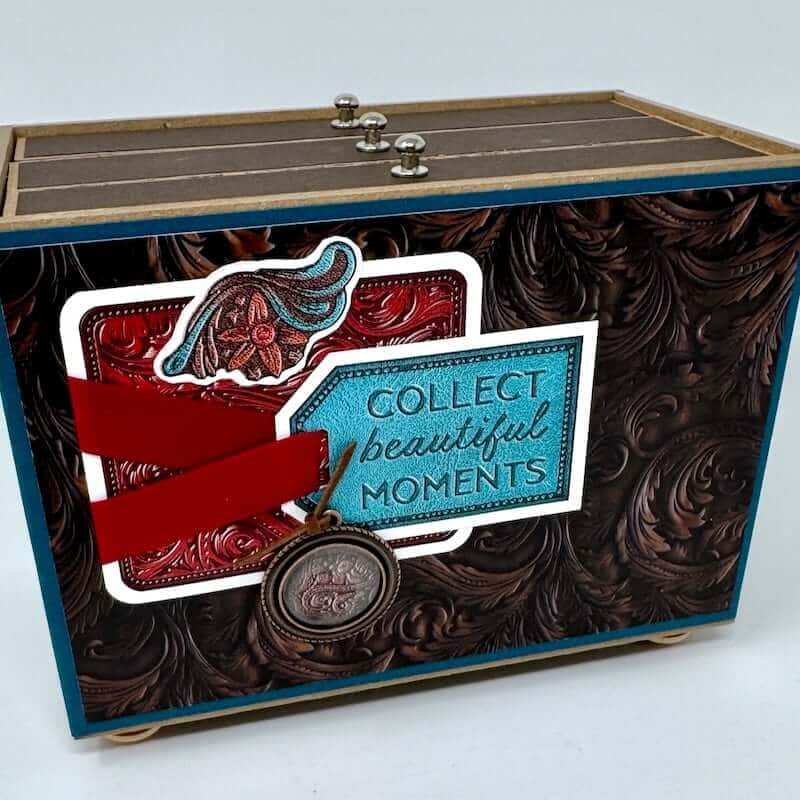
Create a Photo Drop Box featuring the Impressed Page Kit. The project holds tons of photos from any occasion. It also makes a great gift.
A few years ago, Tricia taught the Photo Drop Box workshop for a VOLUME Event. During the presentation, students learned how to make a clever and interactive photo storage solution featuring Club Scrap's Coastal Page kit.
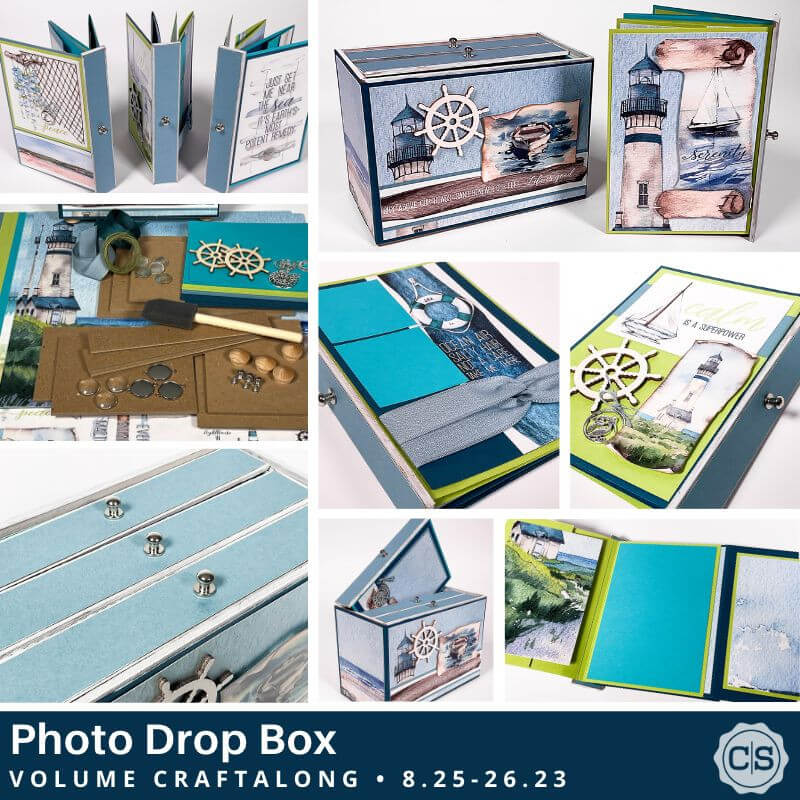
As with most Club Scrap workshops, once the initial project has been completed, the instructions can be recycled to make even more featuring other Club Scrap® collections or with supplies from your stash.
Impressed Photo Drop Box
Assembly Tips
Gather papers from the Impressed Page Kit along with the Photo Drop Box components.
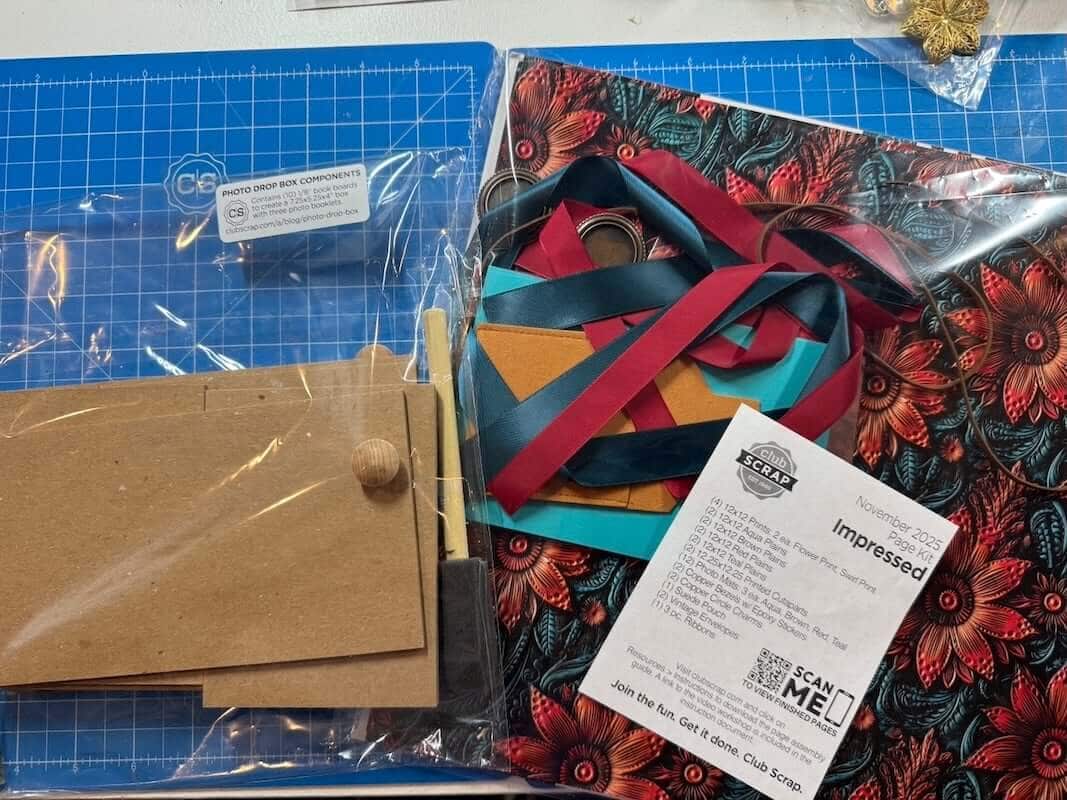
The project instructions feature papers from the Coastal collection, so prior to the trimming process, make the following paper substitutions for each step in the instructions:
- Teal
- Brown
- (2) Aqua
- Teal, Brown, (2) Red
- Swirl Print
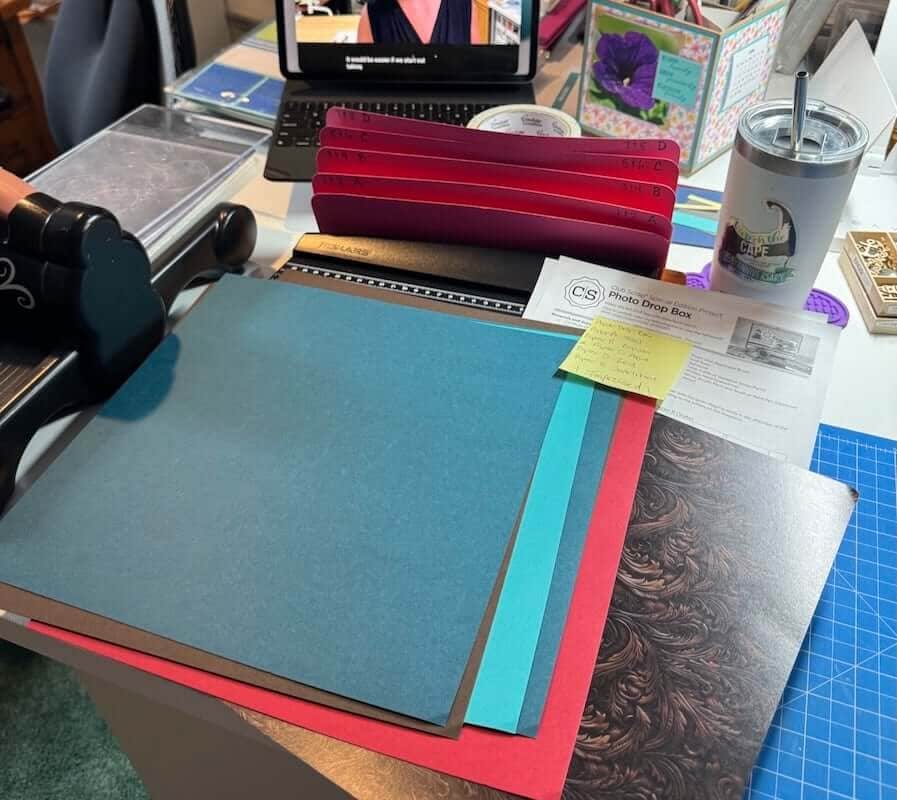
I like to use my iPad to watch the video tutorial as I am trimming my papers.
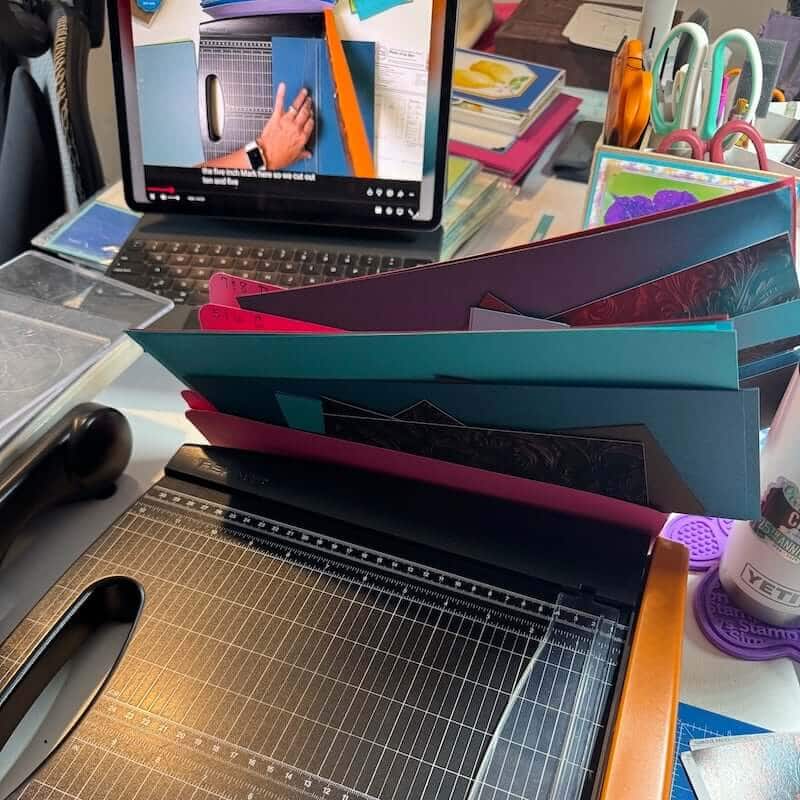
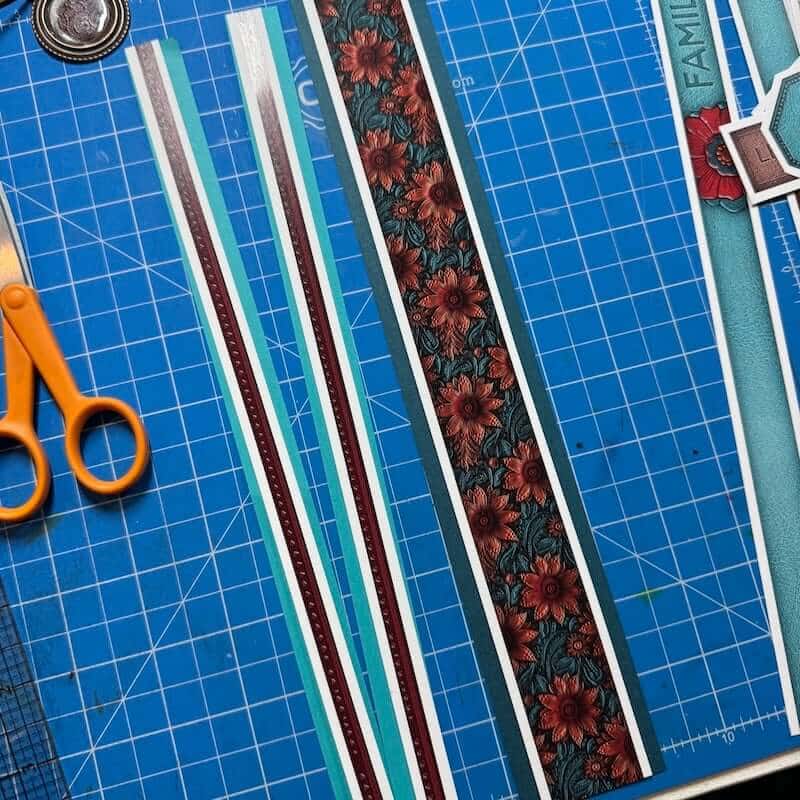
Trim all of the border strips and cutapart artwork.
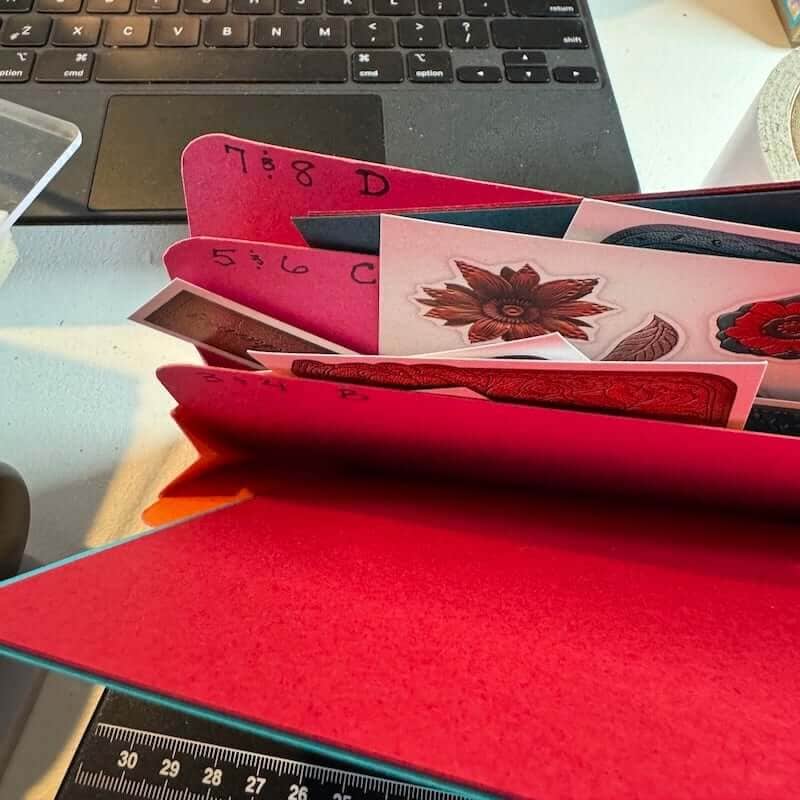
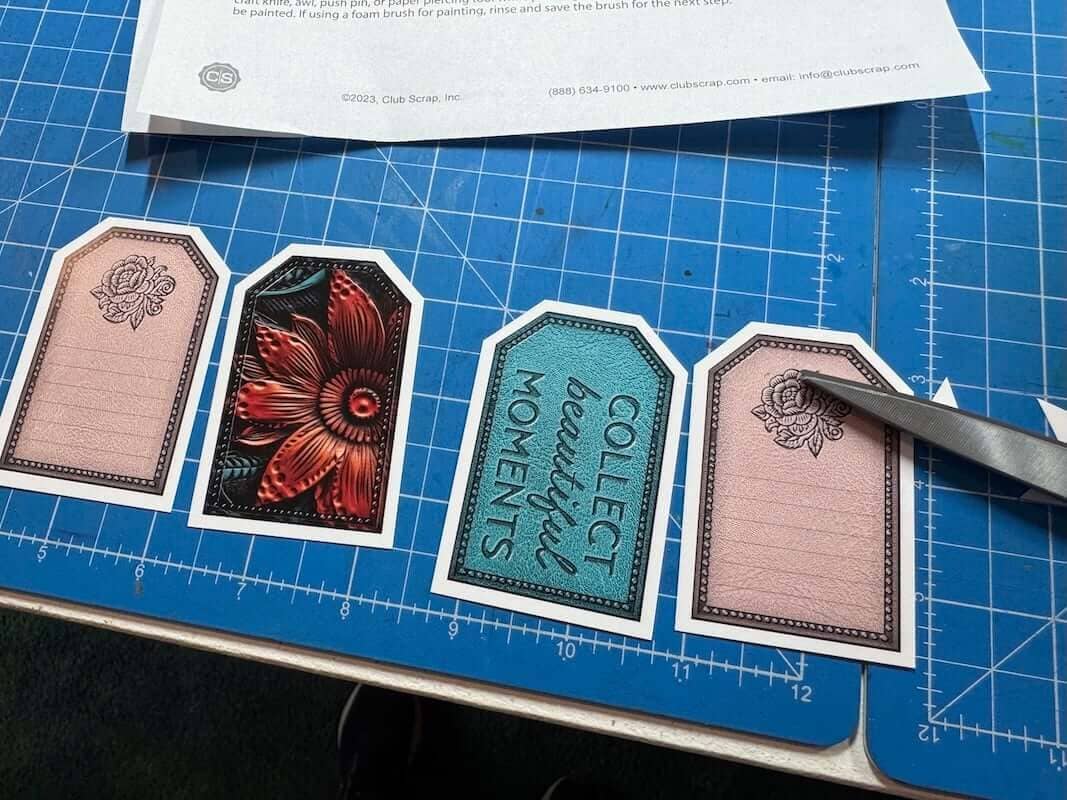
Mat these pieces with papers and strips from Pocket D.
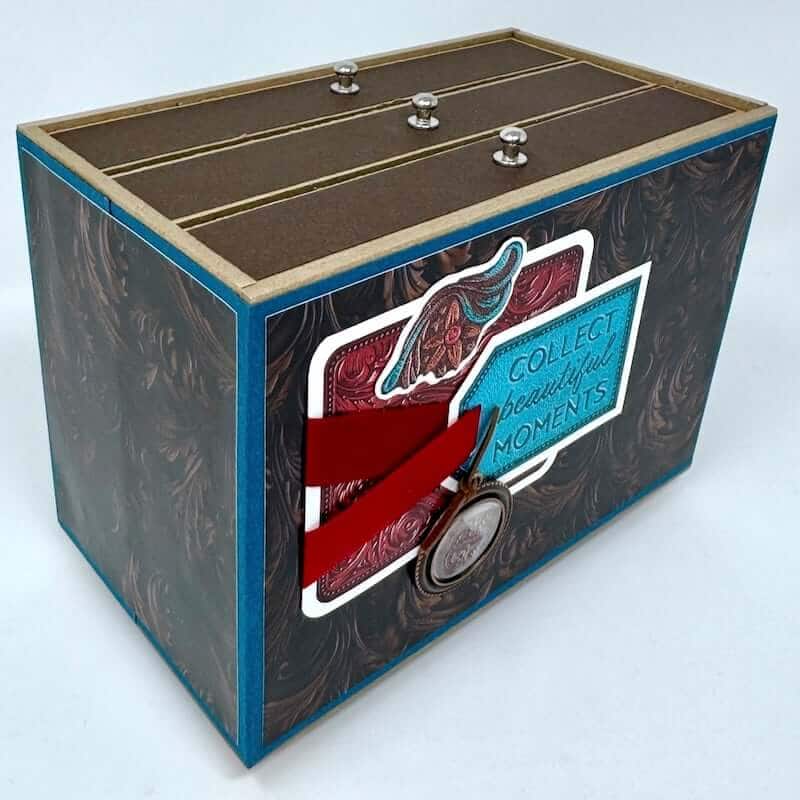
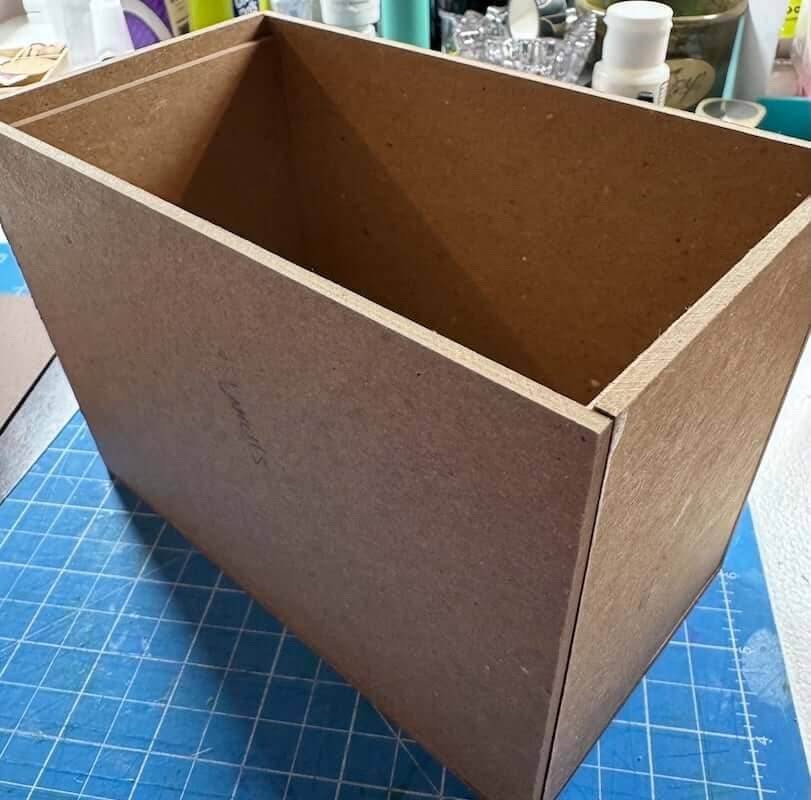
Follow the detailed instructions to build the box structure. Painting the edges of the box and book spines is optional so I chose to skip this step. The natural color of the book boards paired nicely with the earthy tones in the collection.
Box Decor
Once the box assembly is complete it's time to decorate!
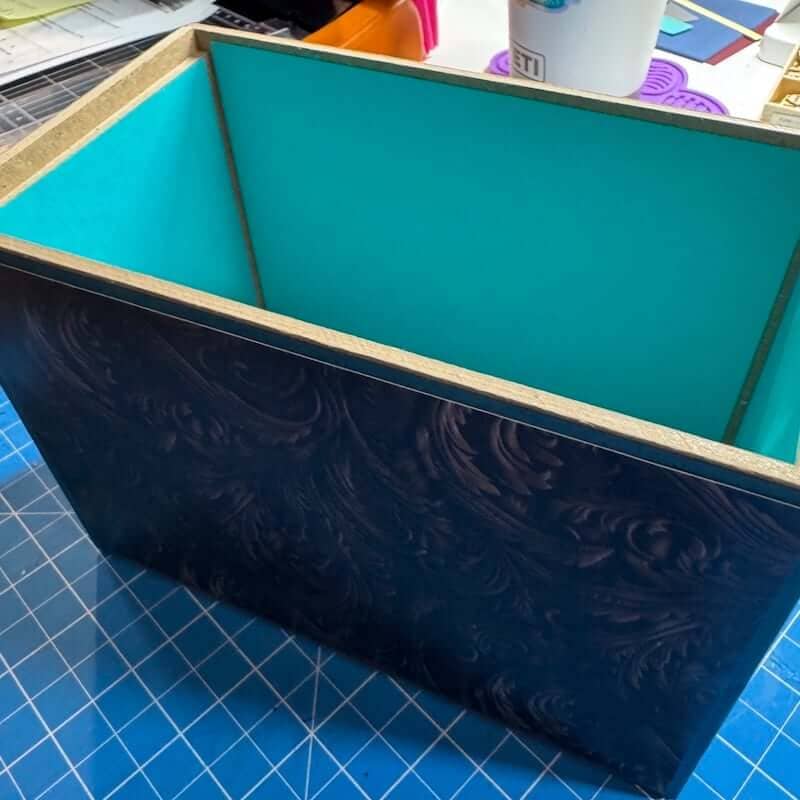
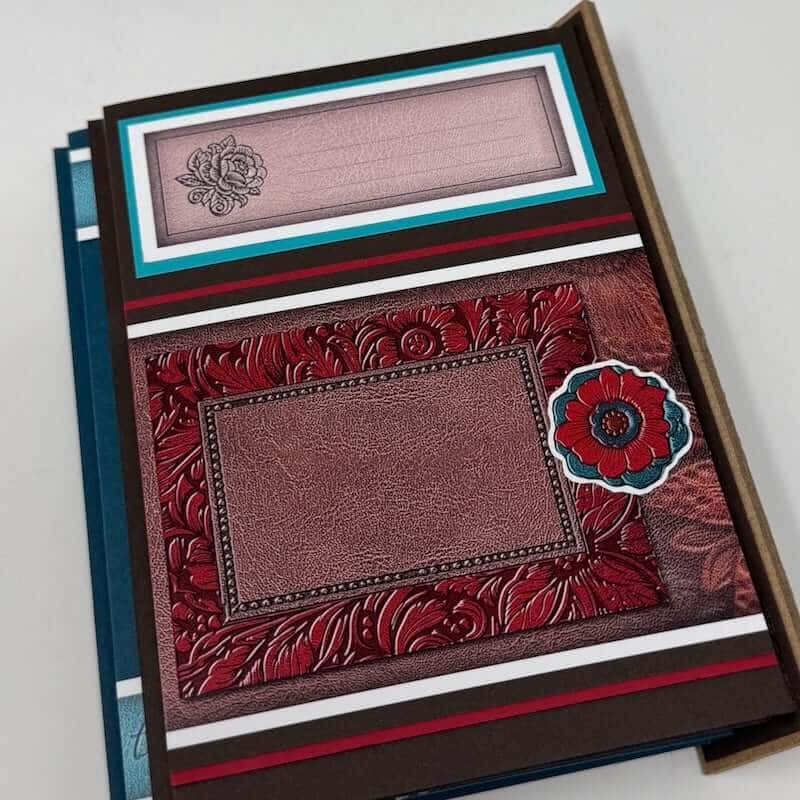
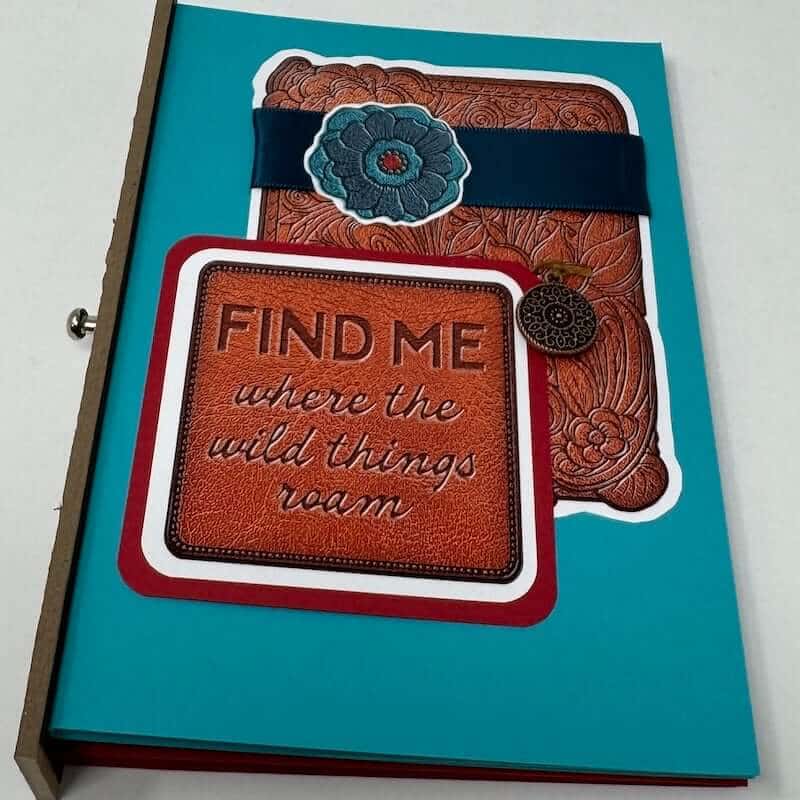
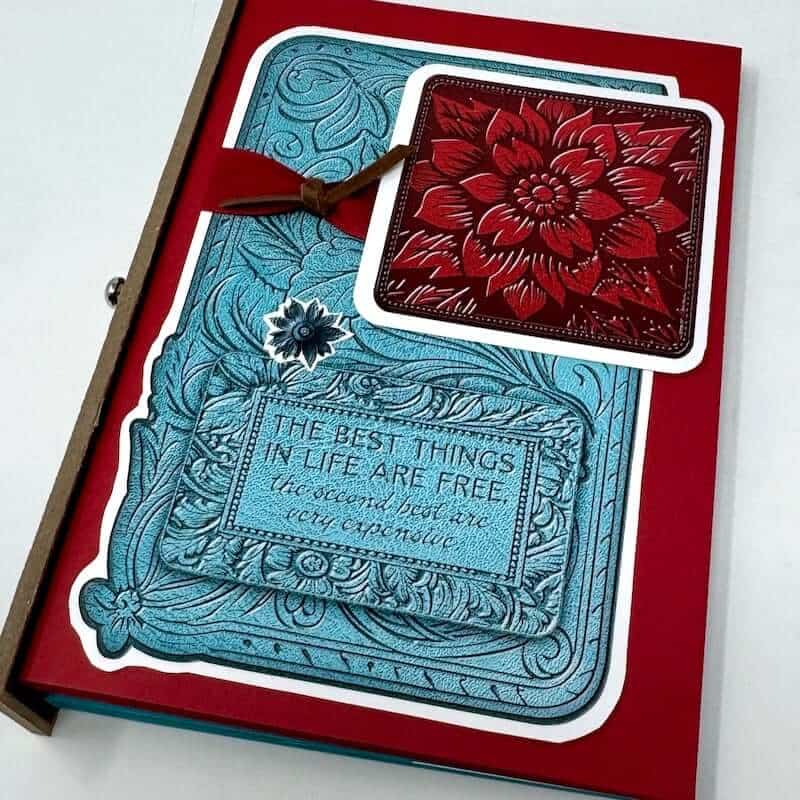
Choose cutpart tags to embellish the outside of the box. Don't forget to reference Tricia's page kit instructions for ideas. She has clever tips for how to use the ribbons with the charms and tags. Why reinvent the wheel, right?
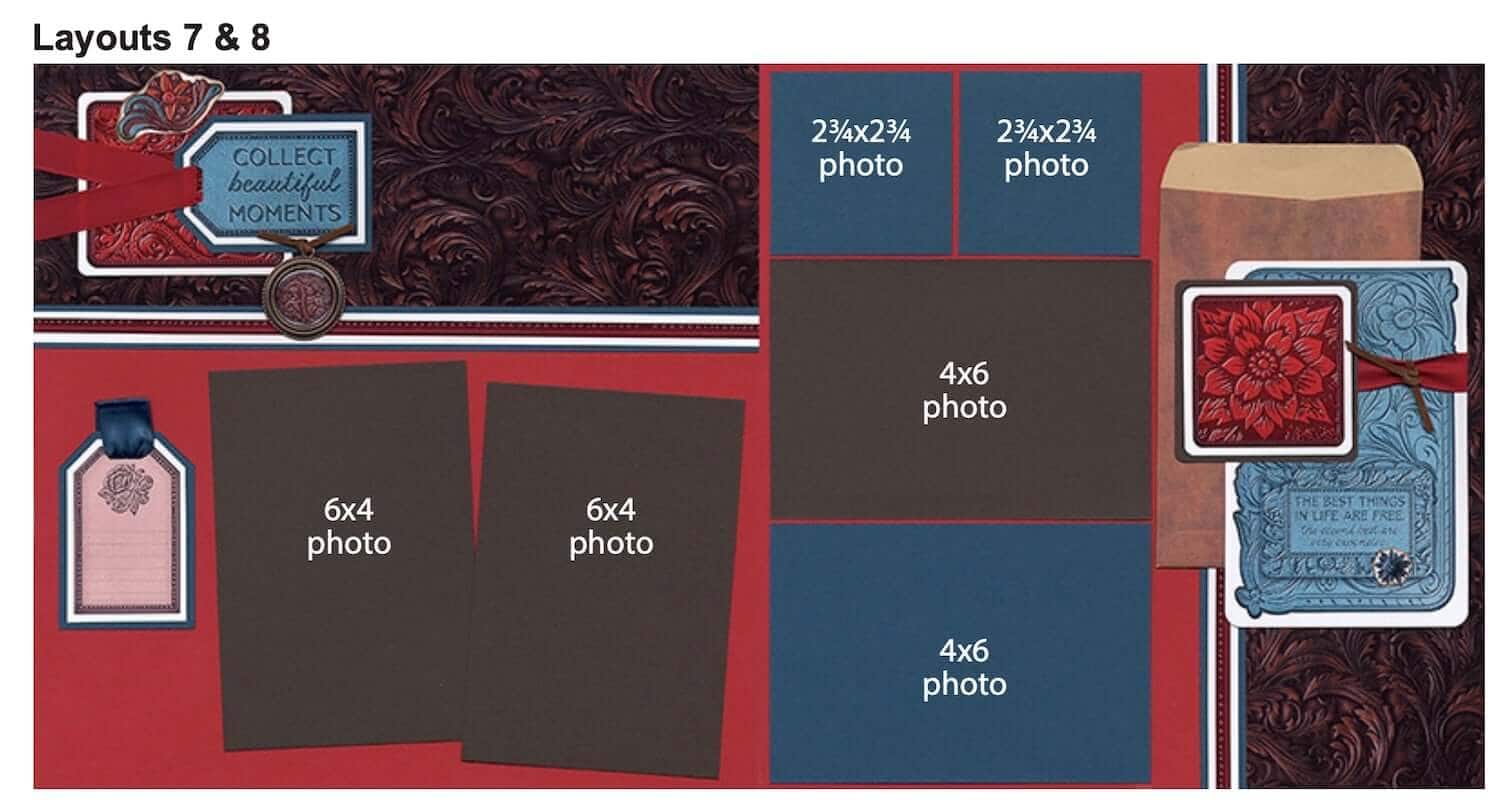
I took inspiration from the embellishment cluster at the top of Layout 7 of the assembly instructions.

Photo Inserts
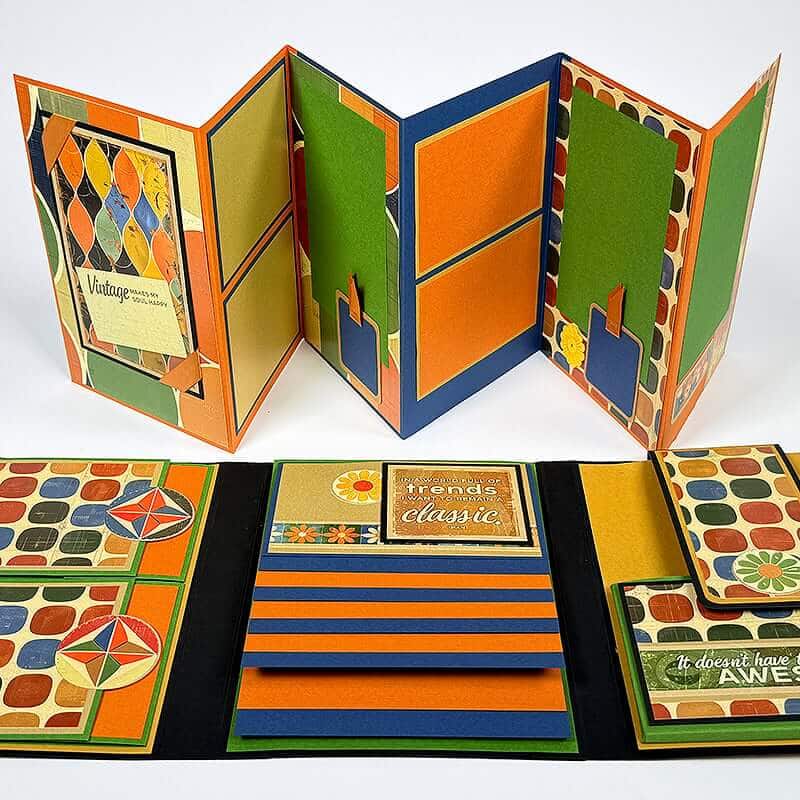
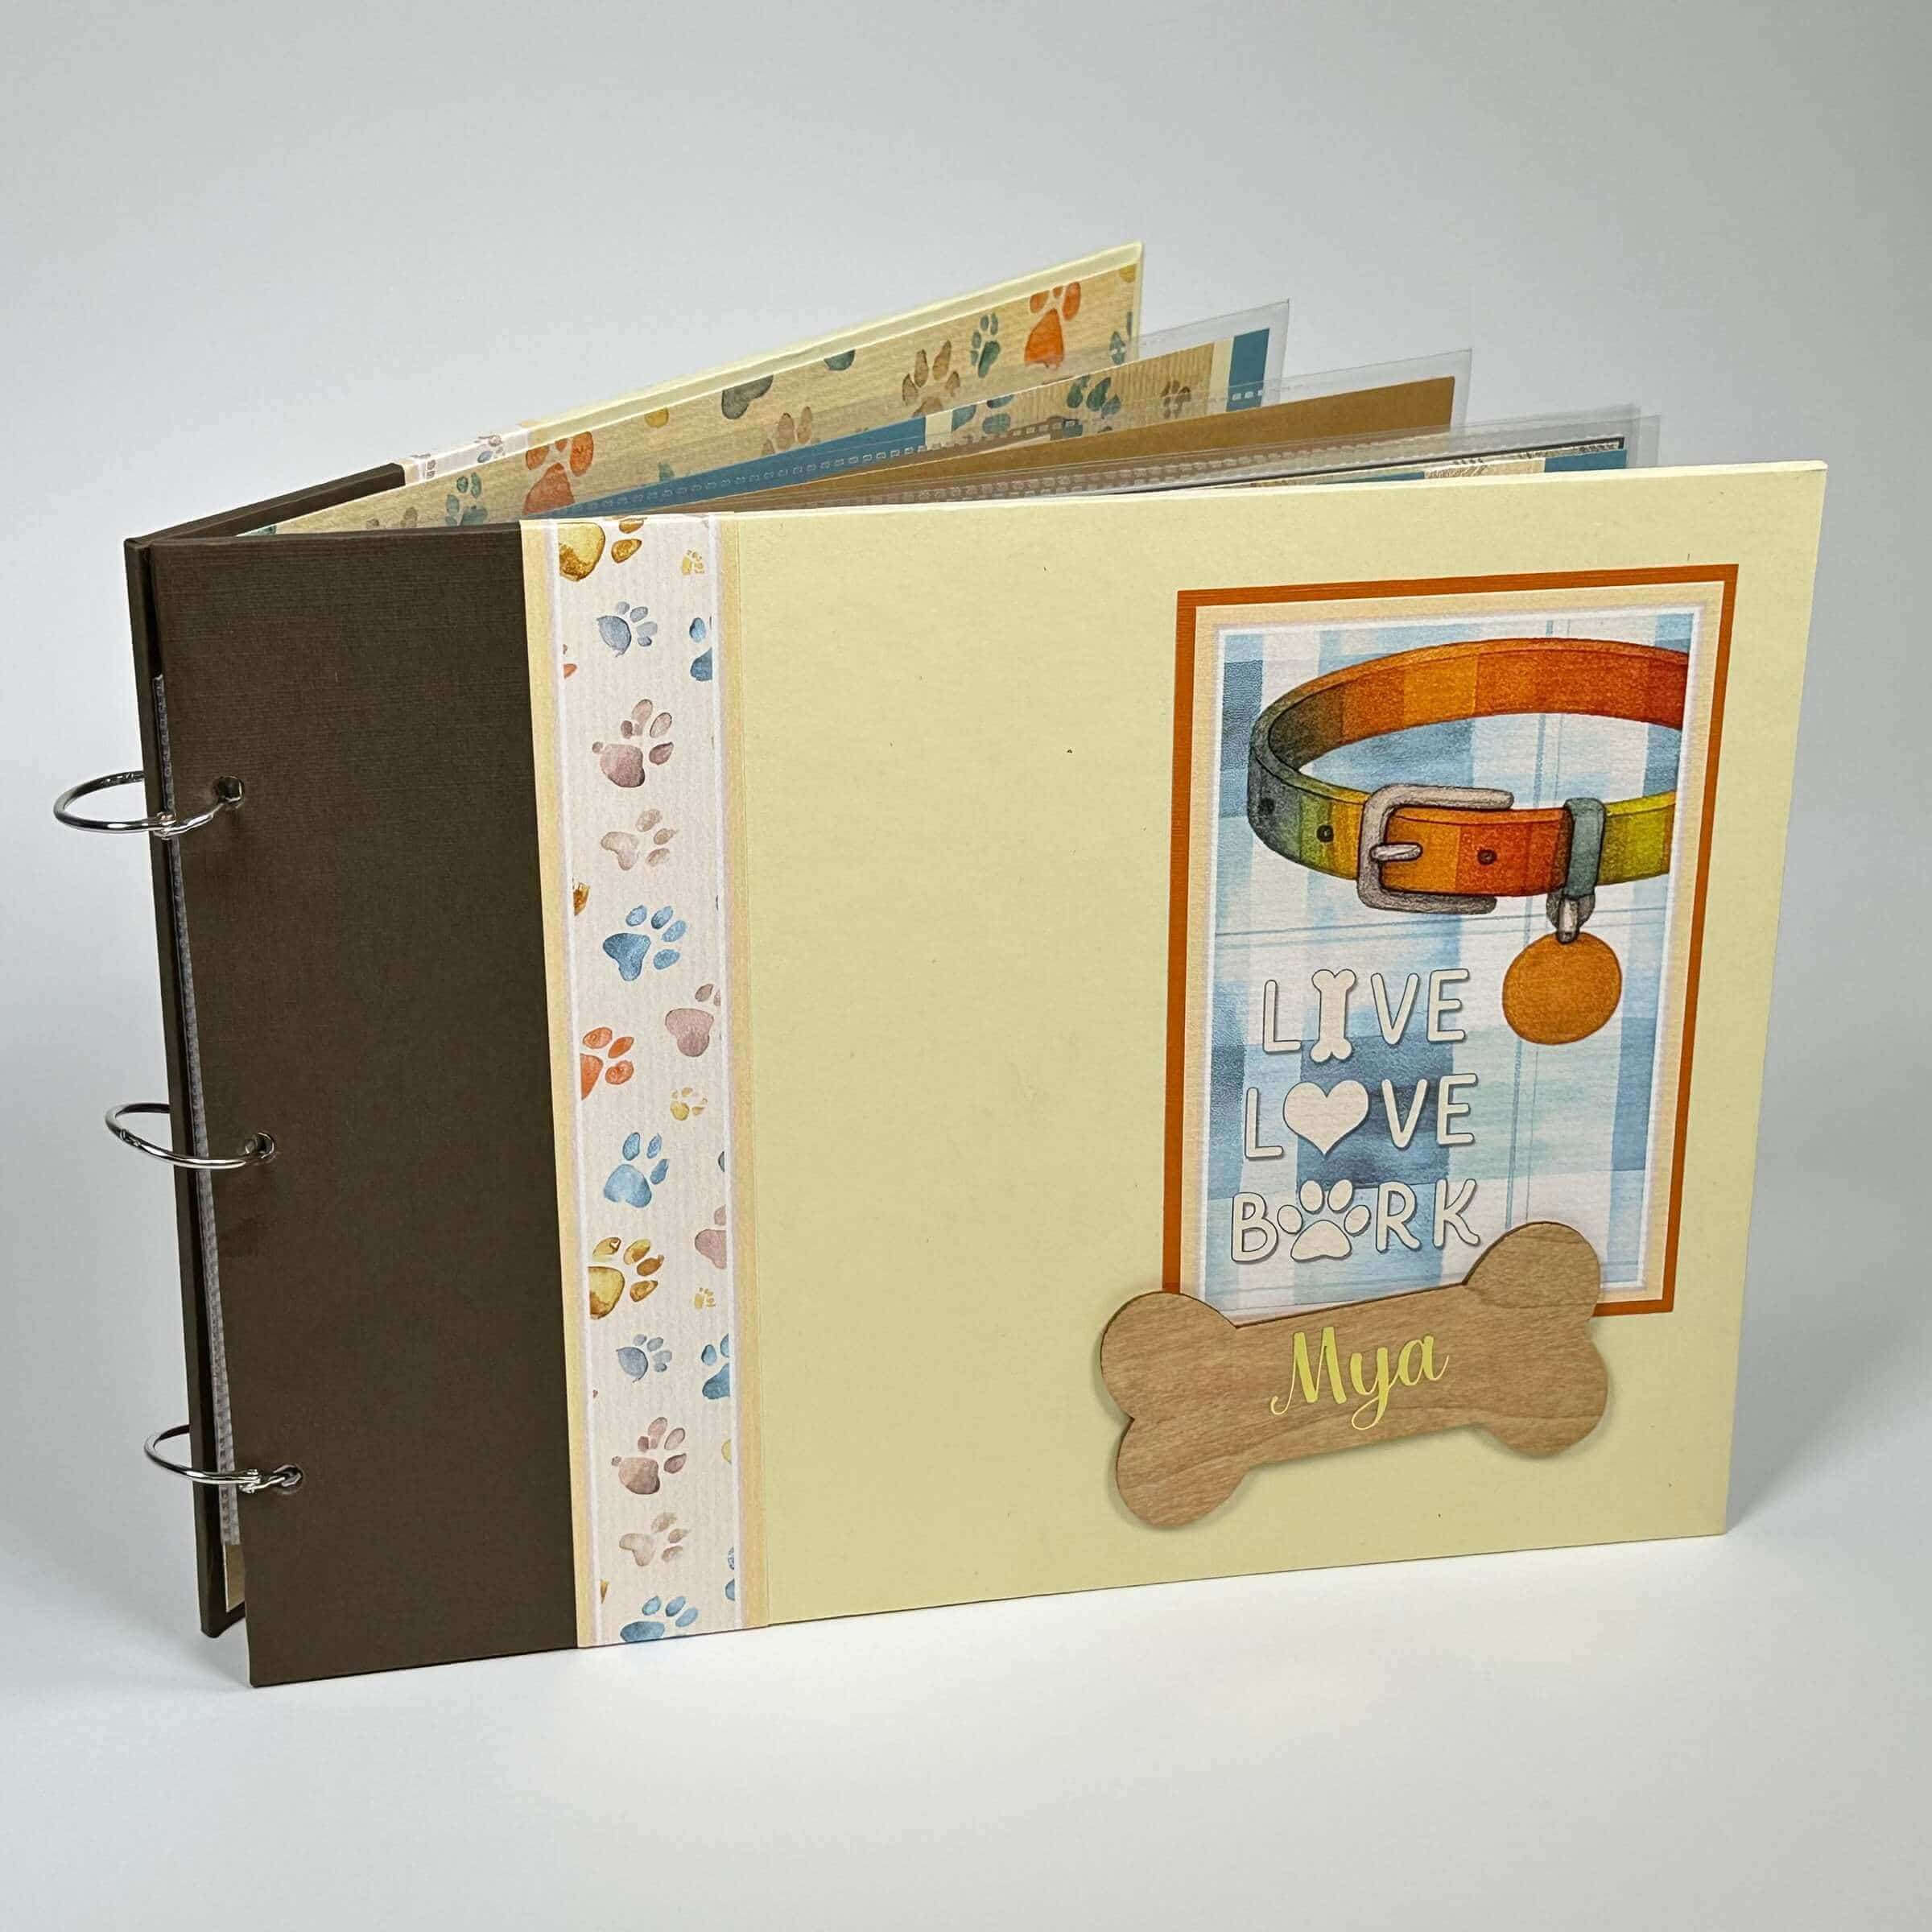
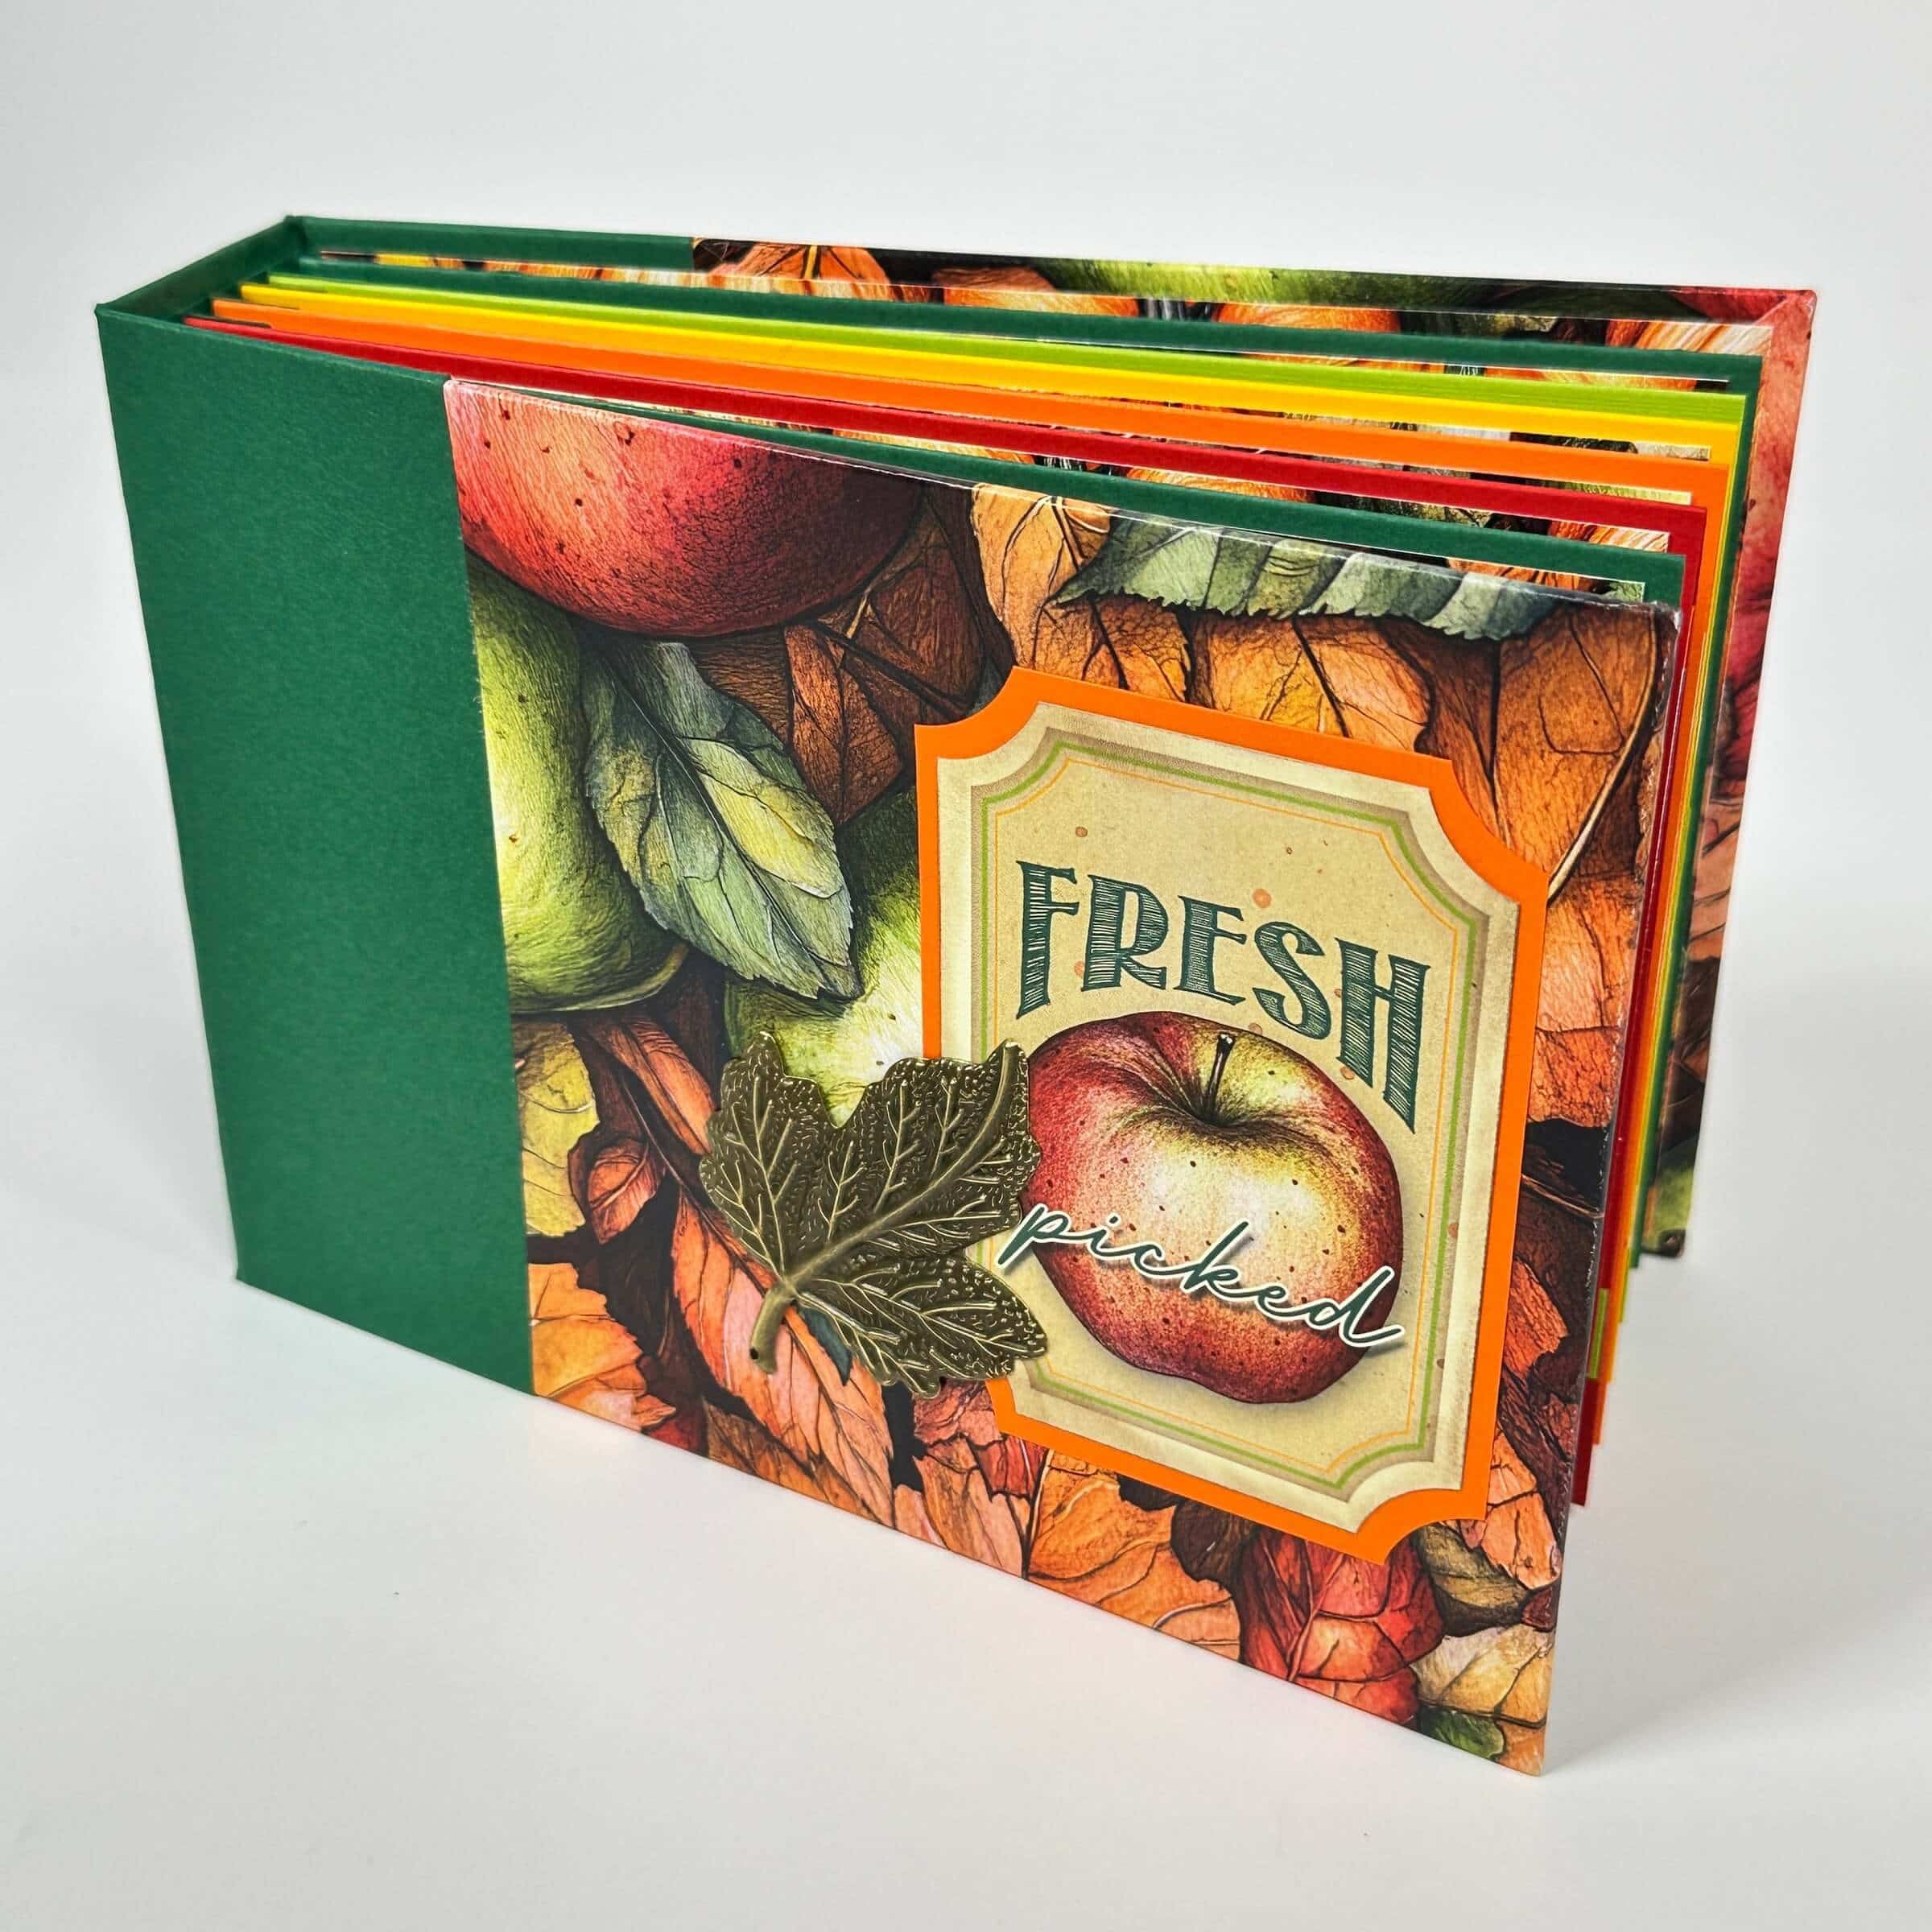
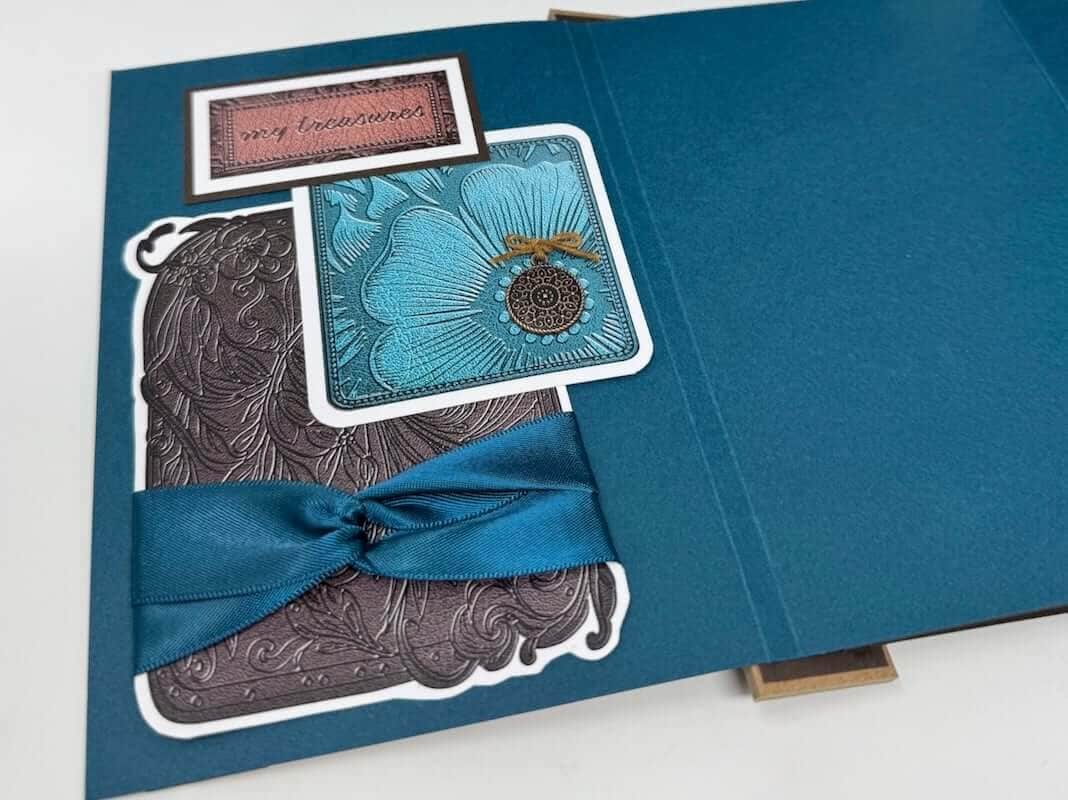
Next, turn your attention to the photo booklets that fit inside the box. Decorate the inside pages with mats and leftover cutaparts.
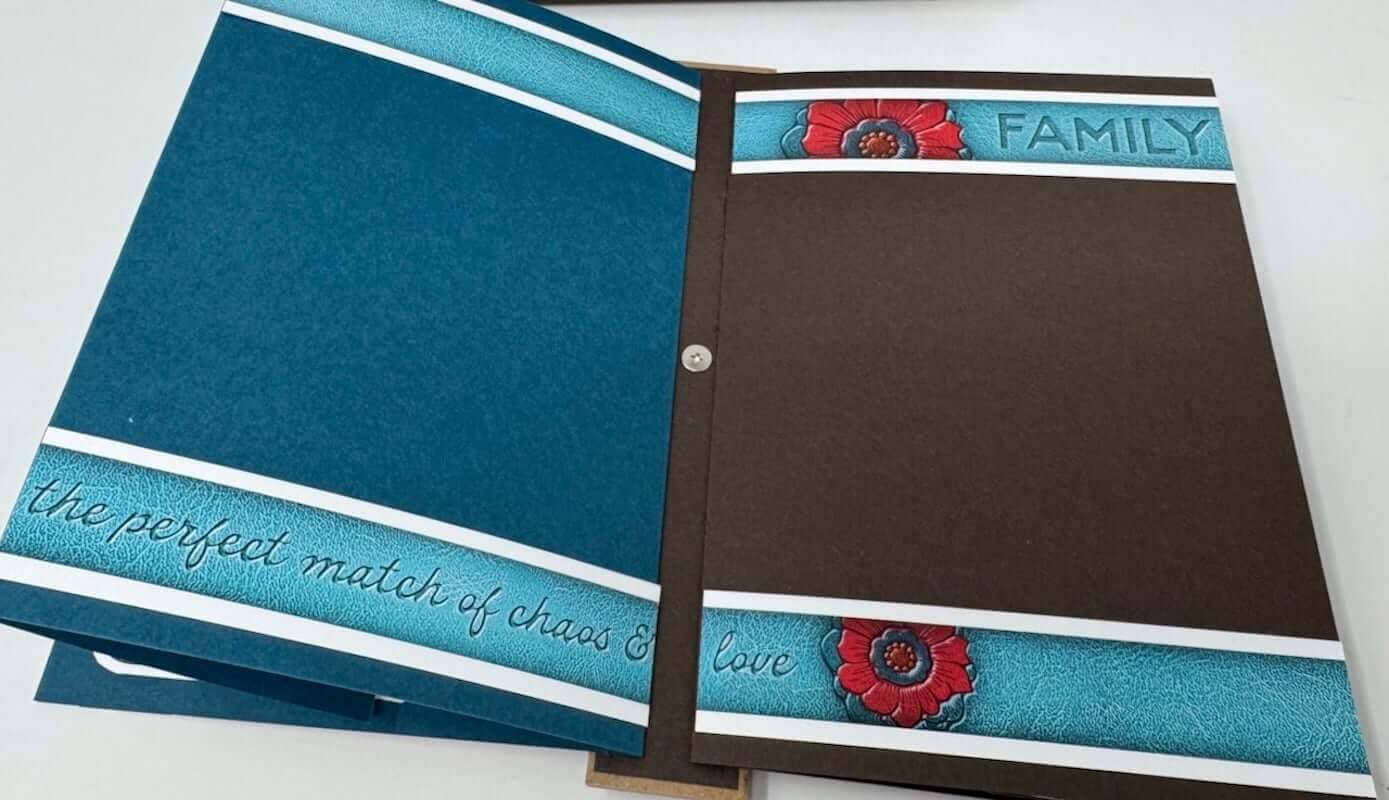
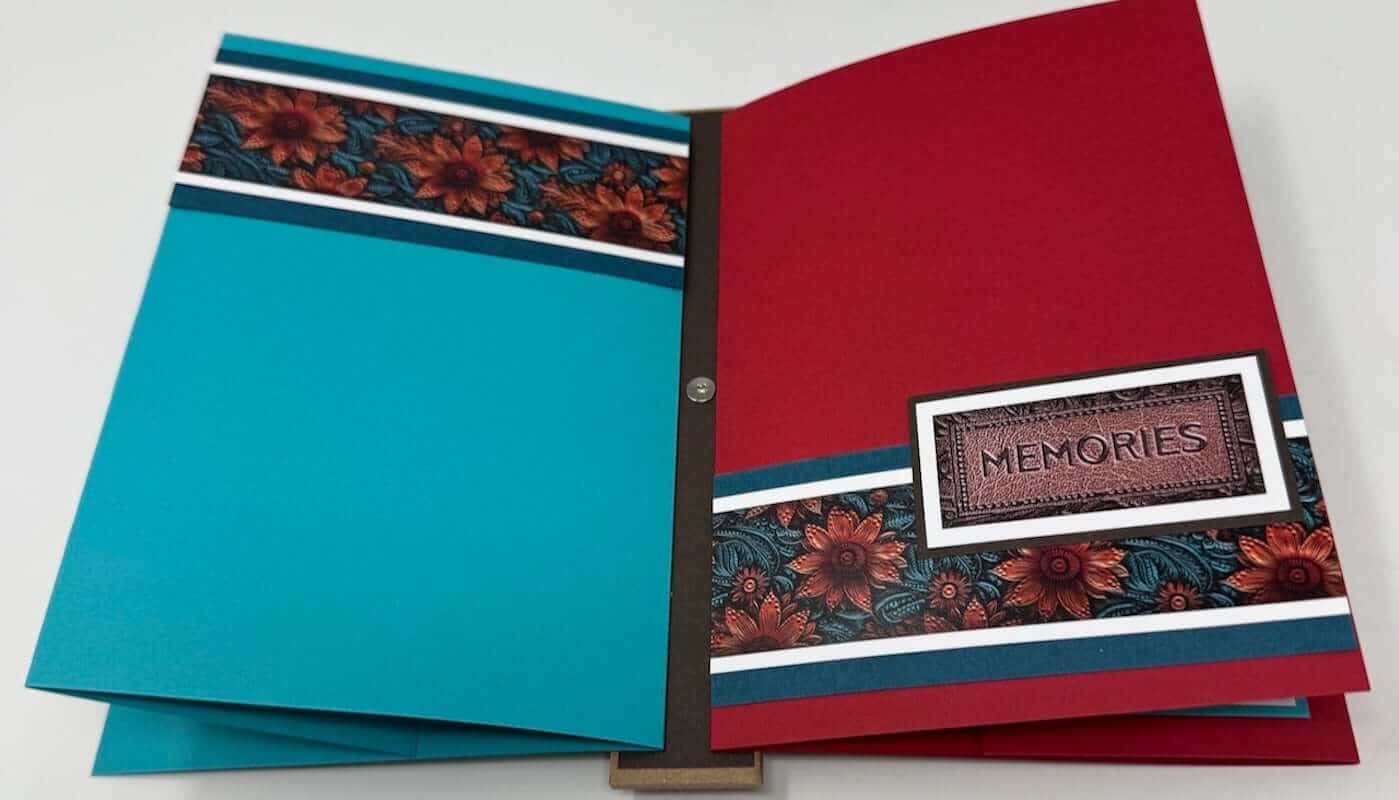
Tip: Strips that are too short to span the entire width of the pages can also be utilized as shown below. Adhere them flush with the ends of the page and position the cutapart to hide the gap.
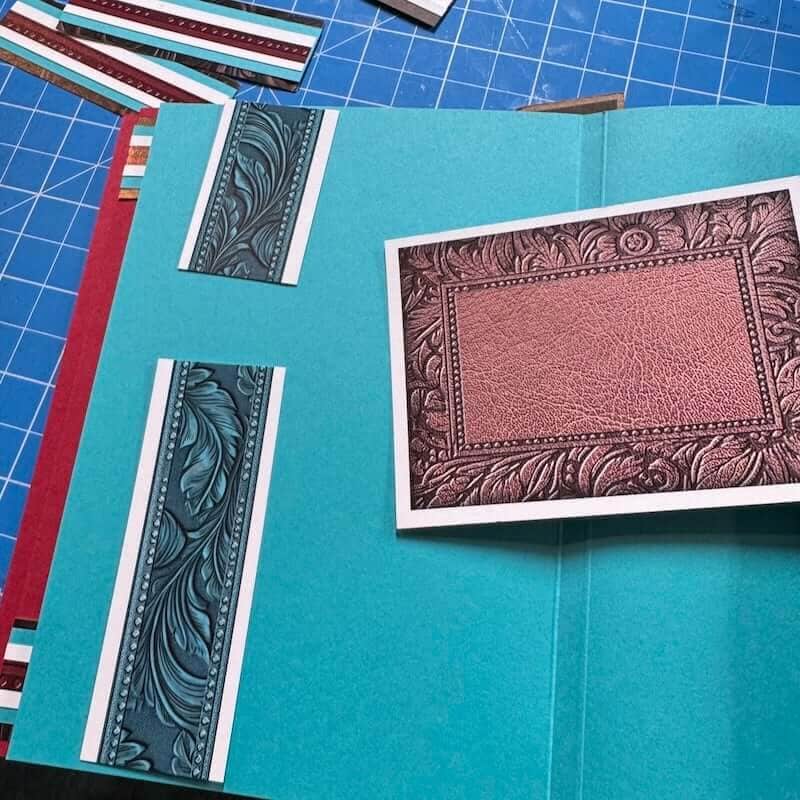
Let's take a closer look at the finished photo booklets. Even though it's fun to add embellishments, remember to leave space for the actual photos to be added later.
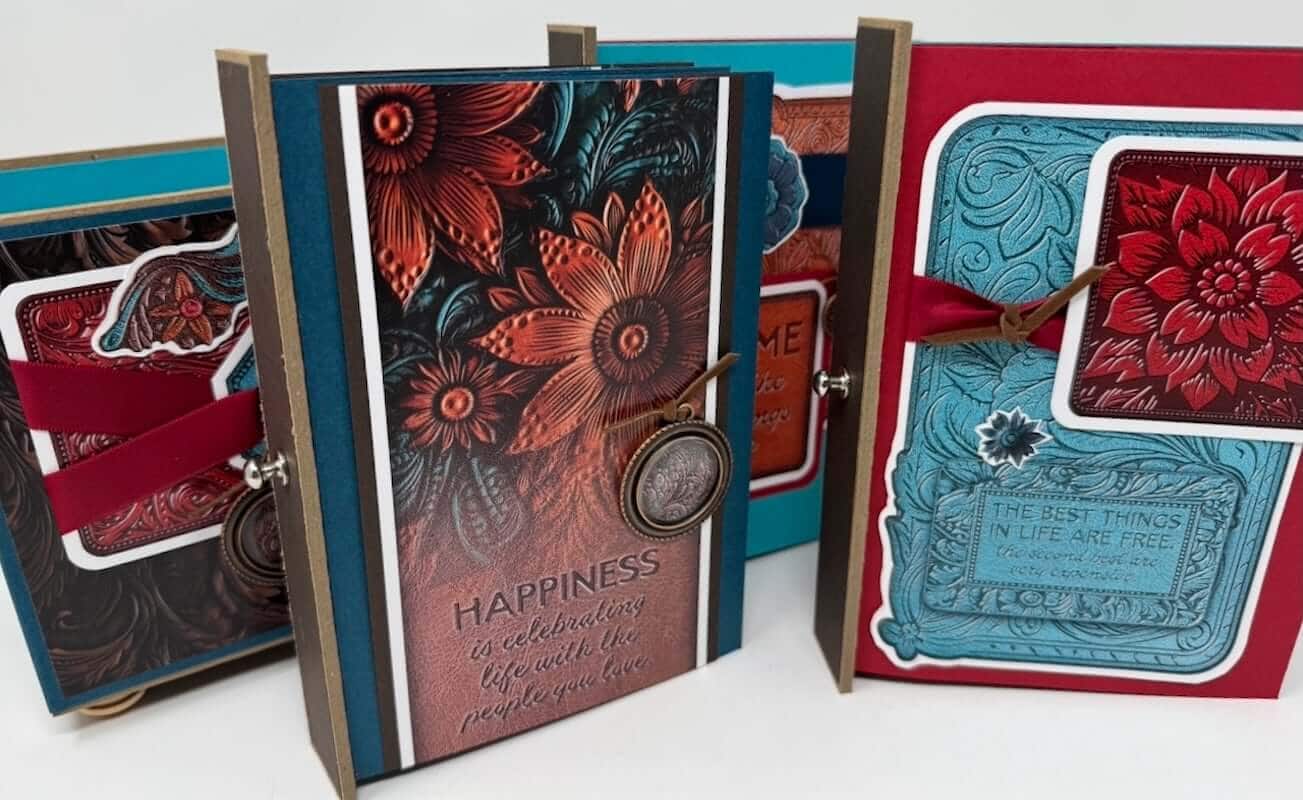
This is another example of how I recreated a cutapart cluster, this time from Layout 3.
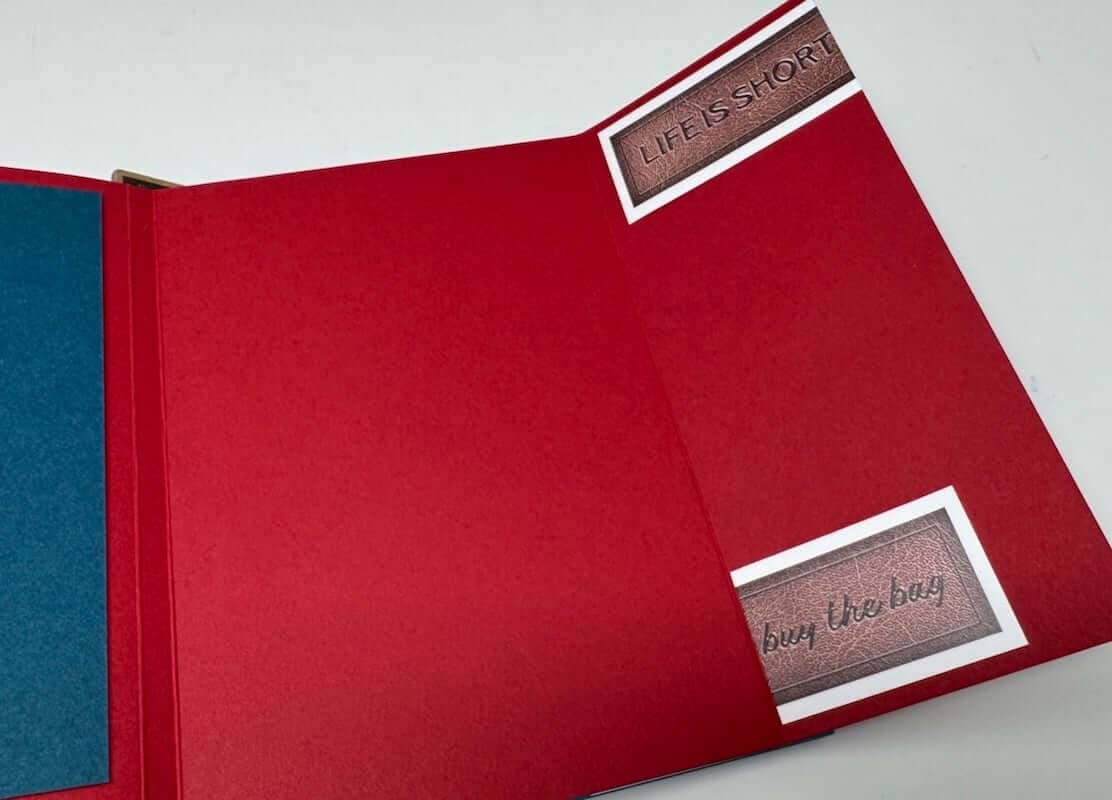
Carefully trim the border strips to span across two pages. A photo can be cropped to fit neatly within the open spaces.
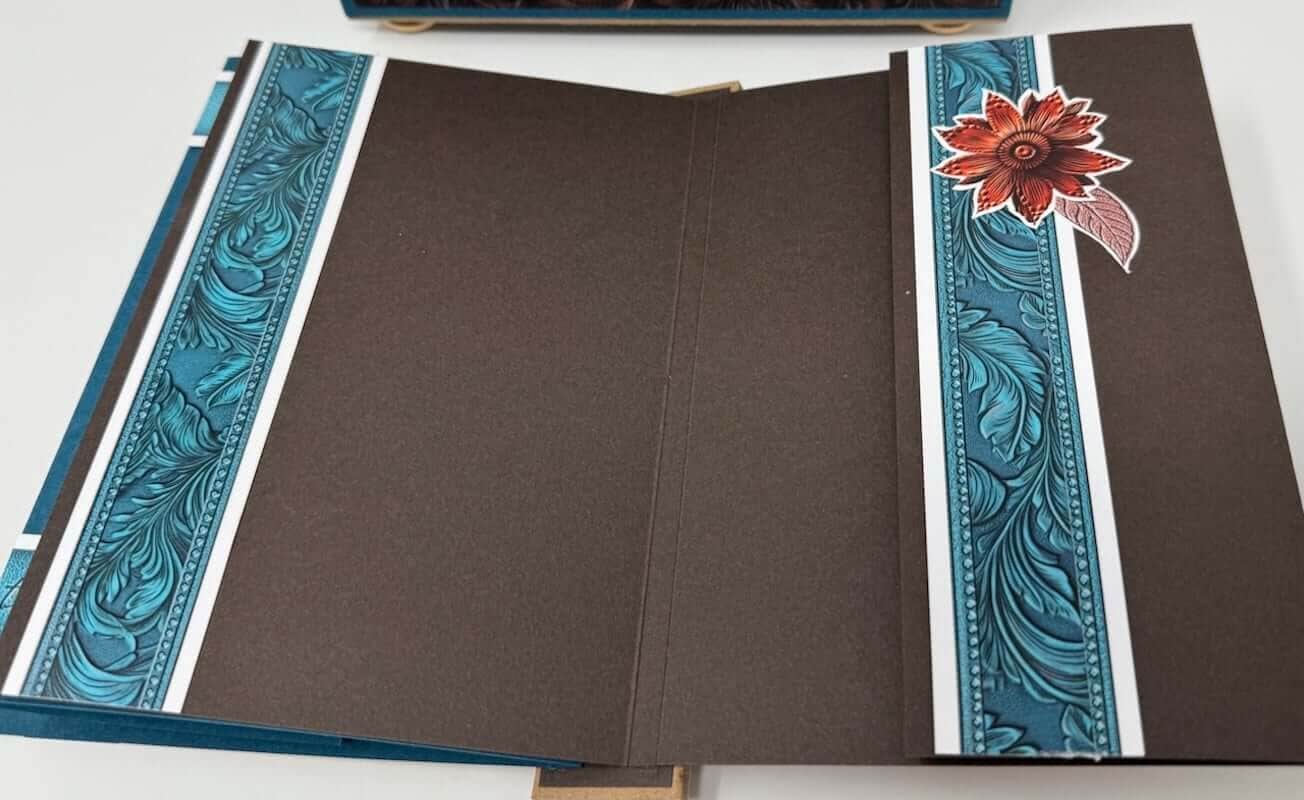
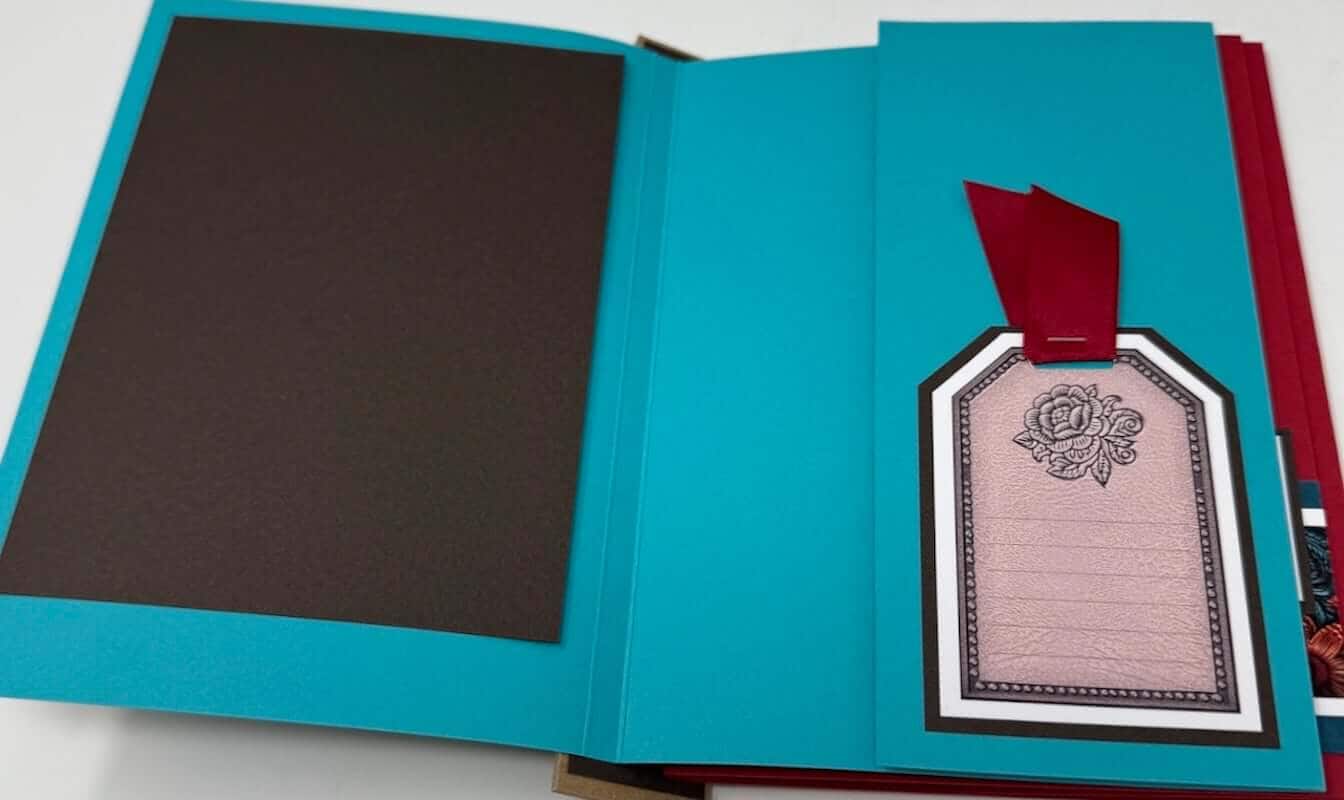
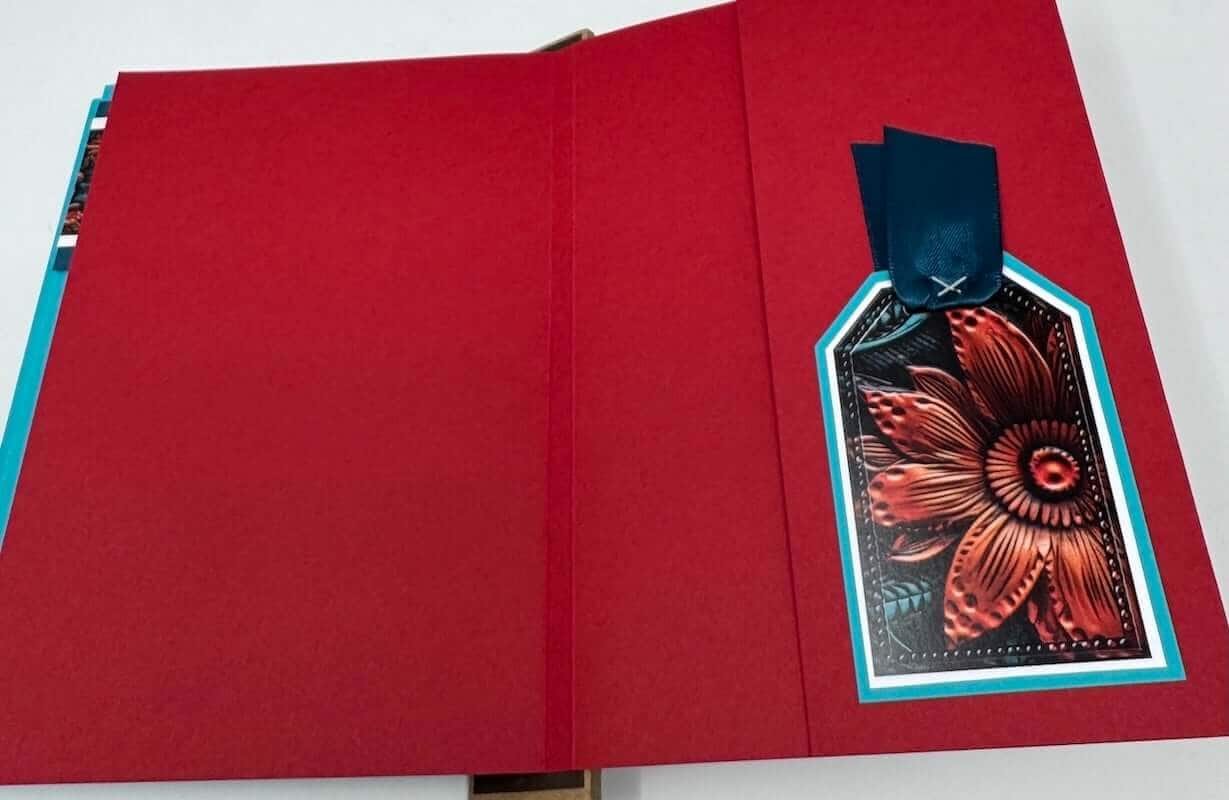
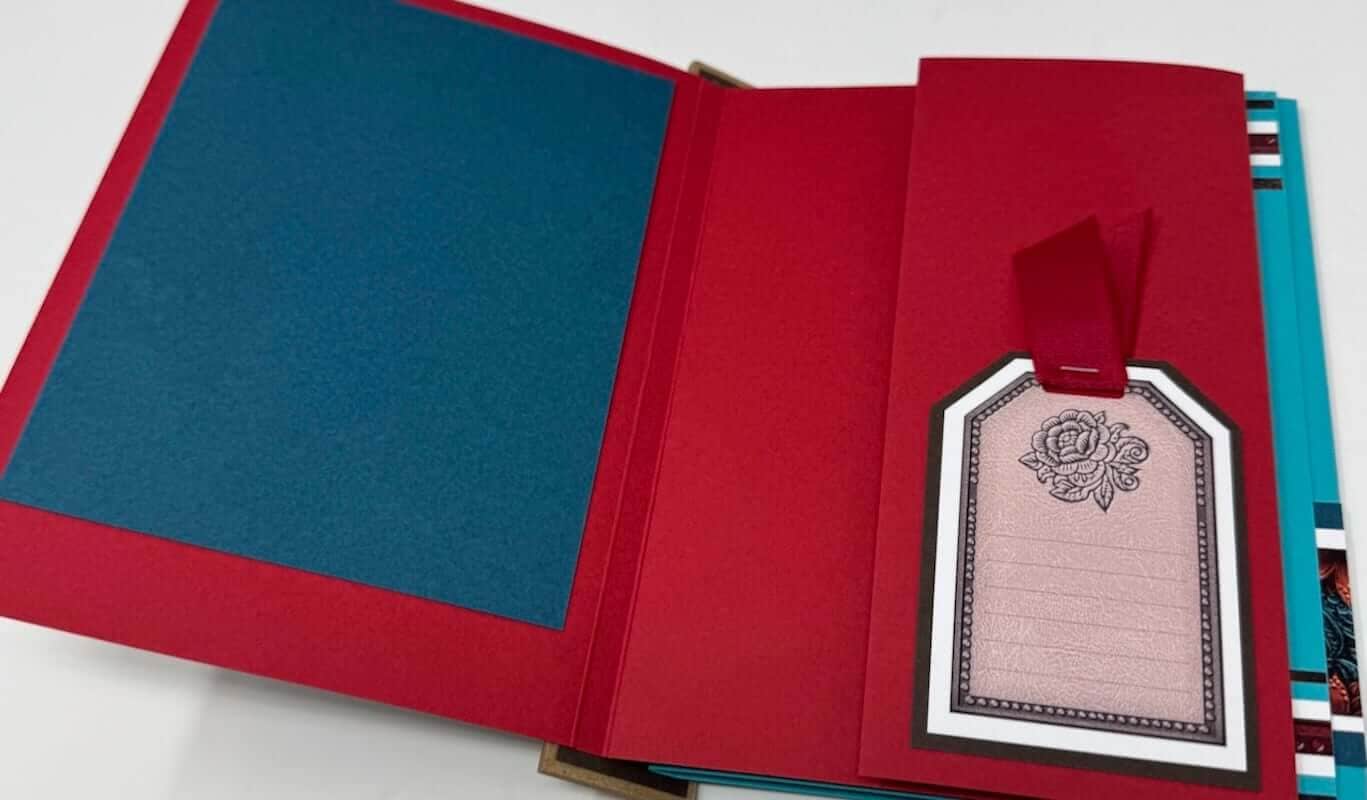
Split a cutapart to decorate the inside of the flaps.
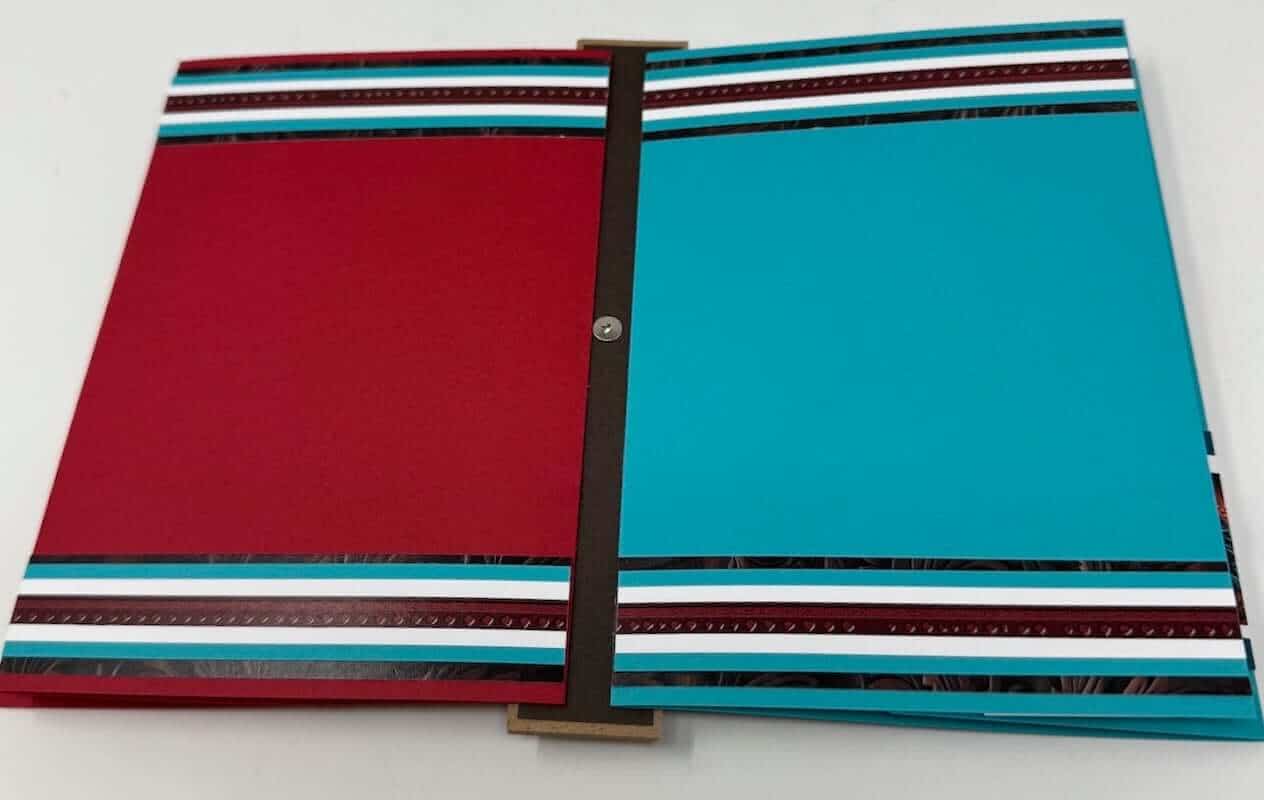
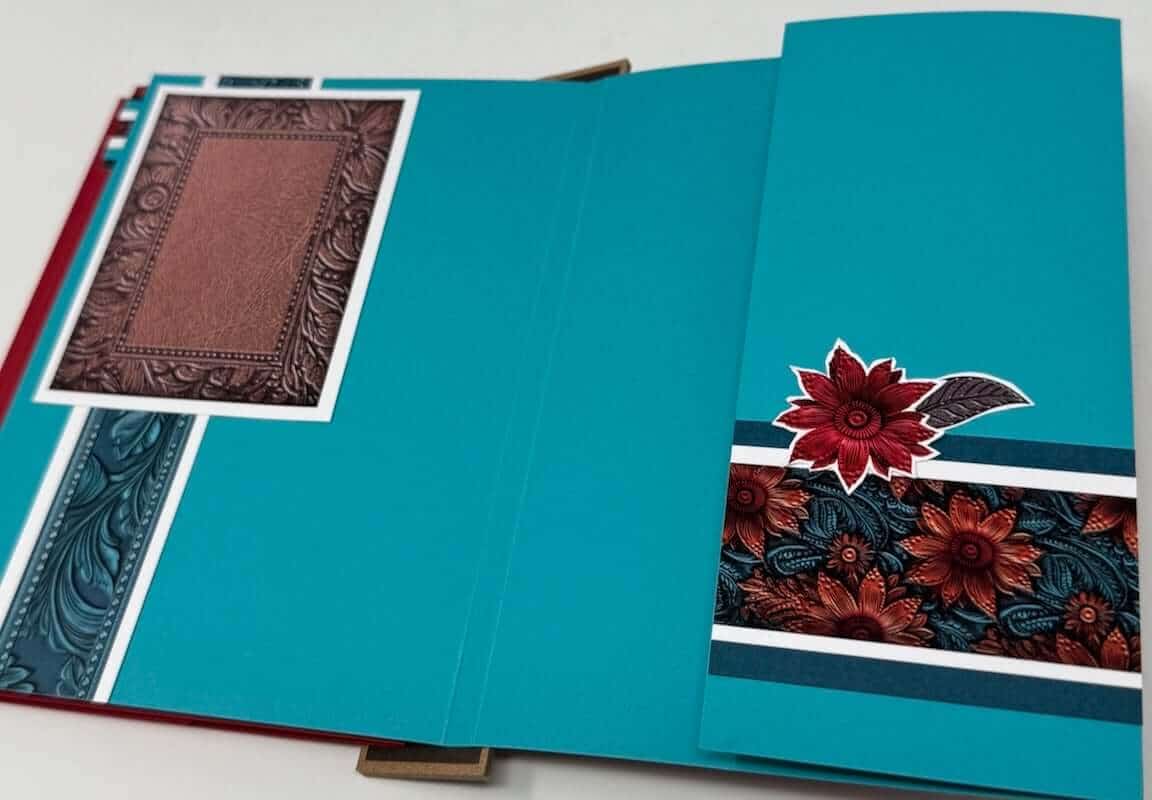
Just drop the photo inserts into the box, and it's ready for gifting!
Have you made a Photo Drop Box project?
We invite you to share your finished artwork on our Facebook Chat Group. Not a member of the group yet? Simply answer a few questions and we'll get your request processed in no time!
Shopping Links
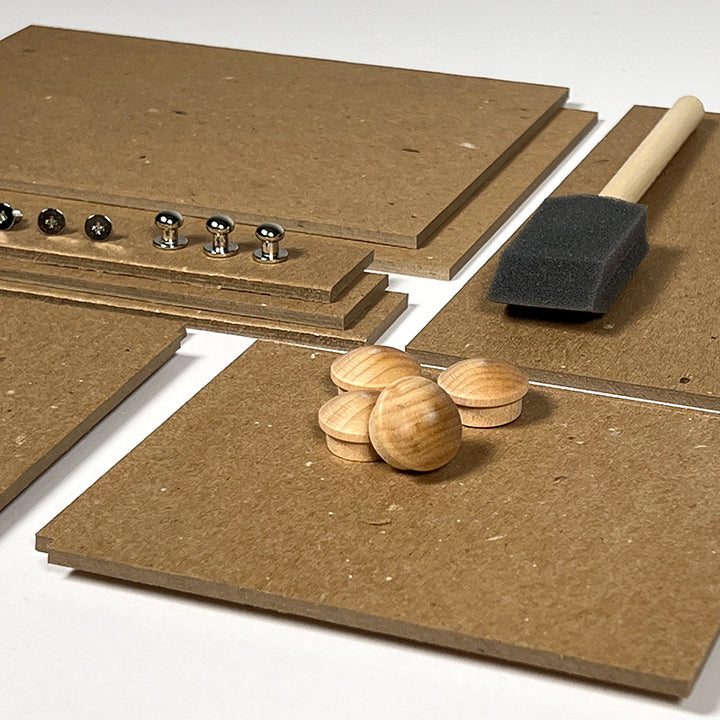
Photo Drop Box Components
$22.17
Learn how to make a clever and interactive photo storage solution when you pair the components with any CS page kit. The box measures approximately 7.25x5.25x4" and is home to three removable inserts for photos. (A few additional materials and… Read More
Impressed Page Kit
$35.95
Kit includes all of the supplies needed to complete eight fully-embellished 12x12 scrapbook pages. Just add a trimmer, scissors and adhesive. Instructions download and video tutorial included. Includes: (4) 12x12 Prints: 2 ea. Flower Print, Swirl Print(2) 12x12 Aqua Plains(2)… Read More