
The Garden Shed Deluxe collection creates fourteen 12x12 pages if you assemble the kit with the help of our free instruction download. Read on to learn a few extra helpful details about how to duplicate the pages.
GARDEN SHED DELUXE KIT
LAYOUTS 1 & 2

Stencil the words of your choice onto three wood plant stakes with CS® Earth ink and an Ink Applicator. Set the ink with a heat tool or allow it to dry completely before handling. Tie a satin bow around one of the sticks and adhere to the layout. (Jacqueline designed the stencil with super-cool features. Check back next week for Kay's tutorial!)

LAYOUTS 3 & 4

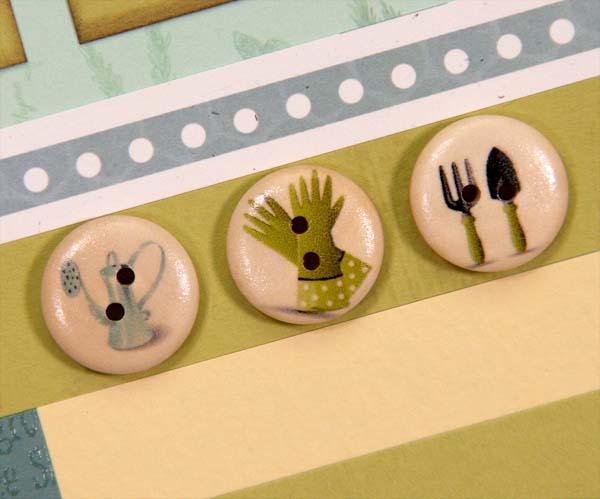
Accent the upper right corner of the layout with a row of three wood buttons. Sew them on with waxed linen thread if you have that on hand, or simply adhere to the page with CS® Bookbinding Glue.

LAYOUTS 5 & 6

The kit includes a set of three adorable floral wood tags. They just happen to be large enough to showcase words on the stencil! After adding the word of your choice, attach the tag to your layout with a pair of miniature brads from your stash.

LAYOUTS 7 & 8

The wood plant stakes can be altered with gesso or acrylic paint. For the look below, paint with gold acrylic, ink edges with Earth ink and wrap with the citron silk ribbon.

If you look carefully at the layout above, you'll notice that two rectangles were cut into the White Topiary Print to create a Citron border around the vertical Butter photo mat (left) and the Teal mat (right). Temporarily position the photo mat onto the layout and mark the outside edge of the photo mat on the White Topiary print with a pencil.

Use a grid ruler, craft knife and cutting mat to remove the rectangle from the White print. Cut a rectangle that is 1/8" larger than the marked area.

Repeat the process for the Teal mat on the right side of the layout.

LAYOUTS 9 & 10

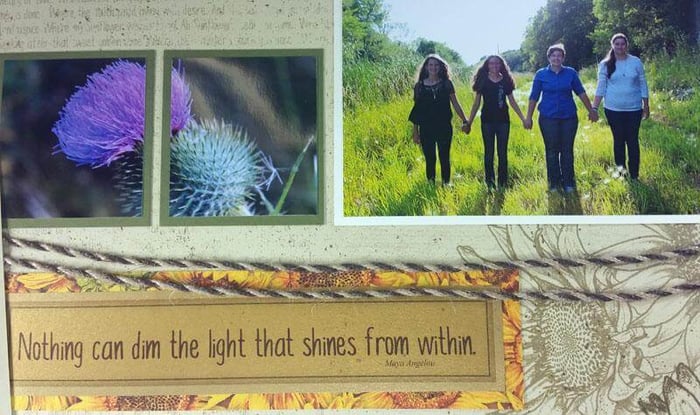
Accent the journaling box with satin ribbon, anchor with a border strip, and finish with a row of three wood buttons.

LAYOUTS 11 & 12

Thread the watering can charm with multi-colored fiber and tape the fiber ends onto the back of the journaling cutapart. "Suspend" the watering can by gluing it onto the cutapart.

LAYOUTS 13 & 14

Adhere the super-tiny silver shovel charm to the Citron paper beneath the sweet quote with Bookbinding Glue.

GARDEN SHED GREETINGS TO GO
If you are a new Greetings to Go member, your kit will ship on September 20. In the meantime, you can add more items to your shipment, like the Deluxe kit, for example! Let us know if you need assistance with your first shopping experience.
SET A

The double z-fold cards include a card base and a narrow connector strip scored at the same measurements. Next, the longest portion of the connector strip is adhered to the narrow card flap, and the short portion of the connector is glued to the card base. It's co clever!

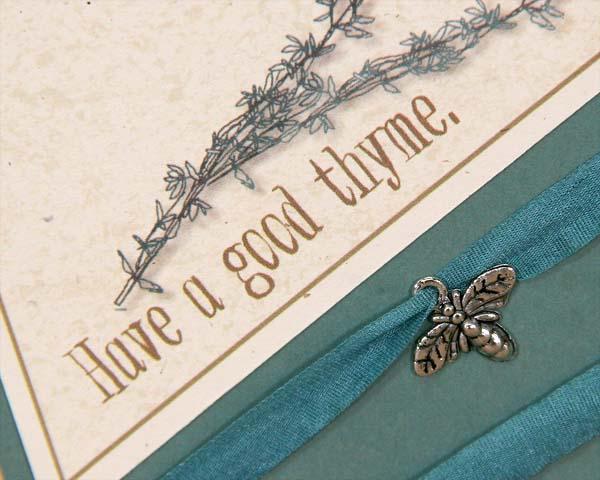
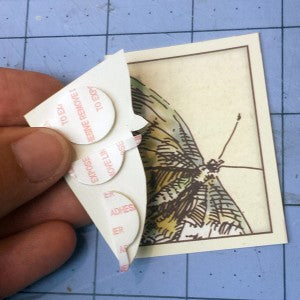
Two butterfly cutaparts are included in the kit. Trim the butterfly from one cutapart and adhere to the second with foam adhesive circles.

SET B

Use a craft knife and cutting mat to add two vertical slits in the White cutapart. Thread the Mint cutapart through the slits and adhere to the card base, flush with the left edge. Cute idea!

SET C

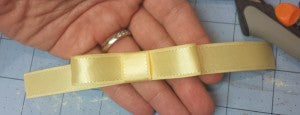
A three-part bow was used on all four "tall cards" in the set. I figure it's time for a three-part bow tutorial. You can make one in three seven easy steps!
1. Cut three lengths of ribbon: two at 6" and one at 2".

2. Tape the ends of one 6" ribbon to form a loop.

3. Tape one end of the 2" ribbon to the center of the second 6" piece of ribbon.

4. Flip the t-shaped ribbon pair over. Center the looped ribbon on top of the 6" straight ribbon.

5. Wrap the 2" ribbon around the loop.

6. Secure the tail of the 2" ribbon on the back with tape and trim excess.

7. The three-part bow is ready for your card!

I hope you find these little tips and details helpful and that you love the new Garden Shed collection as much as we do!
Tricia