
Table of Contents
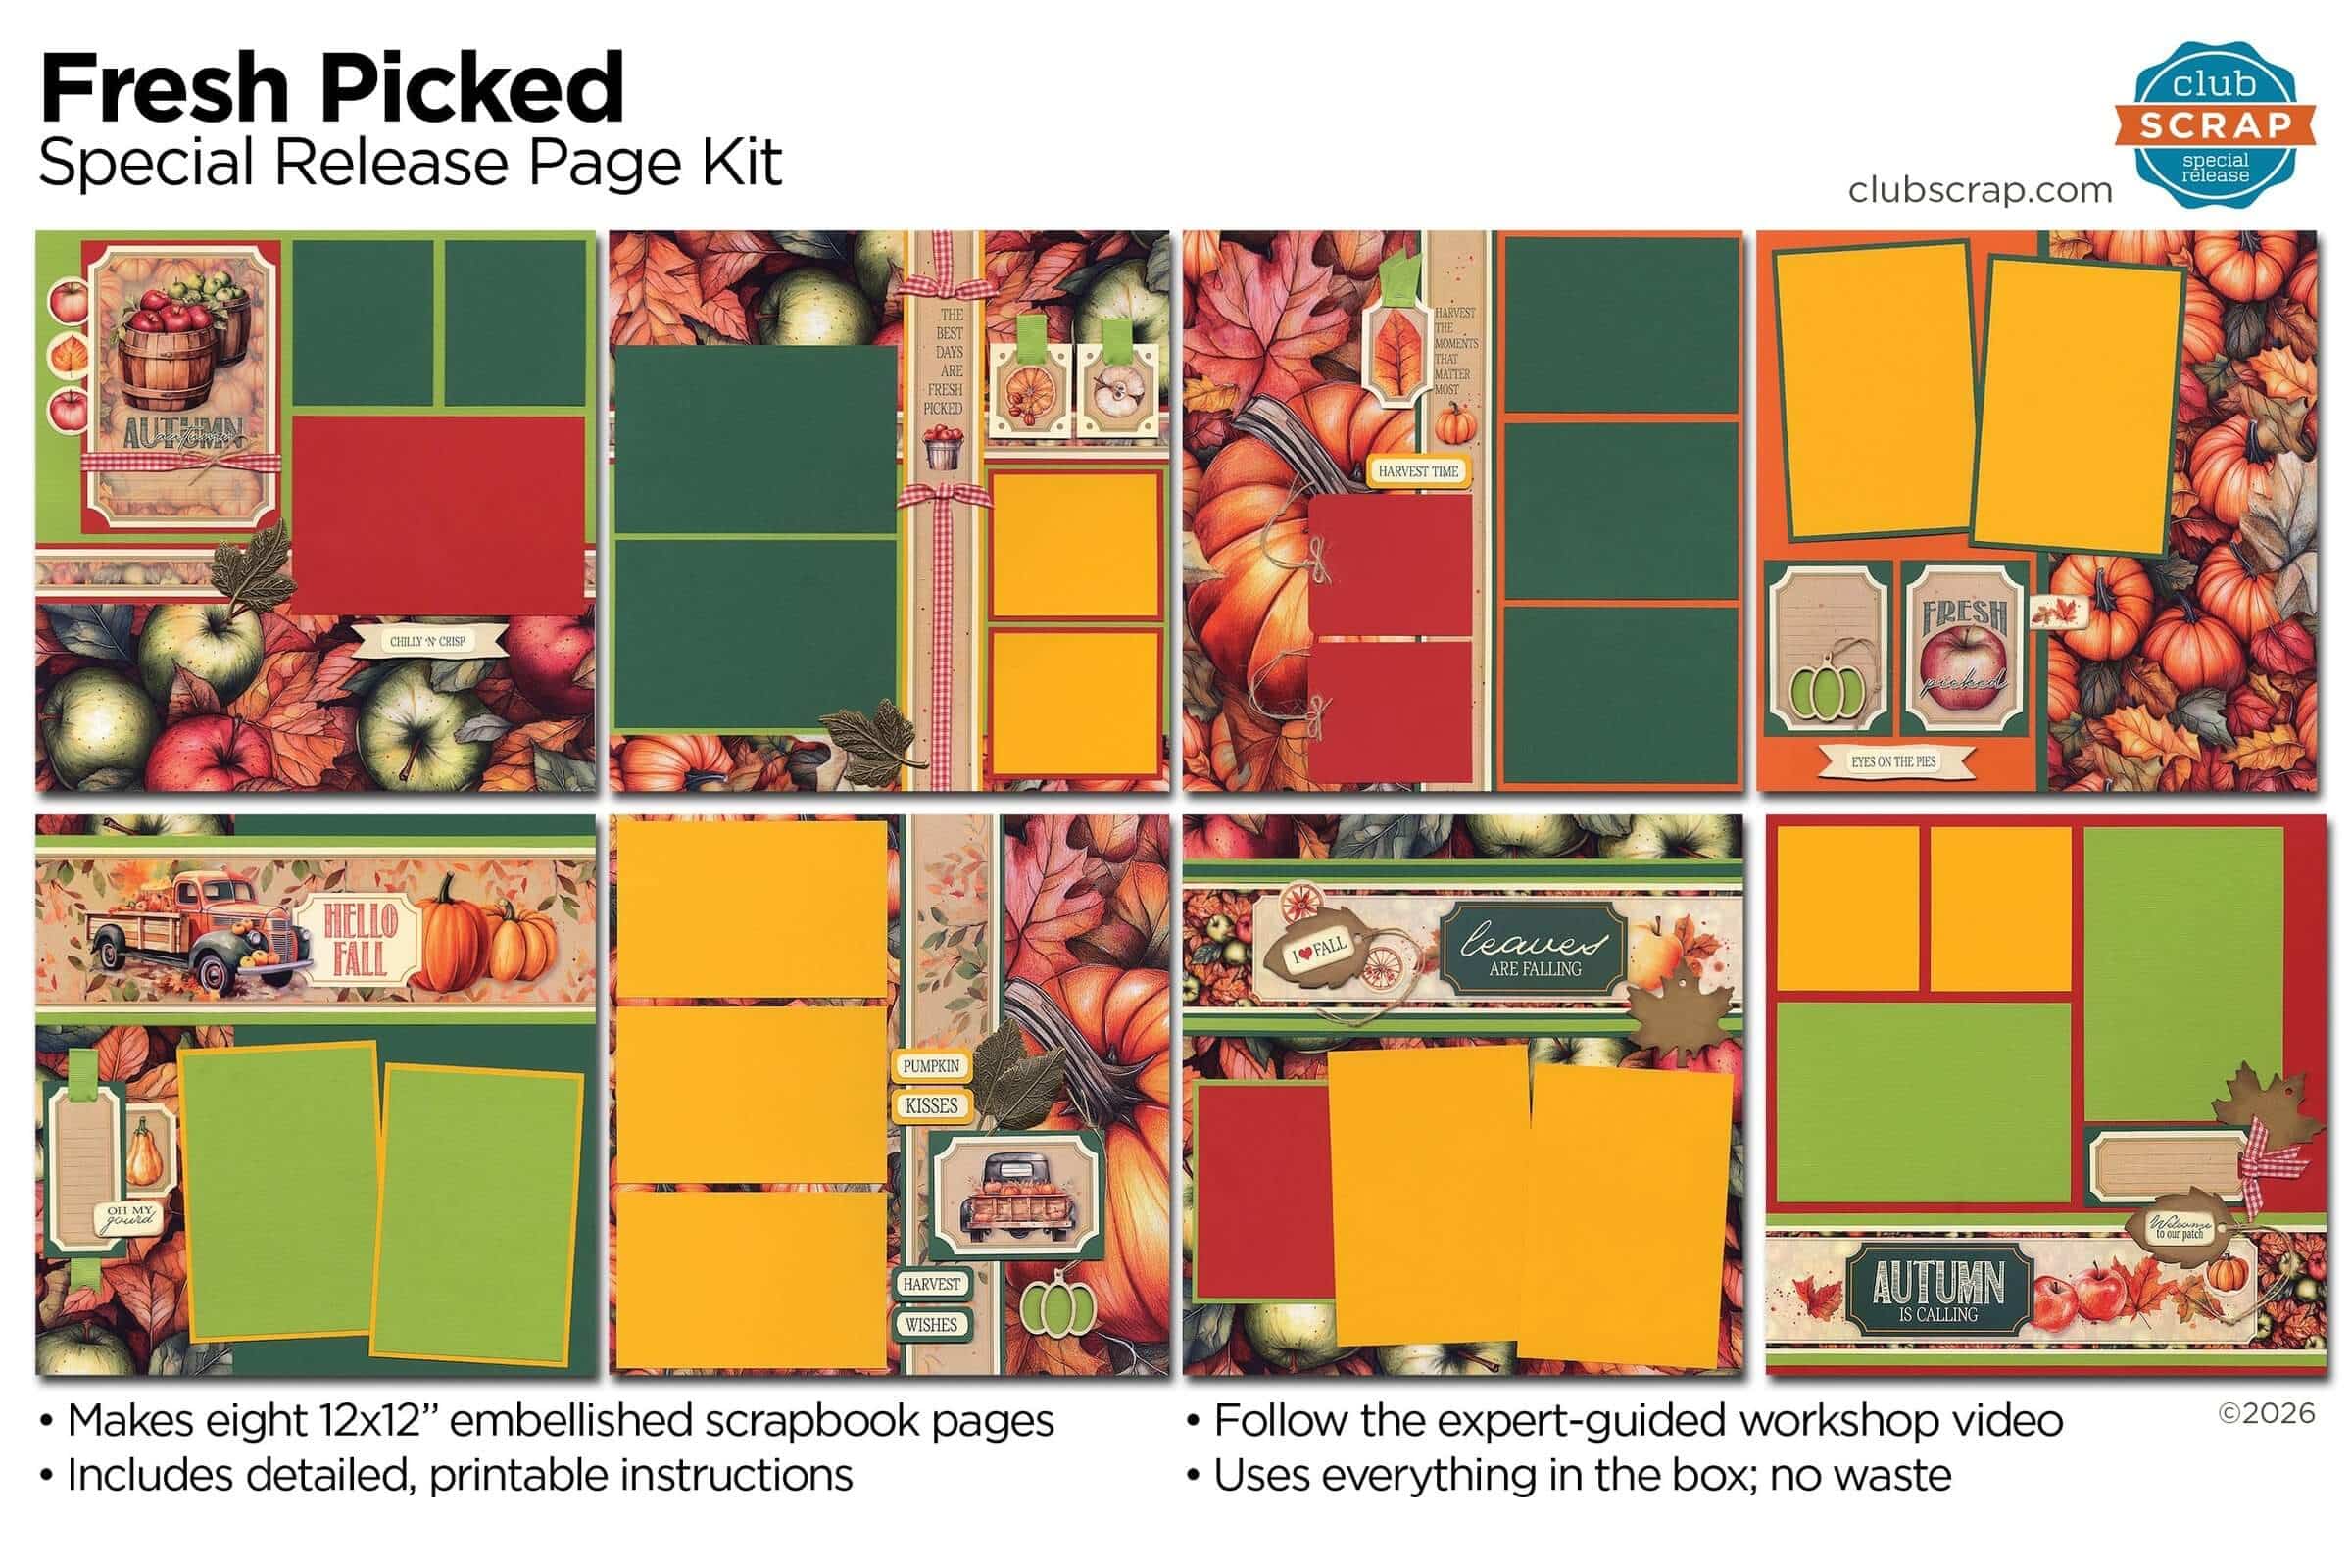
Transform Club Scrap's newest special release into twelve cards with extra prints and papers left over to create more. How? Simply pair past card kit instructions with the Fresh Picked Page Kit, of course!
Getting Started
Supplies
To get started, gather the items below.
- Fresh Picked Page Kit
- Cabana Card Kit Instructions
- Embossing Folders and Dies (from my stash)
- Sentiment stamps (from my stash)
Paper Assignments and Assembly
Sort, trim and score your papers according to the instructions and cutting diagrams as outlined in the Cabana Card Kit Instructions. Utilize the following paper substitutions for each step of the instructions:
- Gold, Orange, Lt. Green
- Gold, Orange, Lt. Green
- Dk. Green
- One each of Pumpkin Print, Apple Print*
*When cutting the 2nd Pumpkin Print, I didn't position it in the trimmer with the correct orientation, so I had to substitute an Apple Print. Ope!
Trim the page cutaparts as normal and modify as needed to decorate the front panels and interior.
Fresh Picked Cards
Set A: 4¼ x5½ Single Fold Cards
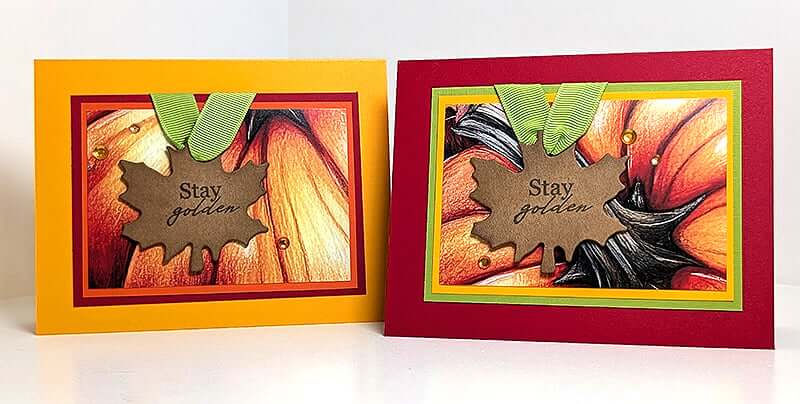
Nest the card panels as shown. Stamp each leaf tag with "stay golden" (Abundance 09.24) and Earth Ink. Apply ink to the edges of the tag as well. Thread Lt. Green ribbon through the opening and wrap the ends around the back of the panels; secure with tape. Adhere the tag to the card panels with foam adhesive. Adhere flat-backed gems for a touch of sparkle.
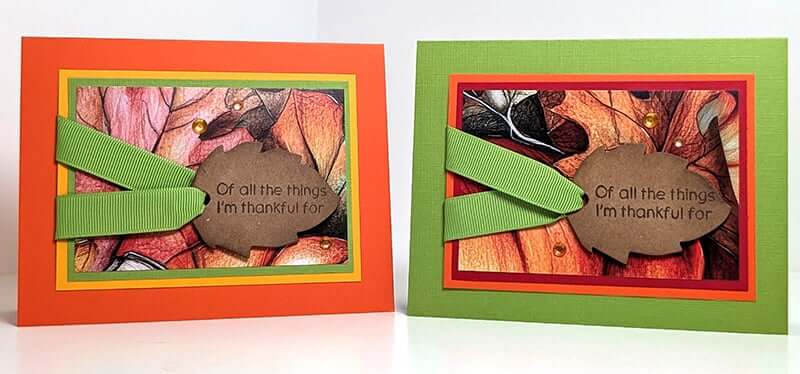
Stamp each leaf tag with the sentiment (Meadow 10.22) and Earth Ink. Apply ink to the edges of the tag as well. Thread Lt. Green ribbon through the tag opening, wrap the ends around the back and secure with tape. Adhere the tag to the card front with foam adhesive.
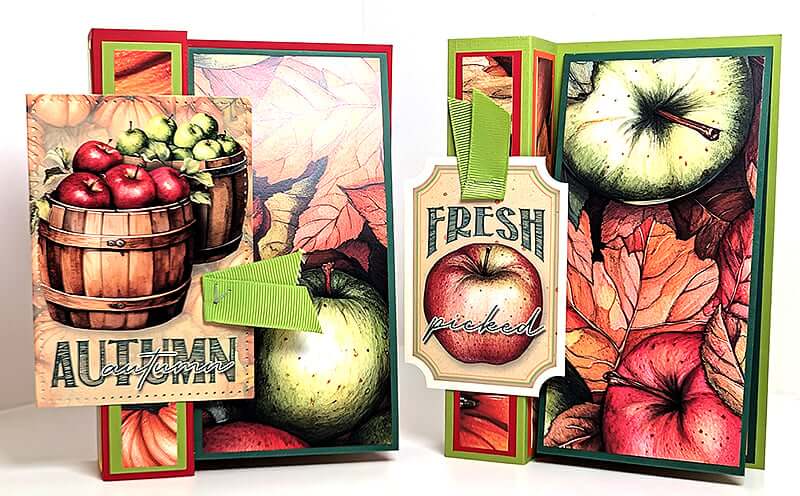
Set B: 4½ x6¼ Standing Box Cards
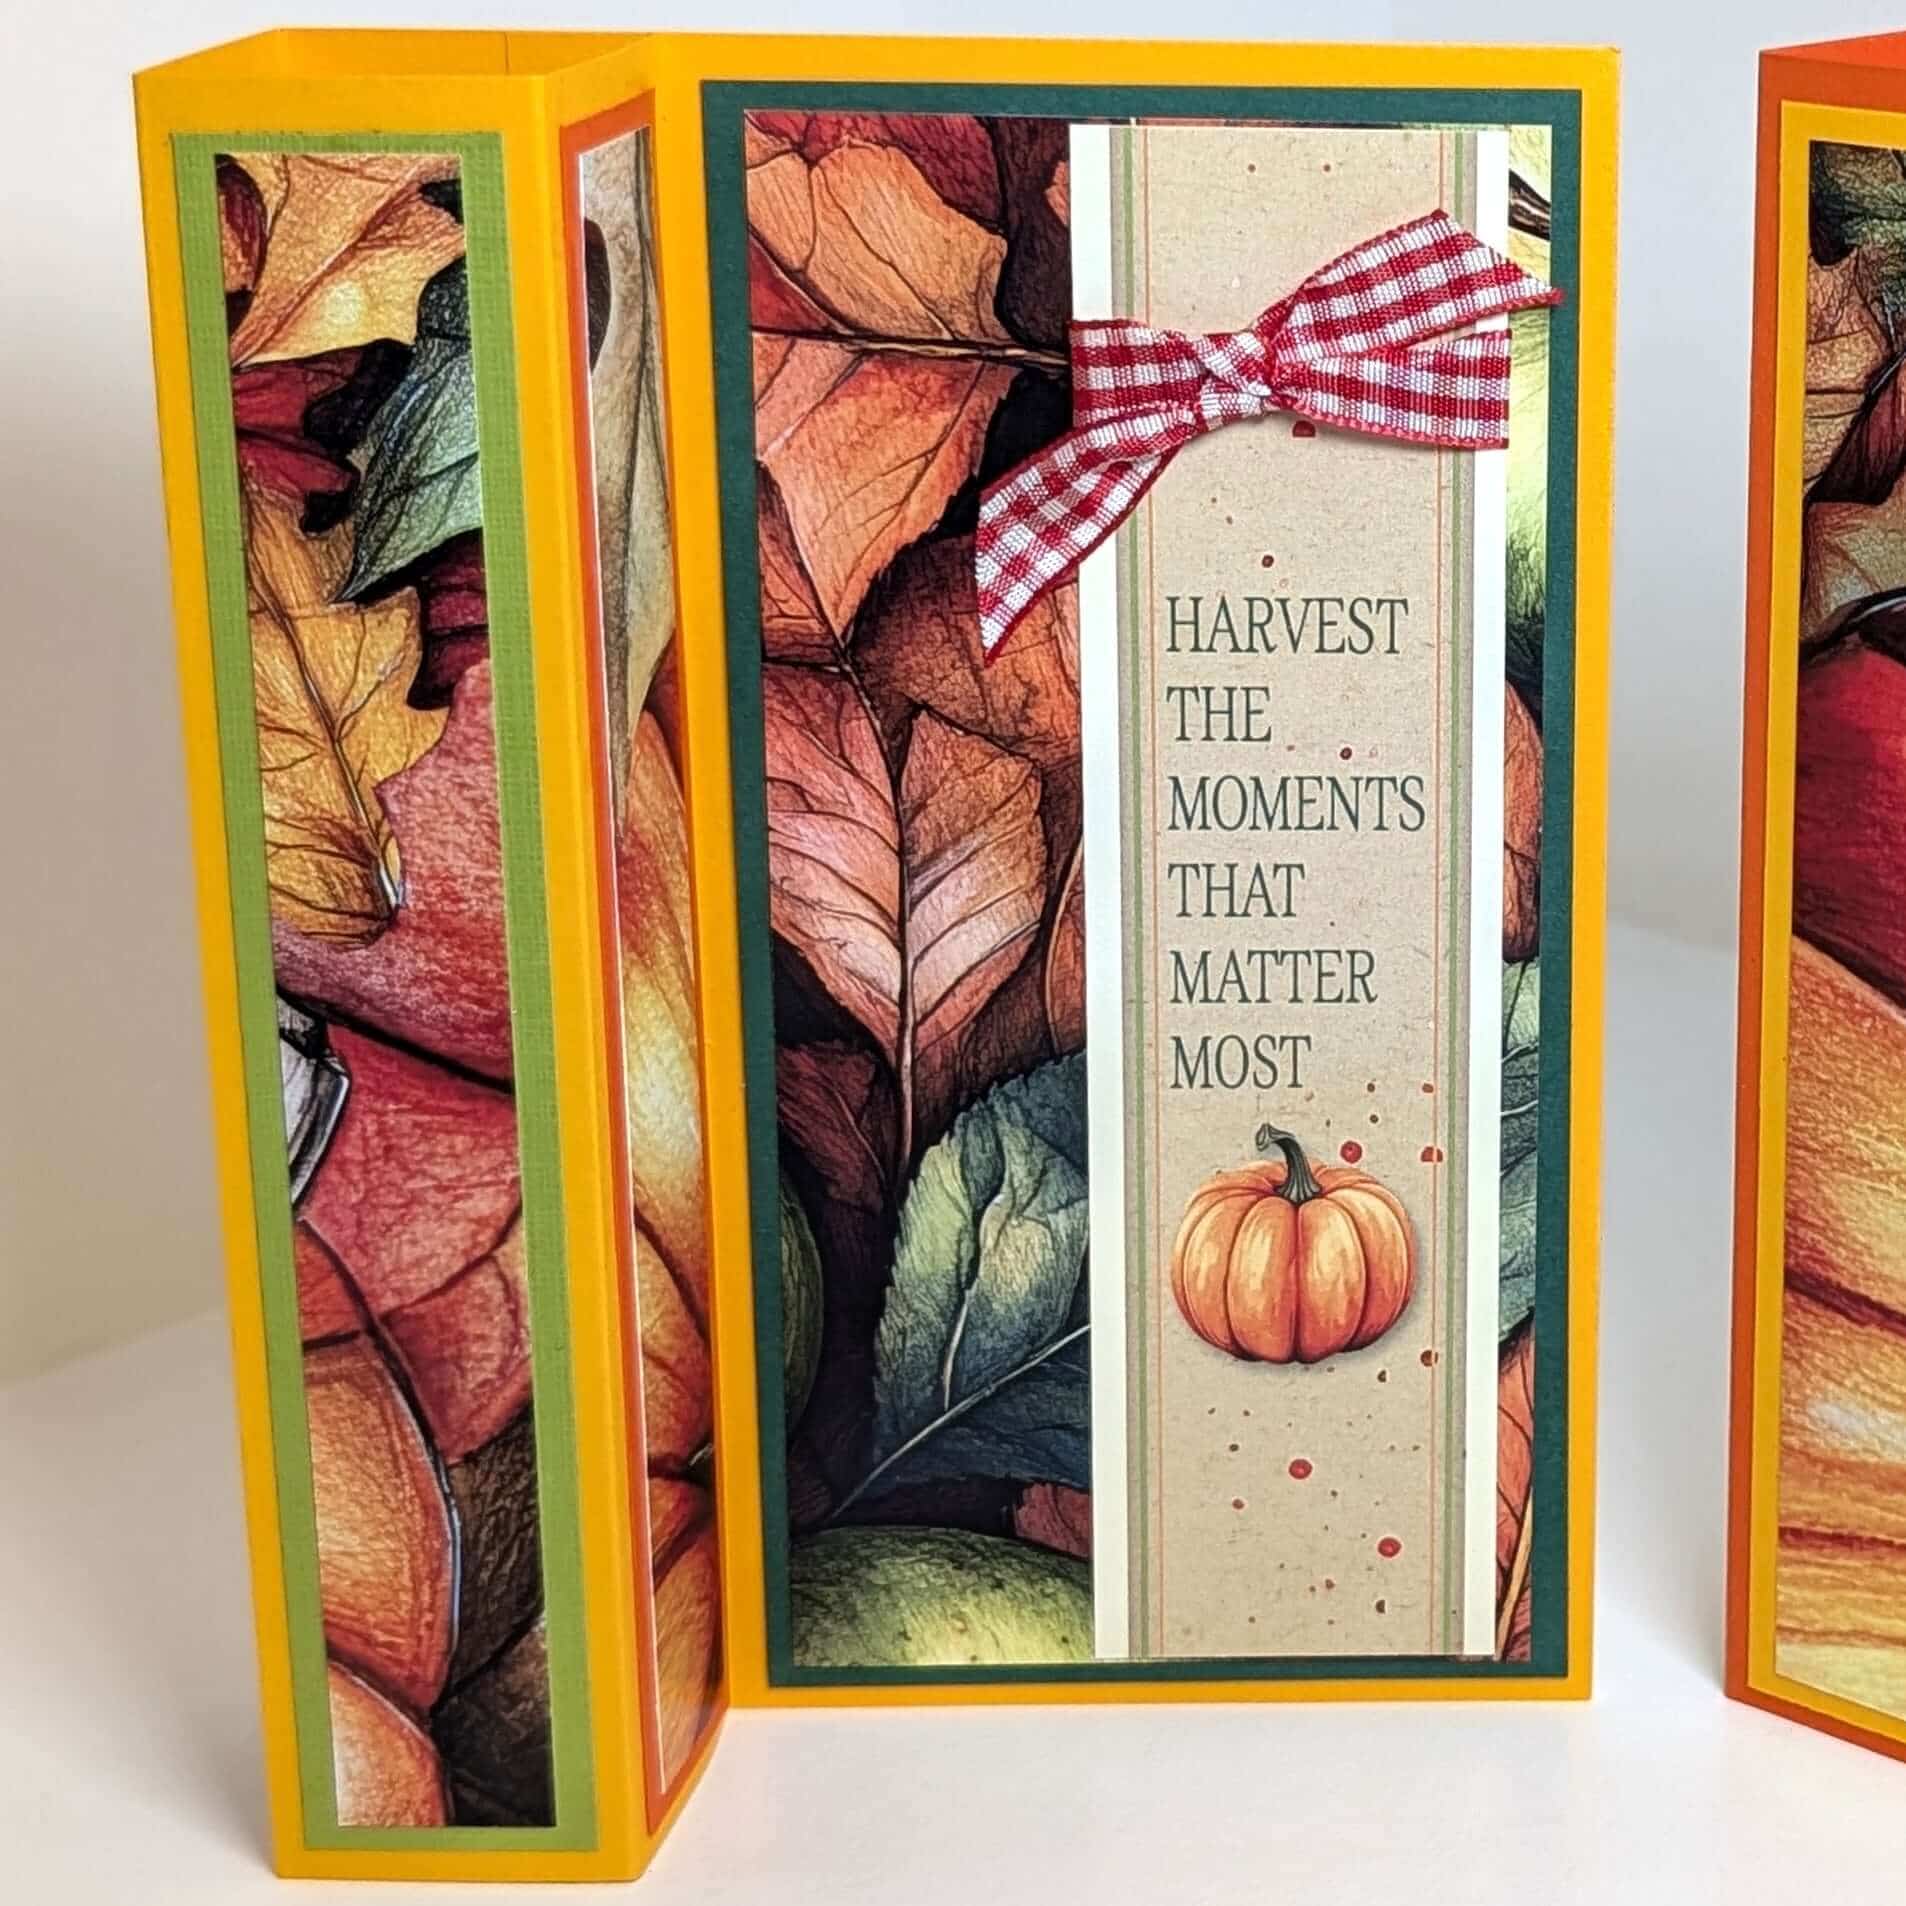
Add the plain and printed nesting panels as shown. Trim the border strip cutaparts to size, tie with Red Gingham ribbon and adhere near the right edge of the largest panel.
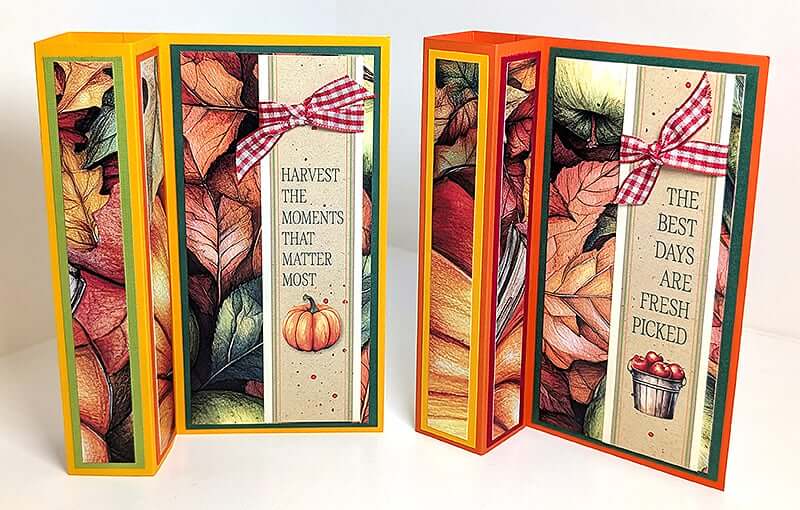
For the card on the left, assemble the plain and printed panels as directed. Remove the sentiment and barrel artwork from the "autumn" cutapart with a stitched rectangle die. Staple with Lt. Green ribbon and adhere to the 3D box portion of the card.
On the right, fussy cut the "fresh picked" sentiment cutapart, staple with ribbon and adhere to the center of the box portion of the card.
Set C: 3½ x 8½ Slimline Cards
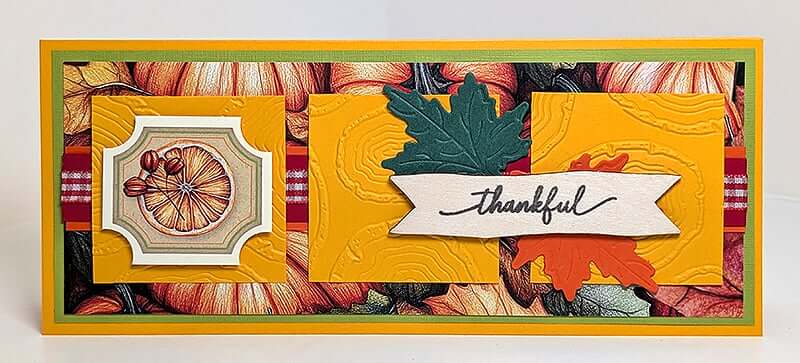
Add texture to the small squares with an embossing folder. Die cut leaf shapes from leftover scraps. Nest a border strip cutapart onto the anchoring strip for each card. Adhere all panels to the card base.
Top the squares with trimmed cutapart sentiments or artwork. Create a collage of die cut leaves and woodcuts to embellish the remaining square(s).
Ink the pumpkin woodcut with embossing ink and heat emboss with orange EP. Tie a length of jute through pumpkin and adhere.
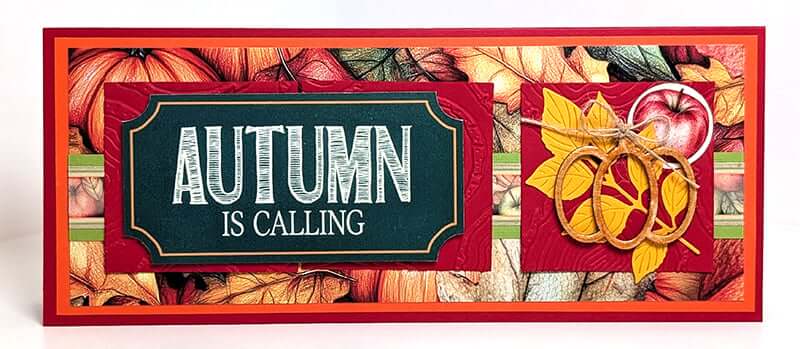
Stamp the banner woodcut with a sentiment (Autumn Garden 2012 special release) and India ink.
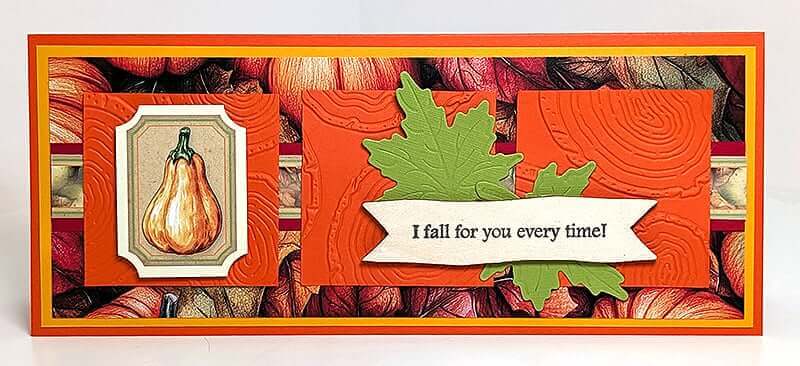
In lieu of a border strip cutapart, nest two plain strips topped with a length of Red Gingham ribbon; secure the ends to the back side with tape before adhering to the front of the card.
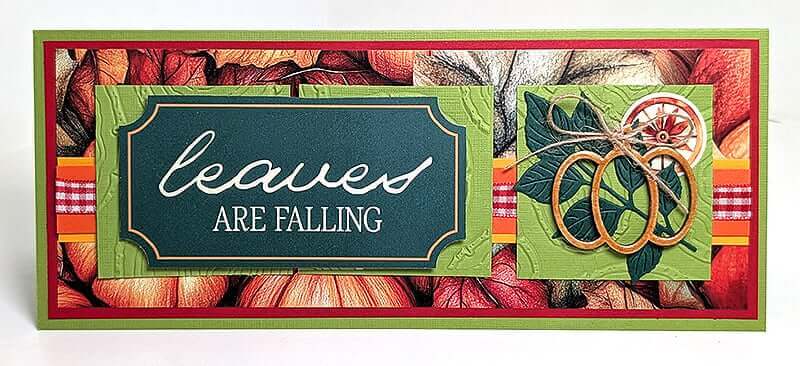
Stamp "thankful" (Autumn Glow 10.25) onto the banner woodcut with India ink.
I hope my cards provide a bushel-full of fresh ideas for you! Don't be afraid to transform any CS® special release page kit into greeting cards by recycling past card kit instructions or any of the awesome Card Formulas available online for purchase.
We love to see what your creating!
We invite you to share your finished artwork on our Facebook Chat Group. Not a member of the group yet? Simply answer a few questions and we'll get your request processed in no time!

Shopping Links
Fresh Picked Page Kit

$35.95
Kit includes all of the supplies needed to complete eight fully-embellished 12x12 scrapbook pages. Just add a trimmer, scissors and adhesive. Instructions download and video tutorial included. … Read More