
Happy summer! Tricia and I recently scrapped the Flower Power Page Kit, and the finished layouts are so bold, bright and beautiful, I couldn't wait to share them with you.
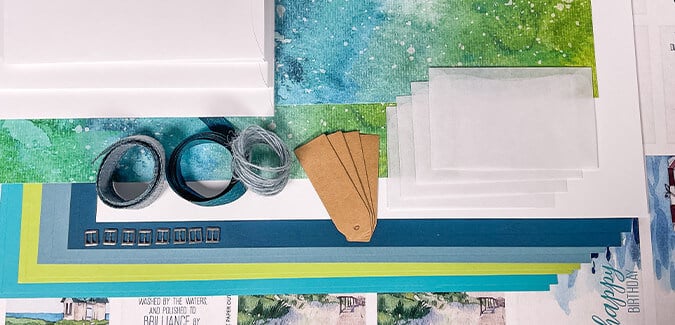
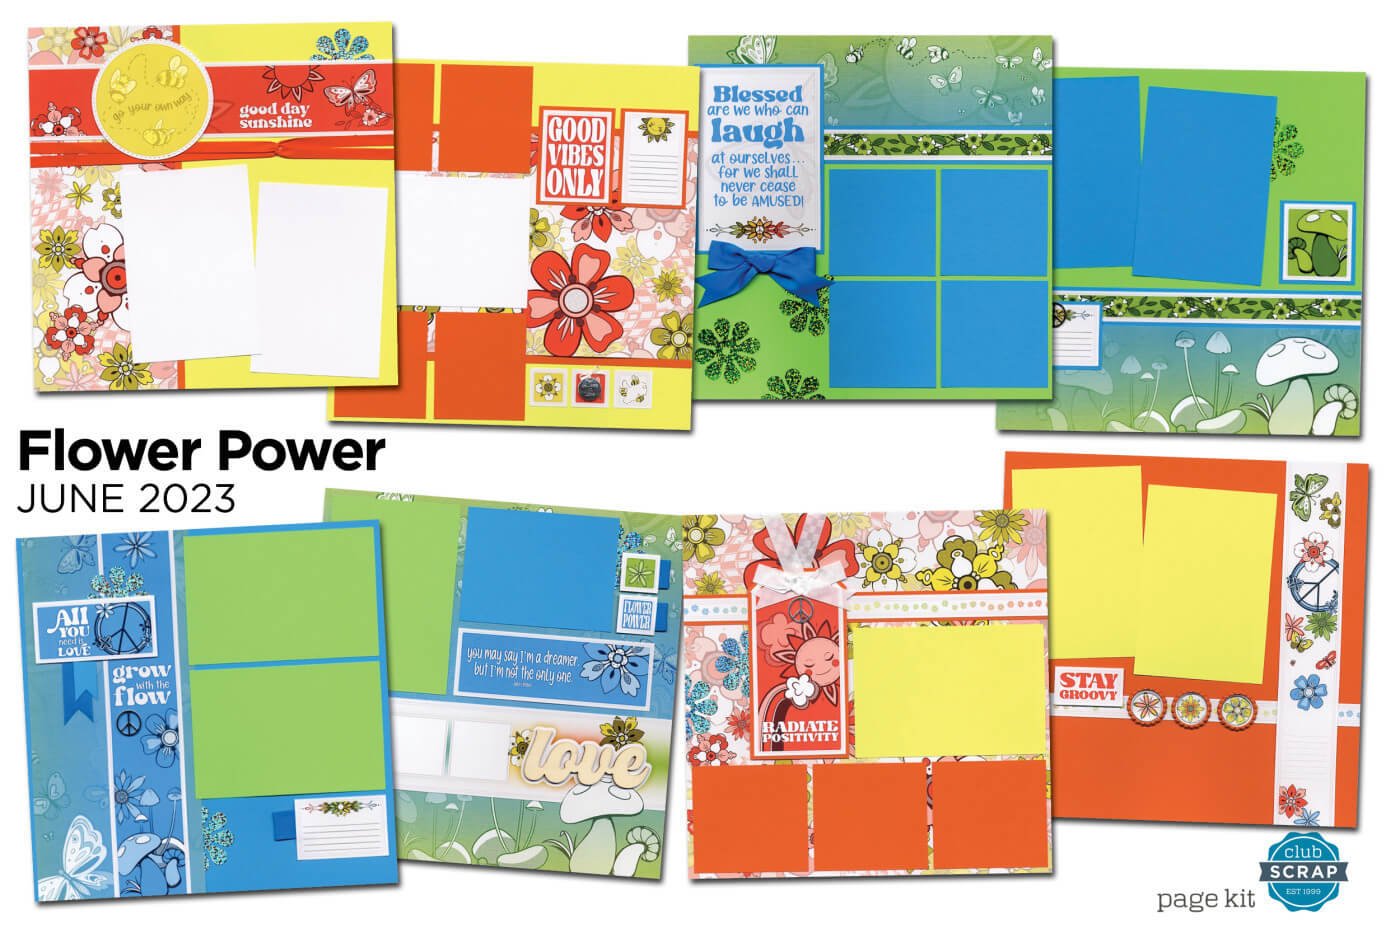
Flower Power Page Kit
Karen's Layouts
Even though each Club Scrap Page Kit creates eight coordinating pages, it's rare they'd feature memories from a single occasion or event. I generally treat each two-page spread independently, giving me the most flexibility when choosing photos.
Layout 1 & 2


I couldn't believe my luck when I discovered how well these photos coordinated with the Flower Power palette. (Thanks for wearing your Broncos jersey, Hunter!)

To make room for an extra photo in the upper left corner, shift the location of the round cutapart.

On the right page, flip the orientation of the mats from horizontal to vertical. Use a craft knife and cutting mat to bring the large flower image on the cutapart into the foreground. Tie white waxed cord onto the love charm; adhere to the center of the flower with foam adhesive.
Layout 3 & 4


The blues in this spread are an ideal match for the color scheme of Hunter and Liz's baby shower.

I didn't change much on the left page, other than add a photo to the left side of the layout. (Mat with Green from the Flower Power Pack of Panels.)

In lieu of three small photos, trim a single 2.25x6" photo to fit the space on the cutapart; mat with Blue (Pack of Panels).

Flip the sentiment cutapart to the plain side and attach the peace sign with Bookbinding Glue.
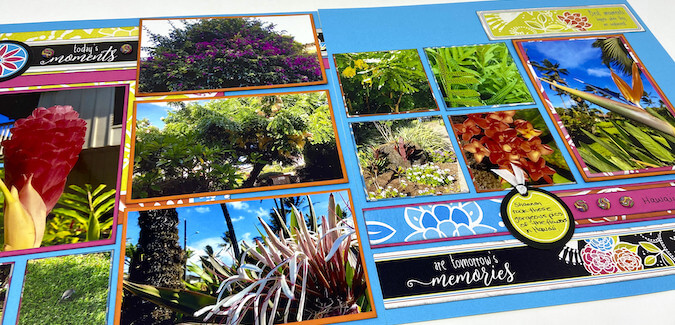
Layout 5 & 6


This two-page spread was perfect for photos of my grandson swimming last weekend.

Add a 1/4x12" Blue strip below the border on the left page with Bookbinding Glue. Create a 4x6" mat for the 3.75x5.75" photo with Blue from the Pack of Panels.

Mat the journaling border strip with a 2.25x12" Blue. Adhere a 3.75" square photo to the open space at the bottom of the page.
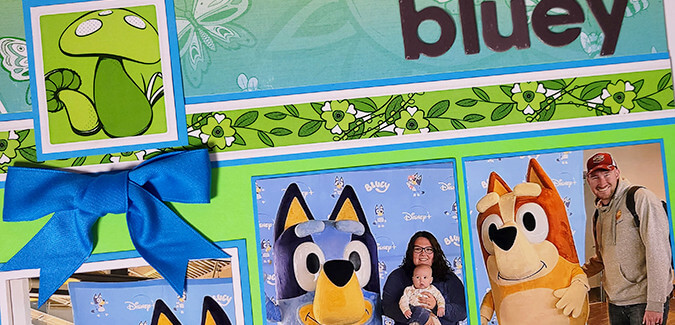
Layout 7 & 8


This two-page spread features Patrick's visit (along with Momma, Daddy, his aunts and uncle) to see Bluey and Bingo during a local baseball game.

Flip the sentiment cutapart to the plain side and use as a mat for a photo. Move the mushroom cutapart from Page 8 to Page 7.

Switch the mats on Page 8 to a horizontal orientation. Tuck an extra unmatted photo into the space to the right.
Tricia's Flower Power Pages
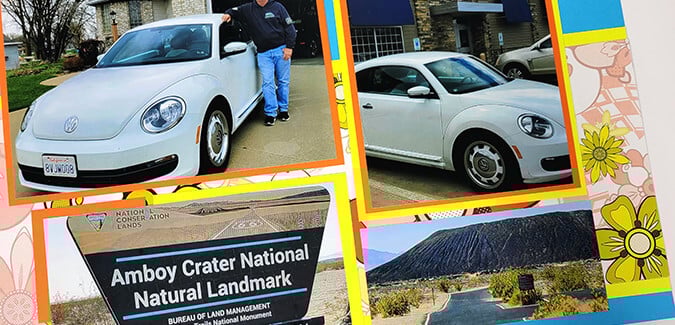
Tricia's completed pages feature her husband's recent journey from San Diego to Wisconsin in their daughter's VW Beetle. The layouts feature photos he took during his travels along Route 66.
Layout 1 & 2

Layout 3 & 4


In lieu of cropping three photos to fit the small square "openings" on the cutapart, Tricia trimmed a single photo to fit the same space.
Layout 5 & 6


Adding extra photos is easy when you put the 8x8 grid ruler to good use. Simply measure the space available, and crop two photos to fit.
Layout 7 & 8


Tricia added two extra photos to this two-page spread. One at the top of the left page...

...and another on the right side - positioned next to the journaling prompt.
We hope our finished pages provide inspiration as you scrap your Flower Power page kit. Be sure to share your finished layouts with fellow Club Scrap enthusiasts on the Club Scrap Chat group on Facebook.