
Create cards and a tag with the fun and festive Mariachi Stamps from Club Scrap's January collection. I had so much fun making the card samples that I didn't want to stop there - so I made a tag, too!
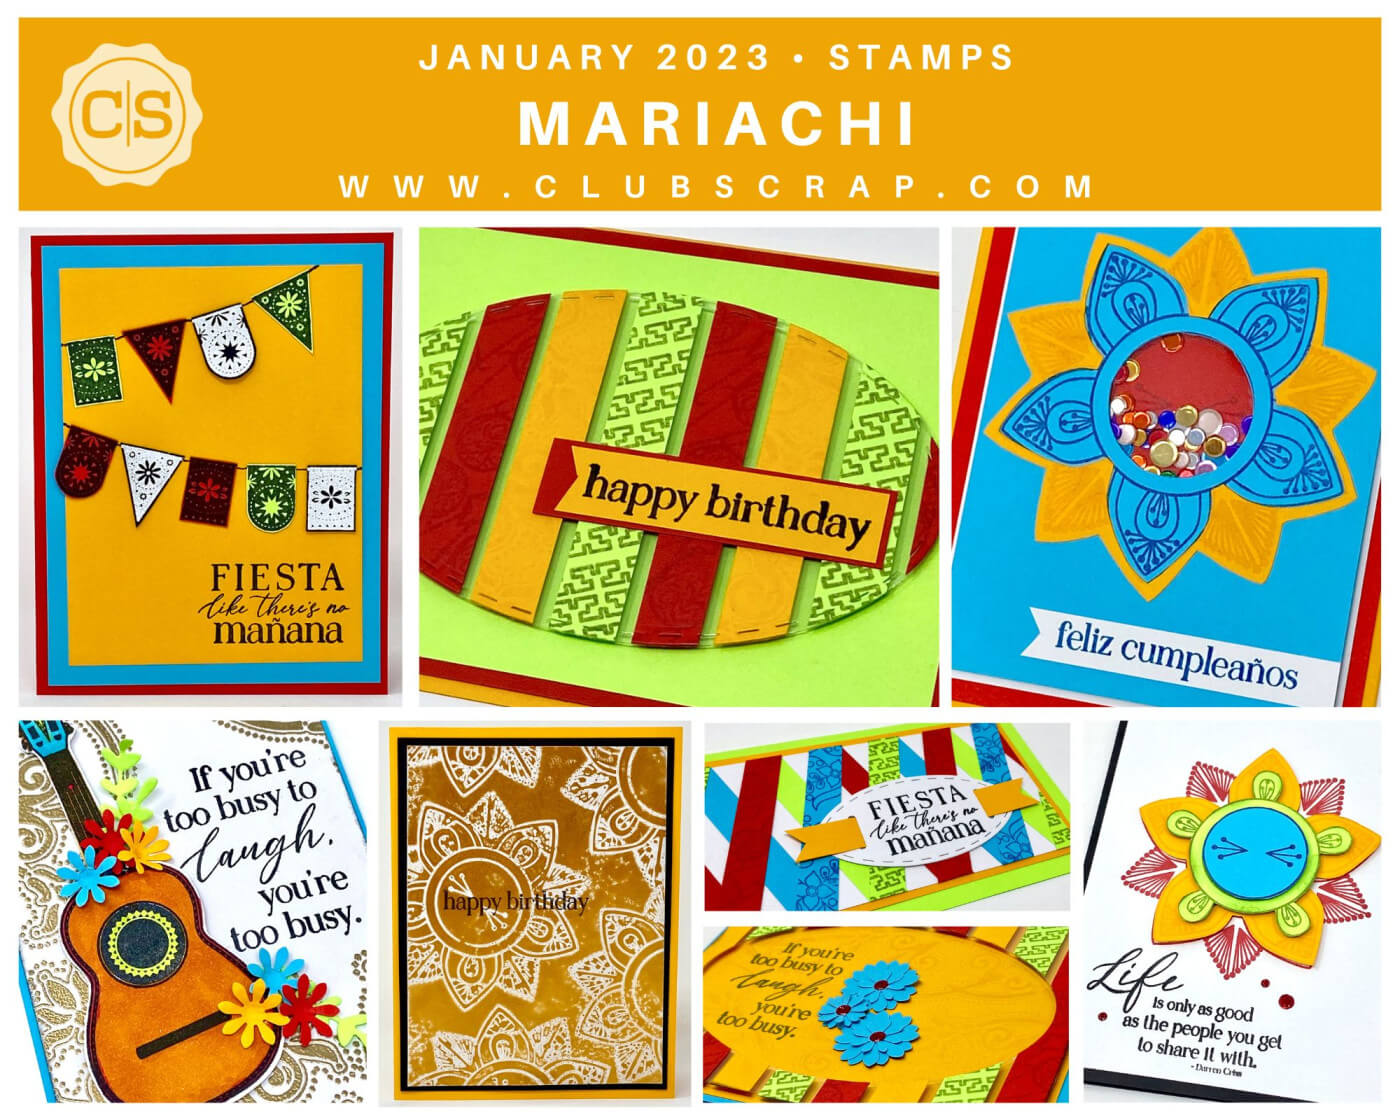
Mariachi Stamps

The Mariachi images and sentiments are so easy to use! Keep reading to take a closer look at each card.
Card 1
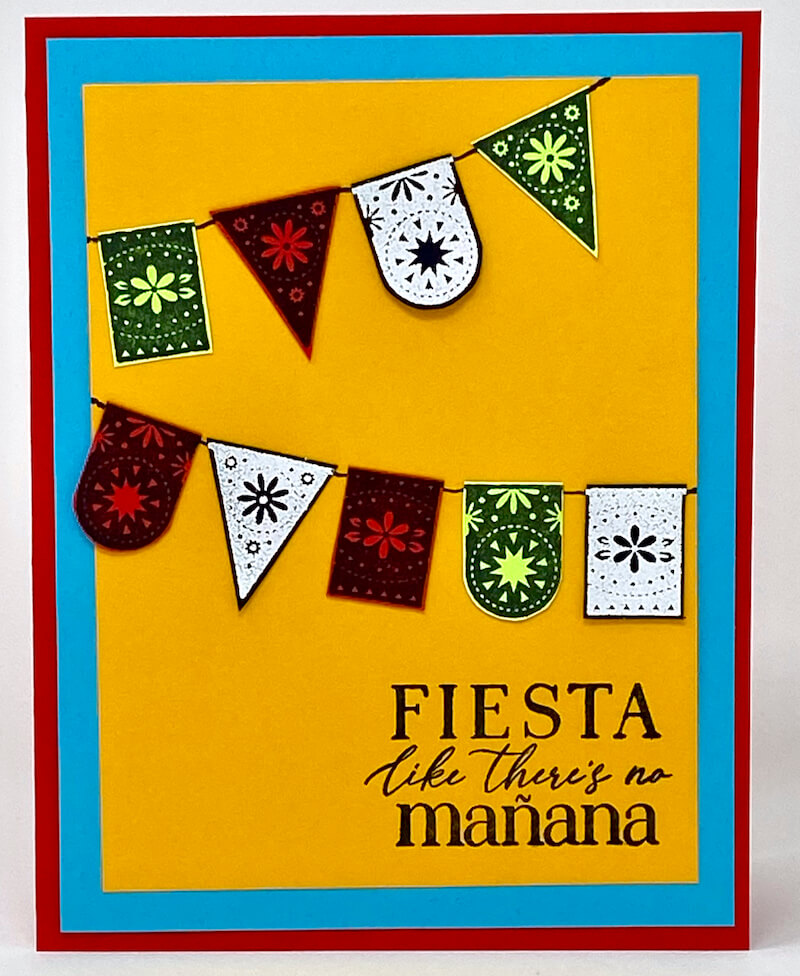
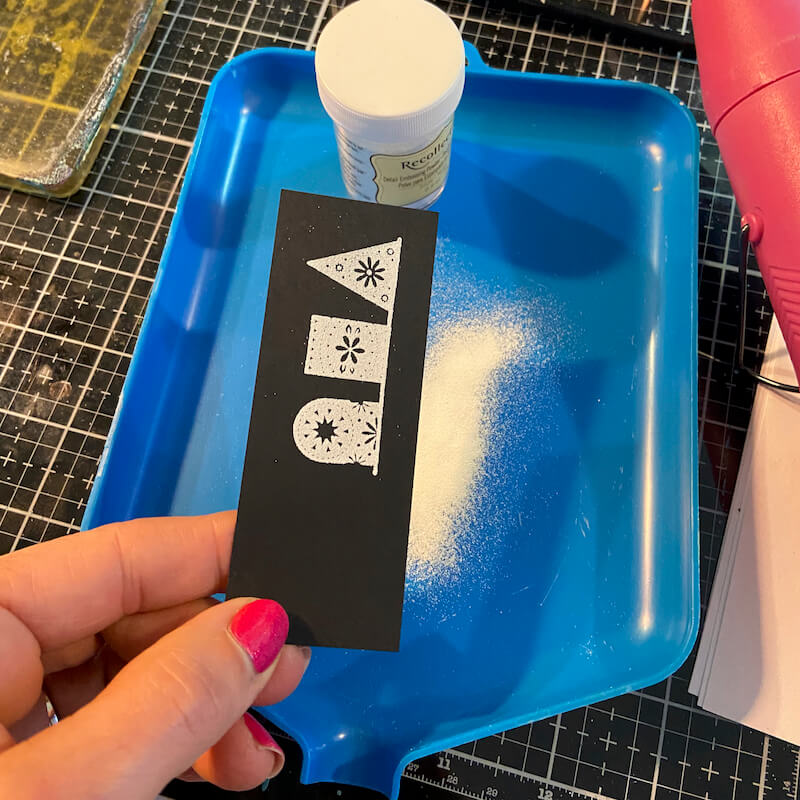
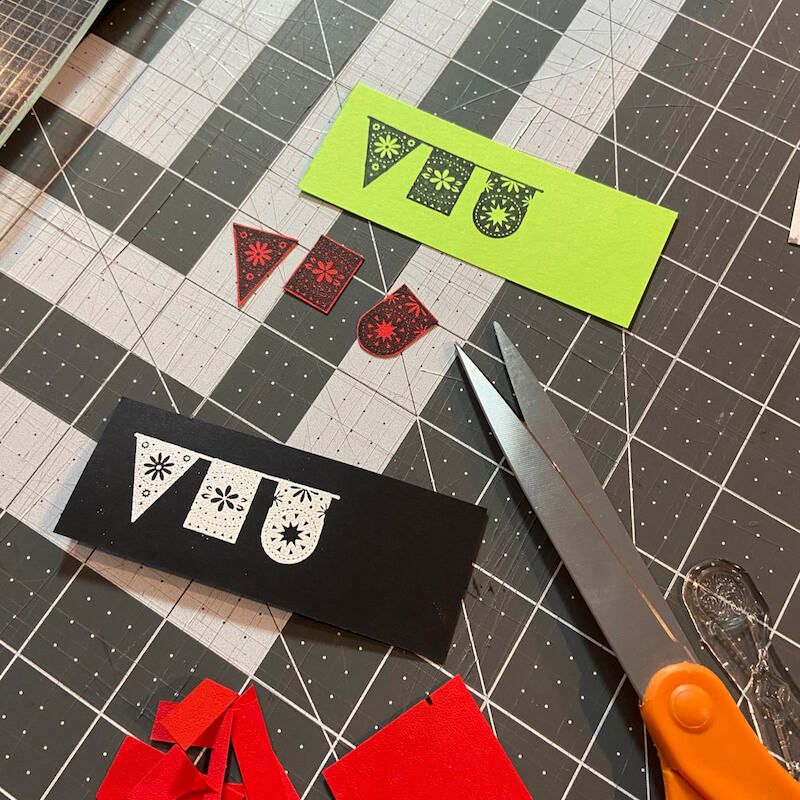
Stamp the banner images on Red and Green panels in India Ink. Stamp the same image onto a Black panel with White Pigment Ink.
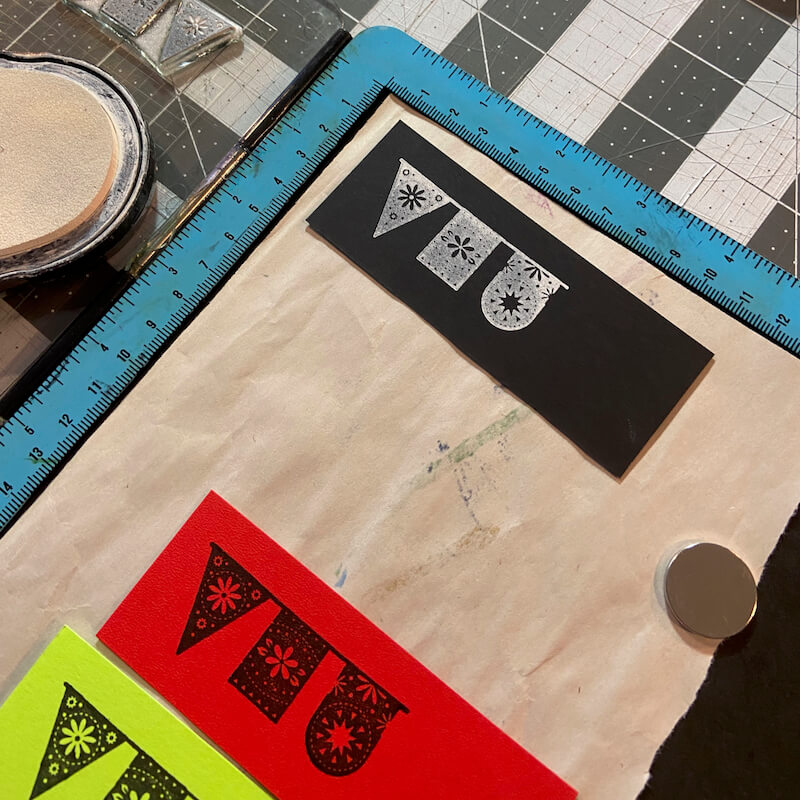
Dust the still-wet ink with white embossing powder and heat set to melt.
Separate each individual flag image with scissors.
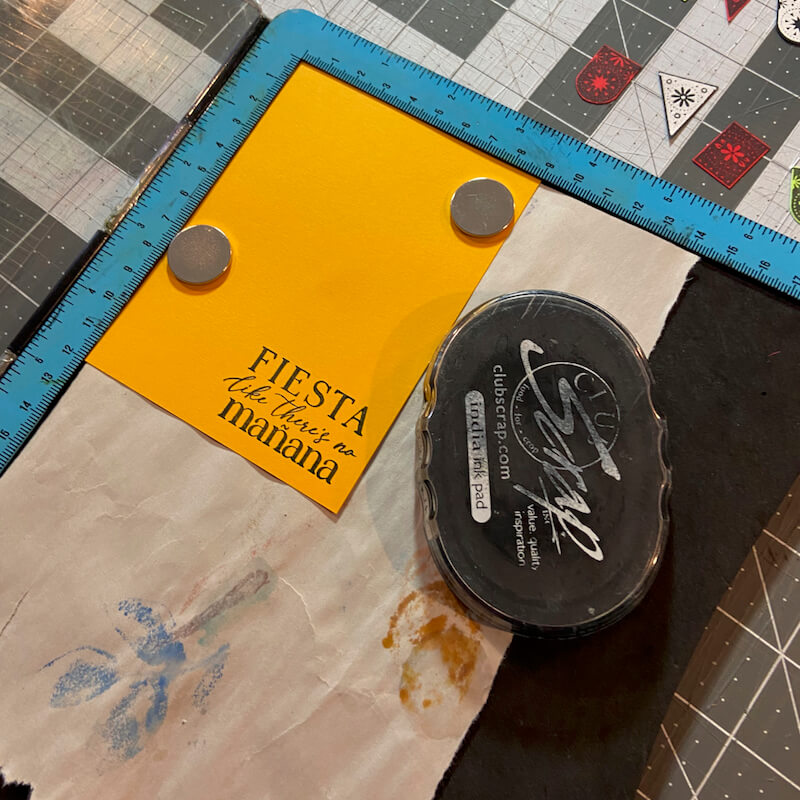
Stamp the sentiment onto the lower right corner of a Yellow panel with India Ink.
Hand draw a string with a fine-tipped journaling pen.
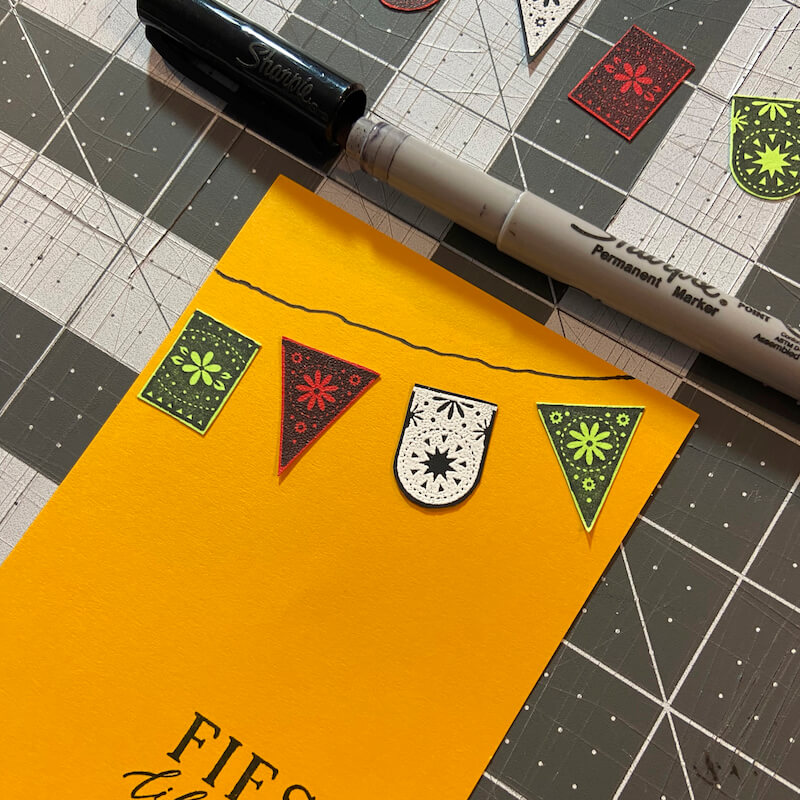
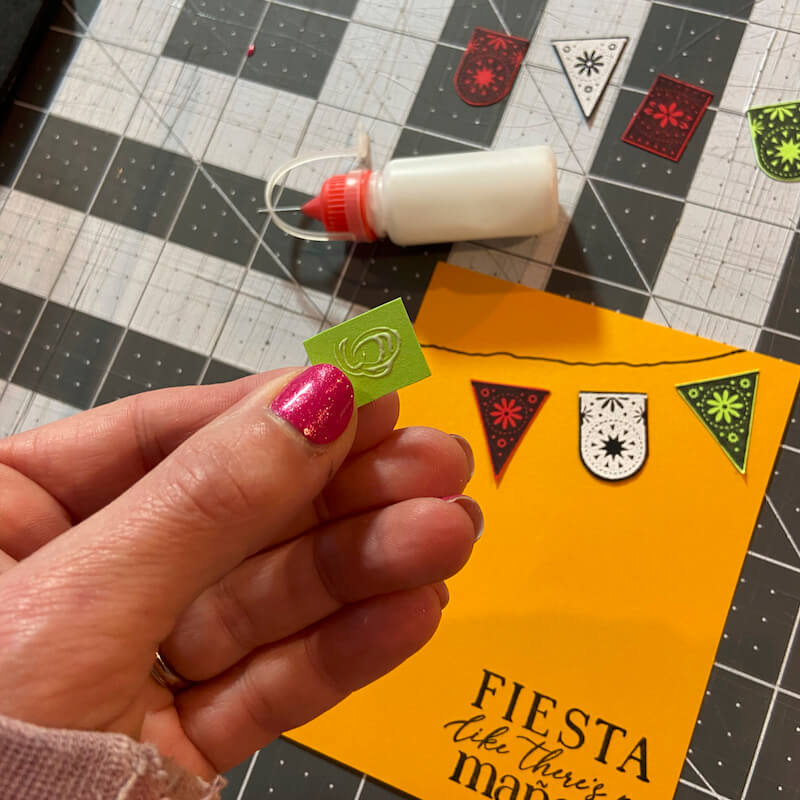
Add a bit of Bookbinding Glue to the back of each banner and adhere to the panel along the "string".

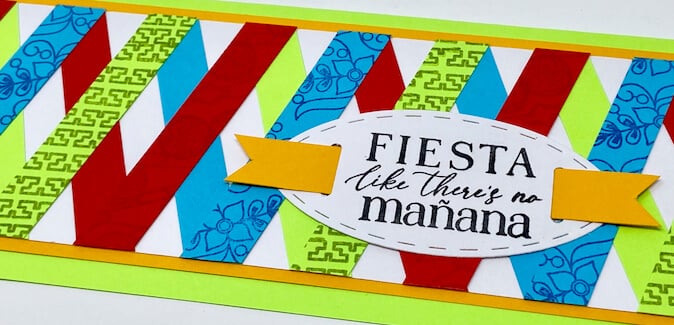
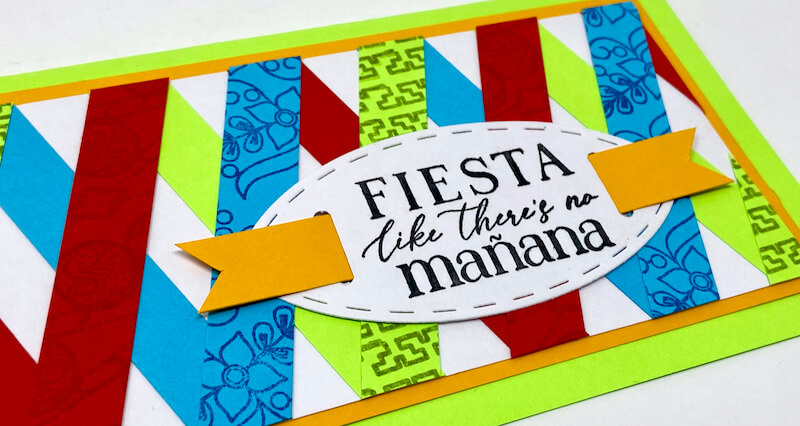
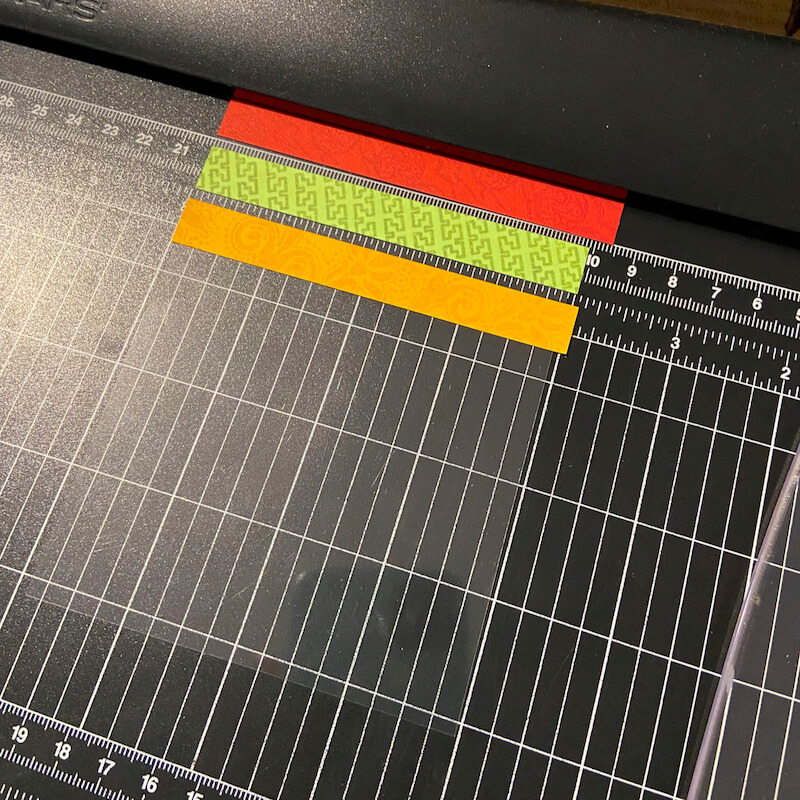
Card 2 - Twisted Ribbons Technique

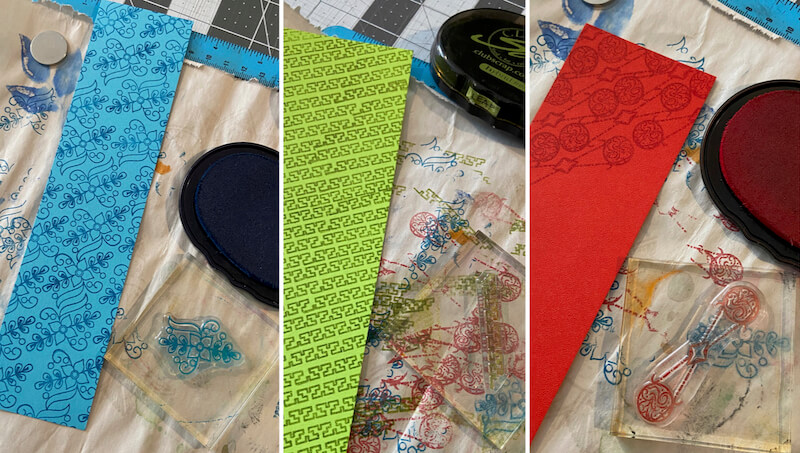
Make a repeating stamp design on Blue, Green and Red panels with Lagoon, Leaf, and Red Hybrid Inks.
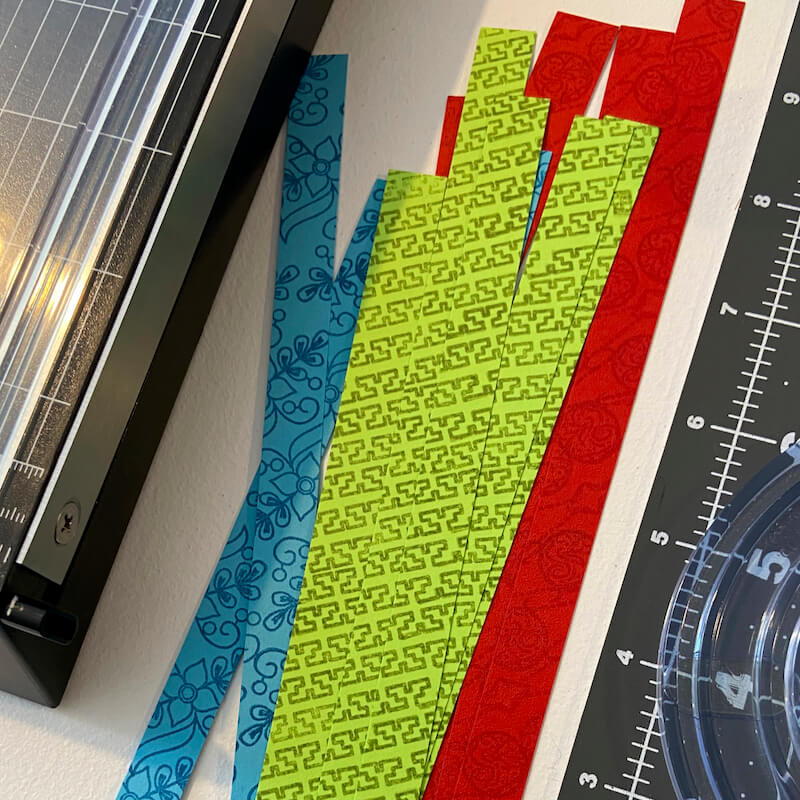
Trim the stamped panels into 1/2" strips with a Paper Trimmer.
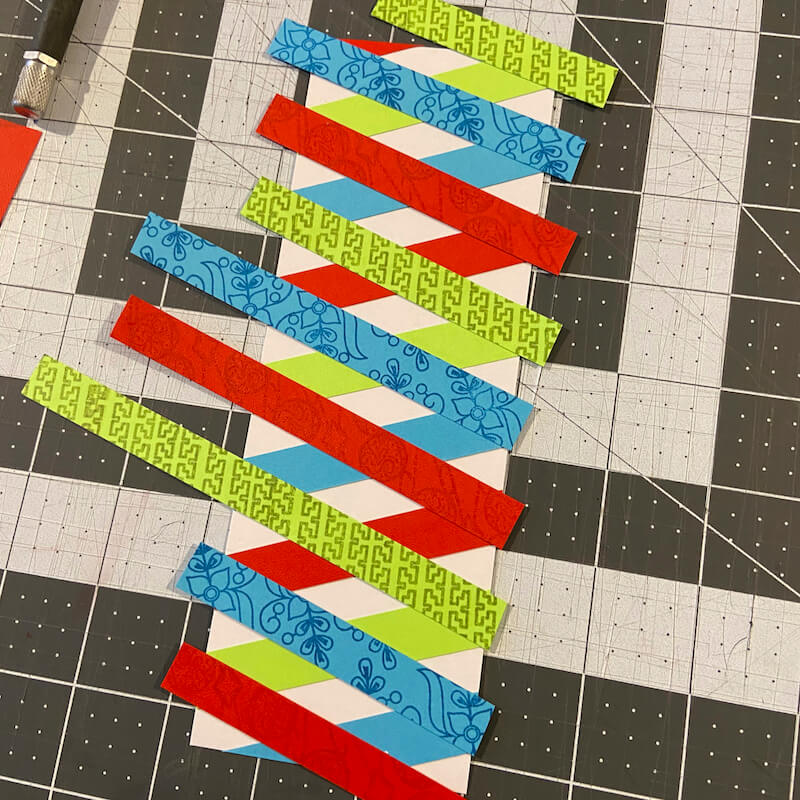
Adhere the strips to the panels following the Twisted Ribbons technique. (Stay tuned later this month as I share a detailed tutorial on the blog.)
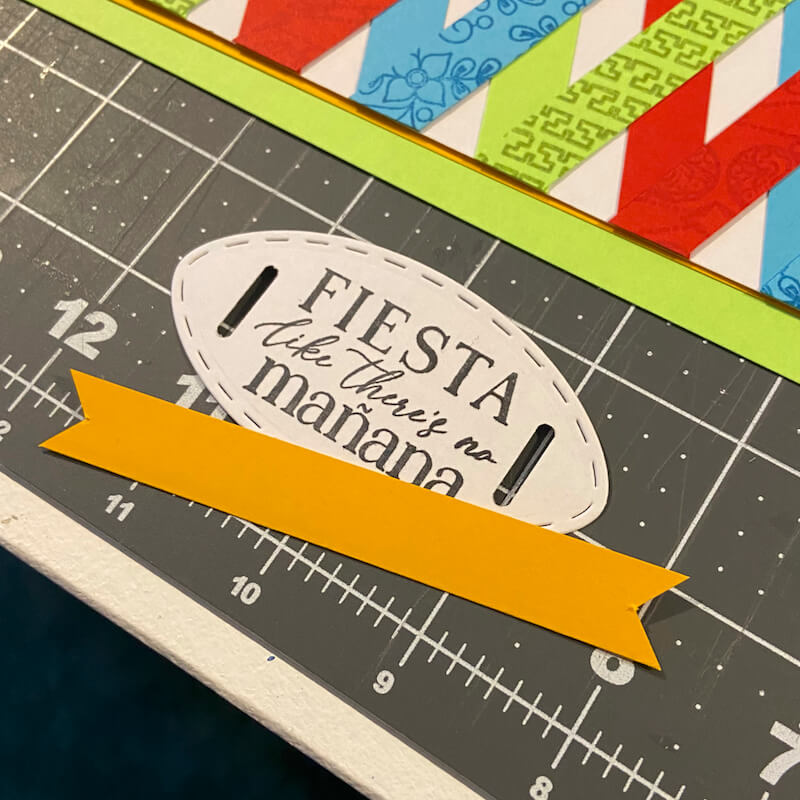
Add the sentiment to a white panel in India Ink. Die cut into an oval shape. Add slots (with a Slot Punch) to each end of the oval. Trim the ends of a 1/2" Yellow strip to create a banner shape; slide through the slots.
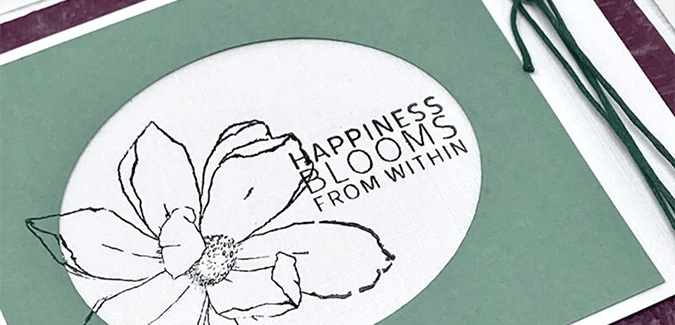
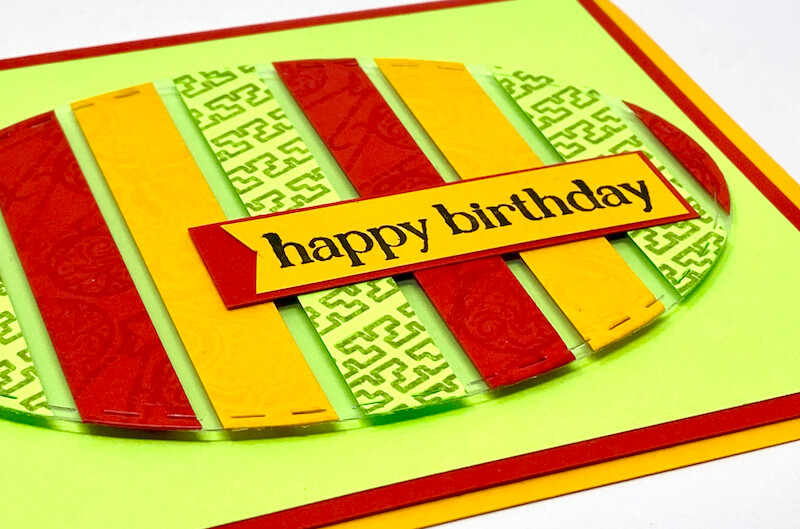
Card 3 - Watermark Ink Resist
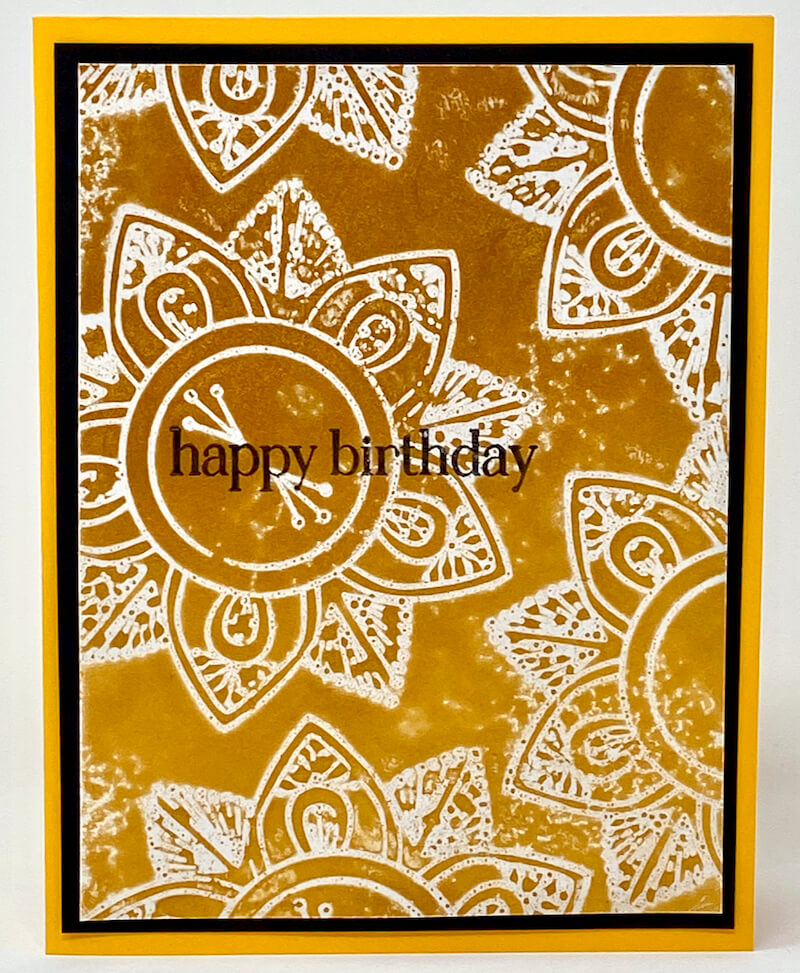
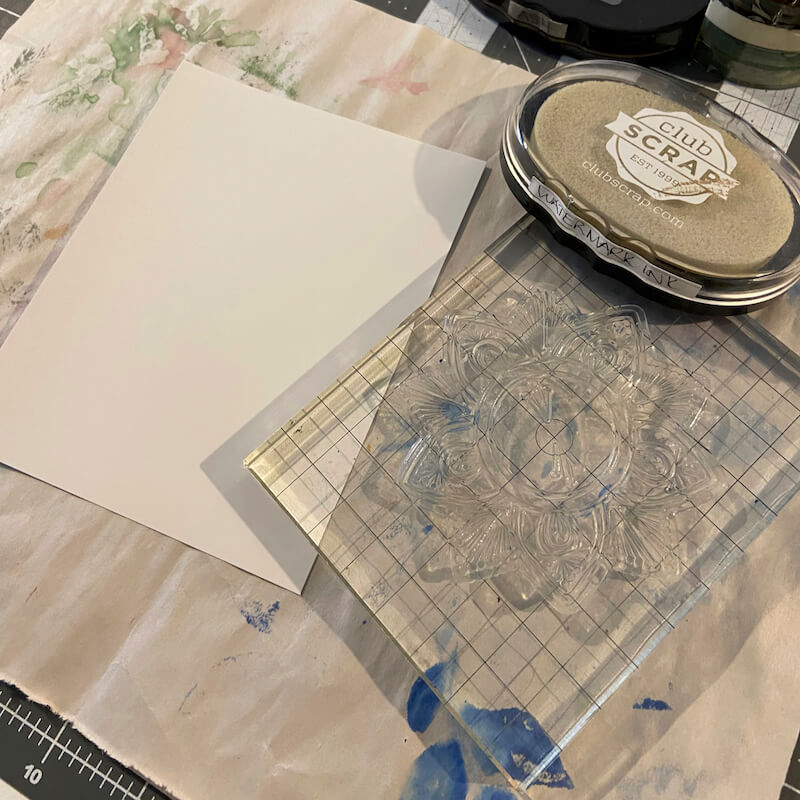
Repeatedly stamp the large flower image onto a white panel with Watermark Ink.
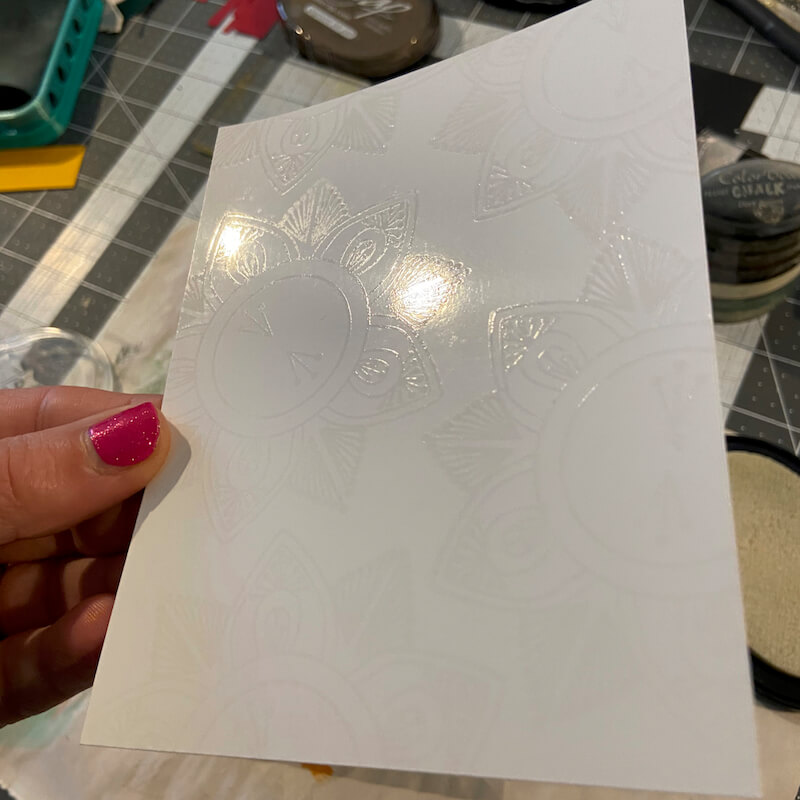
Once the ink has dried, place the stamped panel in a spray tray (aka Club Scrap Pizza Box).
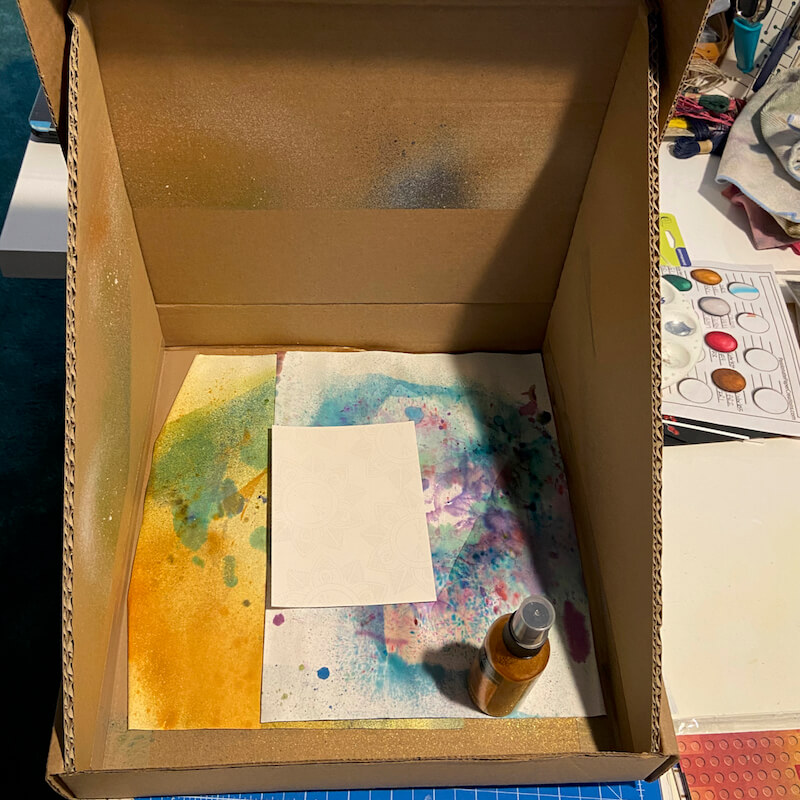
Mist the panel generously with gold shimmer spray. The Watermark inked areas will resist the spray. Let the panel dry completely before moving on to the next step.
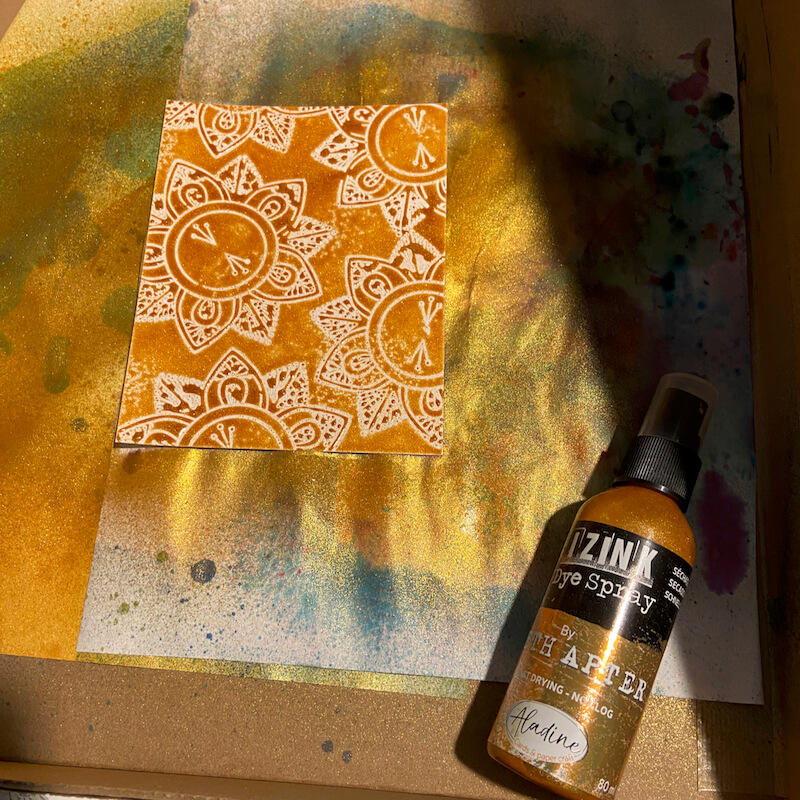
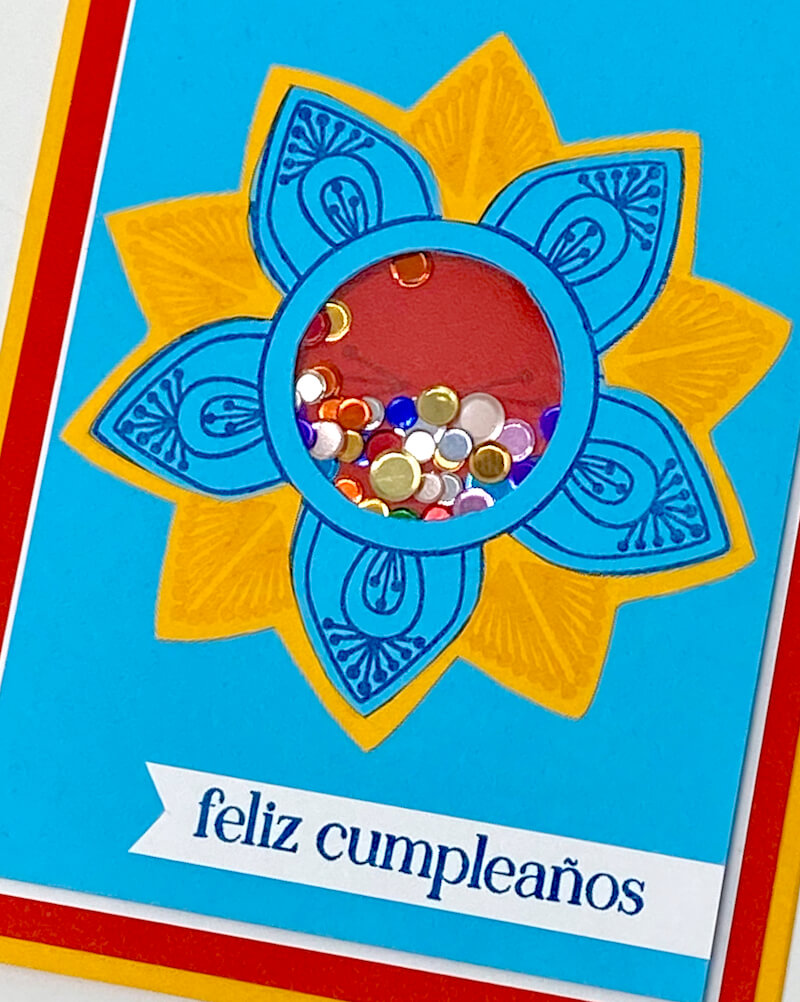
Stamp the happy birthday sentiment directly onto the misted panel with India Ink.

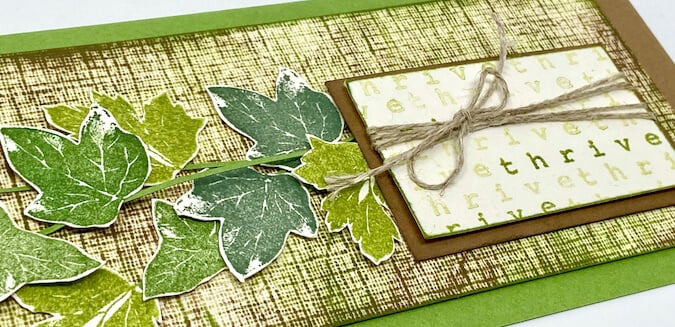
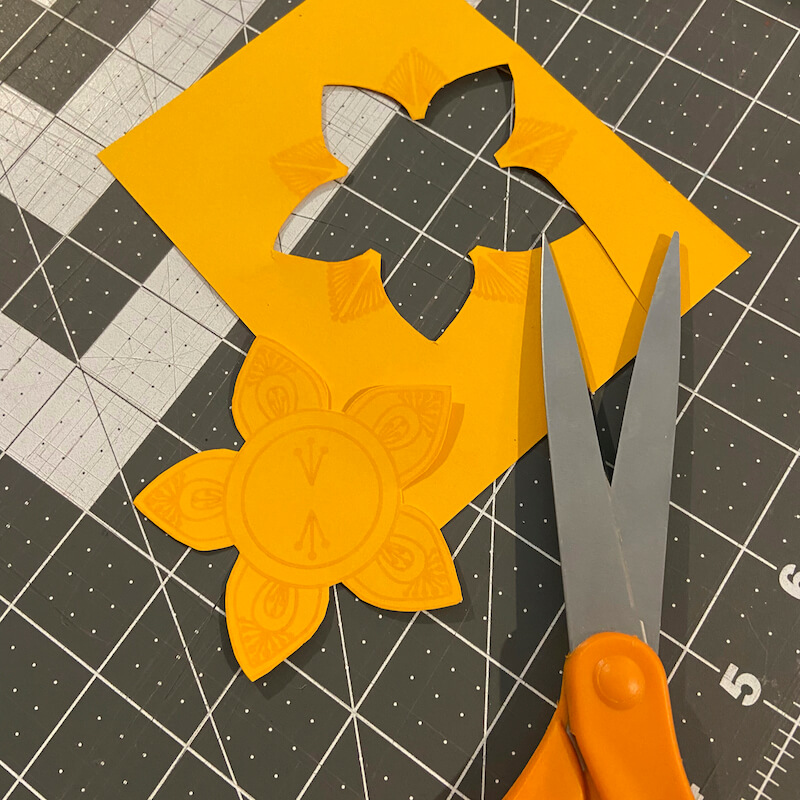
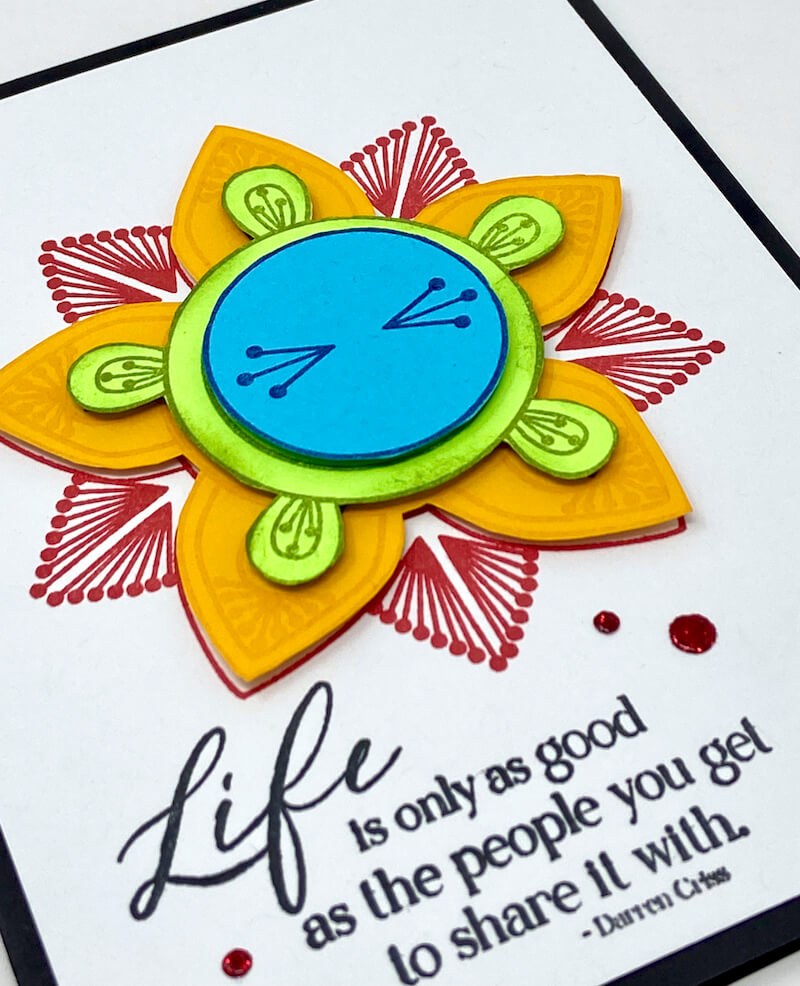
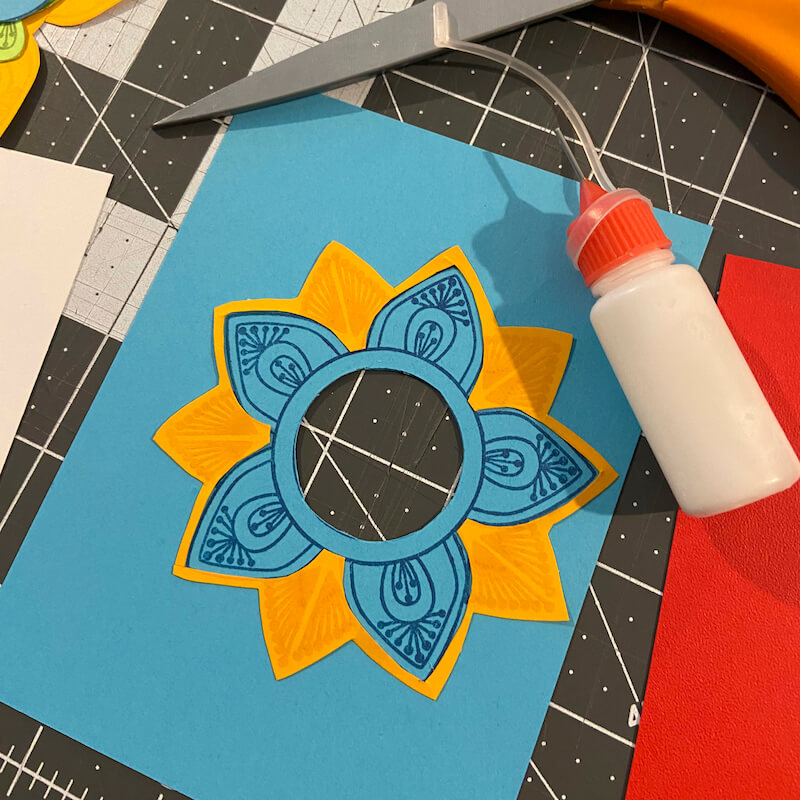
Card 4
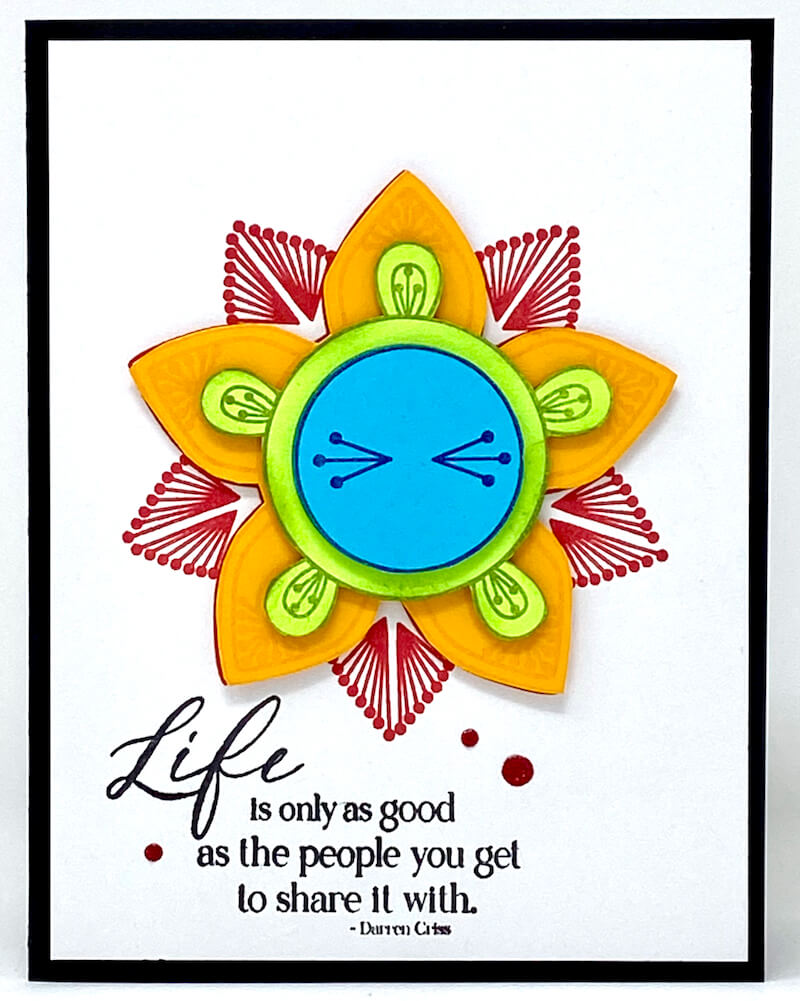
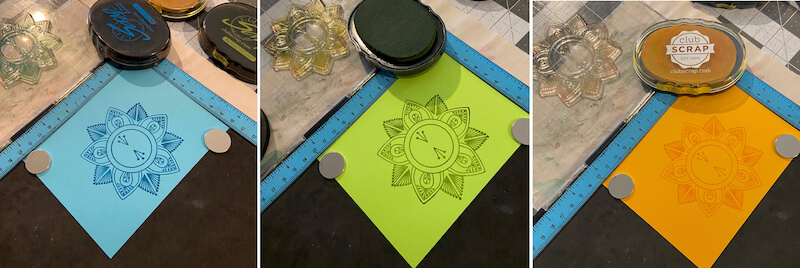
Stamp the large flower image on Blue, Green, and Yellow panels in Lagoon, Leaf, and Yellow Hybrid Inks.
Cut out the solid flower shape from the Yellow panel with scissors. (Hold on to the scraps as they will be utilized in Card 5!)
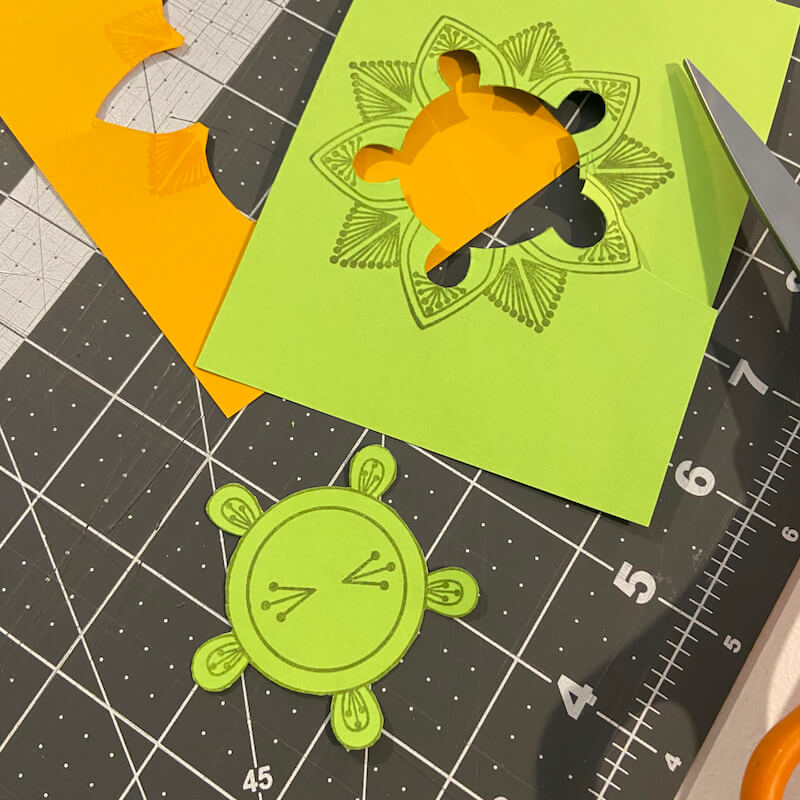
Trim a secondary shape from the Green panel.
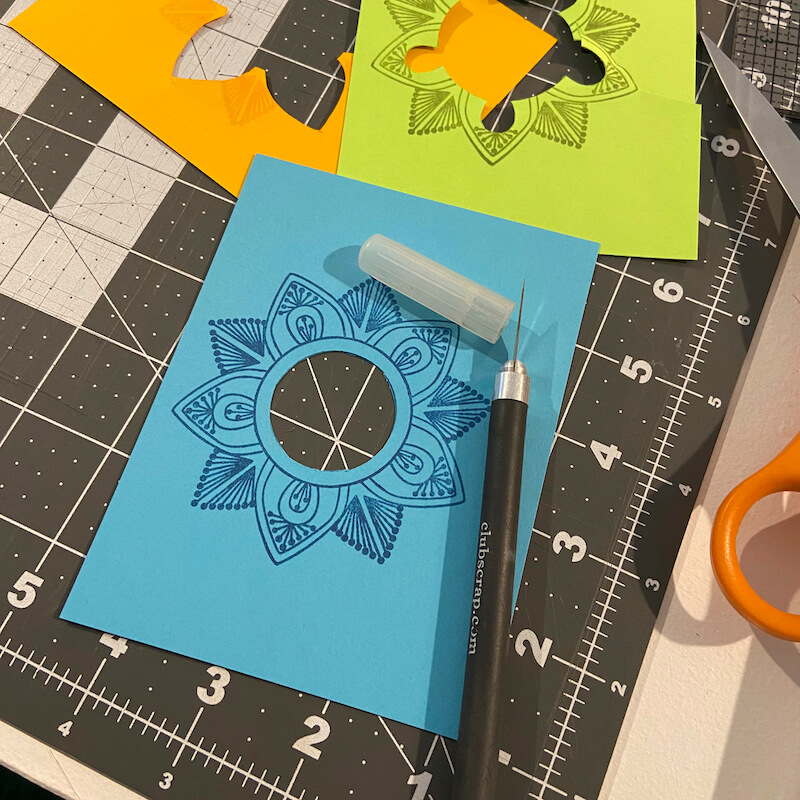
Remove the circle from the Blue panel with a craft knife.
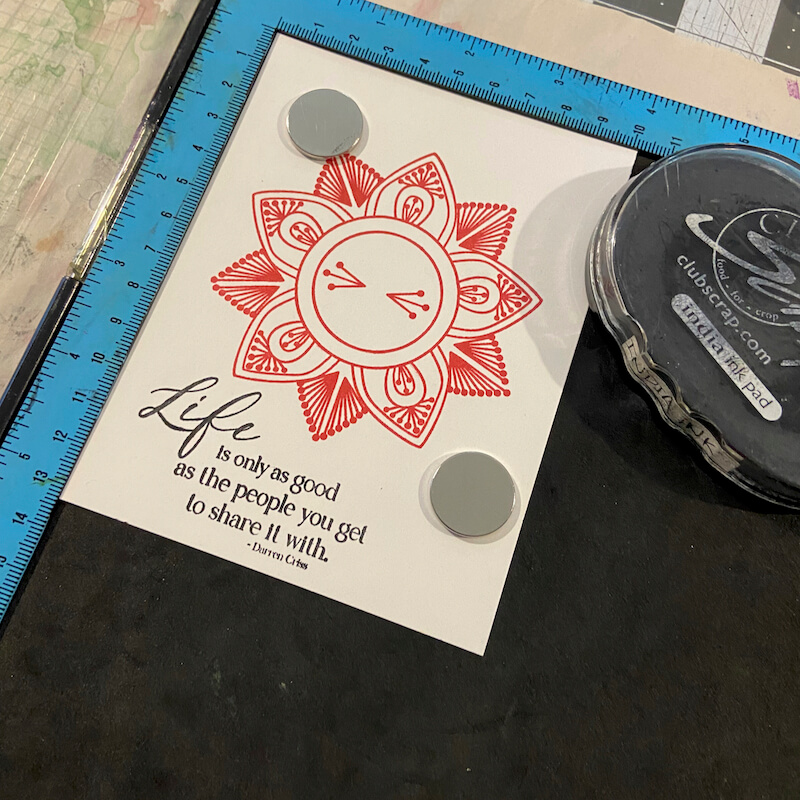
Finally, stamp the large flower image with Red ink onto a white panel. Add the sentiment with India ink.
Add Foam Adhesive Circles to the back of each fussy cut stamped layer.
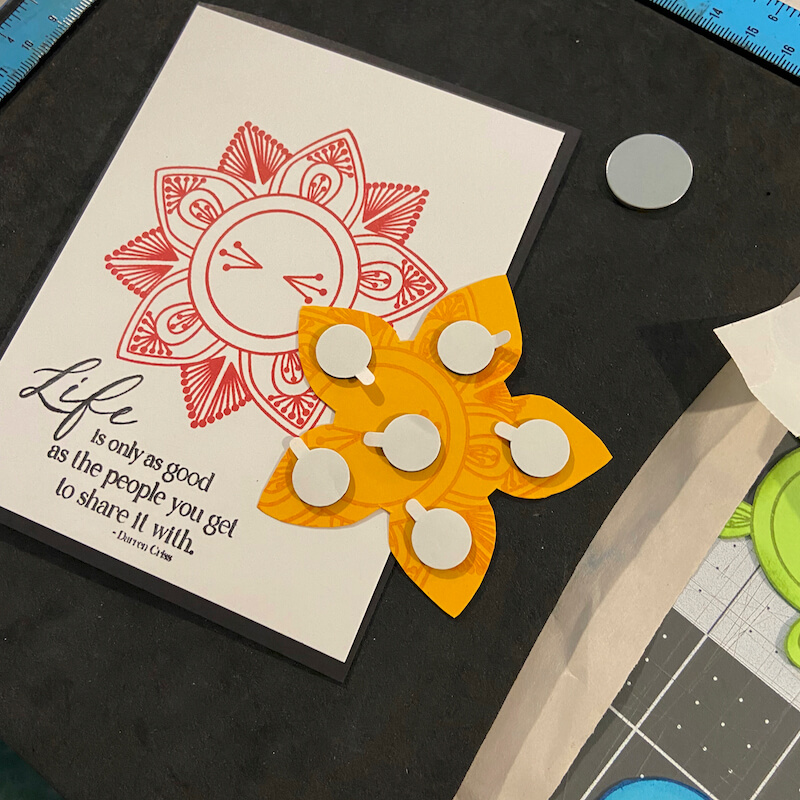
Adhere each layer to its corresponding position on the panel, adding tons of dimension to the finished card.
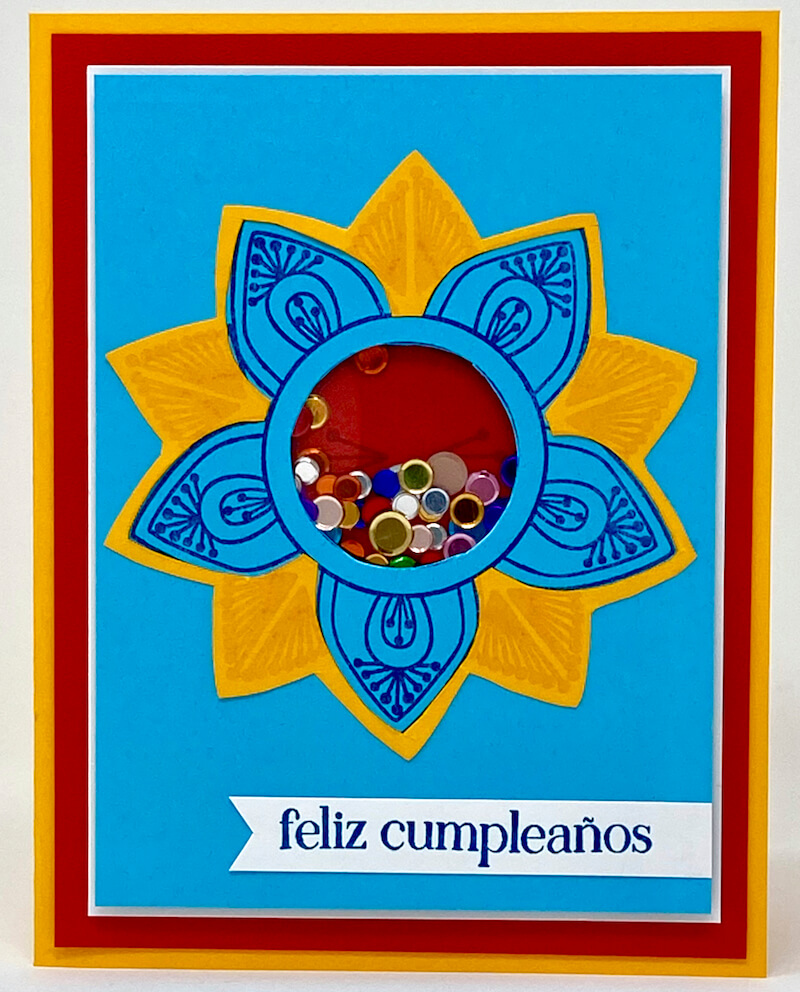
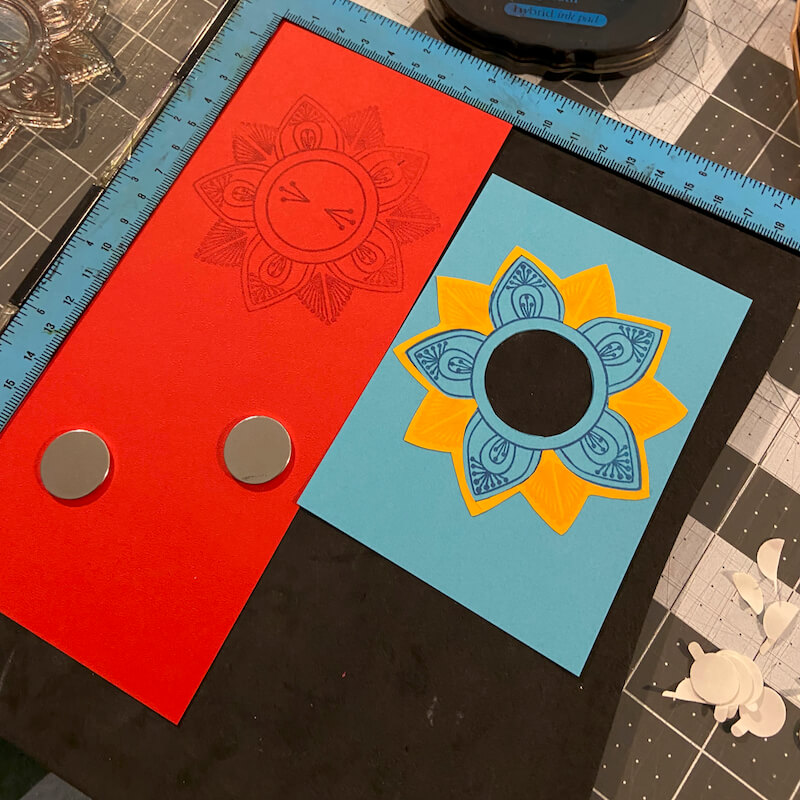
Card 5 -Shaker Card
Locate the Blue panel from Card 4.
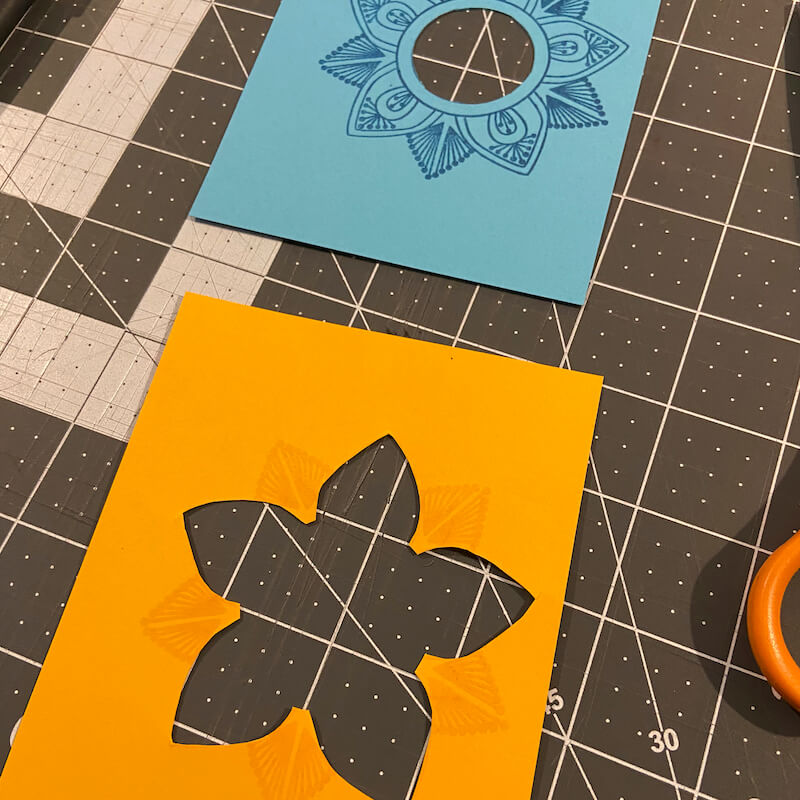
Trim around the Yellow flower shape as shown below. Layer onto the blue stamped panel with Bookbinding Glue.
Stamp the large flower image on a new Red panel with Red Ink.
Adhere a small piece of clear acetate to the back of the blue panel, covering the circle opening.
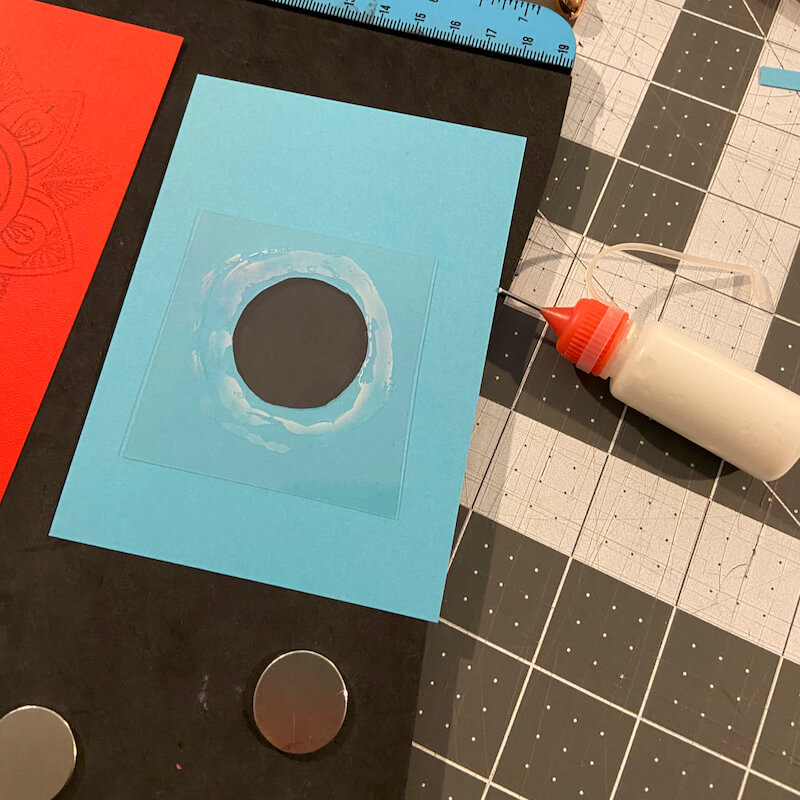
Trim the Red panel so that it is slightly smaller than the Blue. Trace around the perimeter of the Red panel on the back of the Blue panel with a pencil. Add foam adhesive strips around the acetate window and framing the marked area. Fill the circle window with shaker confetti. Carefully remove the backing strips from the foam adhesive, and position the Red panel within the marked area.
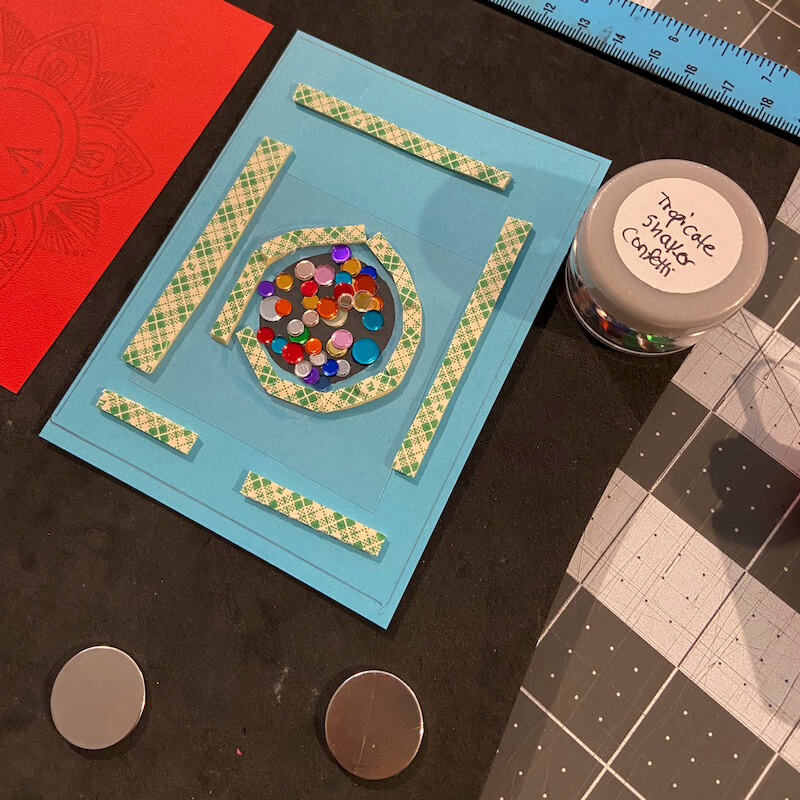
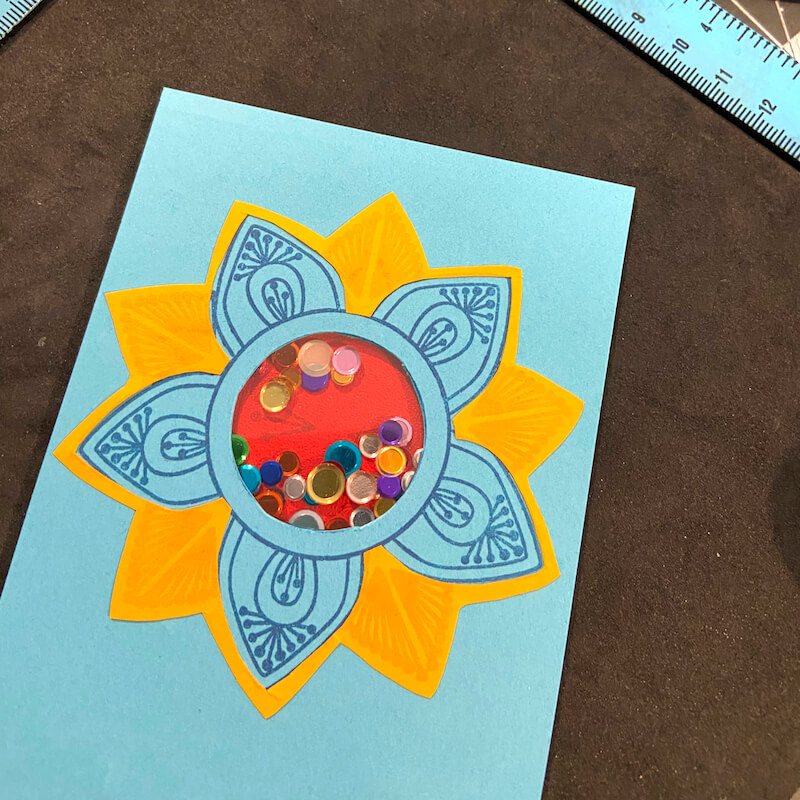
I love making fun shaker cards!
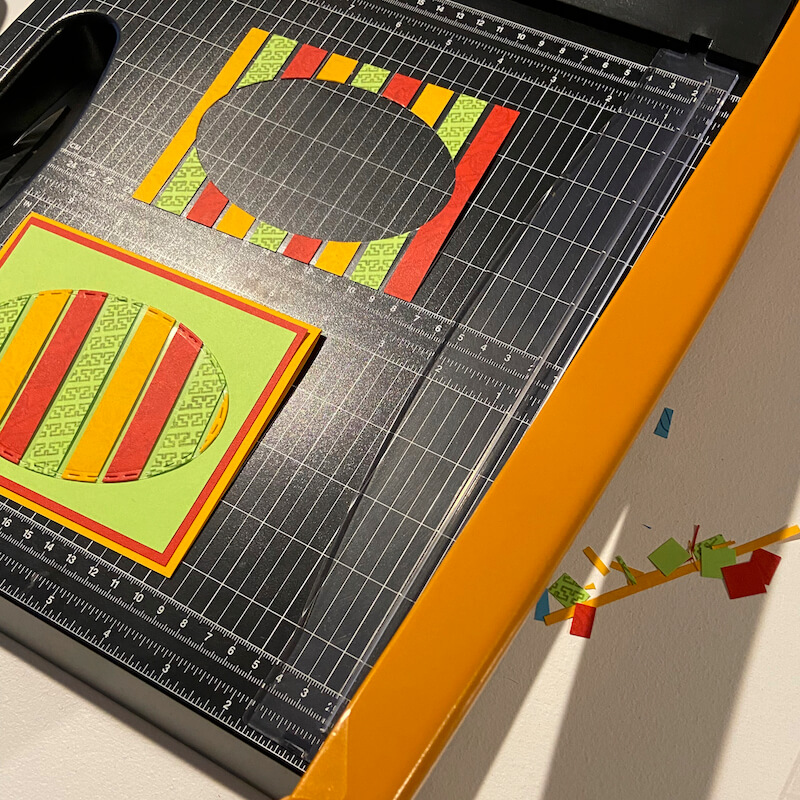
Card 6 - Floating Strips Technique

Stamp Red, Green and Yellow panels with coordinating inks. Trim panels into 1/2" strips, and adhere to a sheet of clear acetate with Bookbinding Glue. Make sure to leave 1/8" between each strip.
Continue to add strips to fill the acetate panel. Trim an oval shape from the panel with a thin rule die.
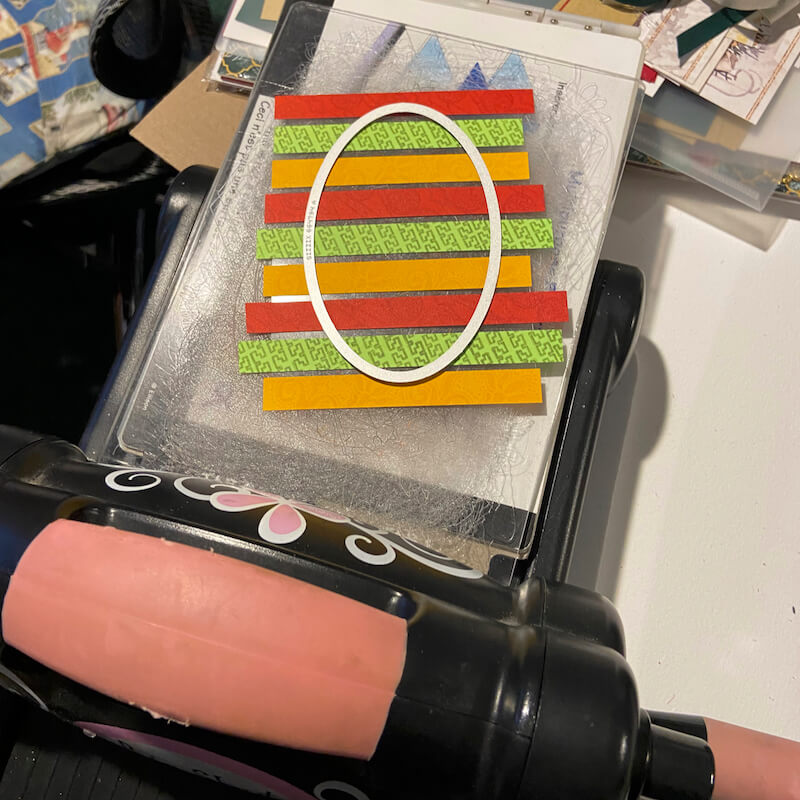
Trim excess paper strips from the perimeter of the acetate frame. Set aside for use in Card 7.
Add lengths of foam adhesive to the back of the oval, disguising it behind the paper strips.
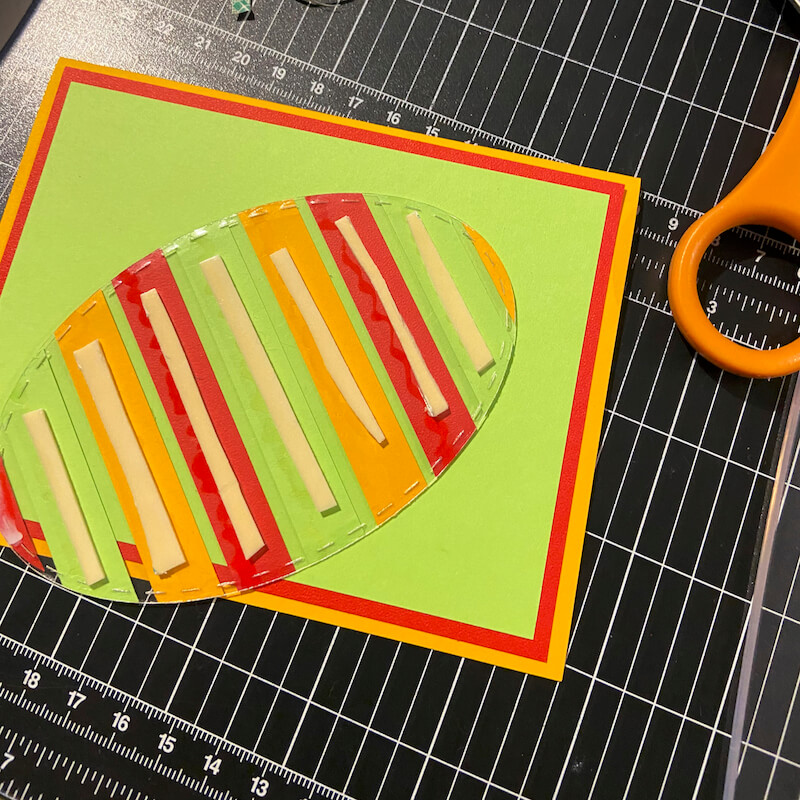
Remove the adhesive backing and adhere to a card base. Add a stamped sentiment to finish the card.
Card 7
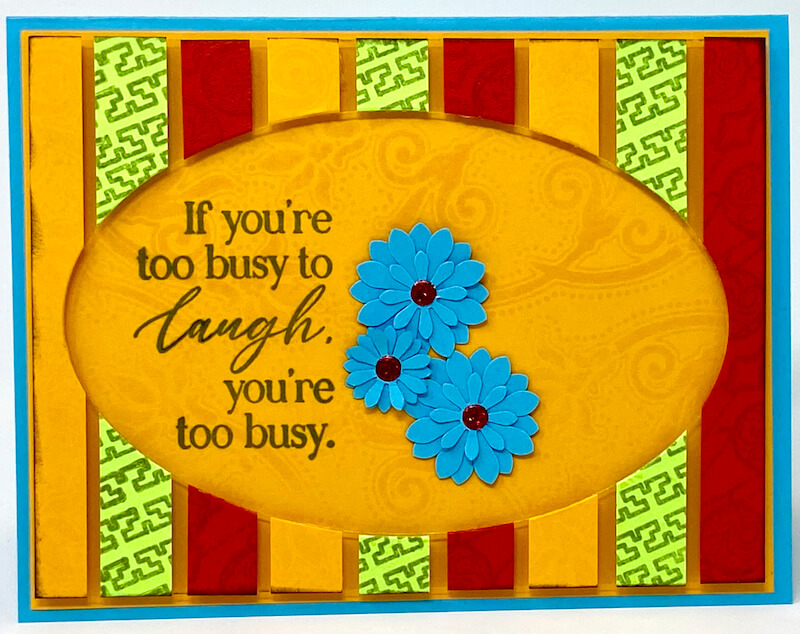
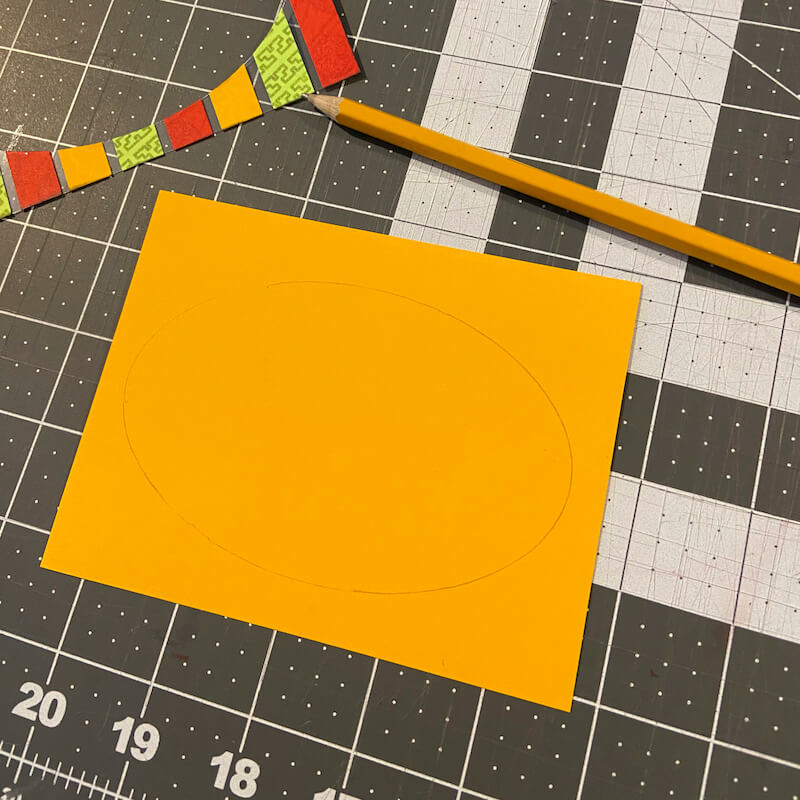
Die cut an oval shape (same as above) from a scrap panel to create a mask for stamping.

Place the acetate frame over a Yellow panel ensuring an 1/8" reveal around all sides.

Lightly trace the inside perimeter of the oval shape onto the panel with a pencil.
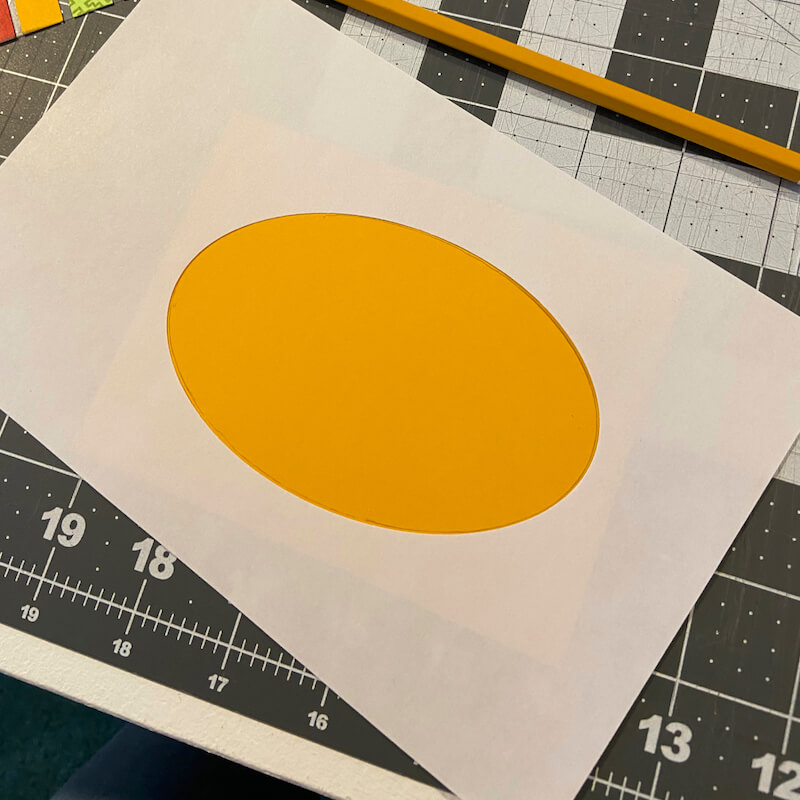
Cover the Yellow panel with the mask, using the pencil marks as a guide.
Stamp swirl images inside the oval with Yellow Ink.
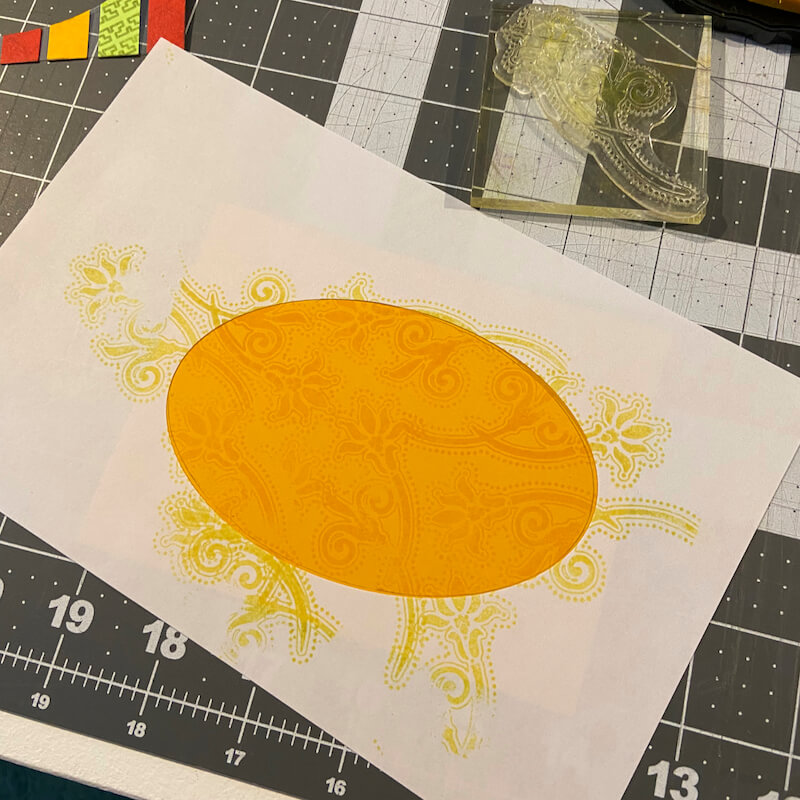
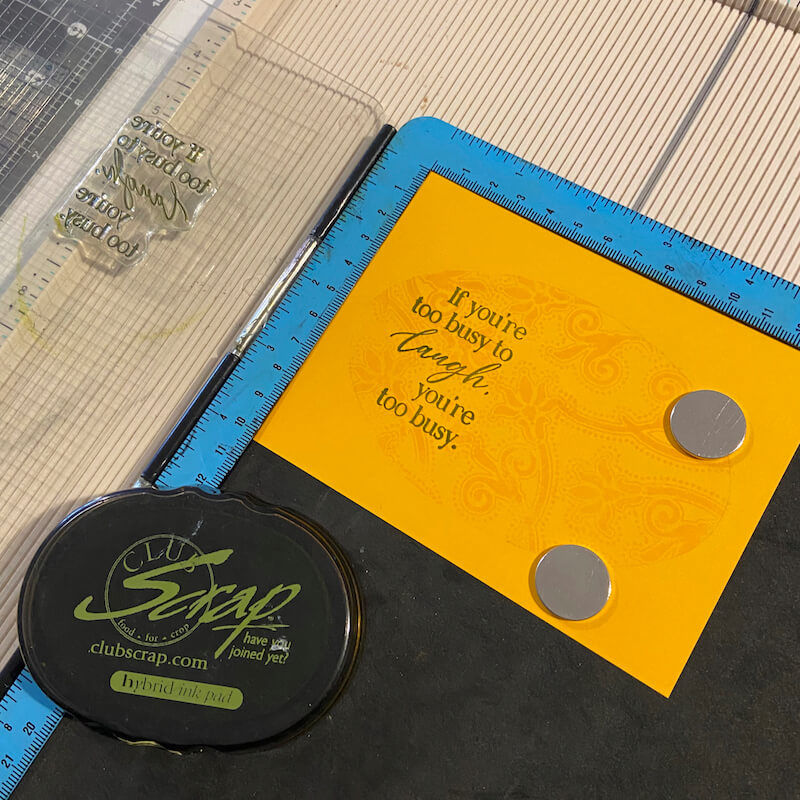
Remove the paper mask, erase the pencil marks, and add a sentiment in Leaf Ink.
Add foam adhesive strips to the back of the acetate frame and adhere to the Yellow panel.
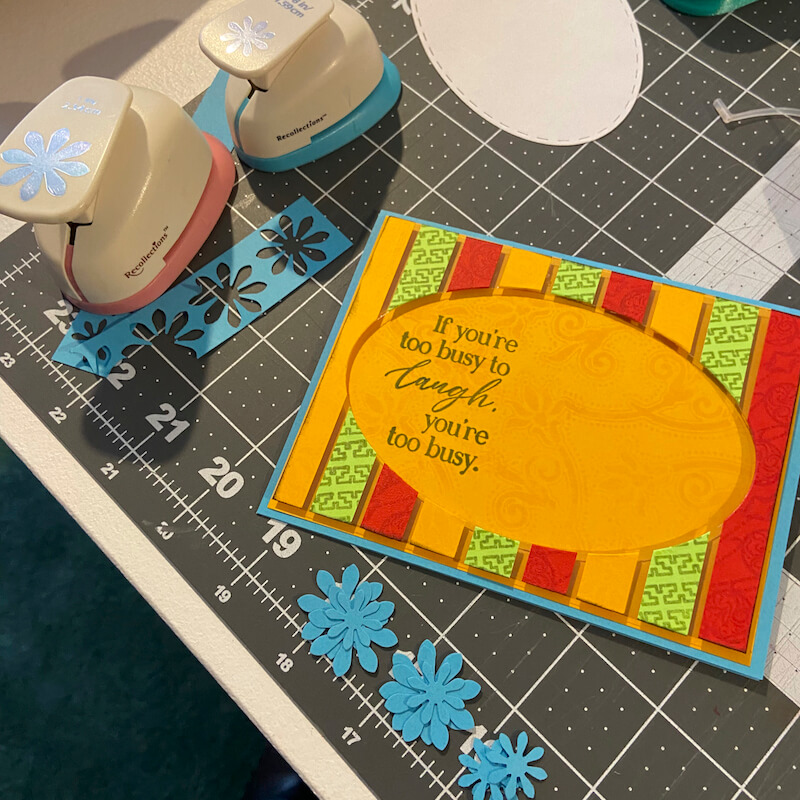
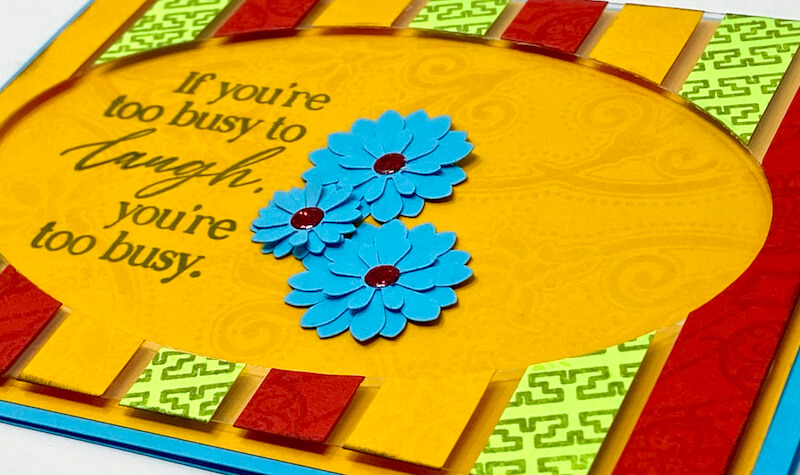
Add punched flower clusters to complete the card.
Bonus Tag
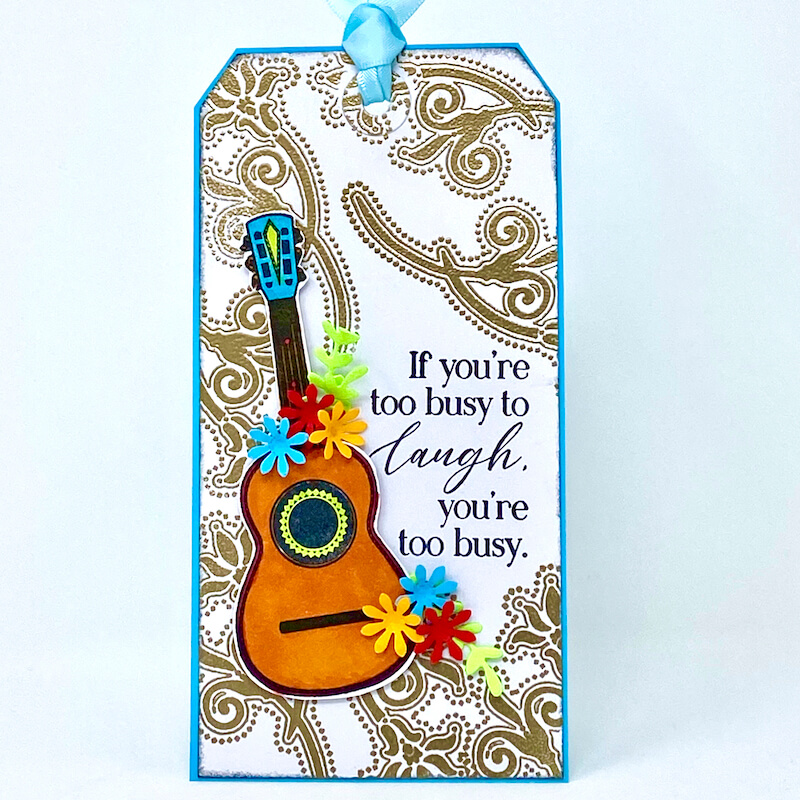
Join me next week as I share a detailed tutorial on how to make this Mariachi tag.
I hope you enjoyed learning a bit more about my Mariachi stamped cards. We'd love to see what you're creating right now. Be sure to share your projects with us on the Club Scrap Chat group on Facebook.
Happy stamping!
CS Hybrid Ink Pads

$6.35
Exclusively Club Scrap®, this hybrid craft ink combines the most exceptional ingredients of both pigments and dyes for a fine, crisp, fast-drying image! Don't forget to stock up on the coordinating re-inkers. Each ink pad sold separately. Please select the… Read More
India Ink Pad
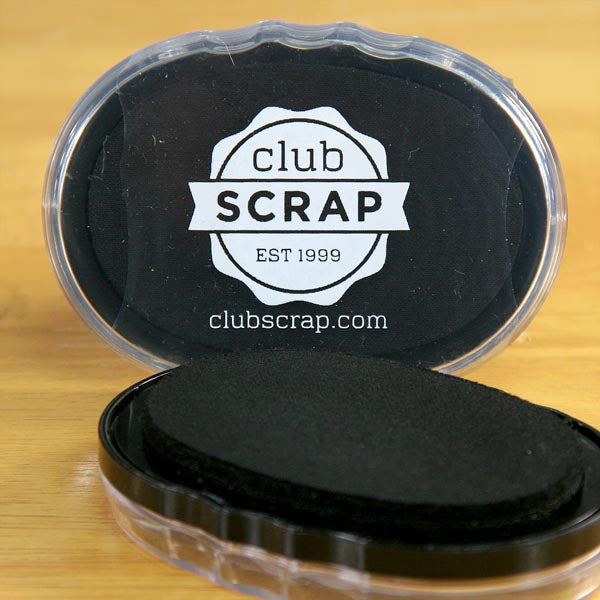
$7.50
Club Scrap's India Ink is a deep black, super-quick drying dye ink formula for use with watercolors, markers, stamping, scrapbooking and much more. We love how fast it dries so that you can get to work without a smudge!… Read More